

Segmentation is essential when you’re sending mass email marketing to your contacts. You can send different types of email templates to different contacts based on your segmentation.
You certainly do not want to send similar email marketing to every contact because it simply shows zero effect and sincerity.
With Deskera CRM+, users can create a variety of segmentation based on their preferences.
For example, if you wish to segment your contacts based on their purchasing power; low, medium to high, you can do so by using Deskera CRM+.
How to create segments in Deskera CRM+
- Login to your Deskera CRM+ Account.
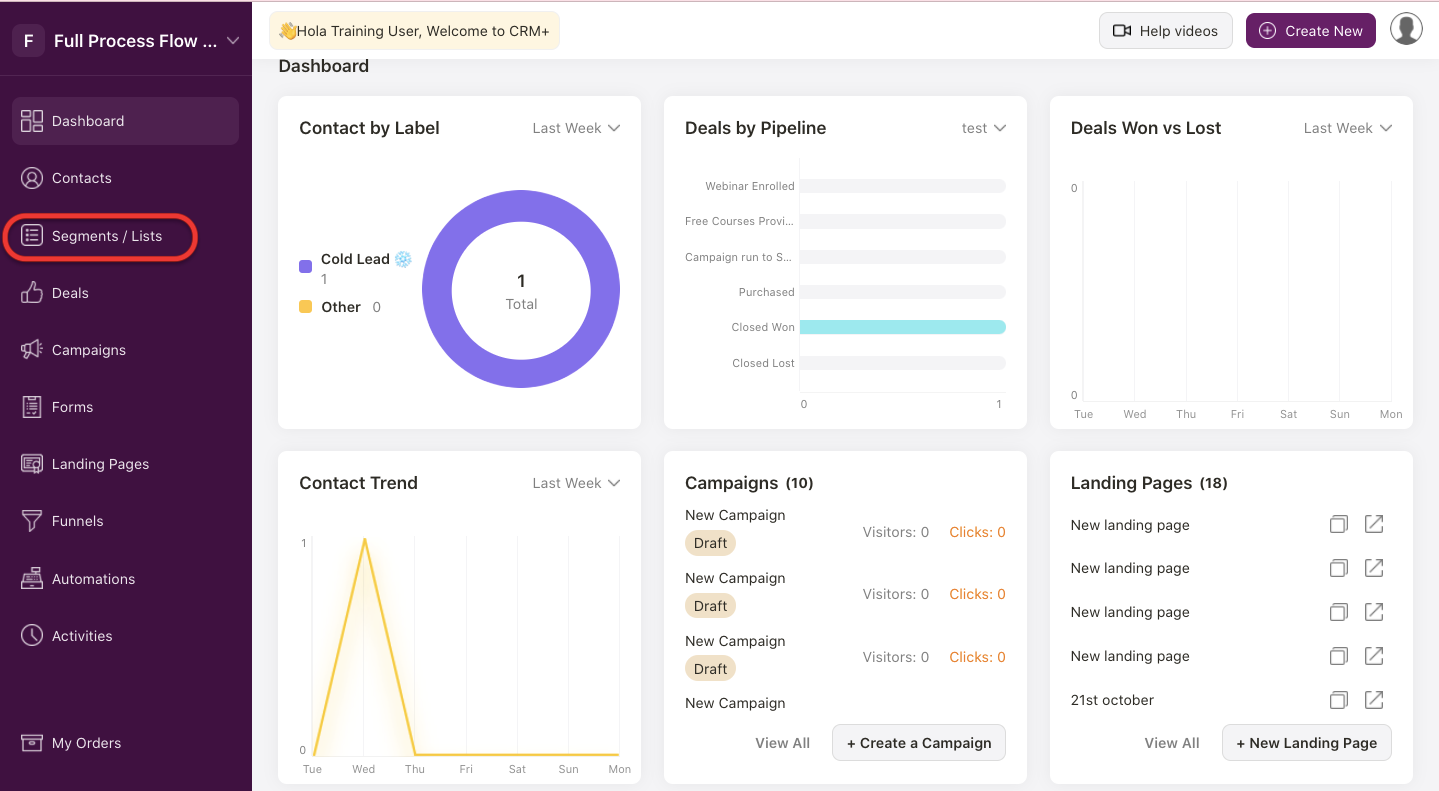
2. After you have logged into your account, you can view Deskera CRM+ Dashboard. Click on Segments/Lists on the sidebar menu. Then, the system will direct you to Segment Screen.
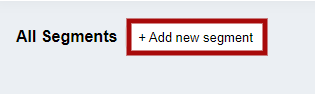
3. Next, click on the + Add new segment, to add a new Segment to the list.
4. A pop-up screen will appear, where you can fill in the segment information.
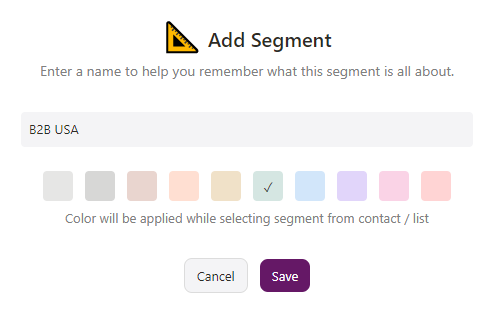
Fill in the following details:
- Under the blank field, fill in the Segment Name
- And, from the default colors given, you can select the segment color.
5. After all the segment information is added , click on the Save button.
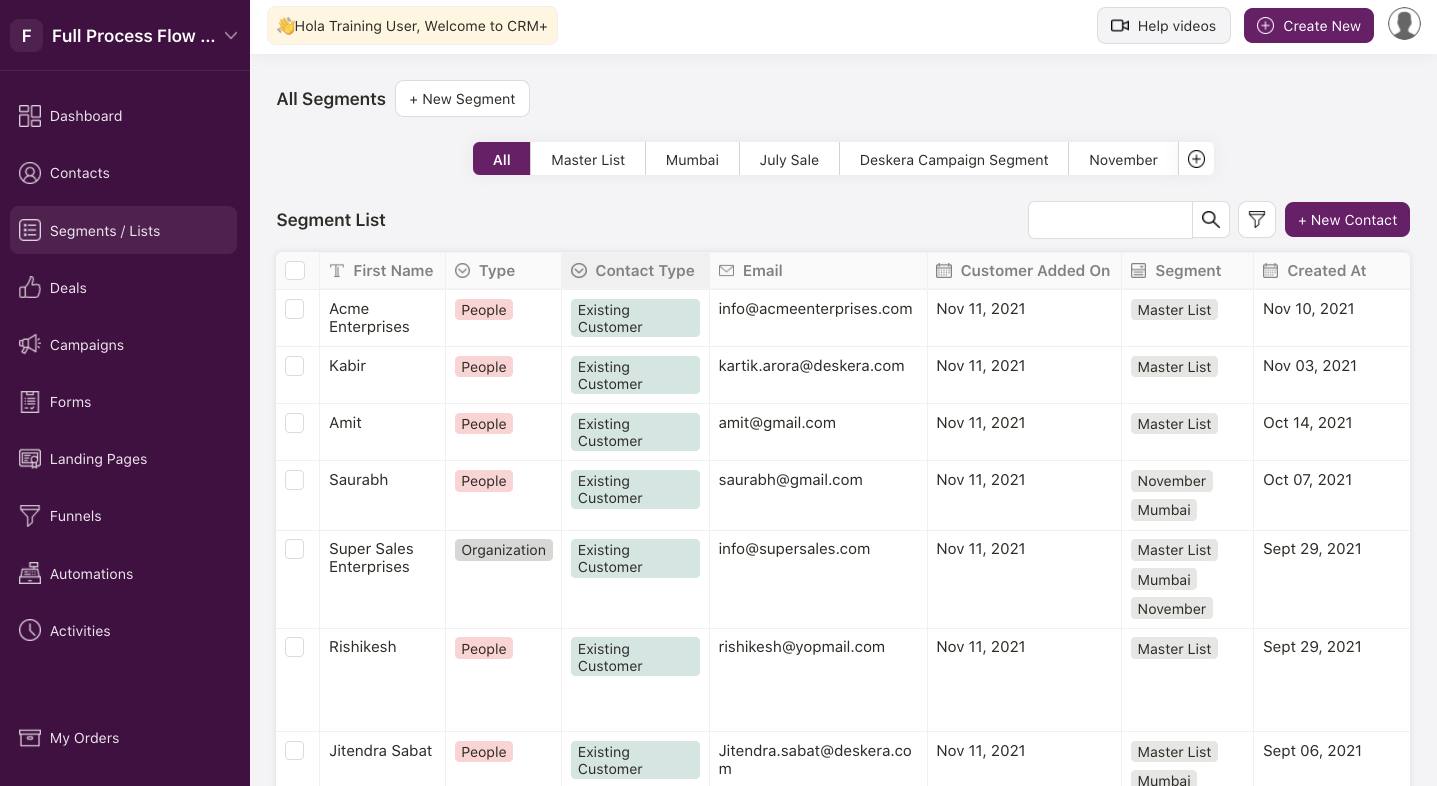
6. Finally, you should be able to view the added segments on the main segment list screen. Likewise, following the same process, you can add multiple segments
7. After the segment is added to the segment list, you can add contacts in the created segments by clicking on the +Contact button located on the Segment list screen.

8. Alternatively, you can also create a segment from the Contact Module. Refer to the below support article.

How to view, edit, delete and copy segments?
View Segment
You can view the added segment on the segment list screen as shown in the screenshot below.

You can also add a segment from the view segment list, by clicking on the + icon.
Edit Segment
Firstly, select the contacts from the contact list,

To change the Segment , click on the Edit icon. An editable contact information window will appear.
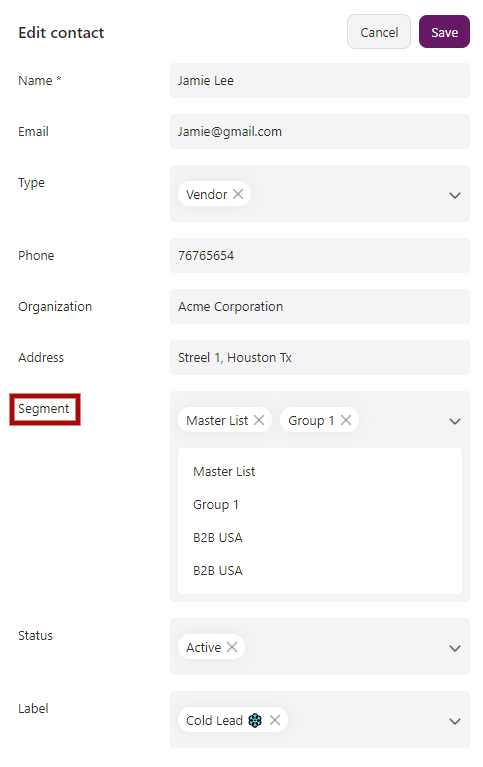
3. Edit the Segment from the Segment Field.
4. Click on the Save button and the respective changes will be reflected on the main segment list screen.
Delete Segment
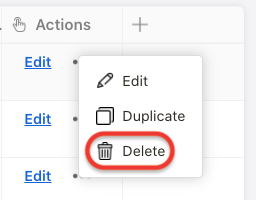
To remove the Segment from the list, click on the Bin icon.
A below message will pop-up to confirm if you are sure to delete this respective record permanently.
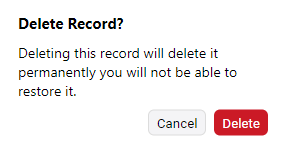
If you click on Delete, the record will get deleted permanently and wont be visible on the segment list screen.
Copy Segment
To make a duplicate segment for the contact, simply click on the Copy icon. A screen will appear with the contact details , make the changes if required and save. This will copy the contact and you will be able to view it under the Segment list.