

On Deskera Books+, Contact details are editable even after creation. Changes can be made to your contact’s name, email address, payment term, and various other fields.
Accessing the Contextual Menu
To make any necessary changes to your Contact's details, go to the Contact Module on the sidebar menu. Next, click on the contextual menu or right click on the contact to access the actions available on the selected Contact.
Edit Function
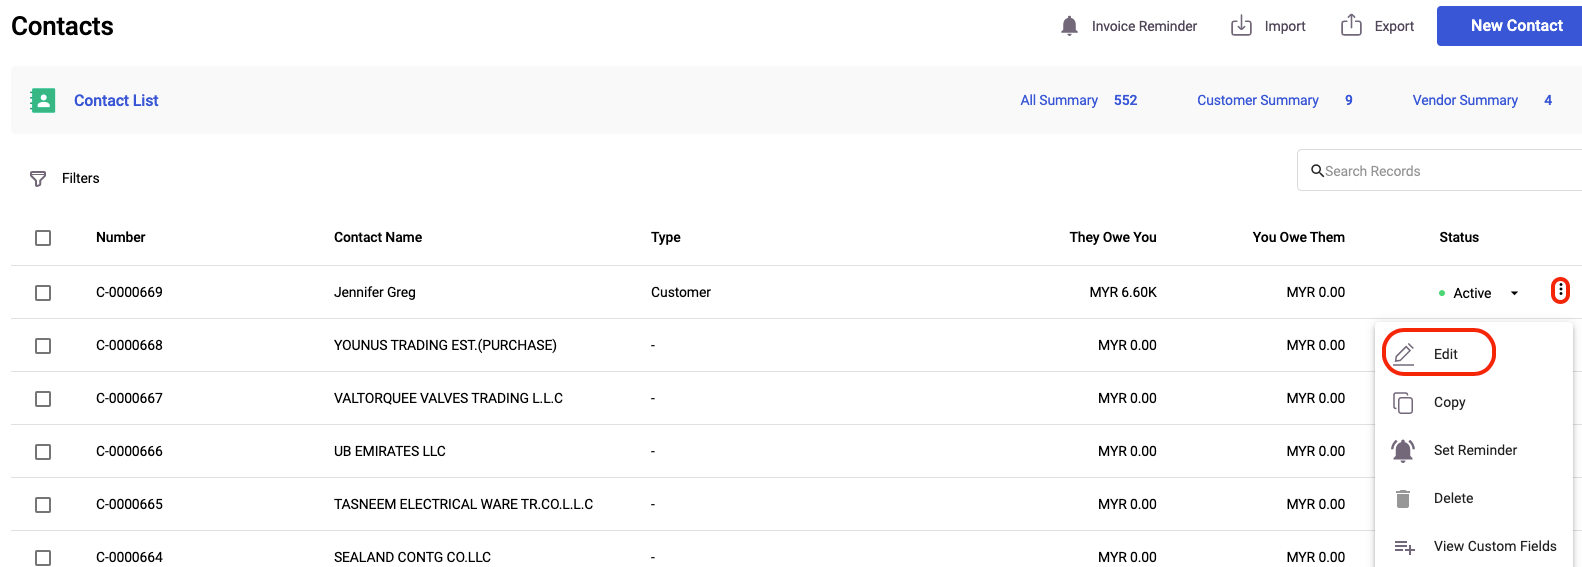
1. Select 'Edit' in the Contextual menu and the Edit Contact dialog box will appear. Under the Contact section, you can make changes to most fields except the auto-numbering format and currency.
2. You can make the changes under General info tab, Accounting tab and Address tab. If necessary,enter additional billing and shipping addresses or change the default.
3. Lastly click on "Save Changes" button to reflect the changes in the system
3. Any changes made to the Contact's name will be reflected in the document, for both new and existing documents. However, the changes in an address won’t be reflected in past documents, only new ones created after you have saved the changes to this Contact.
Copy Function
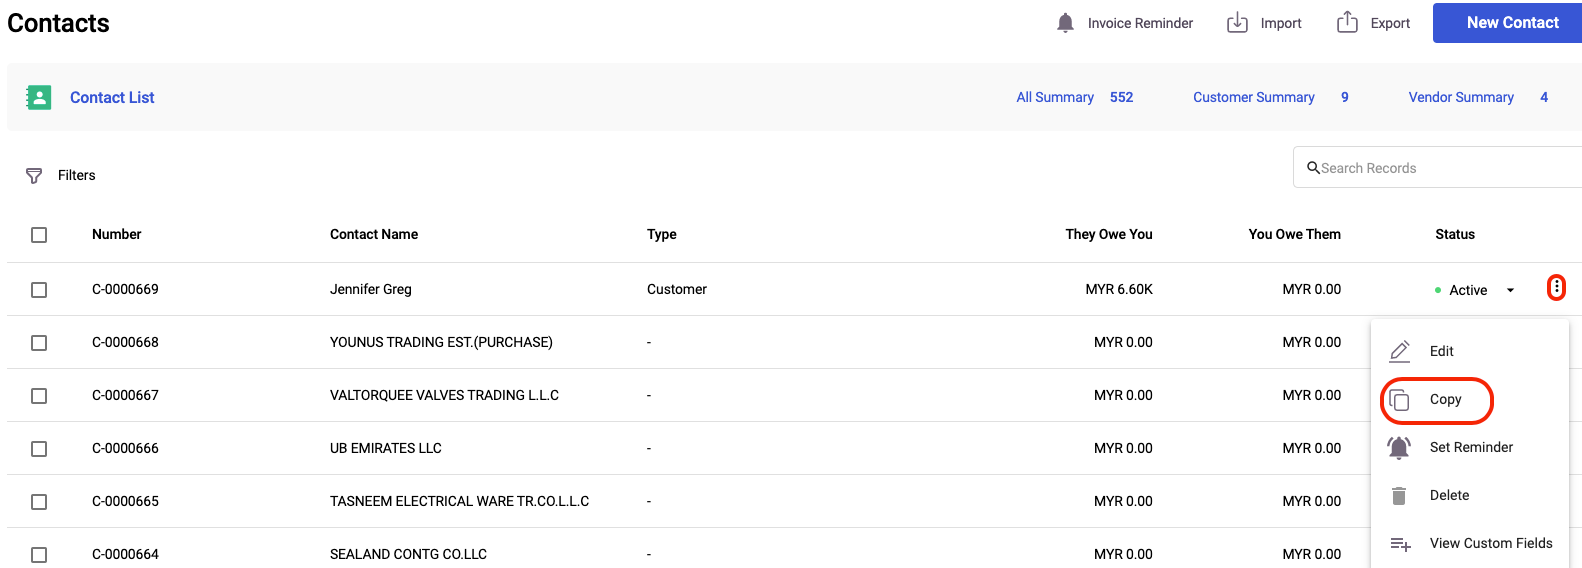
1. Select 'Copy' to create a duplicate contact.
2. This will toggle the Copy Contact page that is auto-filled with the same details as the contact selected. You can choose to amend any details if needed.
3. After you have verified all the fields, click ‘Save Changes’ once you are done. The new contact will appear in your Contact List.
Inactive Function
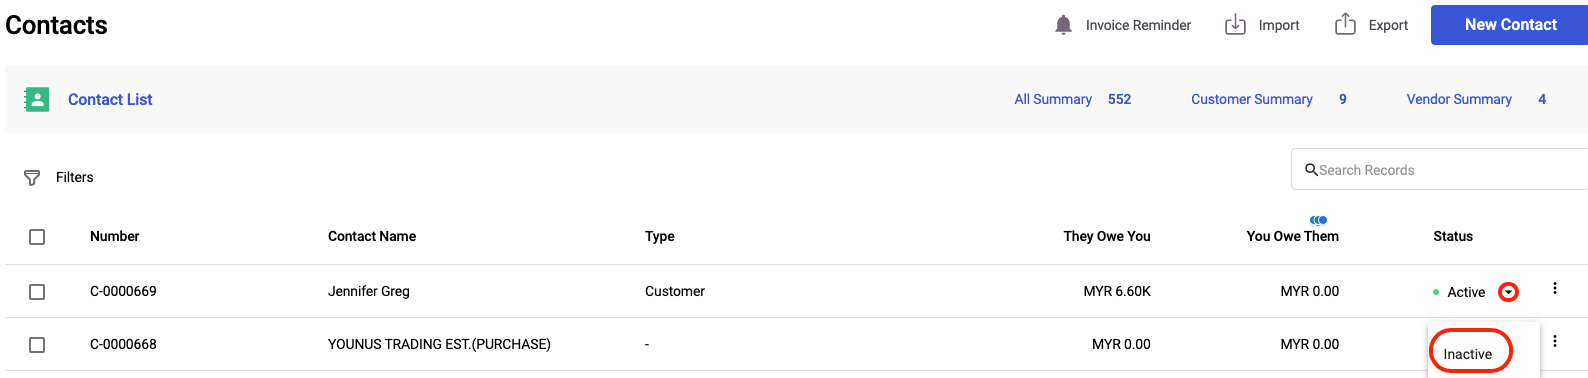
1. Select 'Inactive' when an Active contact is selected to deactivate them.
2. If you Inactive a Contact, you won’t be able to select the Contact in any Contact dropdown fields in Deskera Books. However, you can always choose to reactivate the contacts if you need to use them by selecting 'Active' in the Contextual menu when selecting an Inactive contact.
Delete Function
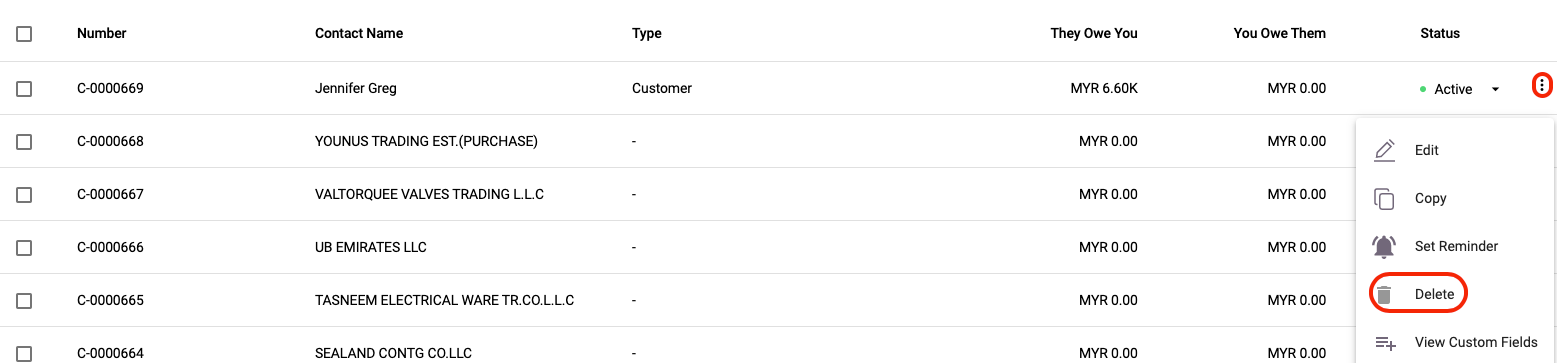
1. Select the Delete button if you wish to remove the contact from the system.
2. Do take note that you can only select the contacts you have not used in the Buy and Sell documents. Those documents that you have indicated the contact's name you won't be able to delete them from the system.
Customer vs Vendor Tabs
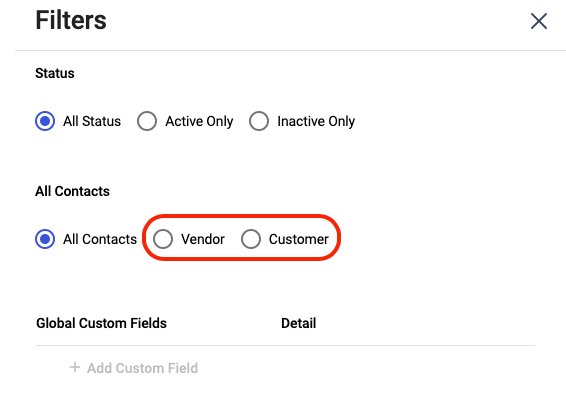
Click on the Filter button to sort out the contact based on vendor or customer.
If the contact has been used in the Sell Module, it will automatically be mapped to the Customer tab.
On the other hand, if the contact has been used in the Buy Module, it will automatically be shown in the Vendor tab.
You can also sort the contact based on the status, and the global custom fields applied.