

More companies are shifting to the digital world which helps them reduce manual processes and paperwork. Hence, simplifying workflow with technology is extremely crucial, especially in this 21st century.
With Deskera People Plus, you can configure the job pipeline workflow using the automation feature in the system. There's no need for you to manually update the potential candidates' job status as you can let the system do the work for you.
Follow the steps below to configure the job pipeline workflow:
- Login to your People Plus account.
- Next, click on the Automation Module via the sidebar menu.
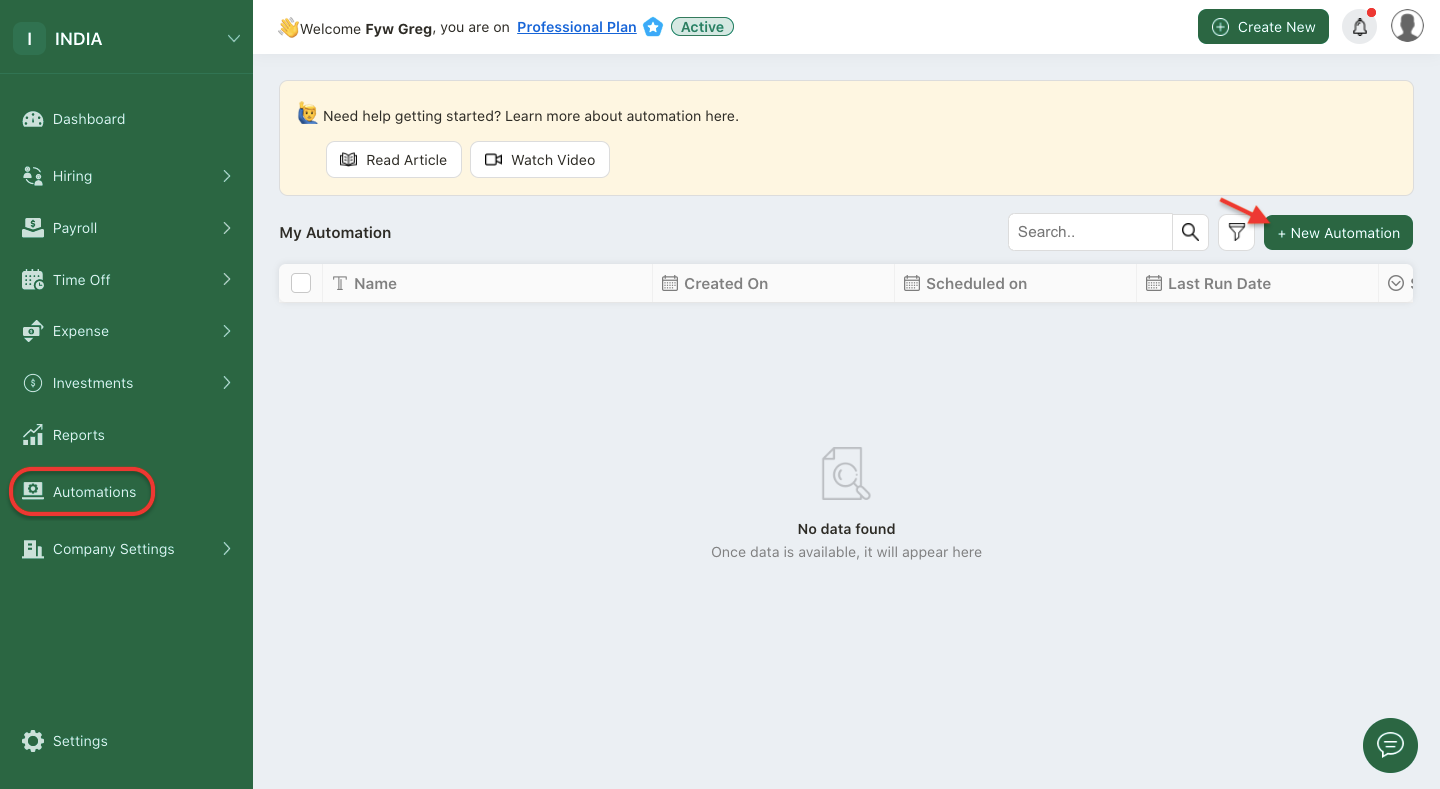
3. On the automation page, click on the "+ New Automation" button.
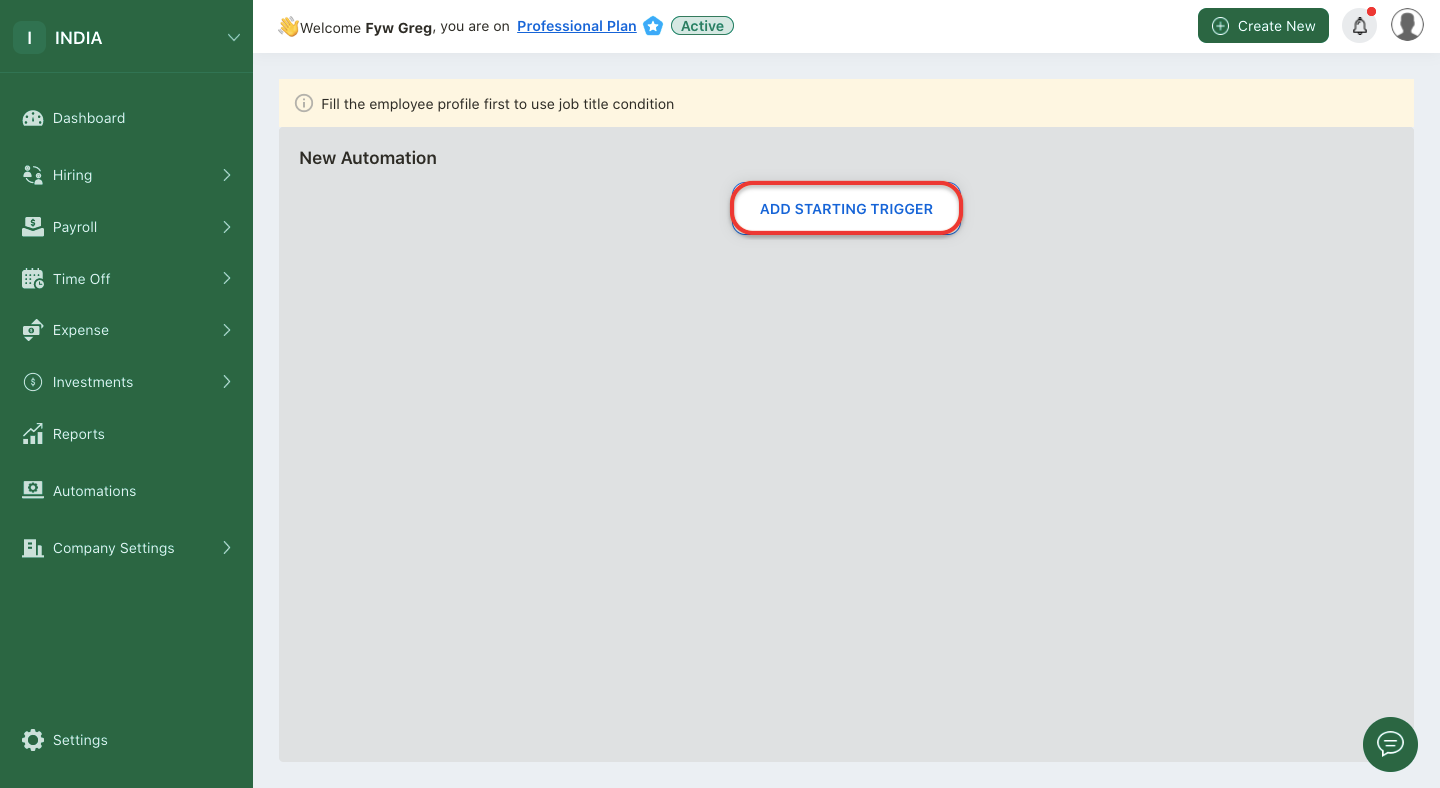
4. On the following page, you can view the "add starting trigger" button. Click on this button to configure your job pipeline workflow.
5. A pop-up message will appear.

6. Select candidate stage changed button to configure the job pipeline workflow.
7. The second pop-up menu will appear. Fill in the fields appearing on this pop-up box:
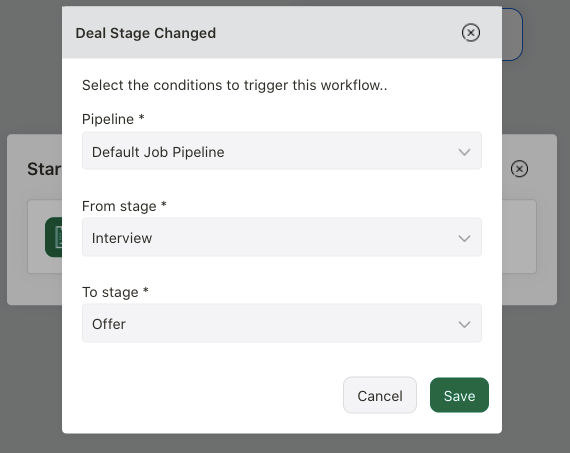
- pipeline - choose from the job pipelines that you have created in the system. If you have chosen a respective pipeline, this pipeline will be triggered whenever a condition is met
- from - choose the initial pipeline stage for the trigger
- to stage - choose the stage that the pipeline will be shifted once the trigger is activated
8. Click on the save button.
9. Once you have configured the trigger, you can view the trigger under the automation workflow chart.
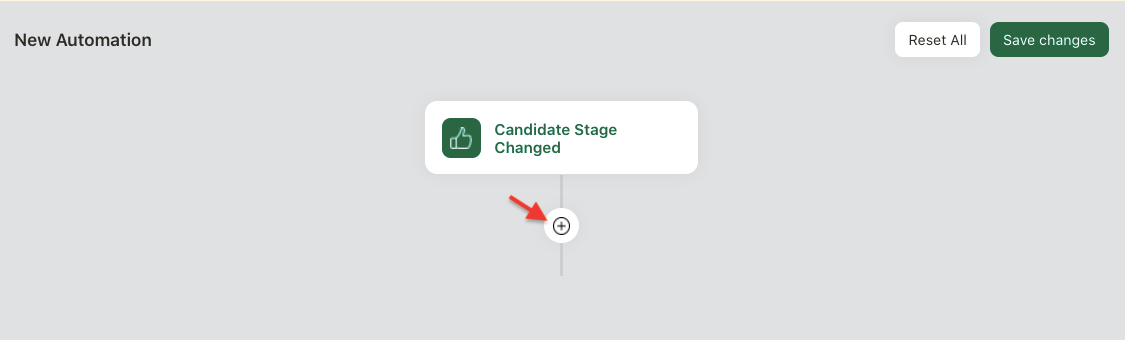
10. Click on the "+" icon to add the next action.
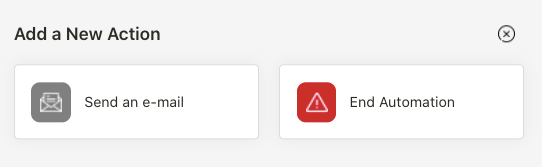
11. A pop-up will appear. You can choose from the actions below:

- send an email - the system will send an email to the candidate. You can configure the email template by changing the email's subject, recipient email ID, company's name, the sender email and email's body. You can add images and files in the email's body. Also, you can add placeholders in the mail as well. The system will auto-populate the data for the placeholders entered
- end automation - select end automation when an action is taken and no further actions are required
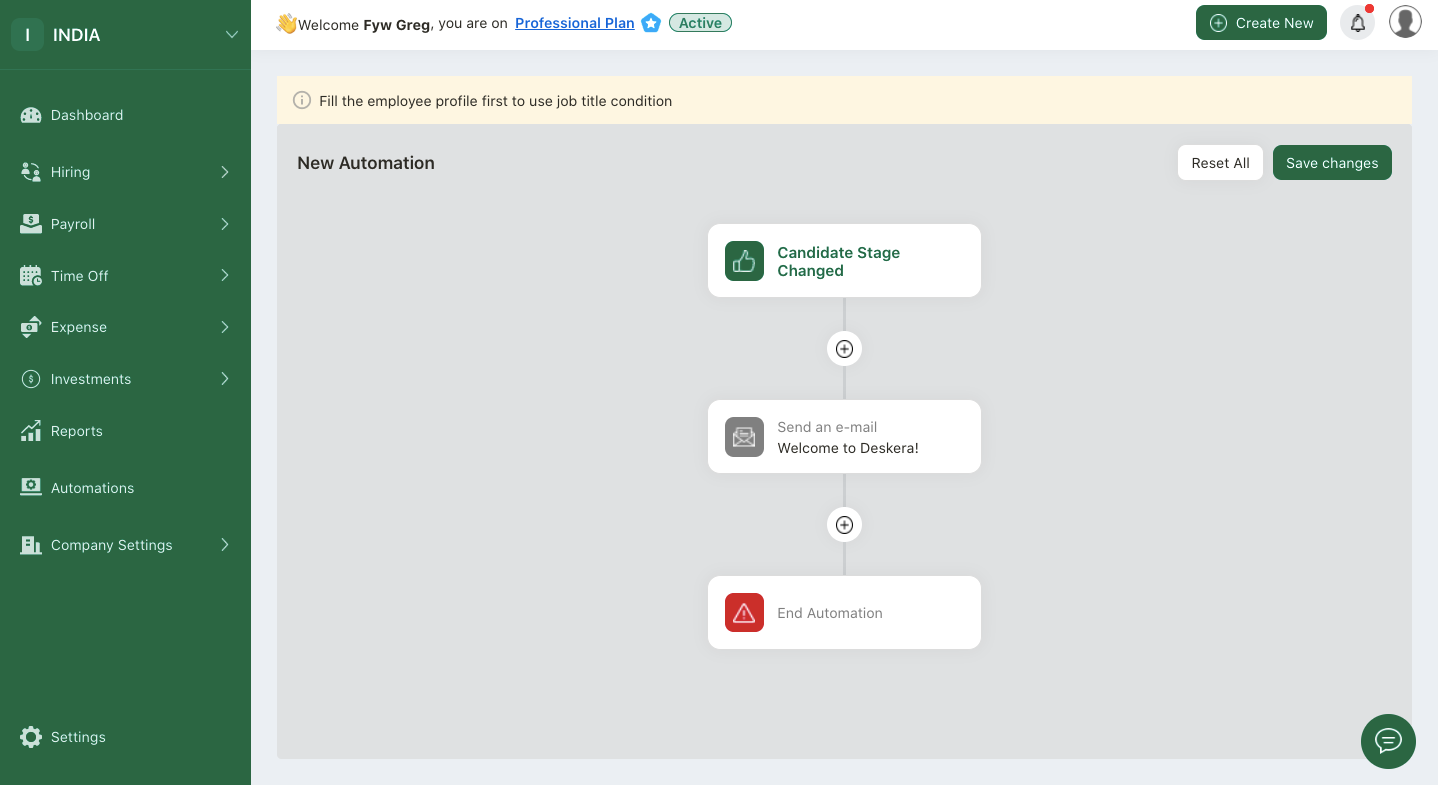
12. You should be able to view the completed job pipeline workflow on this page.
13. Don't forget the click on the save changes button.
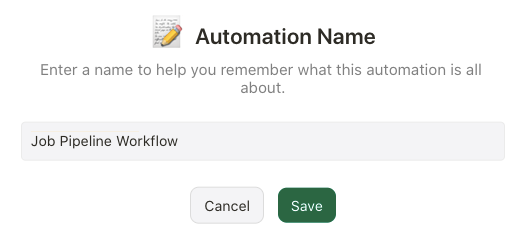
14. Enter the automation name. Save it.
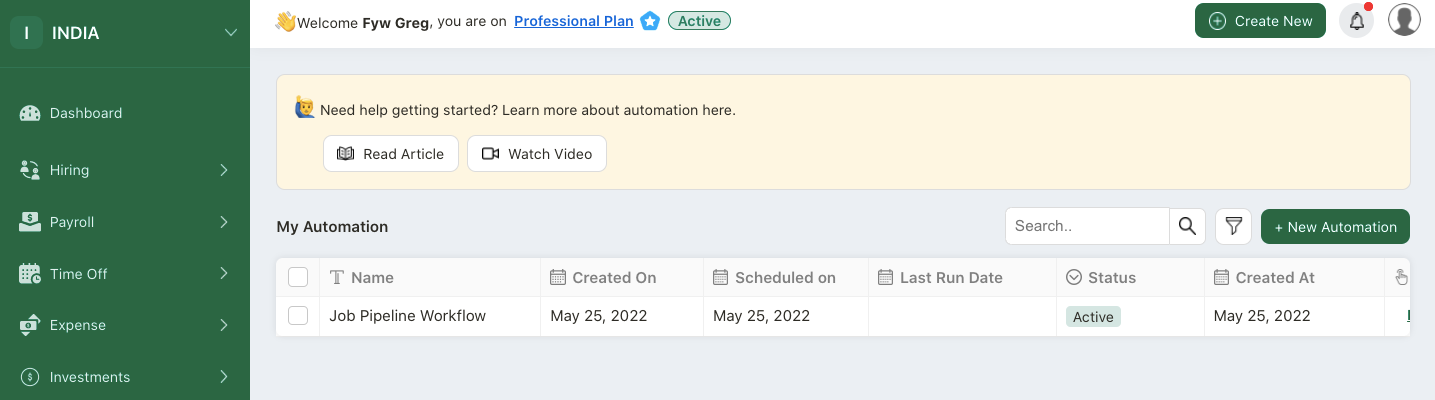
15. You should be able to view the job pipeline workflow created on My Automation Summary List.
How can I edit or delete the job pipeline workflow?
Click on Edit under the Actions Column.
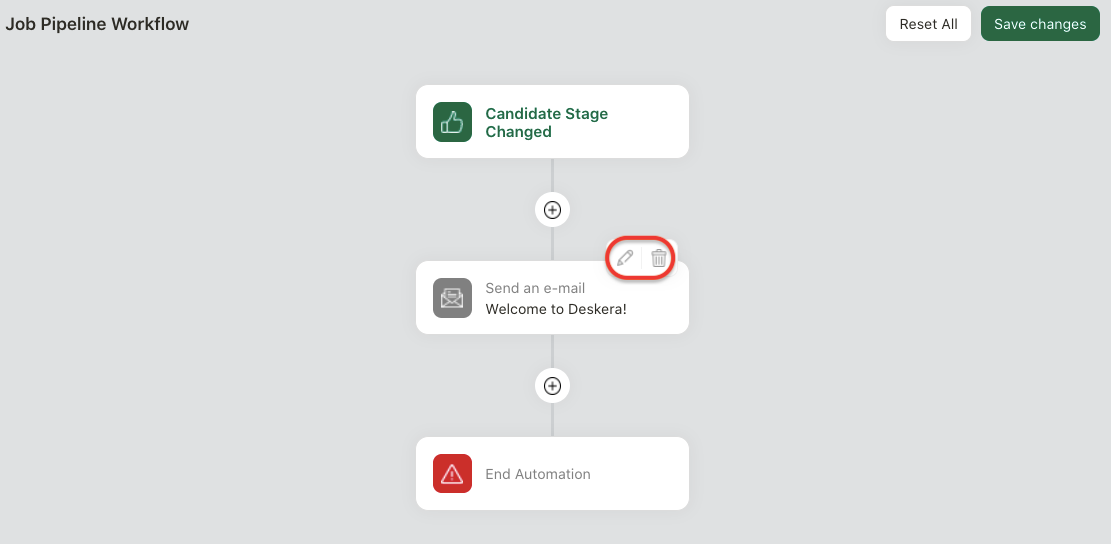
On this page, select edit to make changes to the job pipeline workflow. Click on the delete icon to remove the actions created.
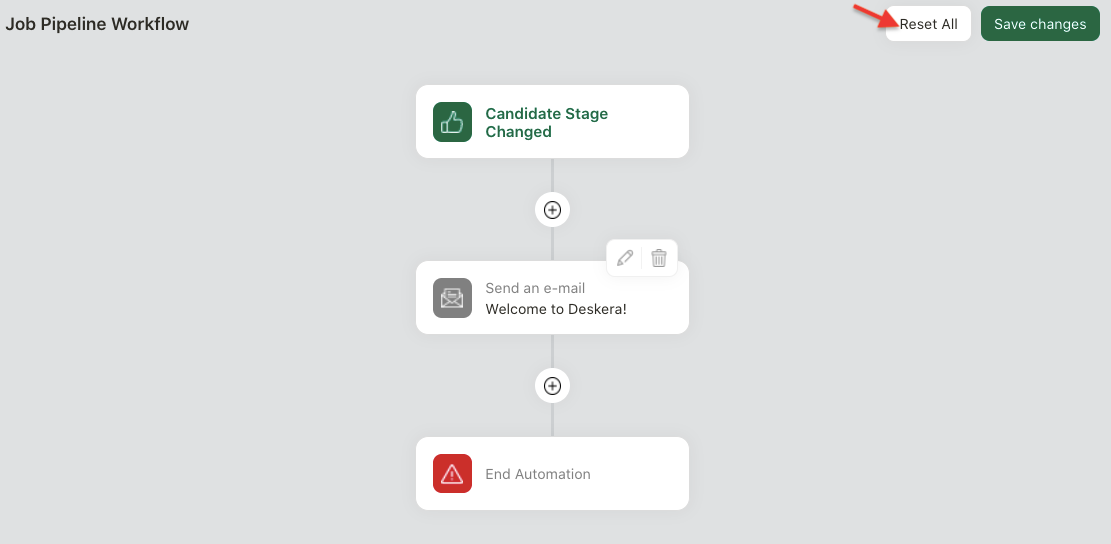
To start from scratch, click on the reset all button to clear all the triggers and actions configured.
Do remember to save the workflow once changes are made.
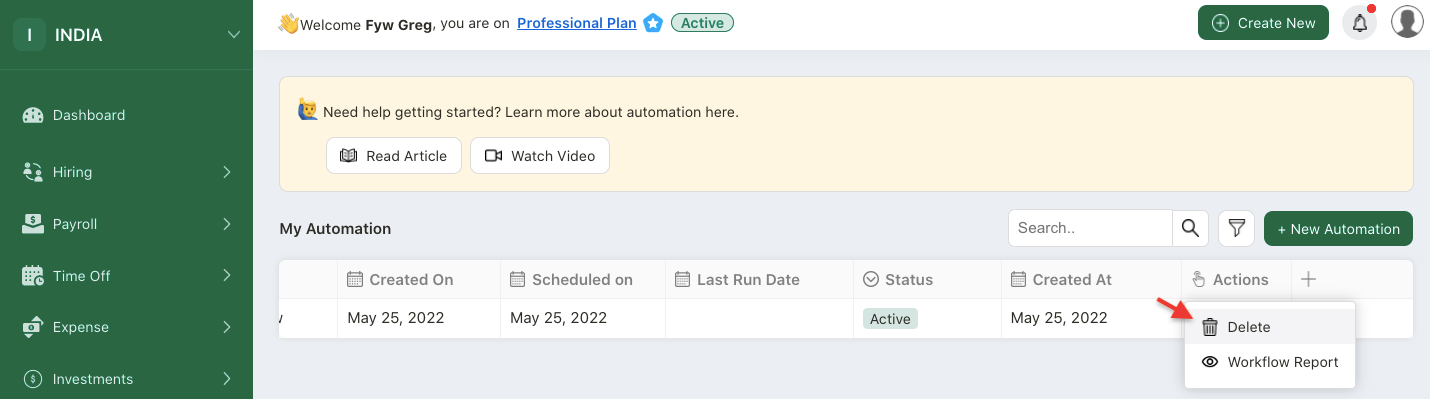
To remove this workflow, click on the delete button under the actions column.
Where can I generate the automation report?
- Go to Reports via the sidebar menu.
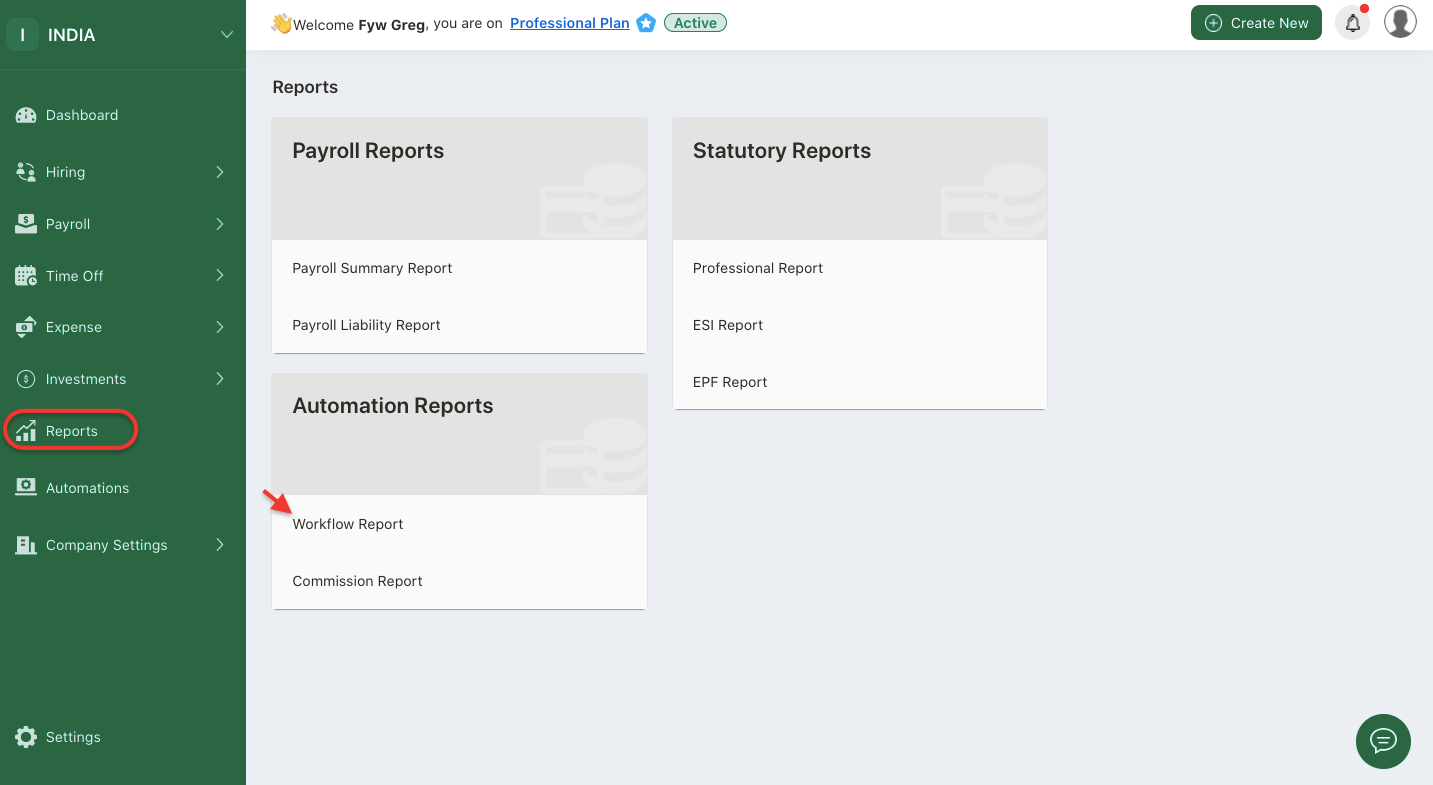
2. Select workflow report.
3. Select your preferred workflow automation created in the system. Change the date filter as well in order for the system to populate the correct data.
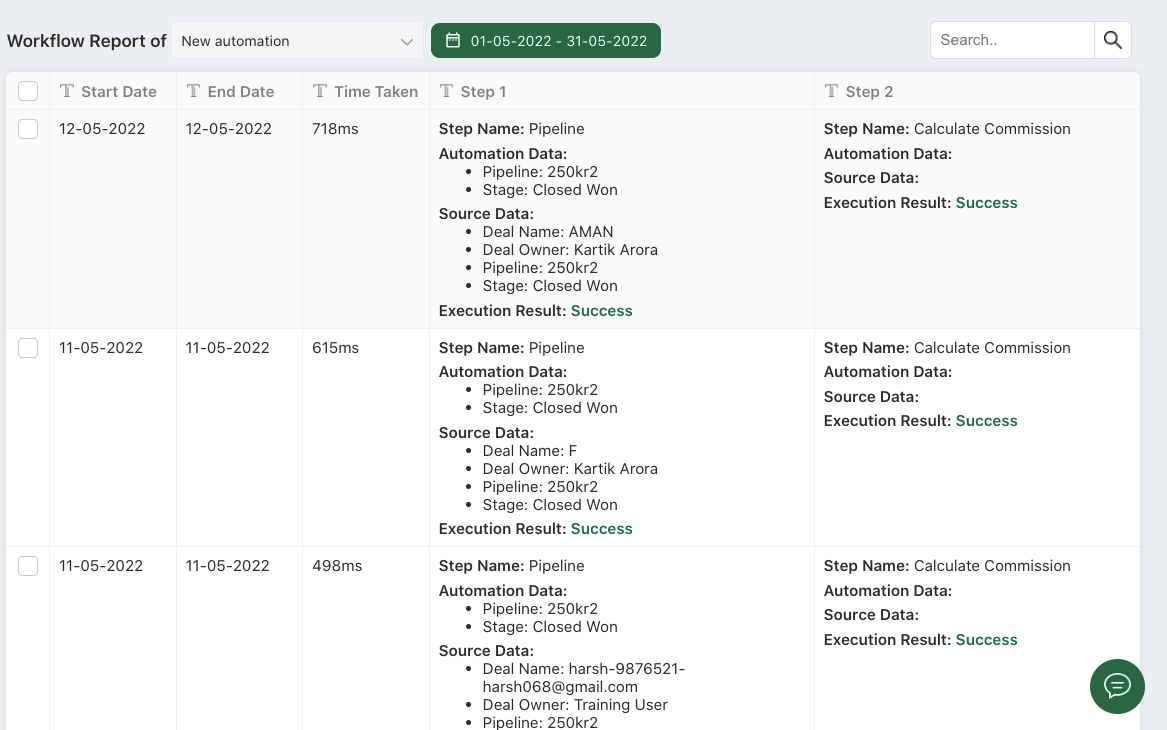
4. The system will generate the job pipeline workflow report as per the image above. If the execution result is successful, then it will be reflected as "Success" on this report.