

Payslip generator allows you to select from various beautiful payslips from the system.
This feature allows you to pick the right template on the go without needing to design the template from scratch.
Follow the steps below to choose the right template from the system:
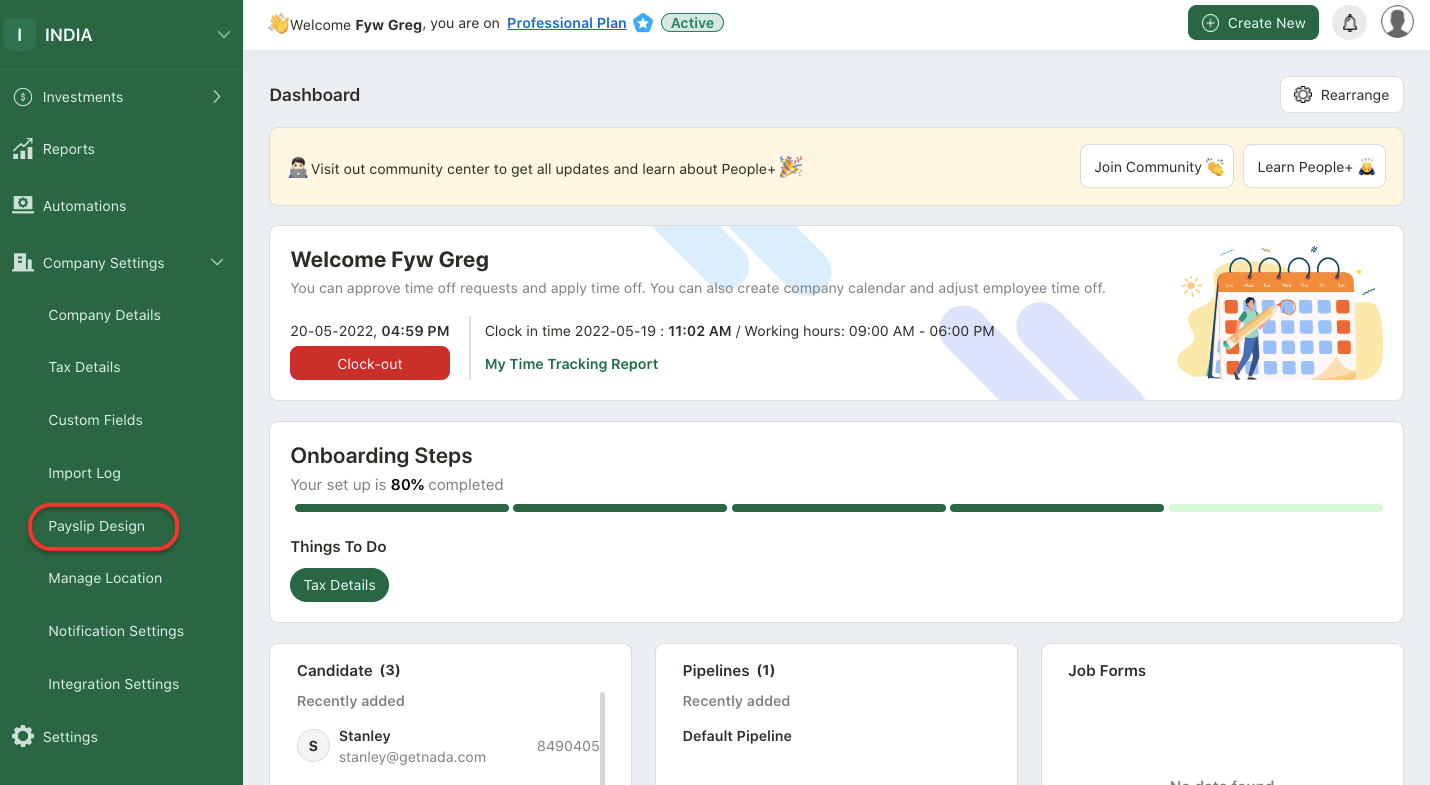
- Login to your People Plus account.
- Click on Company Setting via the sidebar menu.
- Select Payslip Design.
4. The system will re-direct you to payslip generator.
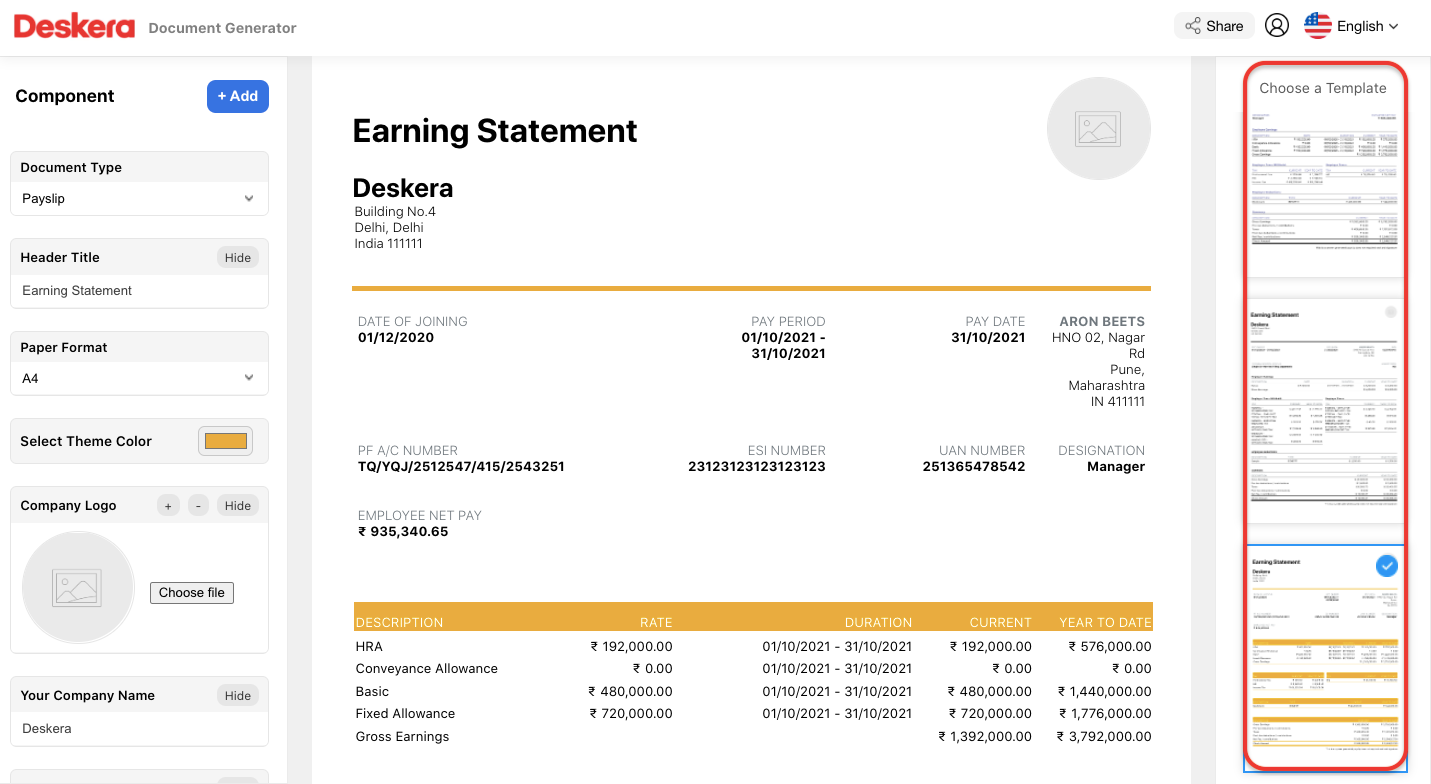
5. On the payslip generator page, you can select different templates on the right-hand side panel.
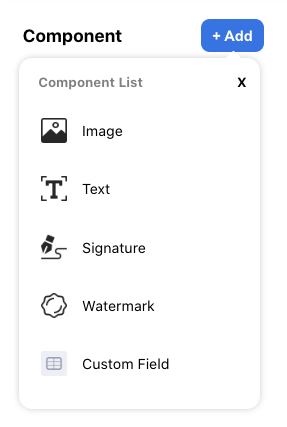
6. On the left-hand side panel, you can add components such as image, text, signature, watermark and custom fields. These fields are draggable in the template.
7. Indicate the fields on the left-hand side panel:
- document type: choose the document type as payslip
- header title: enter the header title. you can edit the header title directly on the box
- paper format: choose the paper format available. The paper formats that you can choose from are A3, A4, A5, legal and letter format
- theme color: select the template theme color
- company logo: you can choose to upload your company logo. Click on the minimize or maximize button to change the company's logo size
- company name: your company name is auto-populated by the system
- company address: the company address is auto-populated by the system. Click on the edit button to edit the address format
- employee address: the employee address is auto-populated by the system. Click on the edit button to edit the address format
- field configuration: you can edit the fields name on the template. Use the drag and drop icon to change the fields' sequence number
- table configuration: you can edit the table's header name by clicking on the edit icon. Use the drag and drop icon to change the header's sequence number
- currency: choose your preferred currency in the system. You can also enter your preferred currency here.
- decimal point: choose the figure's decimal point in the payslip template
- date format: chose the correct date format in your payslip template
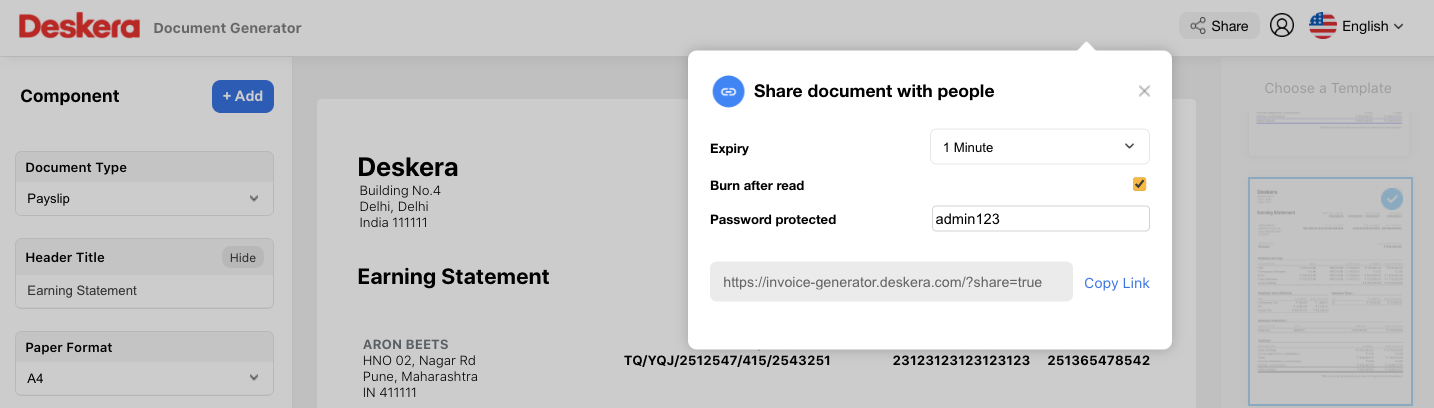
8. Click on the share button at the top right screen. You can share this document with other users. You can choose the expiry fields, burn after read option, and enter the password.
9. Click on the generate link to share this template with other users.
10. A link will be generated. Click on the copy link button to copy the url. Share this link with the respective person.
Note: You cannot view the save button if you have not processed the payrun.
How can I save the payslip template?
To save the payslip template, go to employee list and open the employee profile.
On this page, you can view the paystub section.
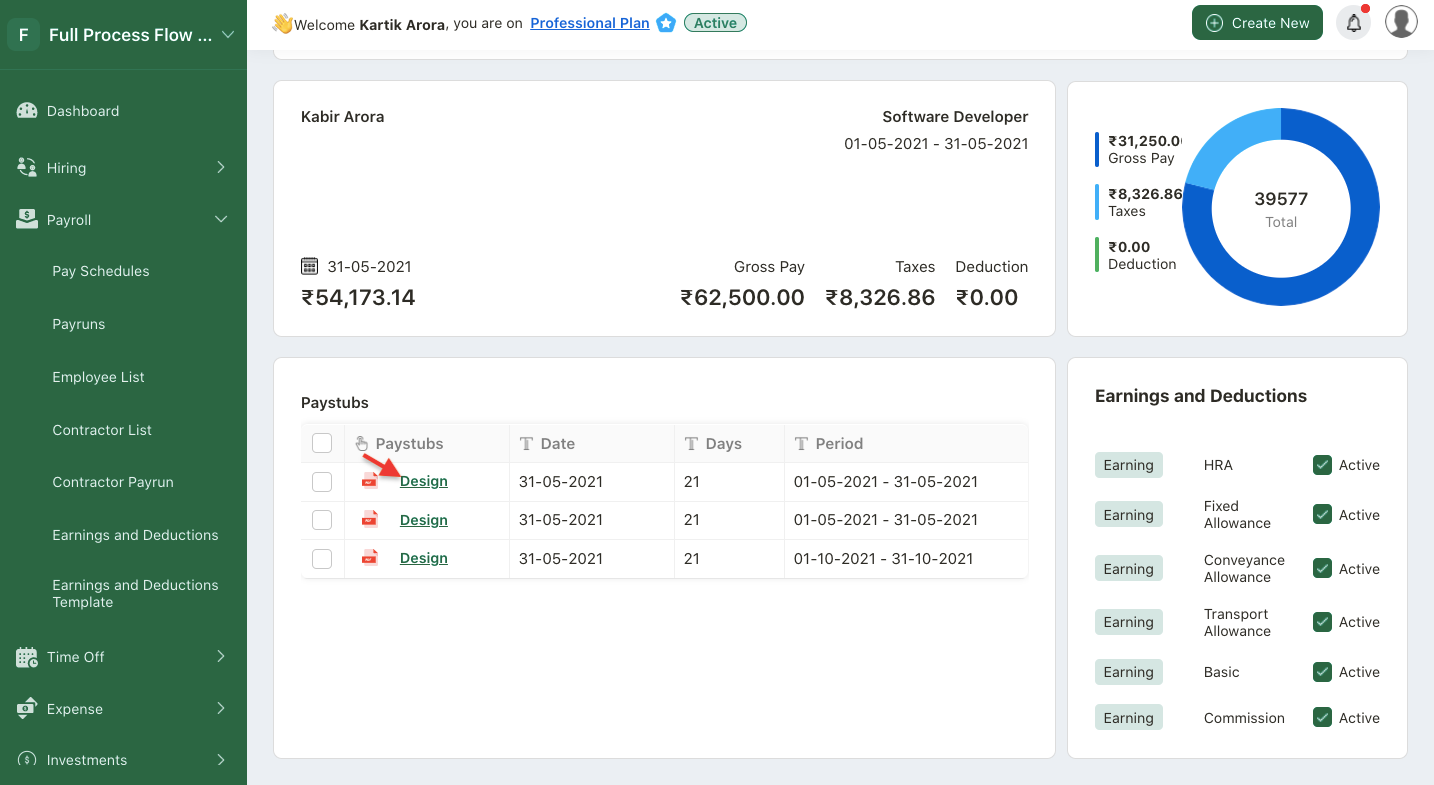
Click on the design button.
The system will redirect you to the designer template page.
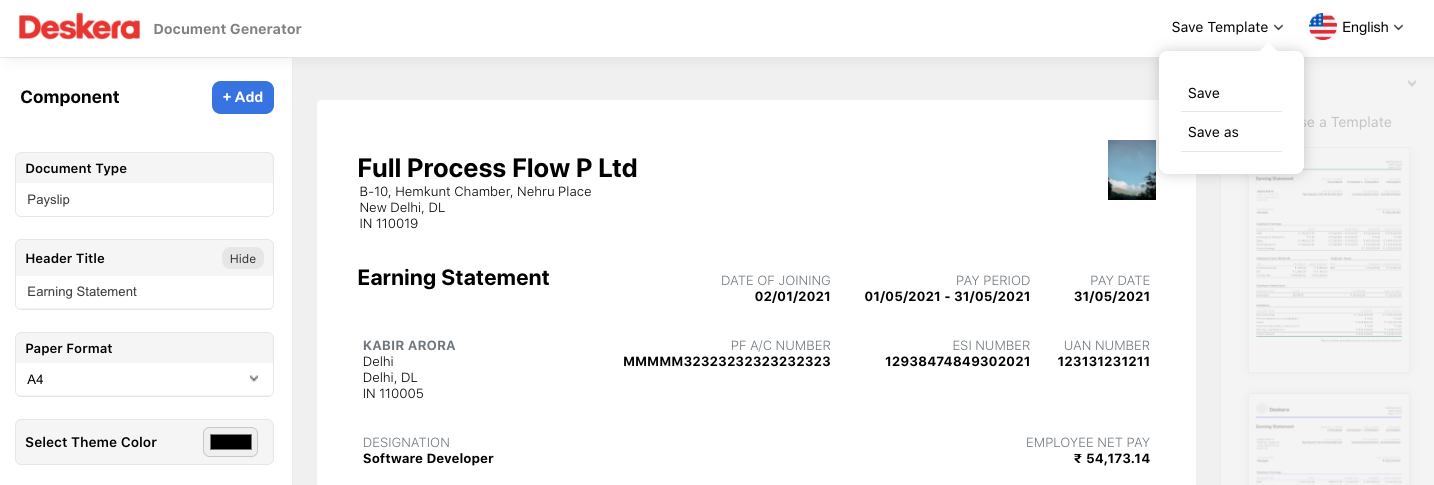
You can design the payslip and save the template here.