

The functionality of the contacts on Deskera CRM+ system is almost similar to the phone directory.
It's a record of information about your prospects, deals, customers, and also vendor. You can add your customers, vendors, or even prospects using Deskera CRM+ to oversee them at one glance.
A good contact database will allow your team to easily record and retrieve information on them, keeping everyone updated.
If you want to record your contacts and help you to track your list of contacts more effectively and ensure that all your contacts' databases are kept safely, try Deskera CRM +.
How to create a contact in Deskera CRM+?
- Login to your Deskera CRM+ Account.
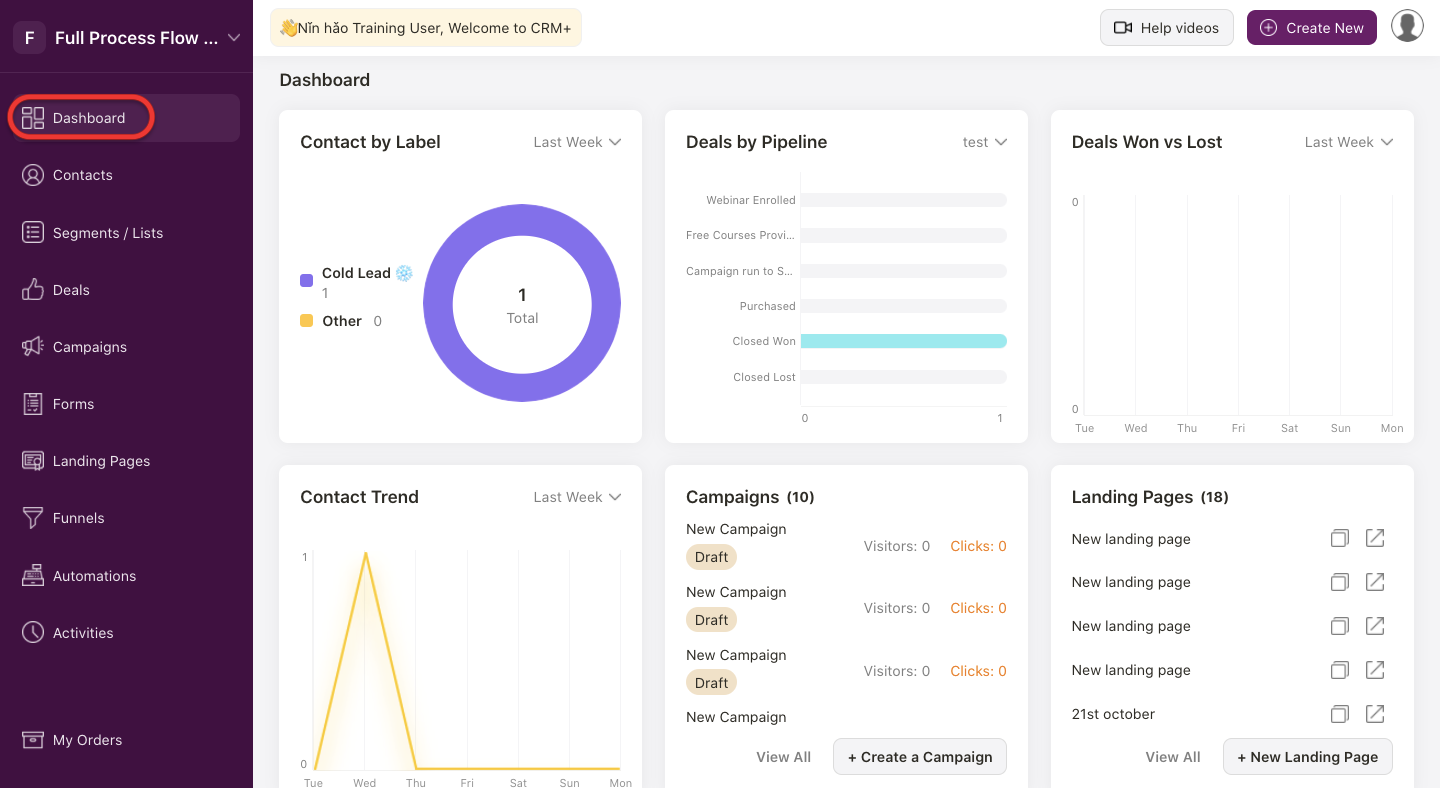
2. After you have logged into your account, you can view Deskera CRM+ Dashboard. Click on Contact on the sidebar menu. Then, the system will direct you to Contact page.
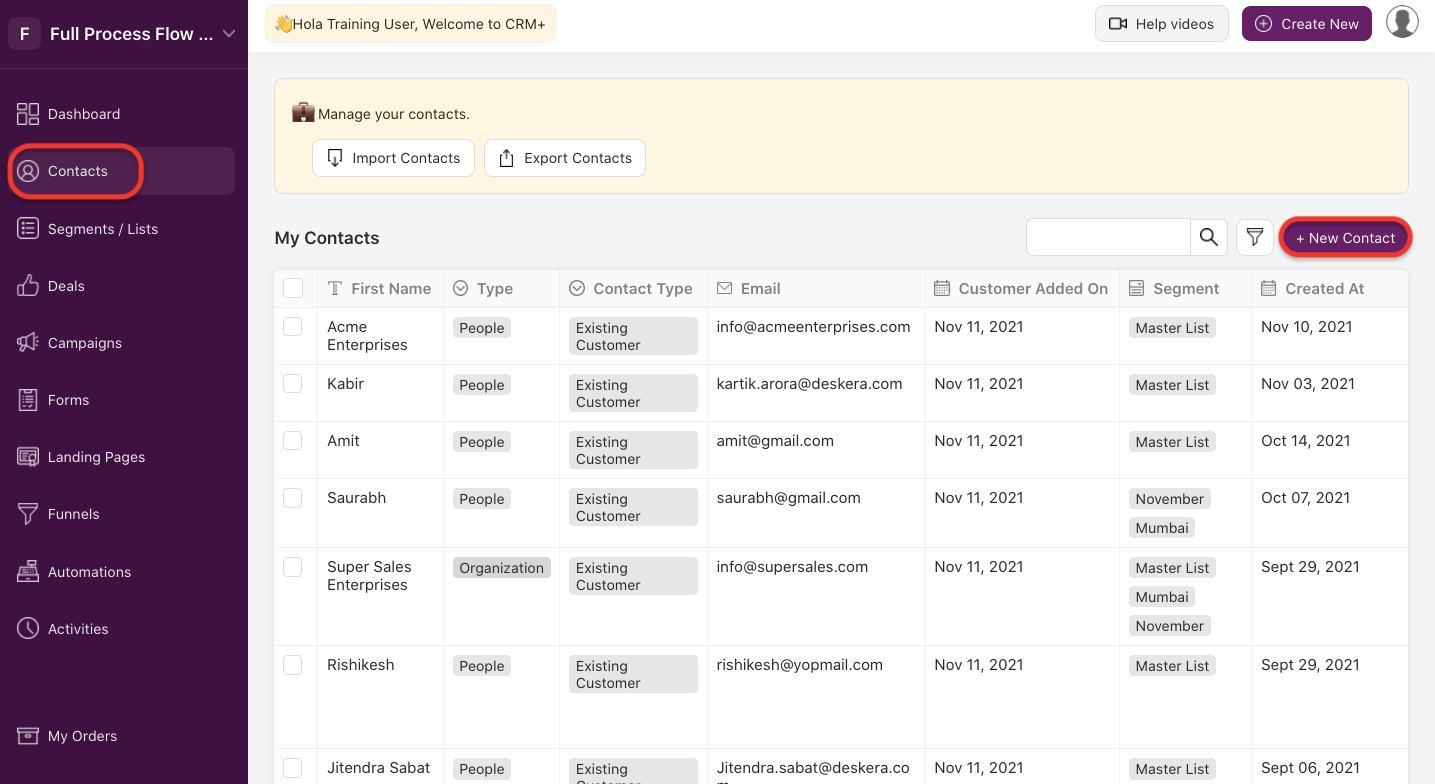
3. Next, click on the +New Contact, to add a new contact.
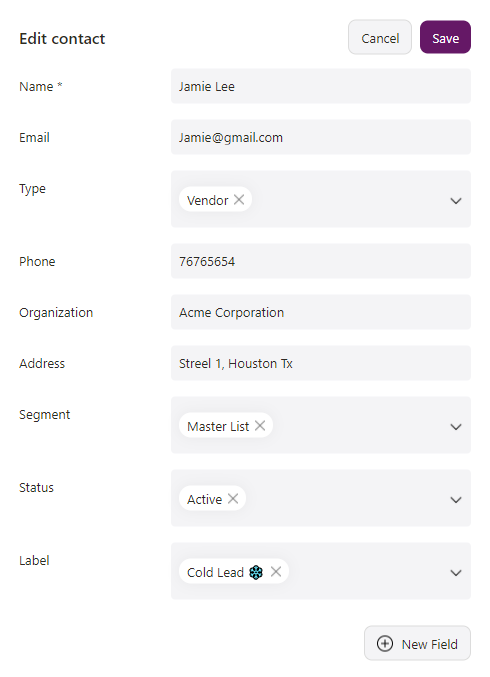
4. A pop-up screen will appear, with a contact form, where you can fill in the contact information.
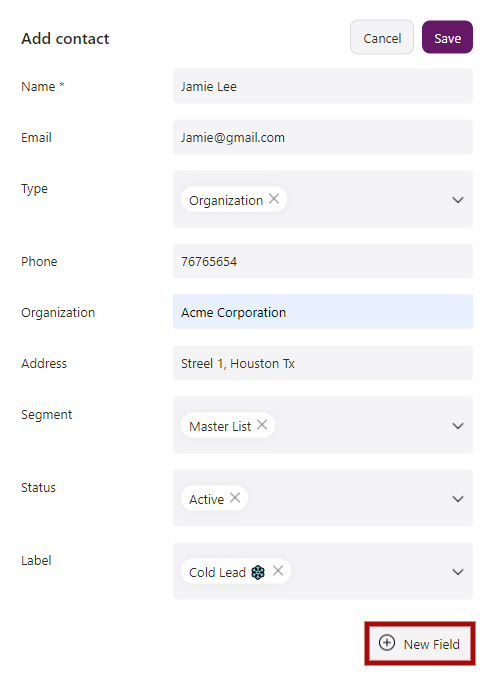
Fill in the below details in the contact form,
- Name - Contact Name
- Email - Contact email id
- Type - Contact type. (Select it from the drop down list)
- Phone - Contact phone number
- Organization - Contact Organization Name
- Address - Contact address
- Segment - Contact Segment (Select from the drop-down list)
- Status - Active/Inactive (Select from the drop-down list)
- Label - Contact Label (By default 3 labels provided - Cold Lead, Hot Lead and Warm Lead. Select from the drop-down list).
5. Incase, you need to add an additional column field in the Contact form, click on the +New Field button,
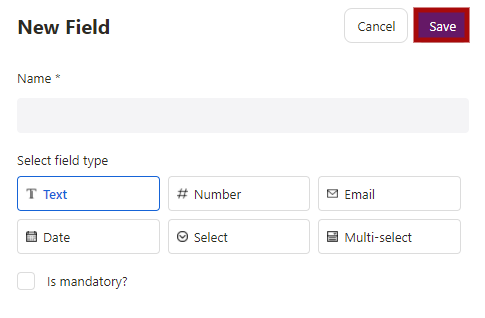
- Name - Add the column field name
- Select Field type - From the given field types, select the appropriate field type for the added field
- Is Mandatory - Tick/untick on the checkbox if the added new field is mandatory or not.
You can also add a new field from the main contact list screen by clicking on the below icon.
6. After all the information is added in the contact information form, click on the Save button.
7. Finally, you should be able to view the added contacts on the main contact list screen.
How does contact data grid/table works?
From the above mentioned details, now you are familiar with how to add contacts in Deskera CRM+. Now let us see different functionalities of the contact grid/table.
Inline editing of contact column header
If you want to edit the contact table header column names, simply click on the header of the columns.

You can also sort your contacts in Ascending or Descending order.
Inline Editing of Contact details
If you want to edit the contact details, simply click on the contact details you want to edit.

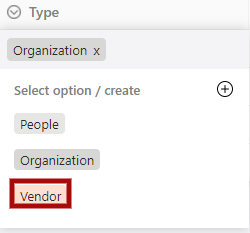
- For Type column, if you need to edit the details, you also have an option to add a new Type to the drop down list.
- After you click on the contact type detail box, a pop-up will appear. Click on the + button to add a new type in the drop-down list.
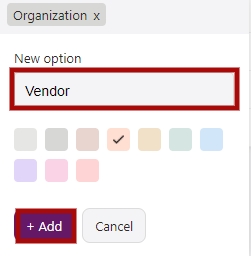
Add the new Type name, select the color you want to assign to the type and lastly click on the +Add button. This added new type will be shown in the drop down list of the contact type detail box.
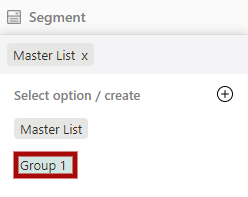
- For Segment Column, if you need to edit the details, you also have an option to add a new Segment to the drop down list. After you click on the contact Segment detail box, a pop-up will appear. Click on the + button to add a new Segment in the drop-down list.
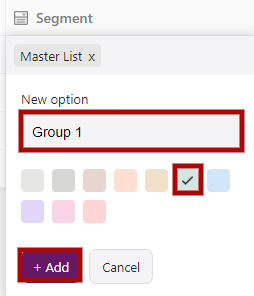
Add the new segment name, select the color you want to assign to the segment and lastly click on the +Add button. This added new segment will be shown in the drop down list of the contact Segment detail box.
Multi-selection of contacts from the contact list
Now let us see what happens when you multi-select the contacts from the contact list.

- Type - Under the Type button, you can view all added contact types and select any, which will be assigned to the selected contacts in one go.
- Segments - Under the Segment button, you can view all added segments and you have an option to multi-select the segment, which will be assigned to the selected contacts in one go.
- Status - Under the Status button, you can choose the status of the selected contacts if Active/Inactive.
- Label - Under the Label button, you can view all the added label and select any, which will be assigned to the selected contacts in one go.
Once the above required details are edited, click on the Apply button and you can view the changes made for the Selected Contacts on the contact grid/table.

- Delete - If you wish to remove the selected contacts from the contact list, click on the Delete button.
Drag and drop Contact Columns
Incase you need to re-arrange the contact column sequence you can use the drag and drop function.

Also, if you need to change the column width, you can do so by clicking on the header column line.
How to edit and delete and copy contact?
After you have created a contact successfully, next you will need to learn on how to edit and delete the contact in the system,
Edit Contact
- Firstly, select the contacts from the contact list.
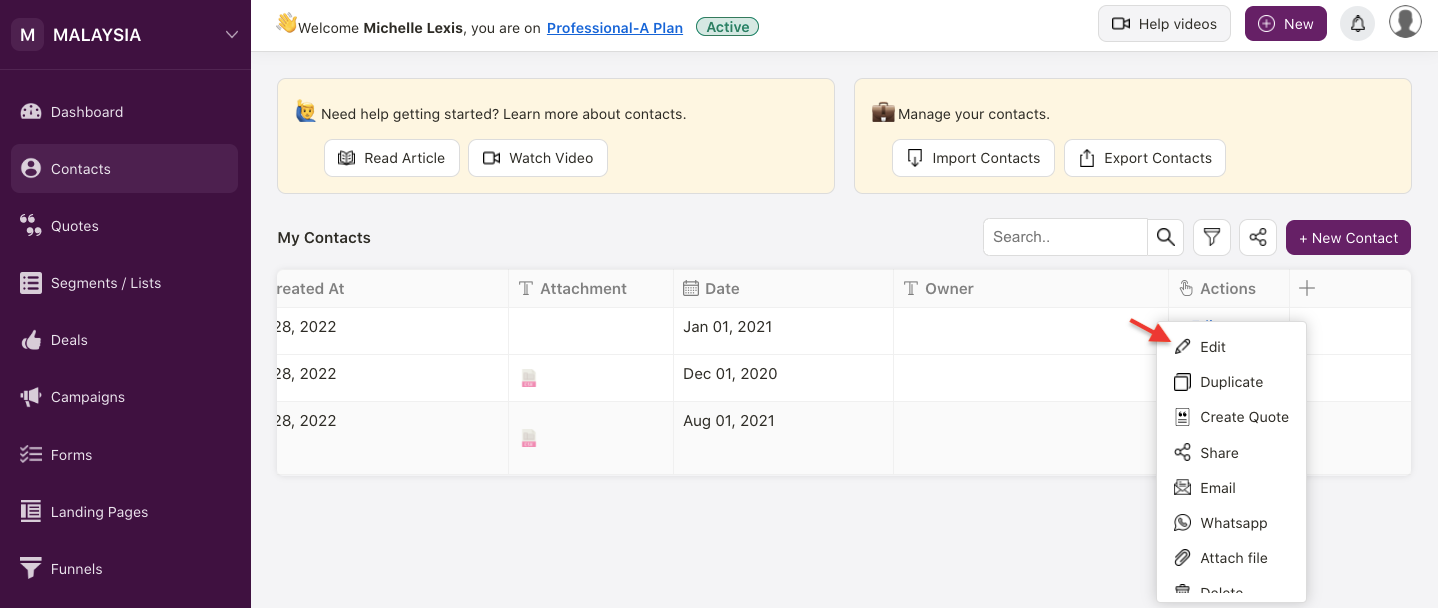
2. To change the contact information, click on the Edit icon. An editable contact information window will appear.
3. Edit the contacts details in the respective fields as shown.
4. Click on the Save button and the respective changes will be reflected on the main contact list screen.
Delete Contact
To remove the contact from the contact list, click on the Bin icon. A below message will pop-up to confirm if you are sure to delete this respective contact permanently.
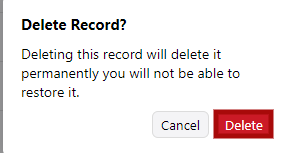
If you click on Delete, the contact will get deleted permanently and wont be visible on the contact list screen.
Copy Contact
To make a duplicate contact, simply click on the Copy icon. A screen will appear with the contact details , make the changes if required and save. This will copy the contact and you will be able to view it under the contact list.
Whatsapp Contact
You can directly send a message to your contact using Whatsapp with Deskera CRM Plus. Connect to your Whatsapp account and start chatting with your contact on Whatsapp.
How to search and filter contacts?
- You can search the contact from the contact list by, entering the specific text under the search field.

2. You, also have an option to filter the contact list by clicking on the filter icon. A pop-up window will appear, where you need to click on +Add New Filter.
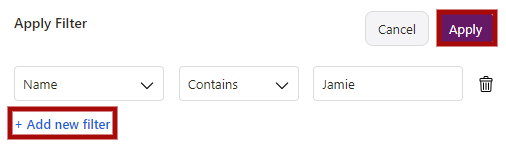
- For example, if you select to filter by name, next you need to select the applicable parameter, enter the contact name in the field and click on the Apply button.
- Then, the respective contact name will appear as per the values entered under the filter window. Likewise, you can also add multiple filters for the contact list.

- By clicking on the Bin icon you can remove the added filter.
How to bulk import contacts?
You can bulk import your contacts in Deskera CRM+ with the following simple steps,
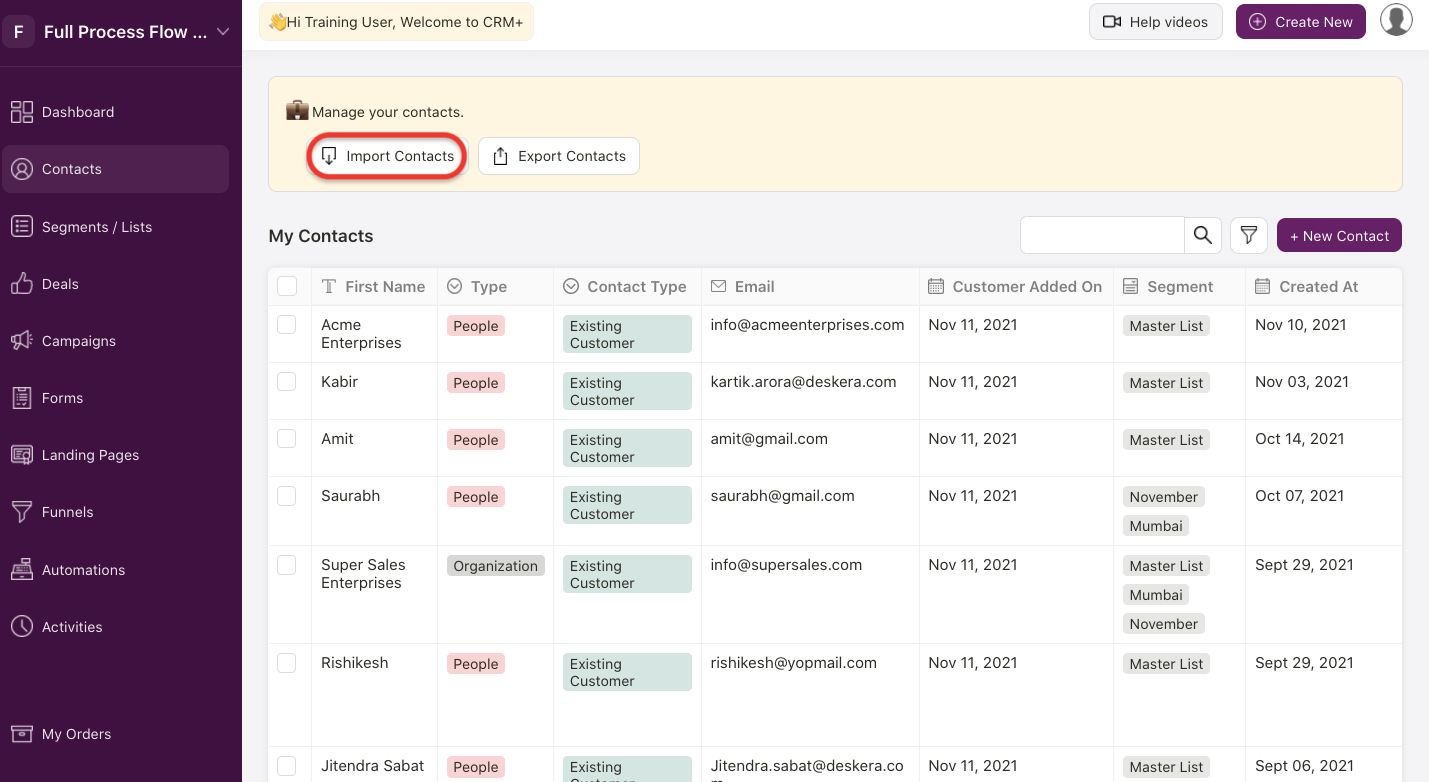
- On the contact list scree, click on the Import Contact button.
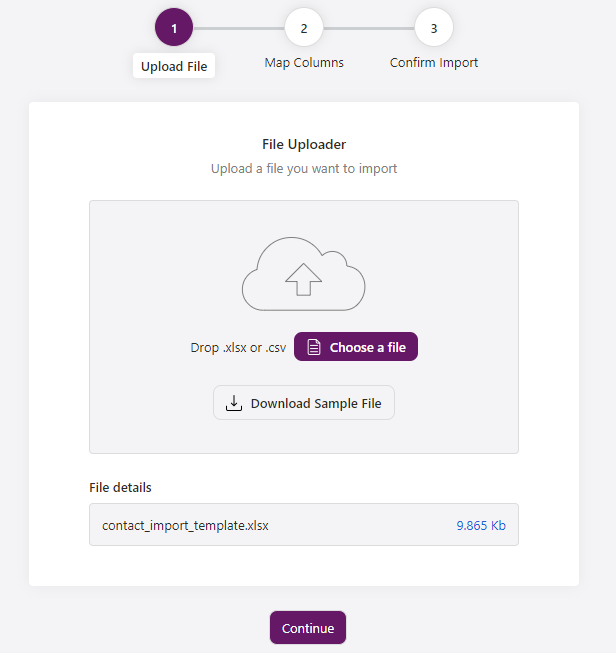
2. Next, choose the file from computer, file is uploaded. Then click on Continue button.
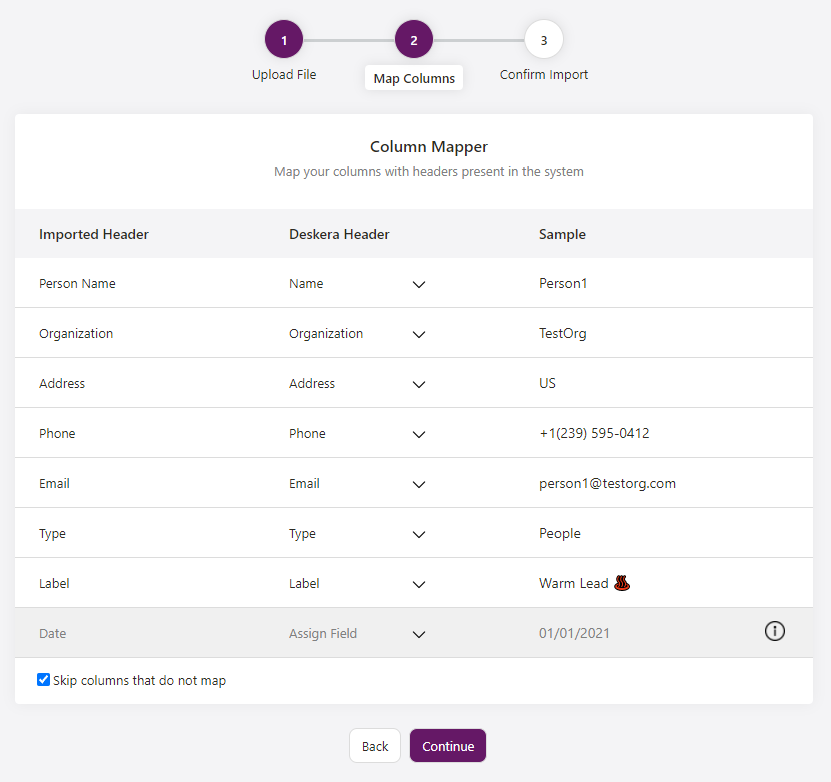
3. Once you have successfully uploaded the file, verify the column header mapped information and click on the Continue button.
4. In the last stage, ensure that all the details are mapped accordingly.
5. Under the Segment section, from the drop down list, select multiple segments for the contacts.
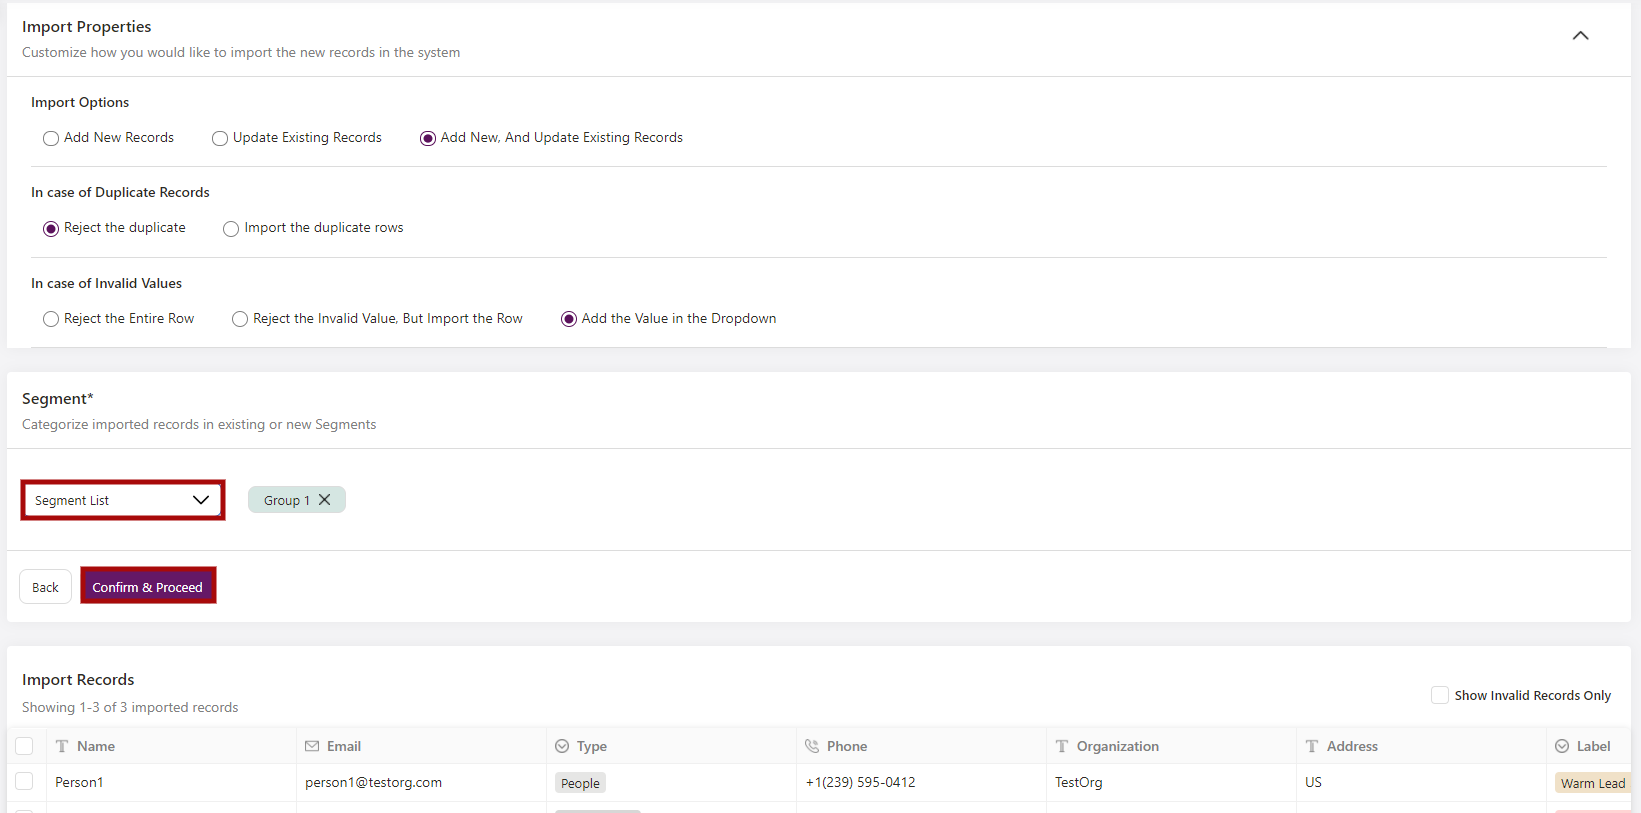
6. You can also amend and add the values for the respective field here.
7. After verifying all the information and ensure all fields are accepted by the system, click on the Confirm & Proceed button.
8. Go to the Contact list screen and you should be able to view all the contacts imported to the system.

9. Click on the export button to download the contacts' data in xlsx and csv format. You should be able to view all your custom fields data as well.

Note: The system does not allow you to save duplicated contact name. Each contact name should be unique and different. Else, the system will reject the duplicated records.