

Running an email campaign is one of the best ways to reach out to your prospects, leads, or even existing customers.
In this data-driven age, businesses can make full use of customers' data to advertise, sell, promote, or even convert an interested prospect to a customer using email marketing.
That's how valuable and powerful email marketing can help in generating revenue for your business.
With Deskera CRM+, you can choose from various email templates in the software without designing a new one from scratch. You can start blasting your email campaign with a few simple steps.
Want to find out more? Read more below.
How to create a new campaign using Deskera CRM+?
- Login to your Deskera CRM+ account.

2. In the Deskera CRM+ Dashboard, click on Campaign via the sidebar menu. The system will direct you to the Campaign page.
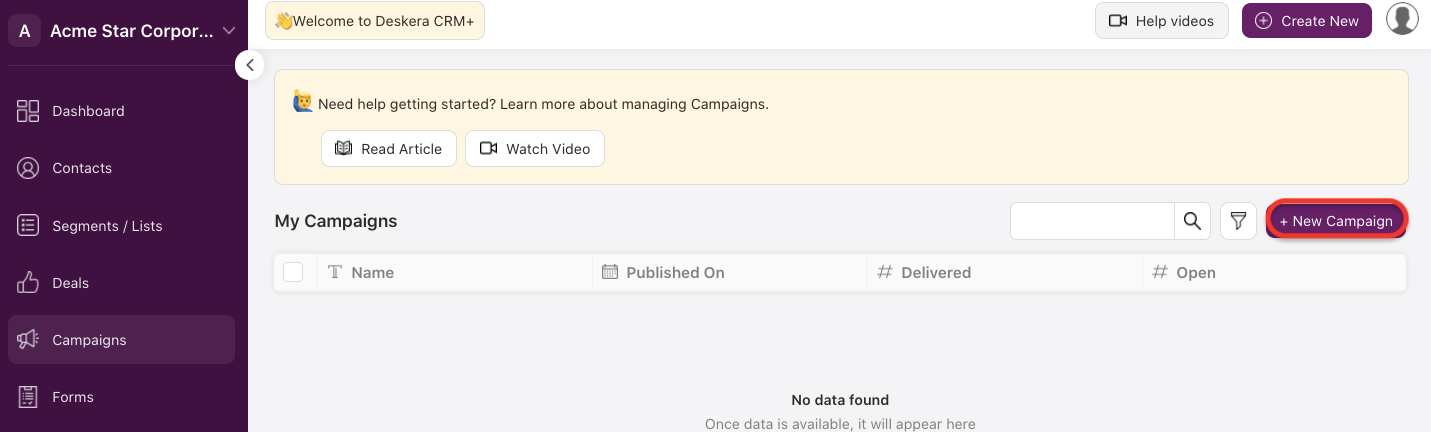
3. Click on the +Add Campaign button.
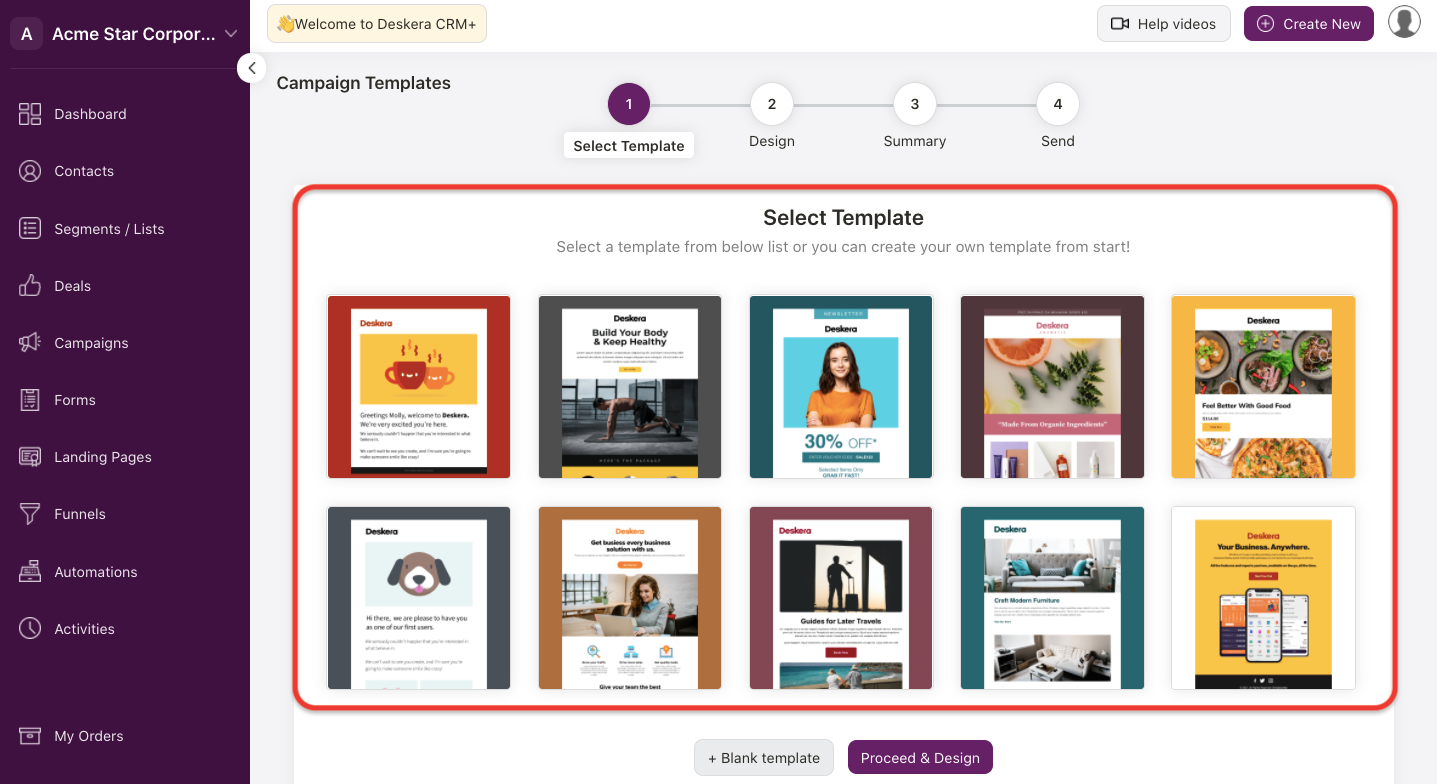
4. In the following screen, you are required to select the respective template for your email marketing. You can choose from the default templates available, or, click on the +Blank Template to design a brand new template.
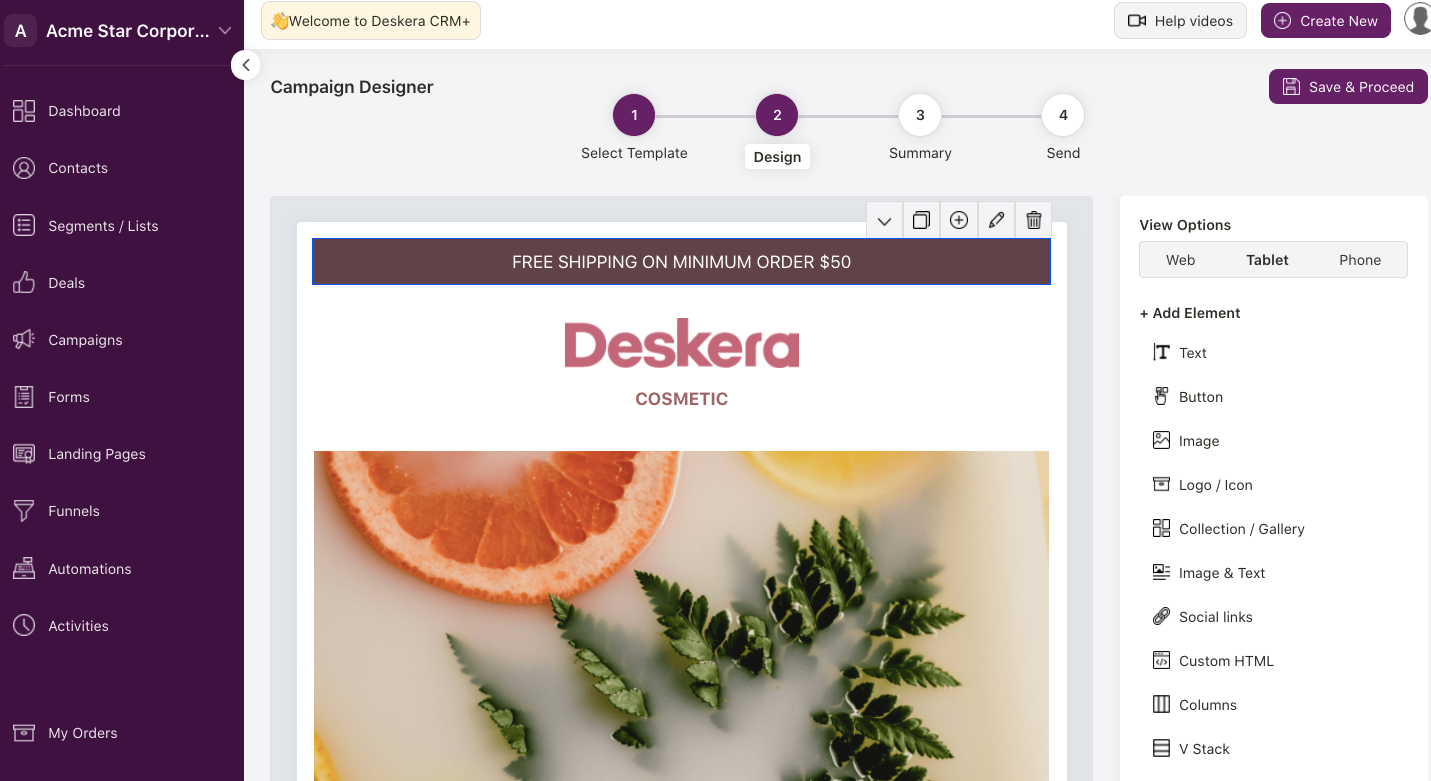
5. If you have chosen the respective template, in the following step, you can edit or change the text, images, or, the company logo in this template.
Note: You can add more elements to your email such as text, button, image, video, logo, gallery, image & text, and social links using the options on the right-hand side panel.
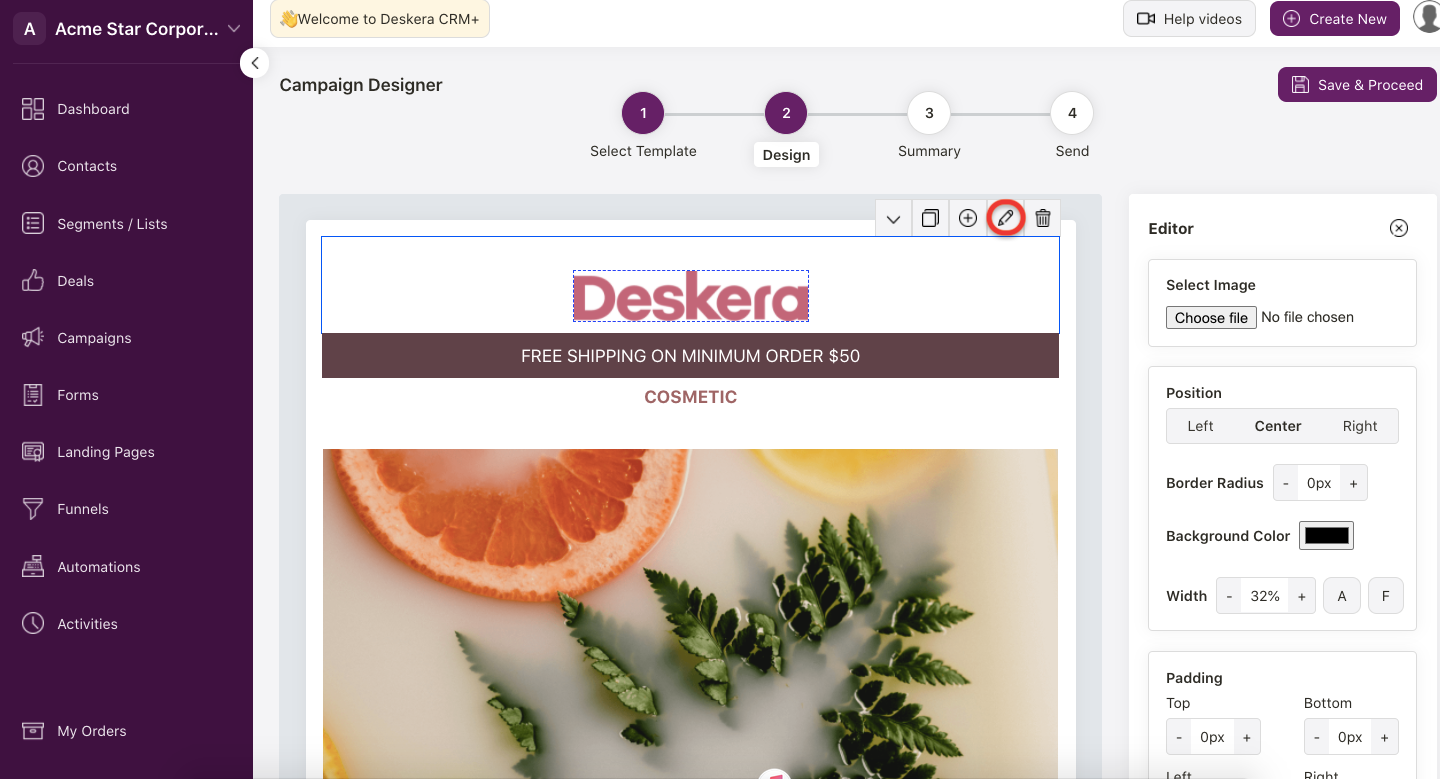
6. Click on the box for respective field here and choose the edit button. In the editor panel on the right-hand side screen, you can edit the title, change the font color, background color, adjust the text alignment, the border radius, etc.
7. You can click on the delete icon to remove this element.
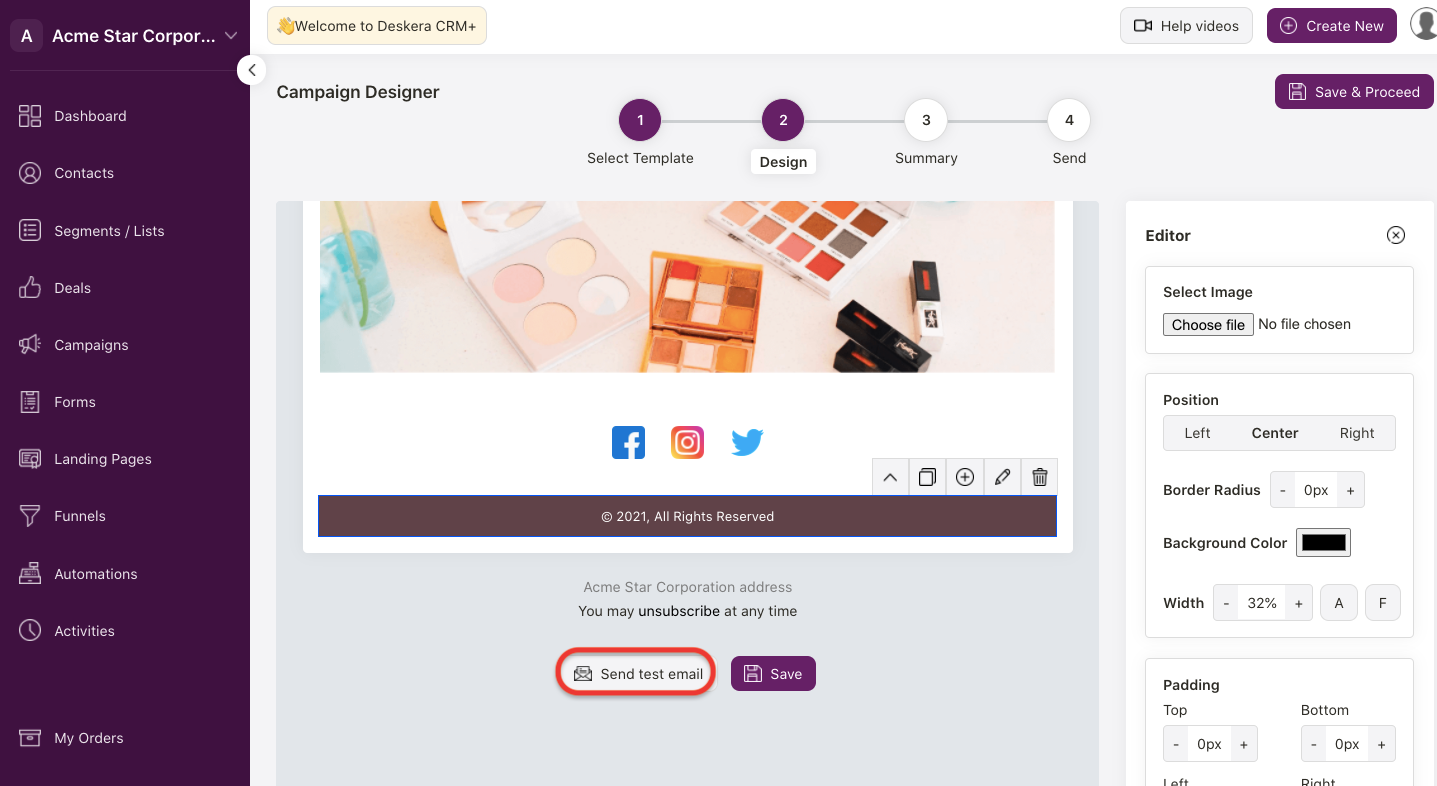
8. After you have edited the template, you can try to send a test email to yourself. Scroll until the bottom of the template.
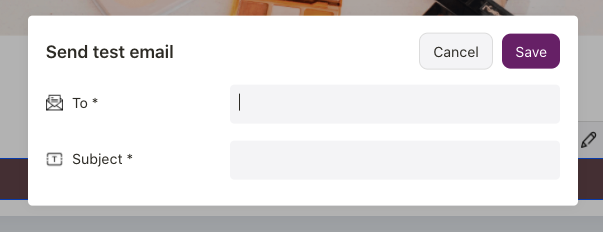
9. Enter the To and Subject field and click save. Check your inbox/spam/junk folder to check on the email.
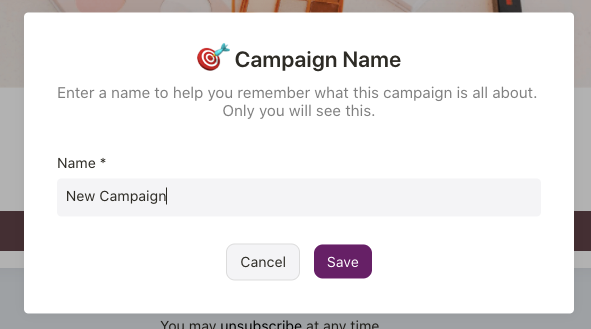
10. Next, enter the campaign name and click on the save button.
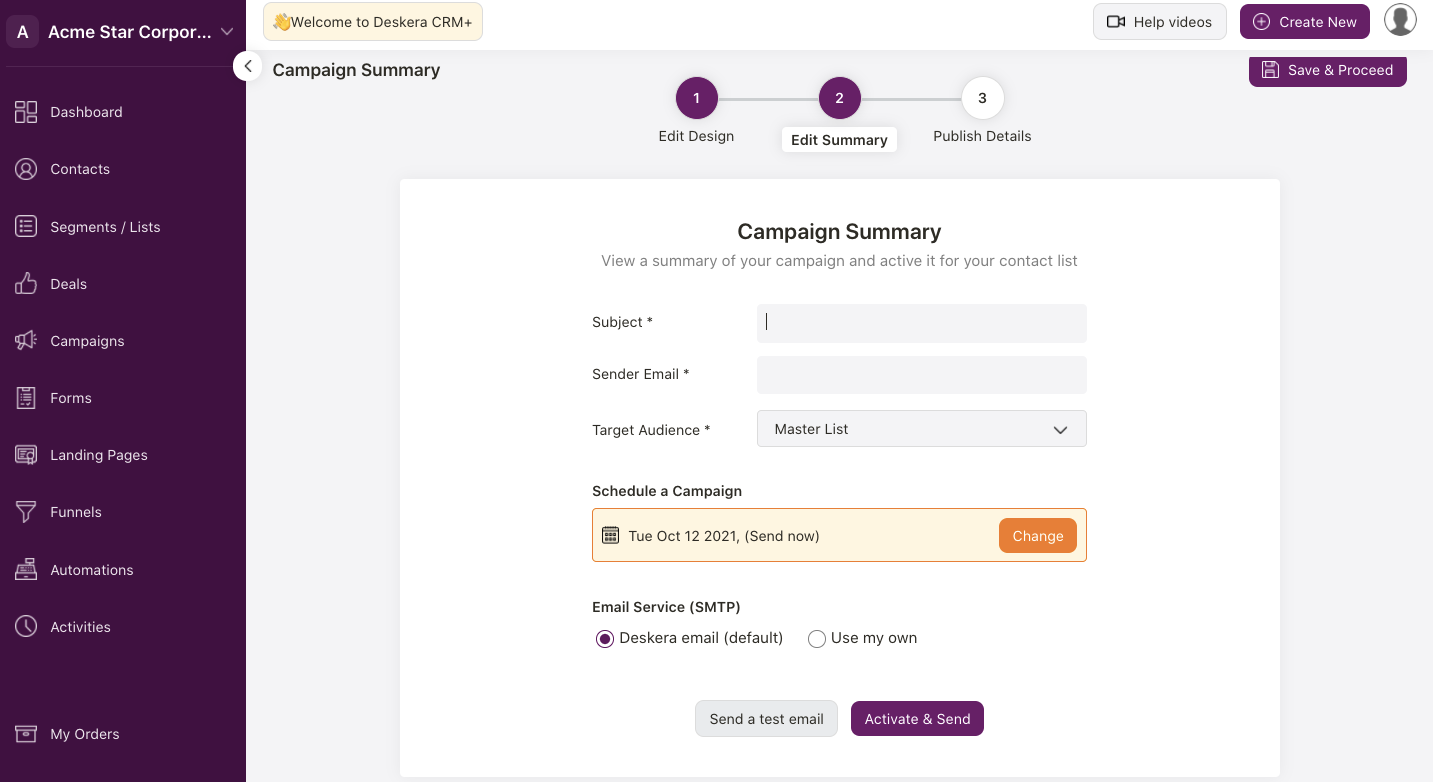
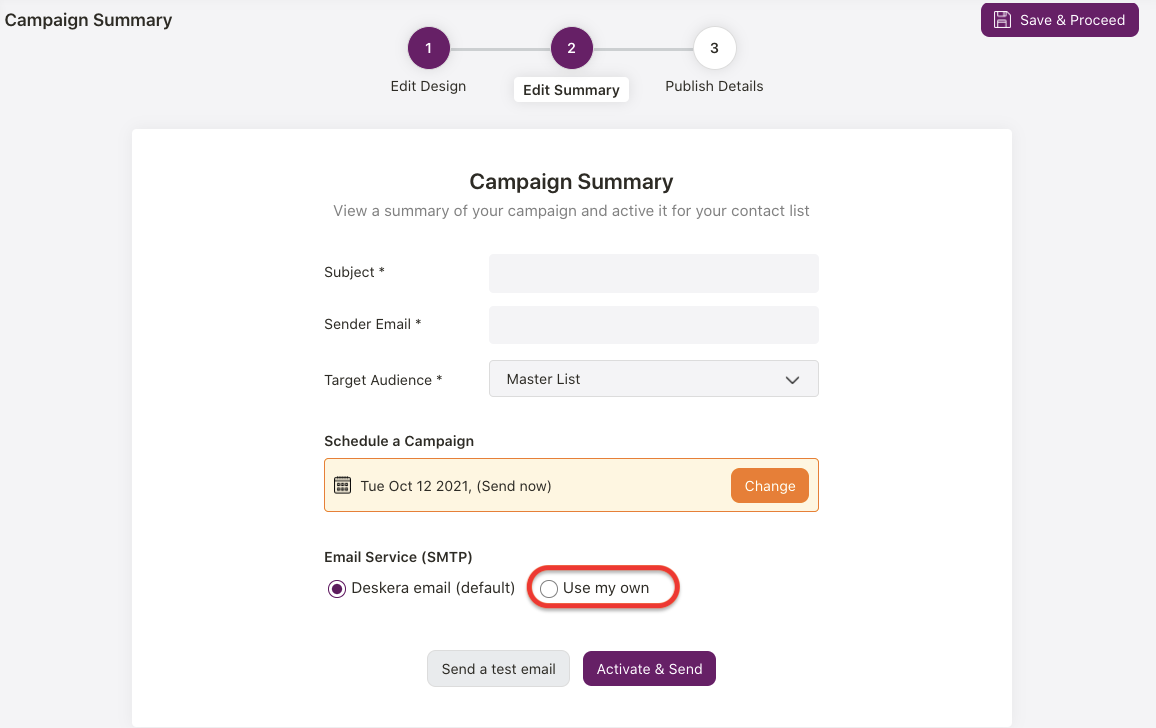
11. In the Summary tab, enter the email's subject, sender email, target audience (choose from the drop-down option from your Segment Module), schedule the date and timing of the campaign and choose the SMTP.
12. Click on the Activate and Send button.
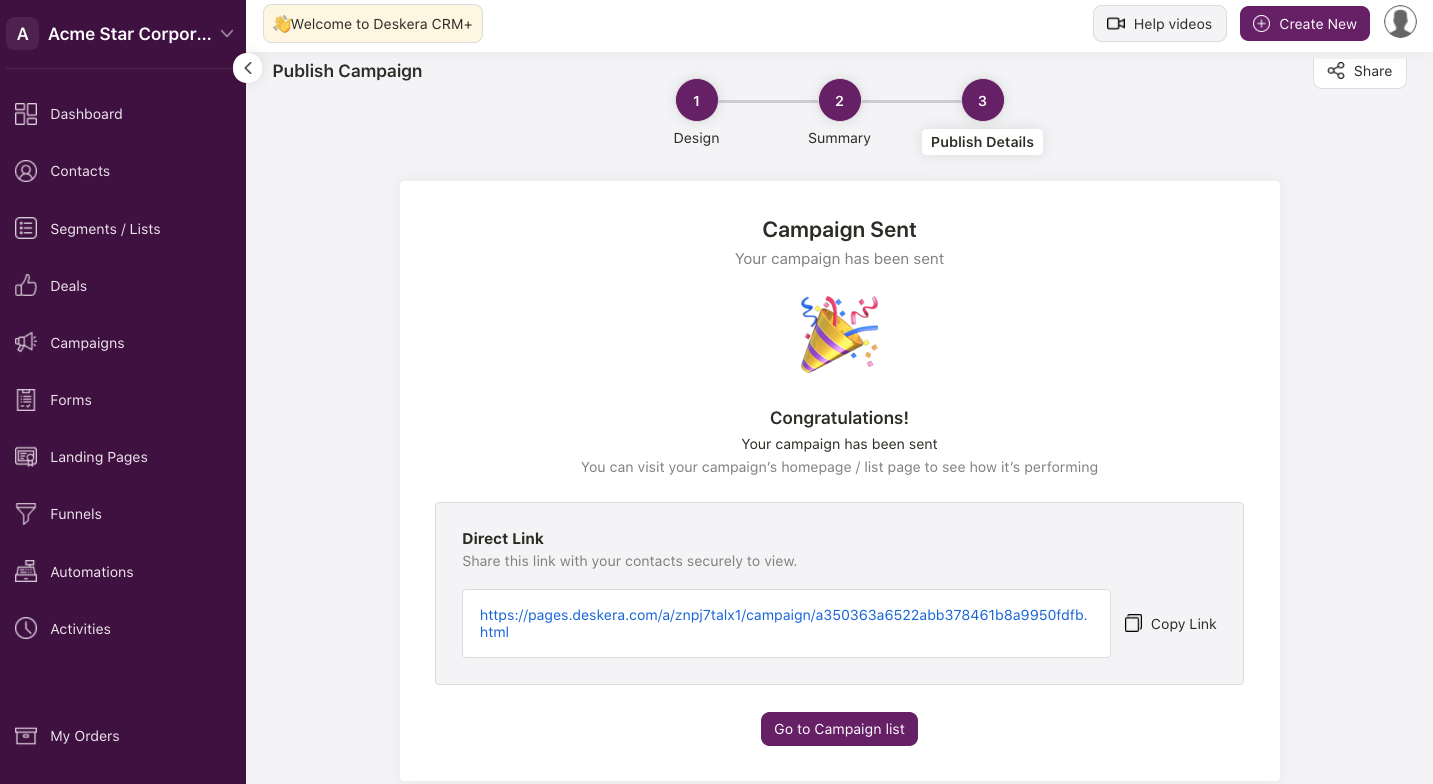
13. Finally, your email campaign is successfully launched. Click on the URL to view the email campaign on your browser.
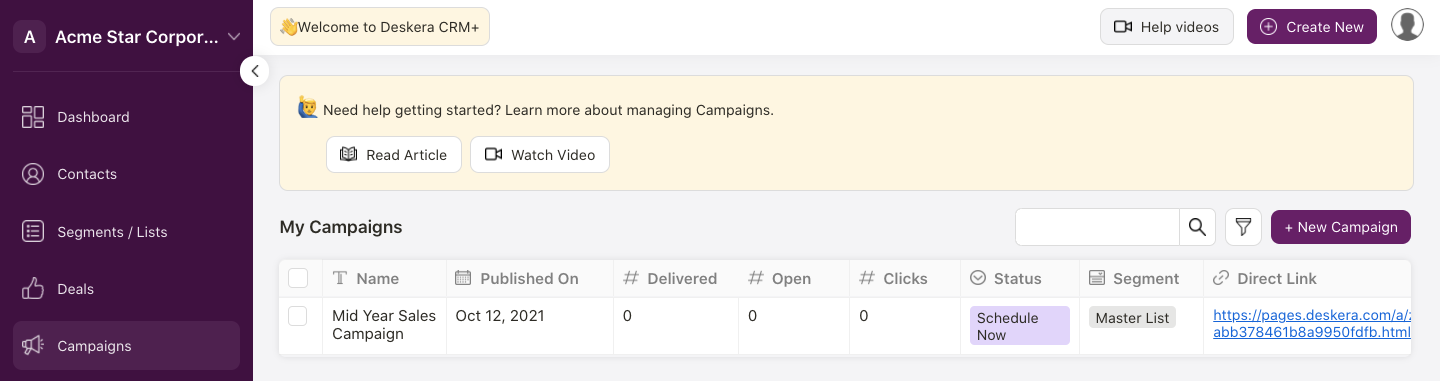
14. Once your email is successfully sent, the status column will automatically update to Sent status. Campaigns set at a later date will reflect as "scheduled".
How do I embed my social media link?
Follow the steps below to embed link to your social media account in the email marketing:
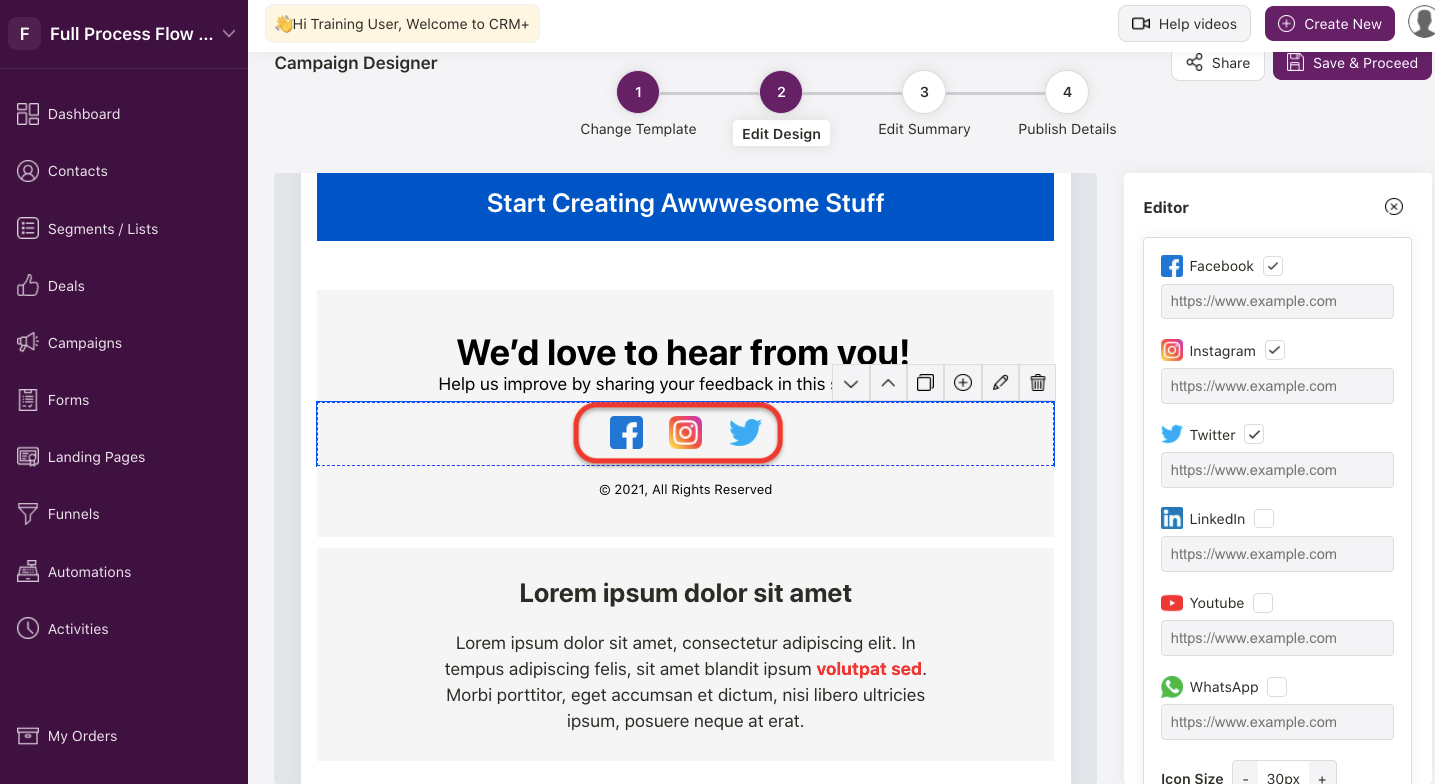
- Click on the social media block when editing the email template.
- On the right-hand side panel, enter the respective social media link accordingly. You can add your Facebook, Instagram, Twitter, LinkedIn, Youtube and WhatsApp link.
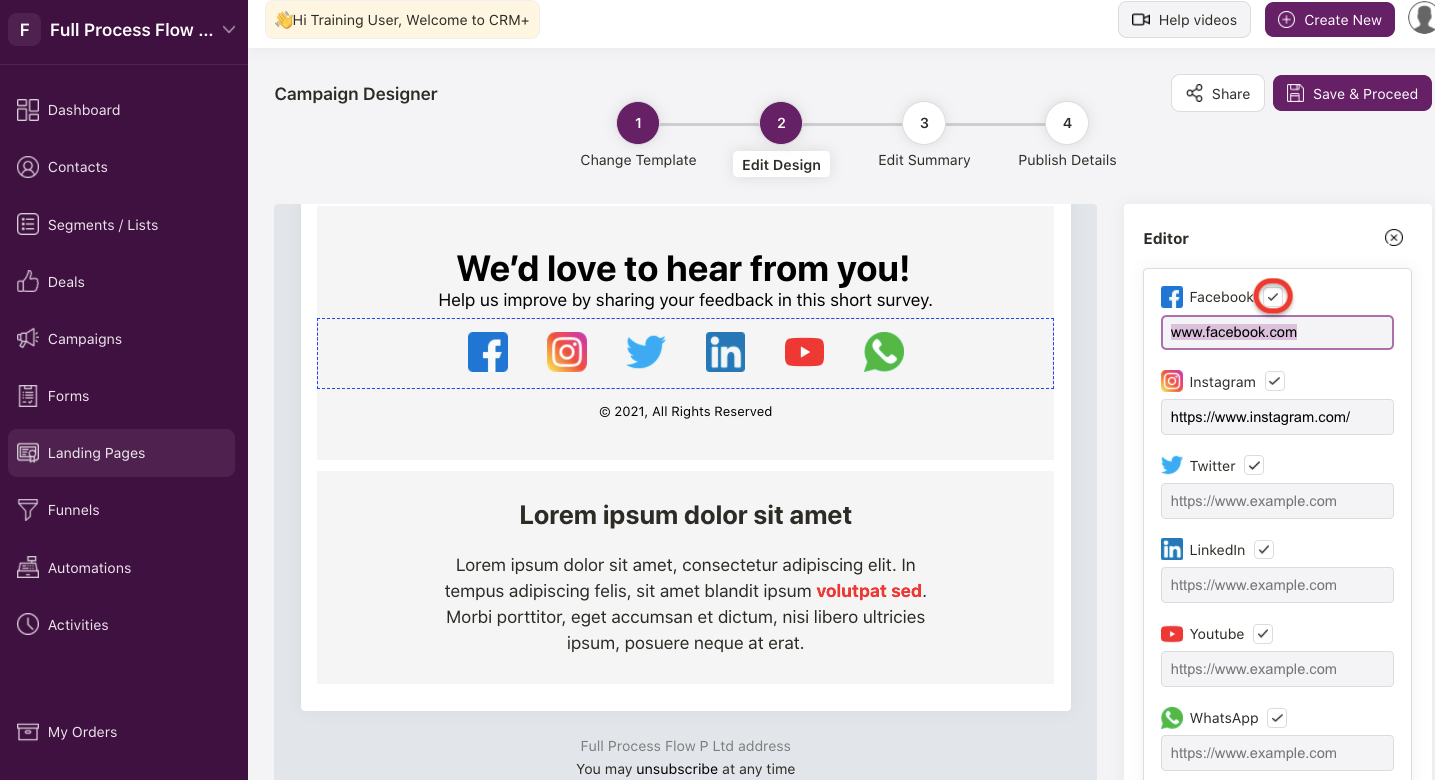
3. Enable the checkbox next to the social media icon to make it visible on the email template.
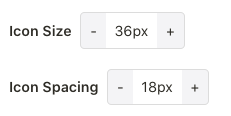
4. You can also adjust the social media icon size and spacing. You can increase the icon size and spacing by clicking on the add "+" icon, and vice versa.
How can I configure my SMTP?
- In case you want to configure your SMTP for the email campaign, you can do so.
- Choose to use your own SMTP during the Summary stage.
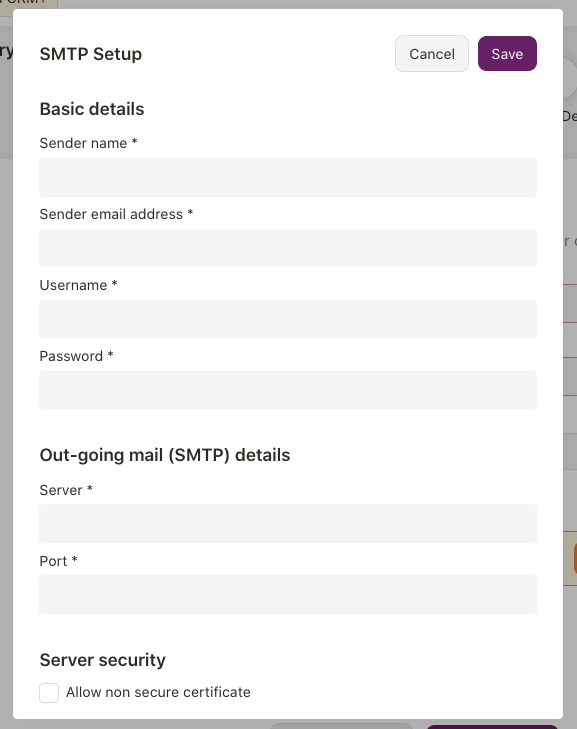
3. A pop-up will appear and you need to fill in the fields below:
- The sender name - Your Name
- Sender email address - Your email address that you'd like to configure for the SMTP
- Username - Enter your email address here
- Password - Enter your password here
- Server - Enter the server SMTP
- Port - Enter the port number
- Enable the checkbox to allow non-secure certificate, if required
4. Click on the Save button.
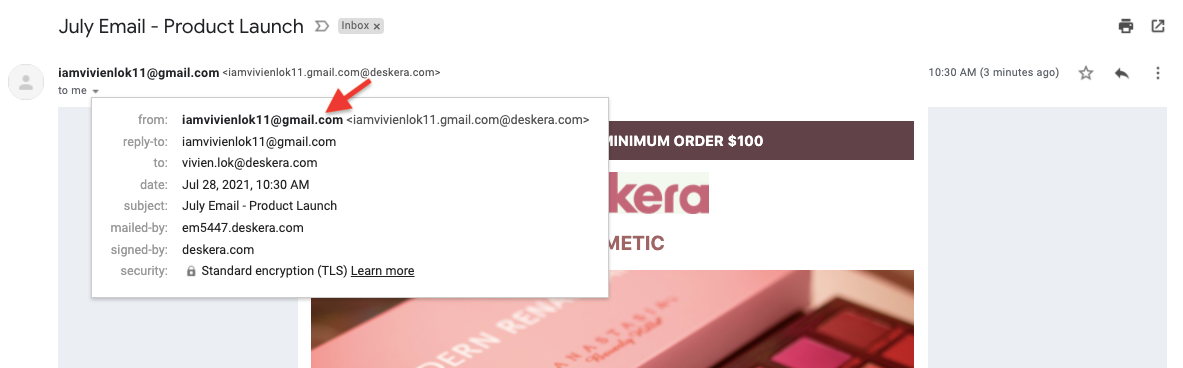
5, Once you have sent the email to your target audiences, they should be able to view the incoming email from the configured SMTP here, instead of subscription@deskera.com.
How can I edit or delete the email campaign?
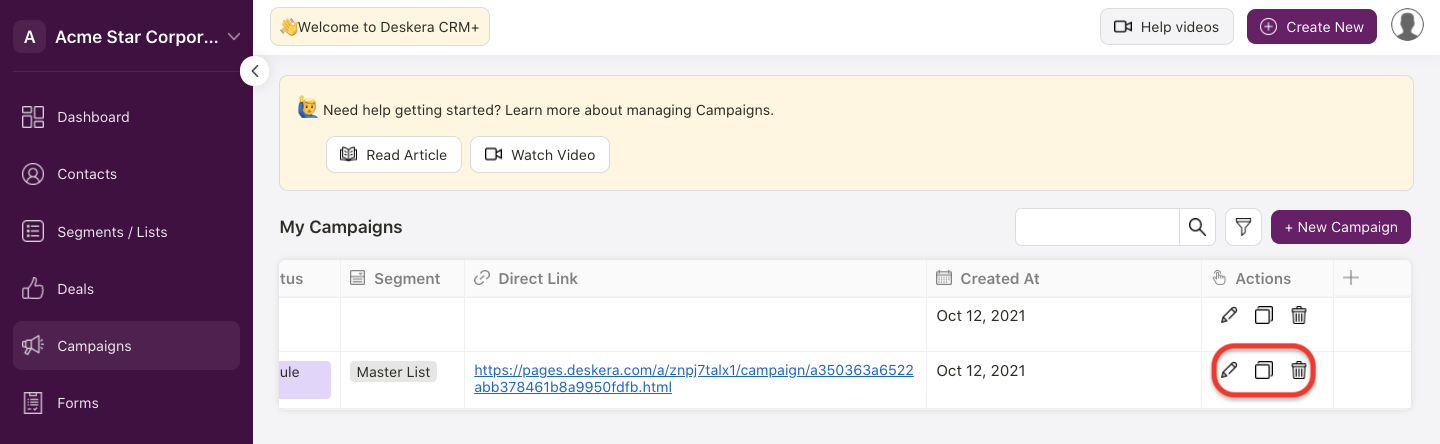
In the campaign page, click on the edit icon to update the email. You can click on the delete icon to remove the campaign.
Once you have deleted the campaign, you cannot restore the email campaign again. If the status of campaign is shown as sent, your target audiences will still receive a copy of the email marketing even though you have deleted this on your end.