

Netherlands compliance is now made available in Deskera Books for small business owners in Netherlands.
As a small business owner in Netherlands, you can join onboard if you are looking for an accounting software that fits your small businesses.
In this article, we will guide you on setting up your account and tax details in Netherlands.
Let's start.
How do I set up my company details?
Follow the steps below to set up your company details:
- Once you have created your account with Deskera, the system will direct you to Deskera Dashboard.
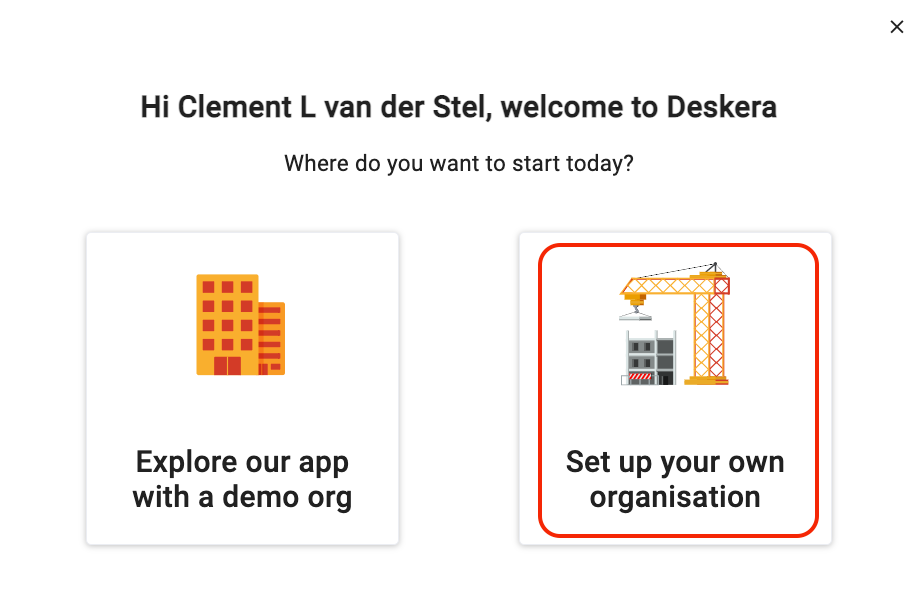
2. A pop-up message will appear >> Click on the set up your own organization icon.
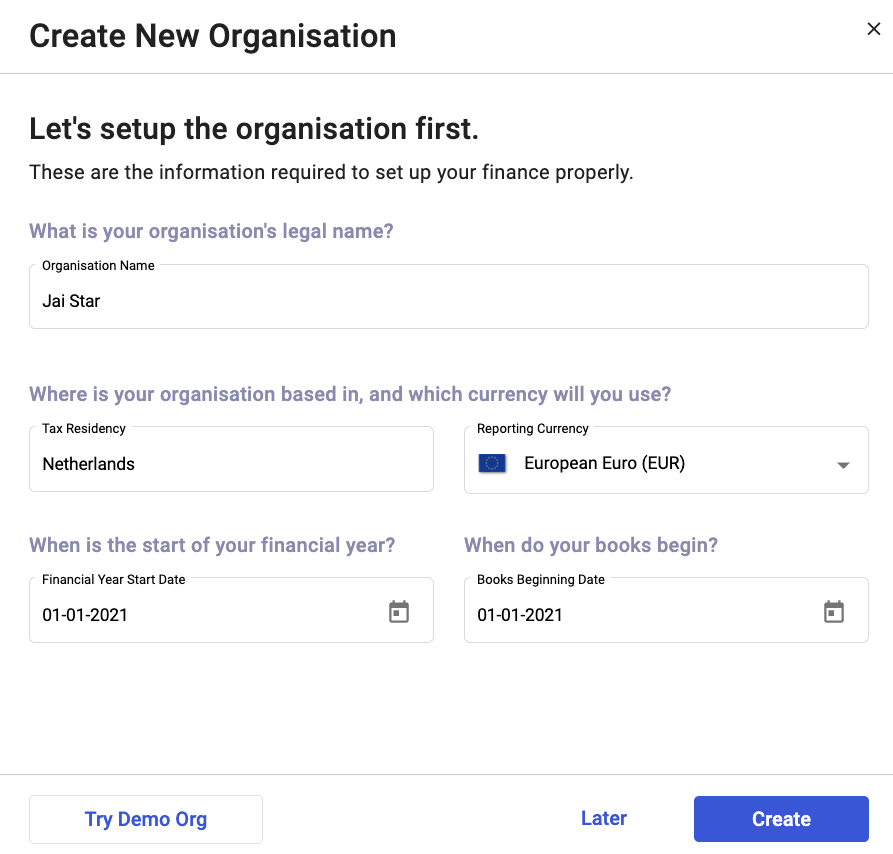
3. In the following screen, fill in the following fields:
- Your organization name - This is populated based on the organization name you have filled when signing up for your Deskera account. You can edit the company name here before saving it.
- The financial year start date
- The book beginning date - To understand more about these dates, please click here.
- Tax Residency - Select the country in which your business is registered. You can select Netherlands.
- Reporting Currency - This would be auto-populated based on the currency of the country you have selected. In this case, it will be the European dollar (EUR).
4. Click on the Create button.
Where can I save my company registration number?
You have successfully set-up your organization in Netherlands.
So, what's next?
Next, you will need to fill in your company registration number and VAT identification number.
To do that, follow the steps below:
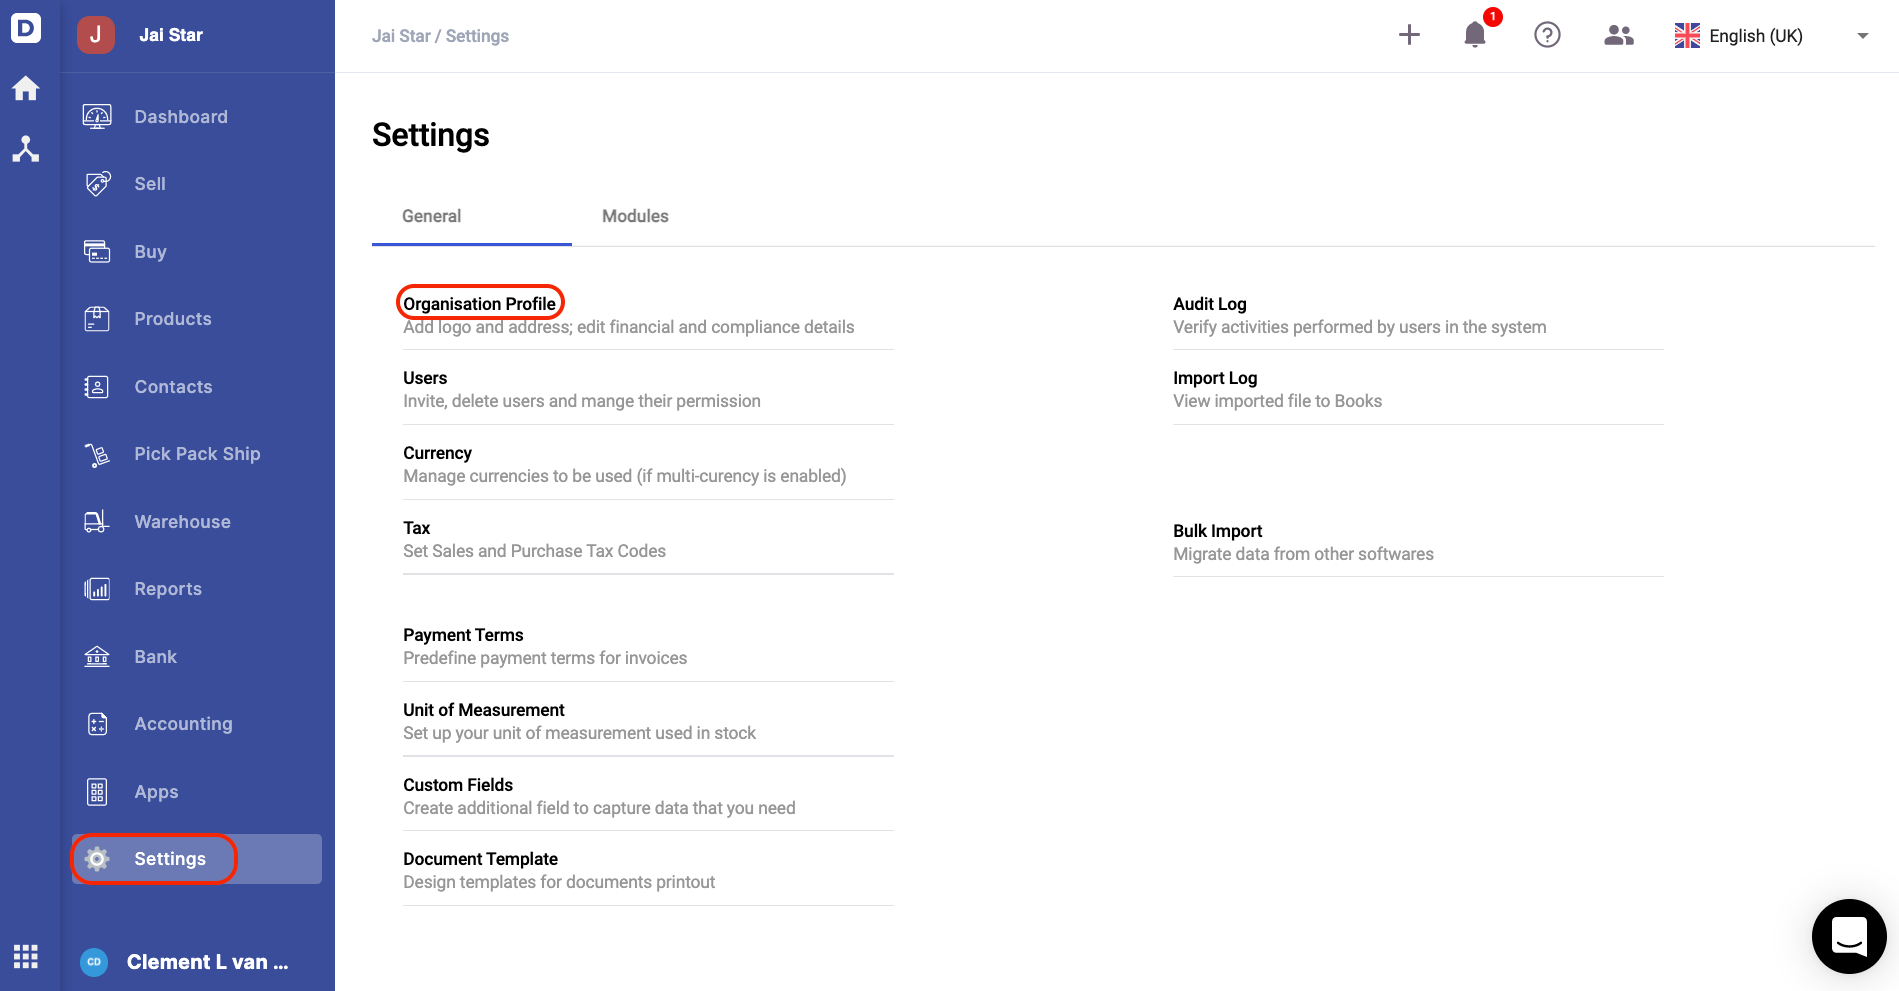
- On Deskera Books' Main Dashboard, click on the setting tab via the sidebar menu.
- Select Organization Profile.
- The system will direct you to your company details page.
- Click on the edit icon under the compliance settings section.
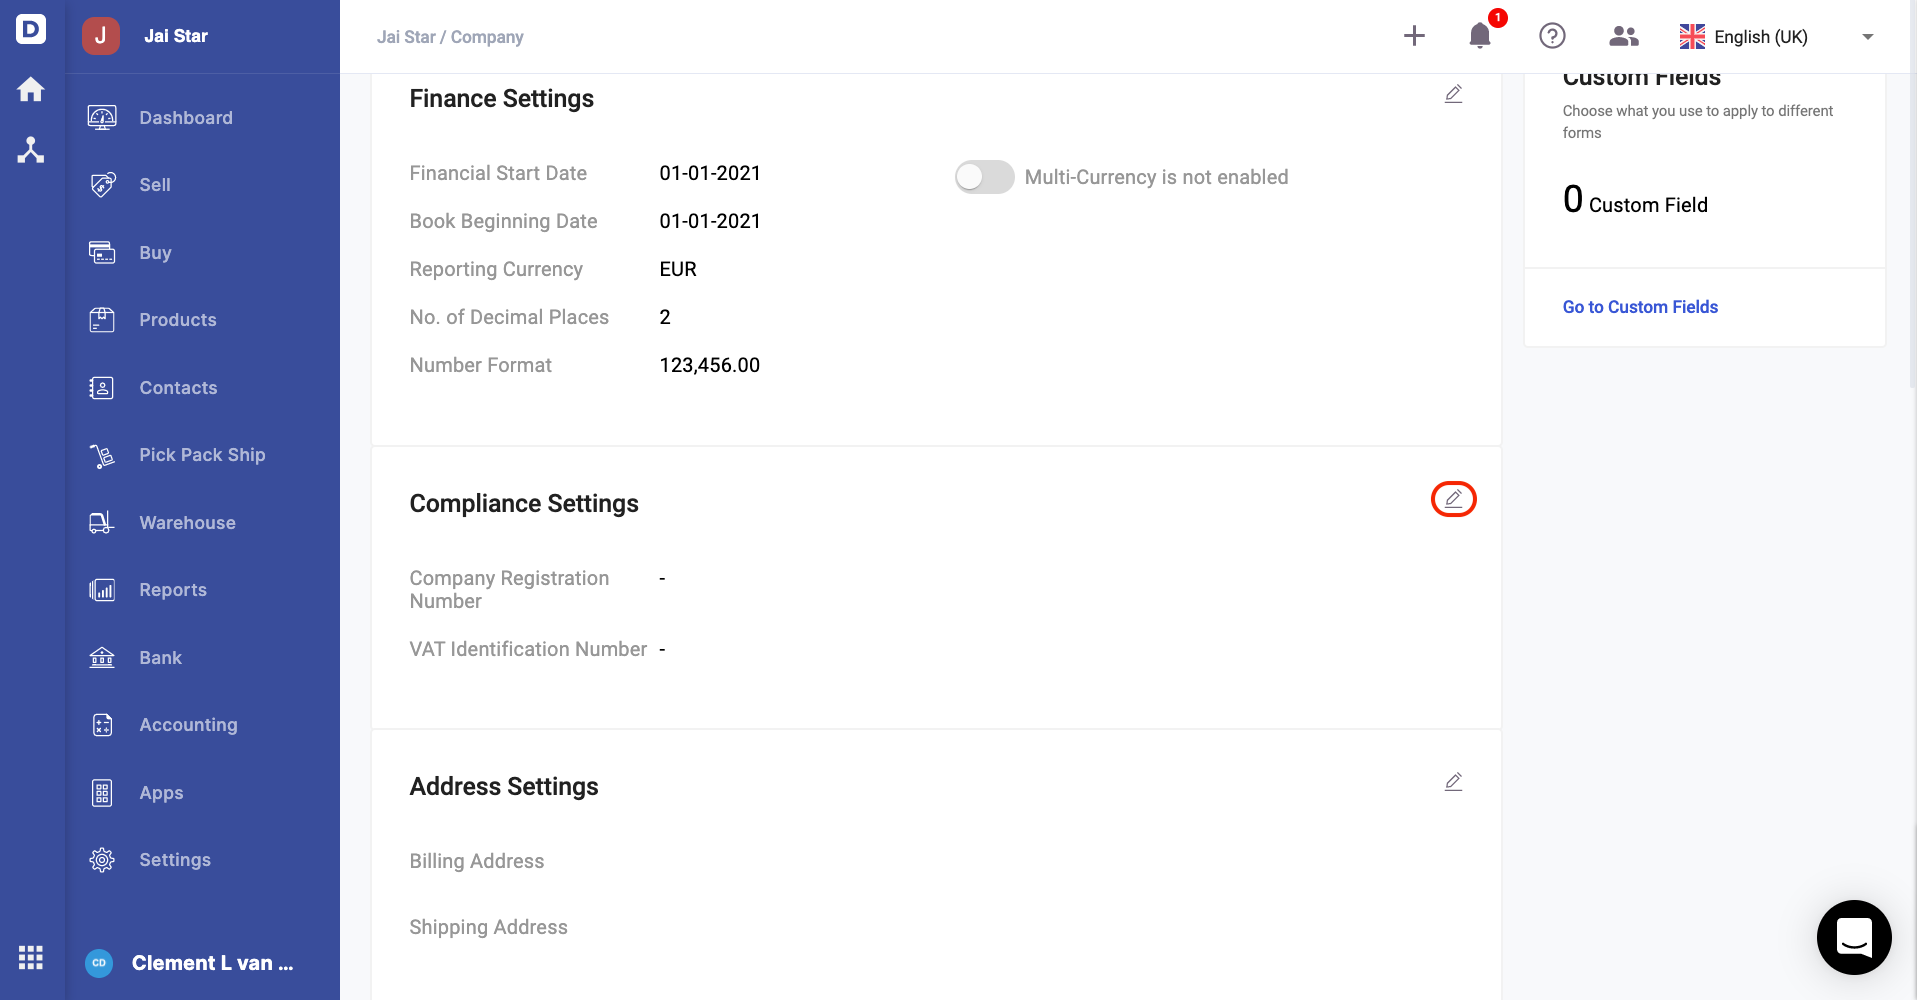
5. Next, fill in the fields as shown:
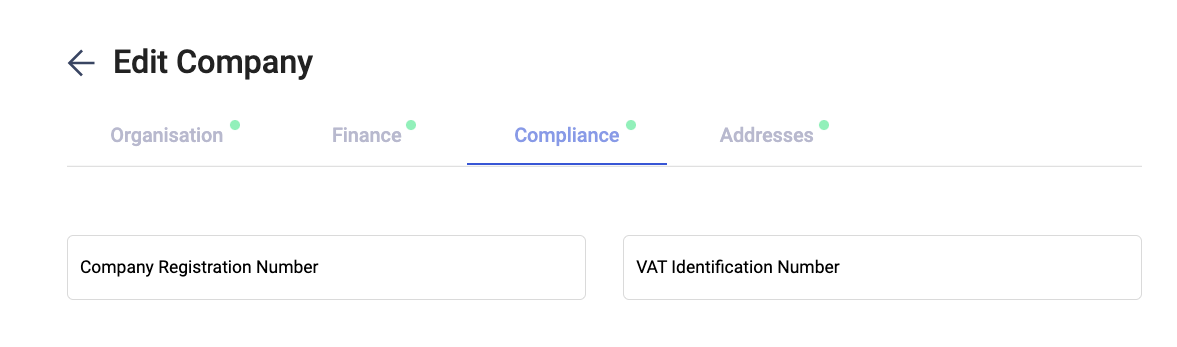
- Company Registration Number - Enter your company registration number with not more than 20 alphanumeric characters. This field is non-mandatory.
- VAT Identification Number - Enter your business VAT identification number with not more than 20 alphanumeric characters. This field is non-mandatory.
6. Click on the Update button to save.
Setting up your Chart of Accounts
To view the default Chart of Accounts, you can read more on the steps stated below:
- Go to Accounting via the sidebar menu.
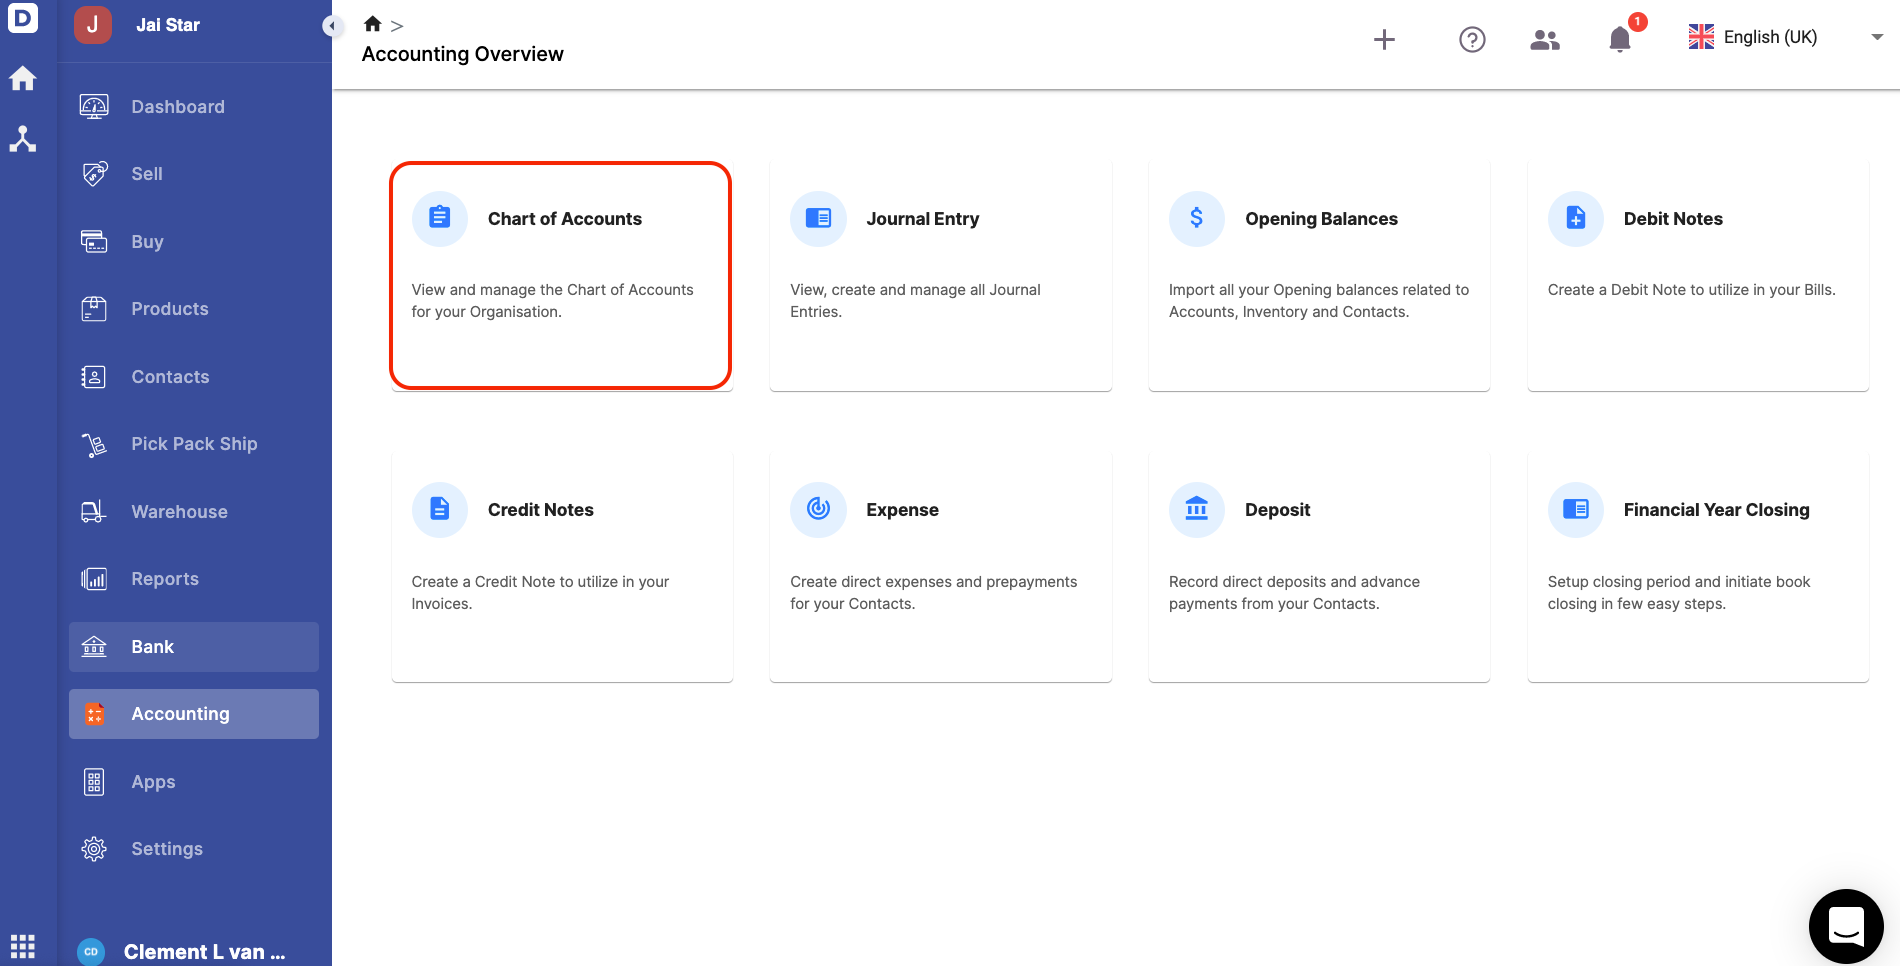
2. Click on the Chart of Accounts (COA).
3. On this page, you can view the default Chart of Accounts listed in Deskera Books.
4. If you couldn't find any COA that fits your business requirements, you can always create a new account by clicking on the "Add" button.
Please refer to this article to guide you on creating the Chart of Accounts in Deskera Books.
Create a new tax rate and tax group
Once your Chart of Accounts is up and running, next, you need to ensure that the applicable tax rates are available for your organization.
Follows the steps here to view the default tax rates in Deskera Books:
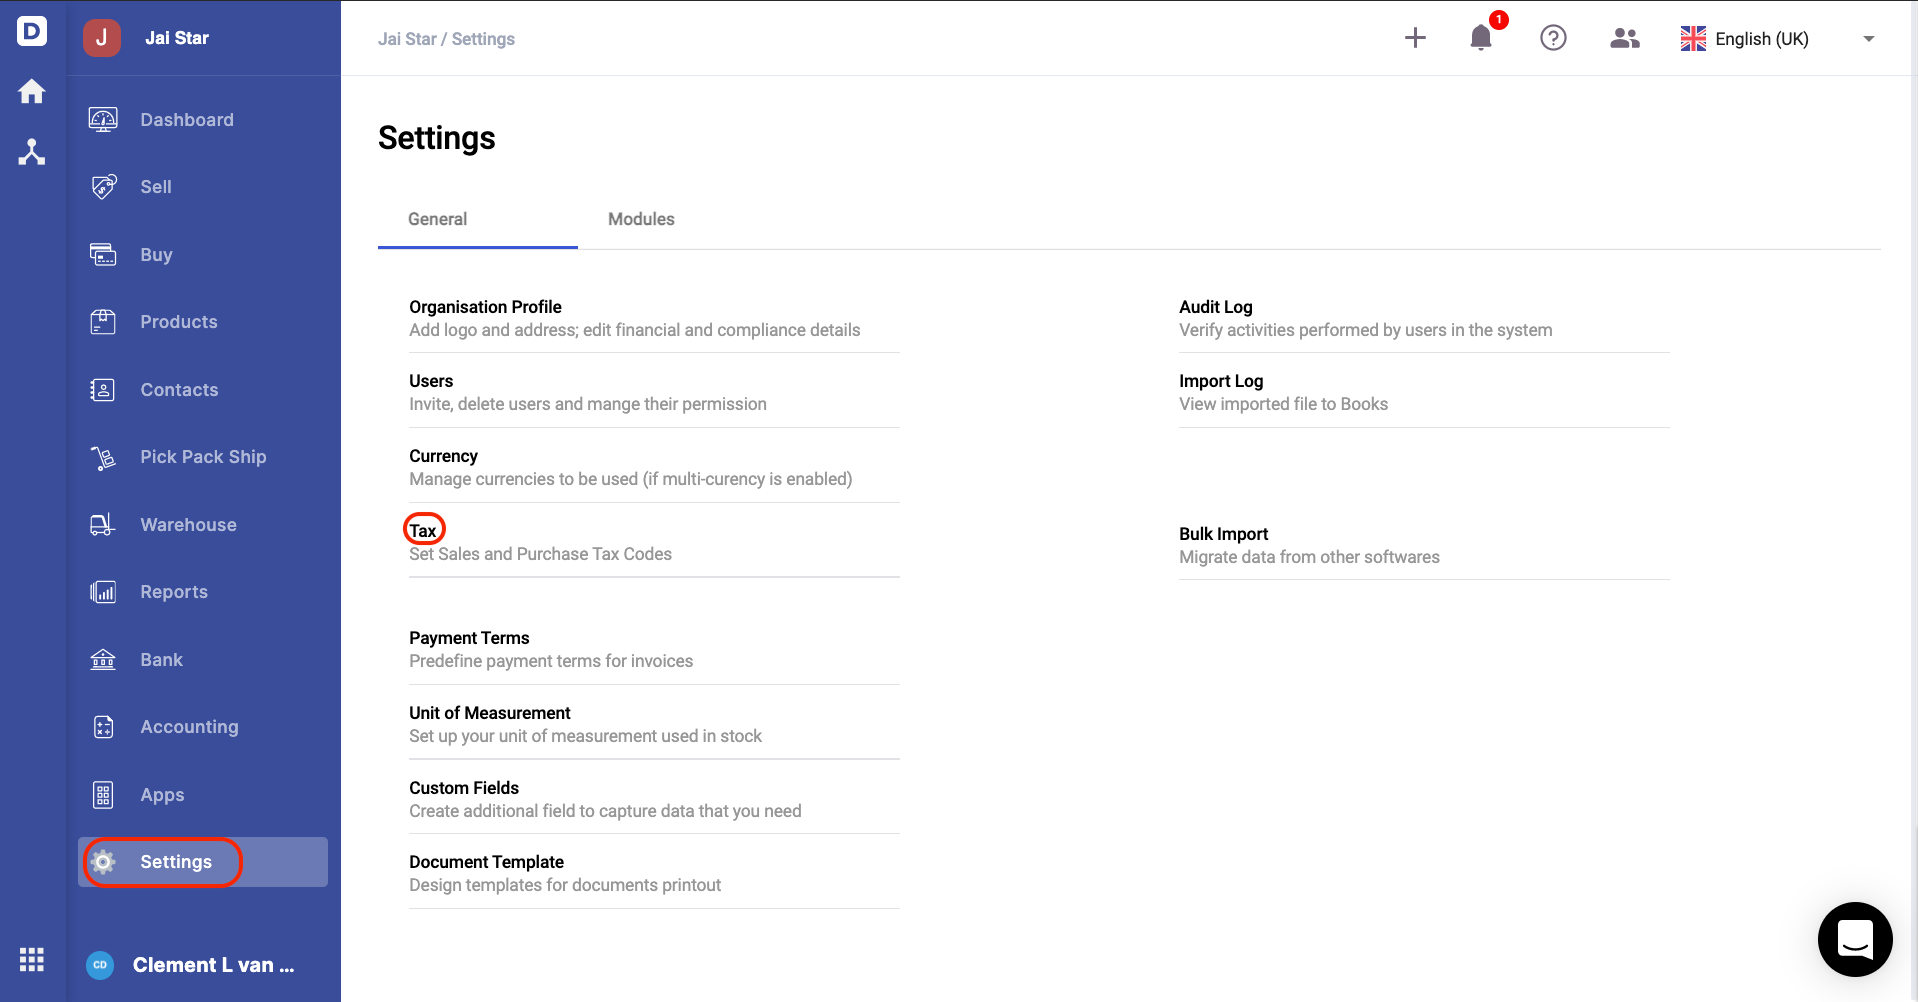
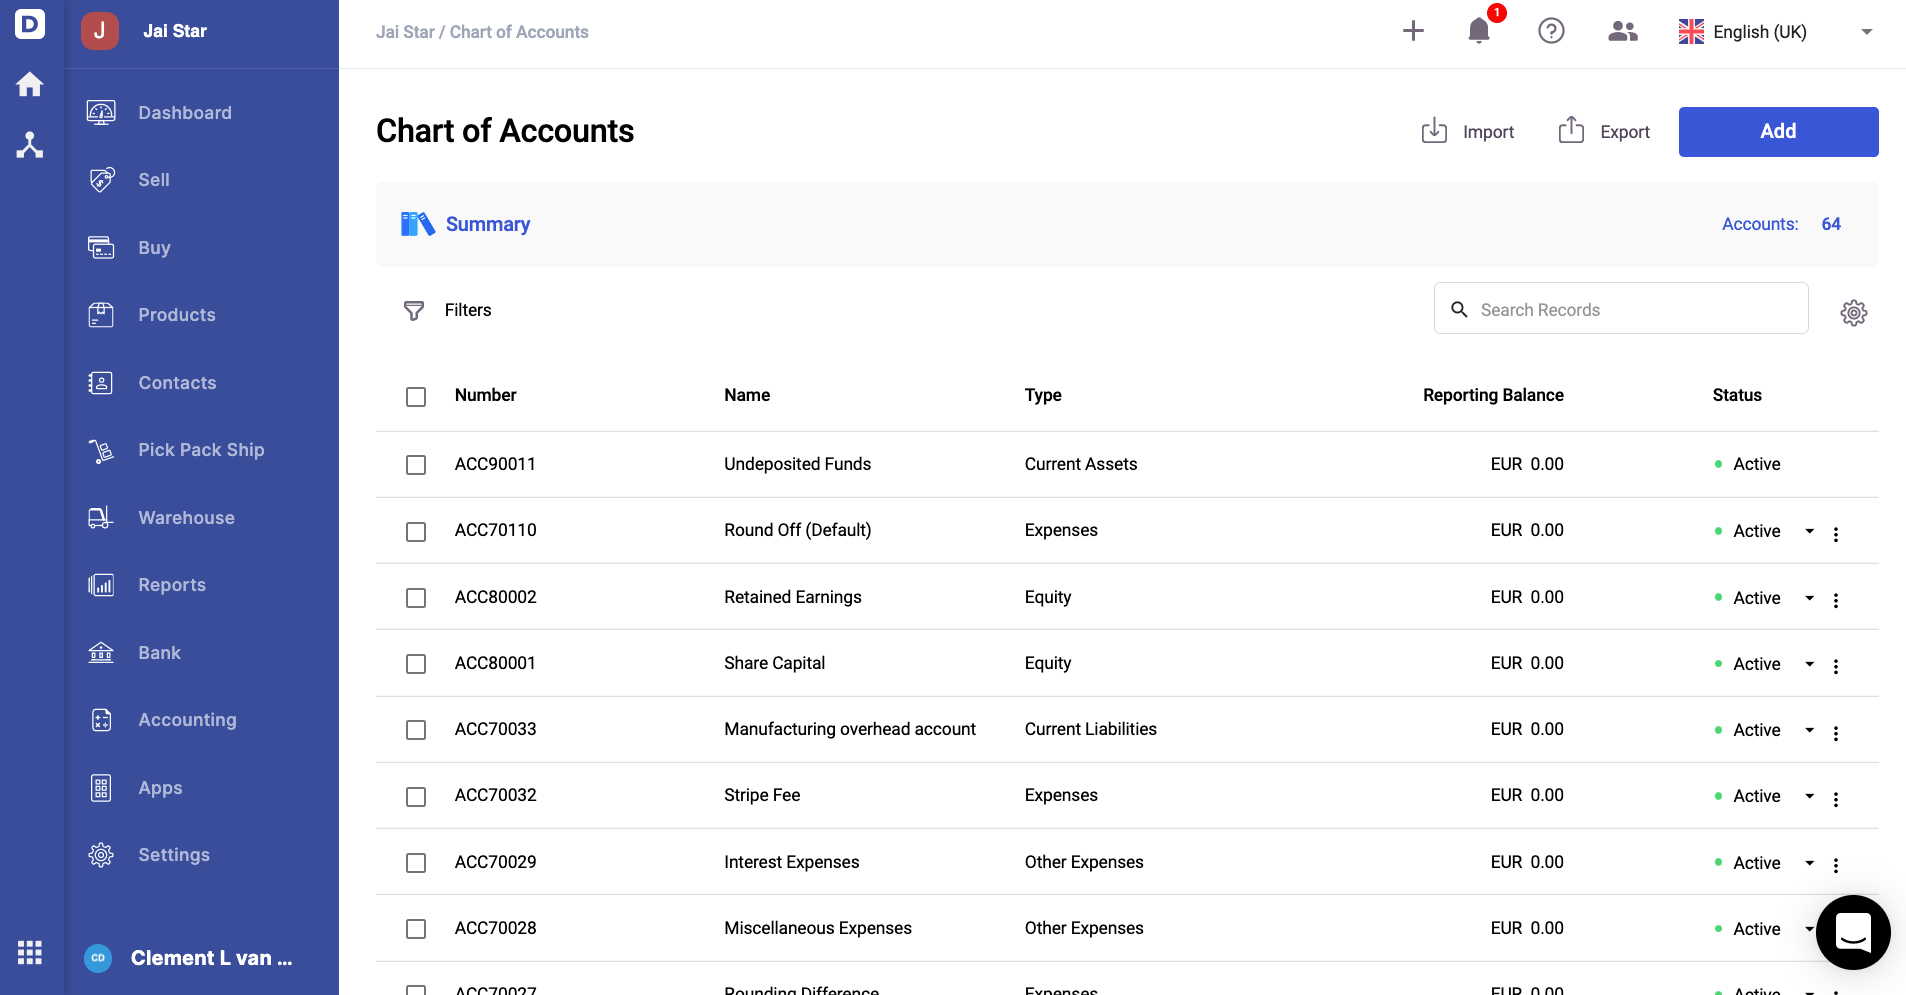
- Click on Settings via the sidebar menu >> Select Tax.
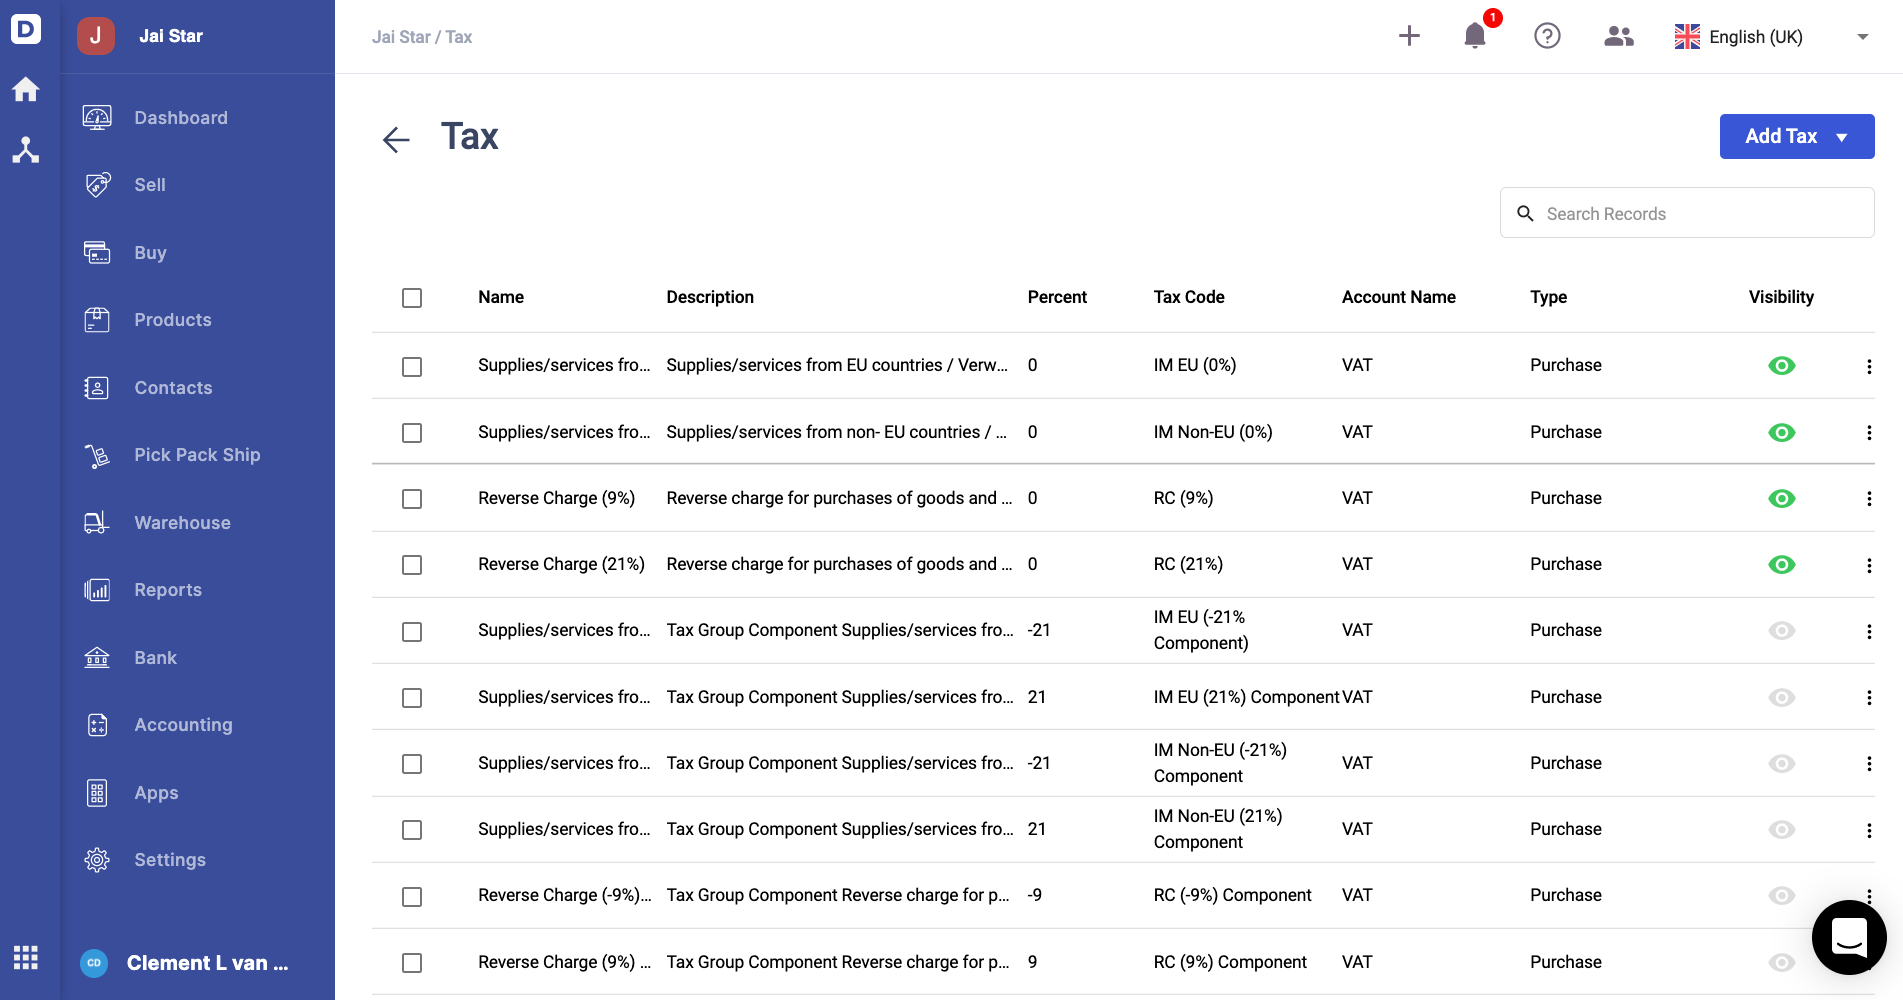
2. On this page, you can view the list of default tax rates available.
3. If you couldn't find any tax rate relevant to your business, you can always click on the Add Tax button to create a new one.
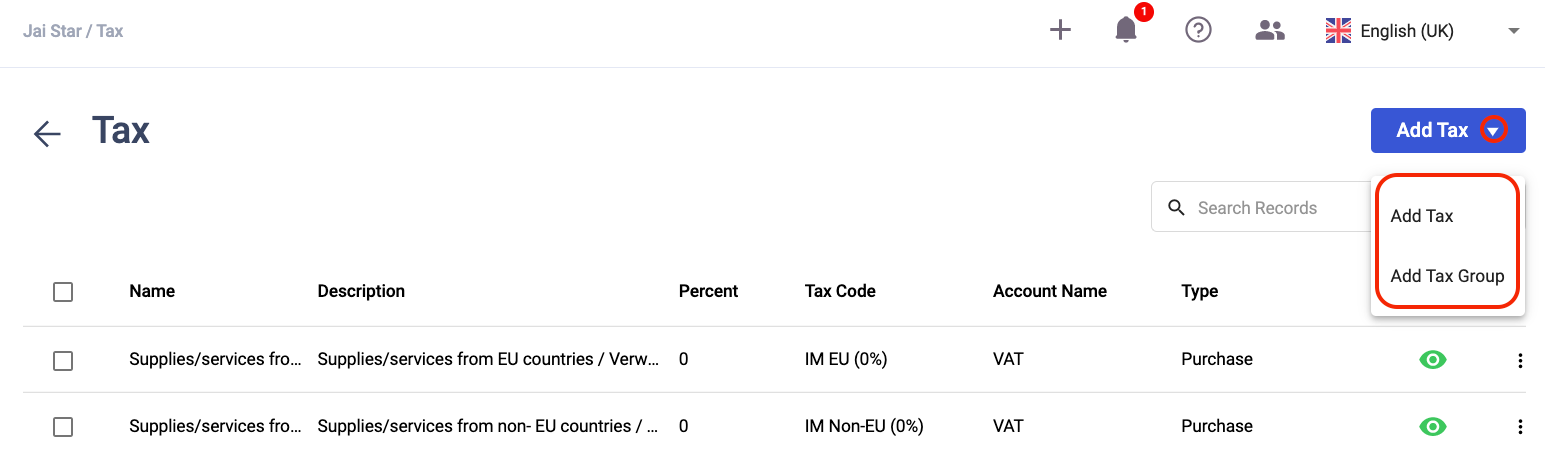
4. You can choose to add Tax or add tax group:
a) Add Tax: This means creating a single tax rate. Fill in the following fields to save the tax rate:
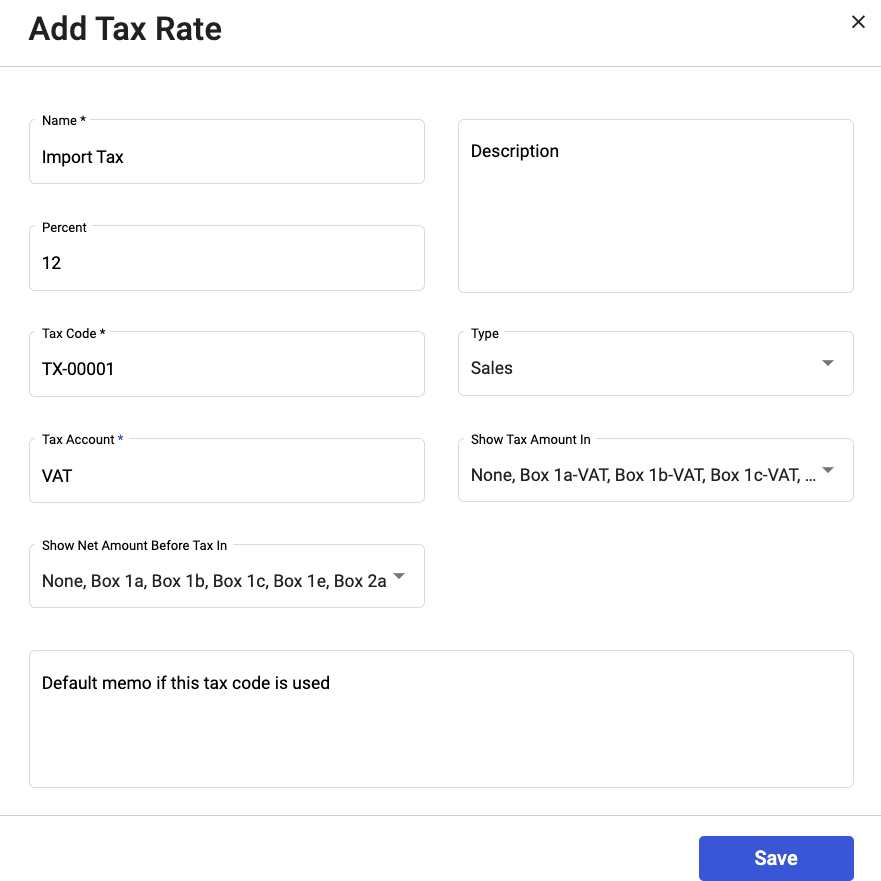
- Tax Name - Enter the tax name
- Percentage - The percentage of the tax rate
- Description - Short notes describing the tax
- Tax Code - Enter the tax code
- Tax Type - You can only choose either Sales or Purchase. This cannot be edited once the tax rate has been used in any transactions or applied in the tax group.
- Tax Account - Select the tax account involved. The options that appeared from the dropdown here are populated based on Chart of Accounts
- Show Net Amount Before Tax In - You can multi-select from the drop-down options; None, Box 1a, Box 1b, Box 1c, Box 1e, Box 2a, Box 3a, Box 3b, Box 3c, Box 4a, Box 4b
- Show Tax Amount In - You can multi-select from the drop-down options; None, Box 1a - VAT, Box 1b - VAT, Box 1c - VAT, Box 2a - VAT, Box 4a - VAT, Box 4b - VAT, Box 5b - VAT
- Default memo if this tax code is used
b) Add Tax Group: If you choose to create a tax group, you can add multiple tax components to this tax group. Fill in the following fields as shown:
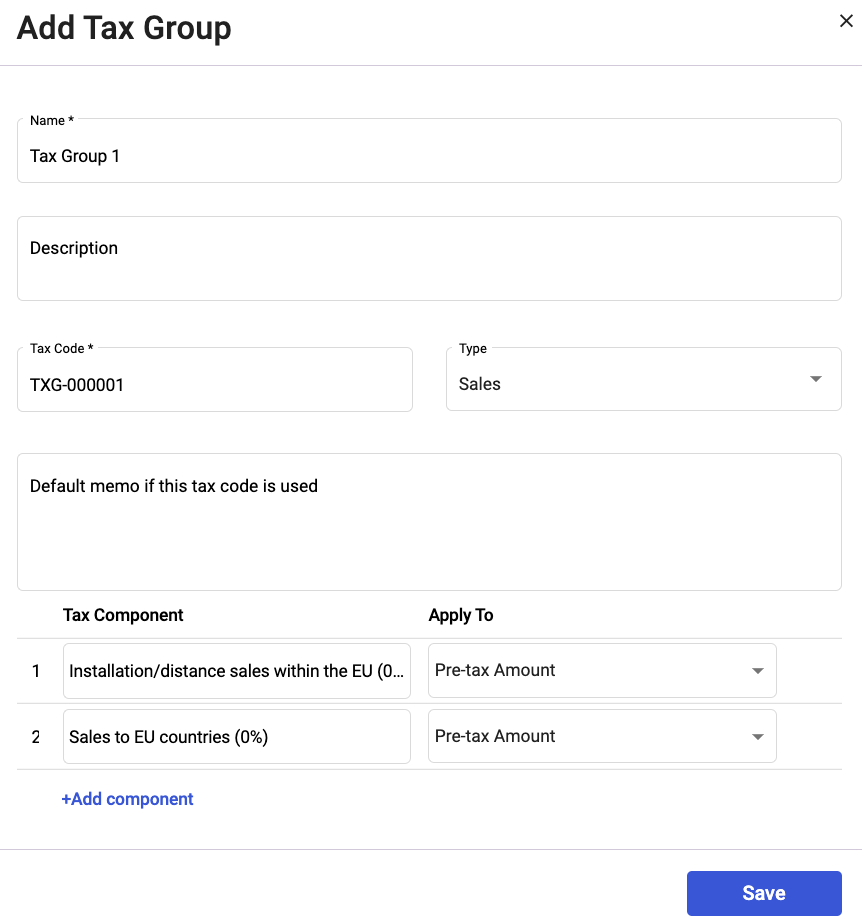
- Name - The name of the tax group
- Description - Notes describing the tax group
- Tax Code - Enter the tax code for the tax group
- Type - Choose the tax type; Purchase, or Sales
- Tax Component - You can choose from the list of tax rates from the drop-down. Please note that you cannot select the tax group in the tax component. Also, you cannot add more than 5 tax components here.
- Apply To - Choose either pre-tax amount or after-tax-amount. You can only select one after-tax-amount in this field.
5. Click Save. You can now view the newly added tax and tax group from the Tax List.
6. You can edit the tax details but cannot delete the system's default tax rate. Also, you are only allowed to delete the tax rate you have created on your own.
7. If you have already applied the tax rate in any documents or contacts, you cannot delete the respective tax rate.
Note: If you have deactivated the single tax rate, you can still use the single tax rate during tax group creation.
How can I indicate my vendor's company registration number and VAT number?
Contact means both your customers and vendors in Deskera Books.
To indicate your vendor's company registration number and VAT identification number, follow the steps below:
- Go to the Contacts tab via the sidebar menu.
- Click on the Add Contact button.
- Fill in the fields stated:
- Name - Your contact's name
- Auto-numbering format - Customize the auto-numbering format for the contact
- Email Address - The contact's email address
- Currency - The currency is auto-populated based on the currency saved on the setting page
- Business registration Number- Your vendor's business registration number
- VAT identification number - Your vendor's VAT identification number
- Default sales tax rate - Choose the default sales tax rate from the drop-down options
- Default purchase tax rate - Choose the default purchase tax rate from the drop-down options
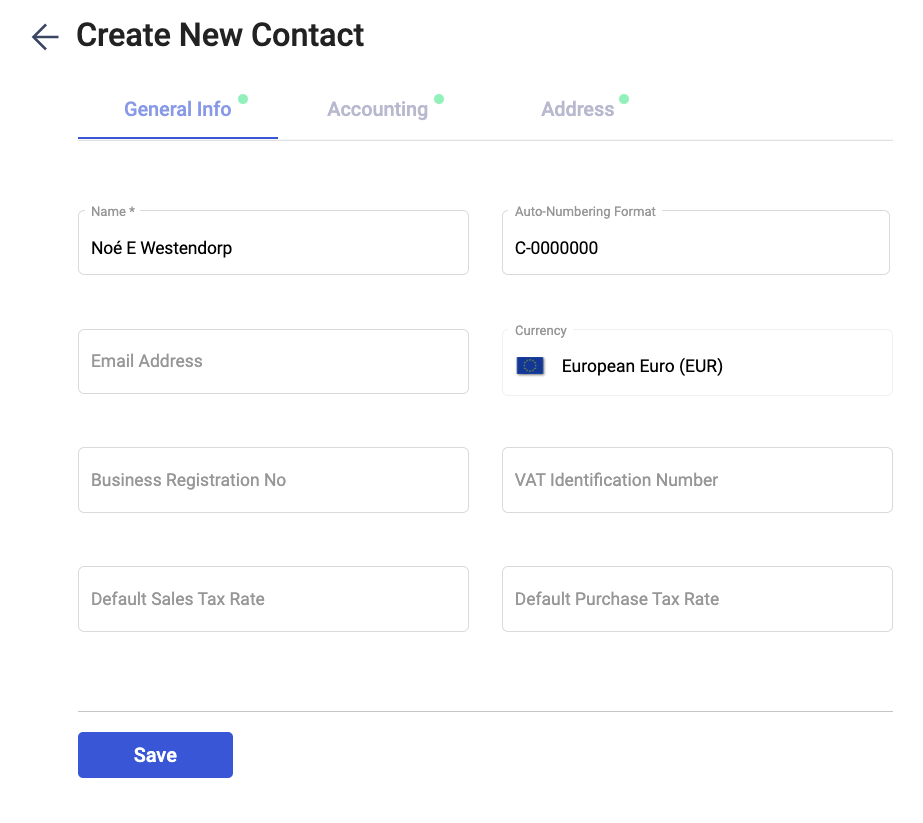
4. Click on the Save button.
How do I set up the product default tax rate?
- Go to Products via sidebar menu.
- Fill in the fields in the general info tab.
- After that, click on the Accounting tab. Select the respective purchase tax and sales tax as created in the Tax Module.
- Tick the checkbox below to set the tax rate as the default purchase tax and default sales tax.
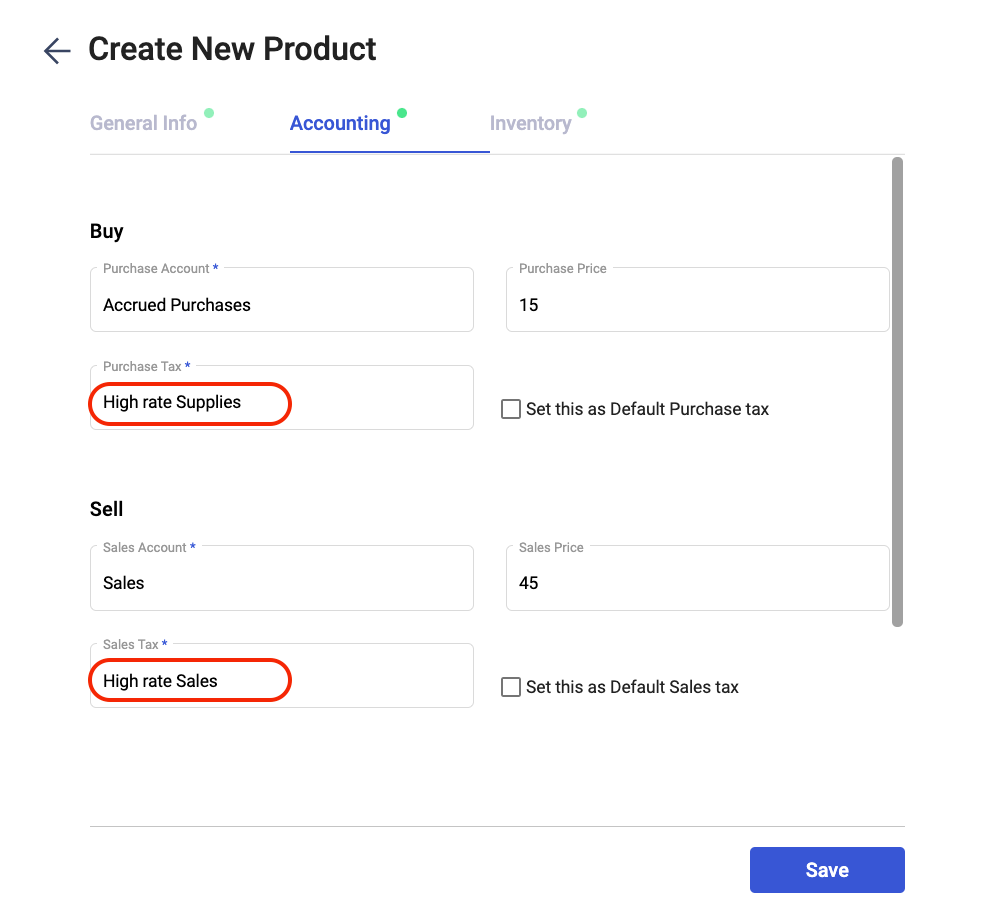
5. Once you have set-up the purchase tax and sales tax for this product, click on the Save button.
How to apply the tax against an invoice or bill?
Once you have created your products and contacts, you can start issuing invoices or bills to your customers/vendors.
To create an invoice, you can follow the steps here:
- Go to the Sell tab on the sidebar menu.
- Click on the Create Invoice button.
- Fill in the fields in the invoice as per the guide here.
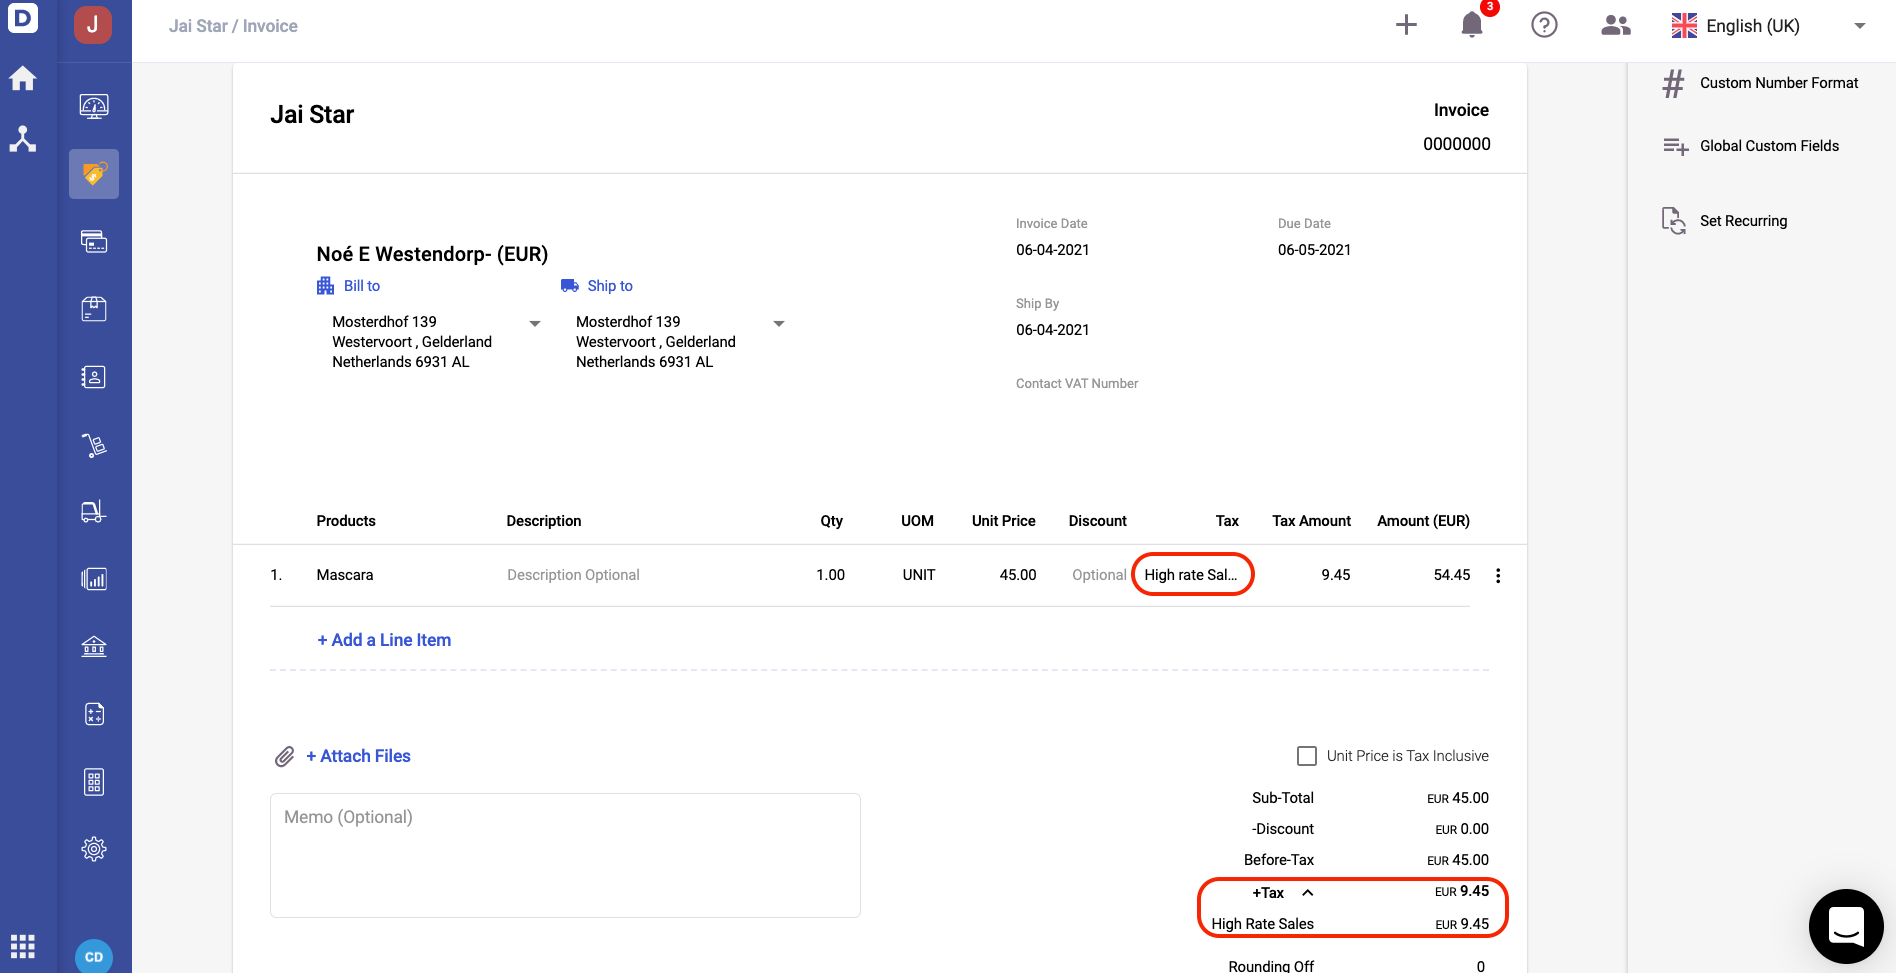
4. Upon selecting the product line item, the tax column will be auto-populated based on the default sales tax rate saved in the Contact Module. You can also edit the tax rate here as well.
5. Click on the drop-down arrow next to the tax field. You can view the allocation of tax based on the tax component in the tax group.
6. Click on the Save button.
You can follow the steps mentioned below to create a bill:
- Go to Buy via the sidebar menu
- Click on the Create Bill button.
- Fill in the fields in the bill as per the guide here.
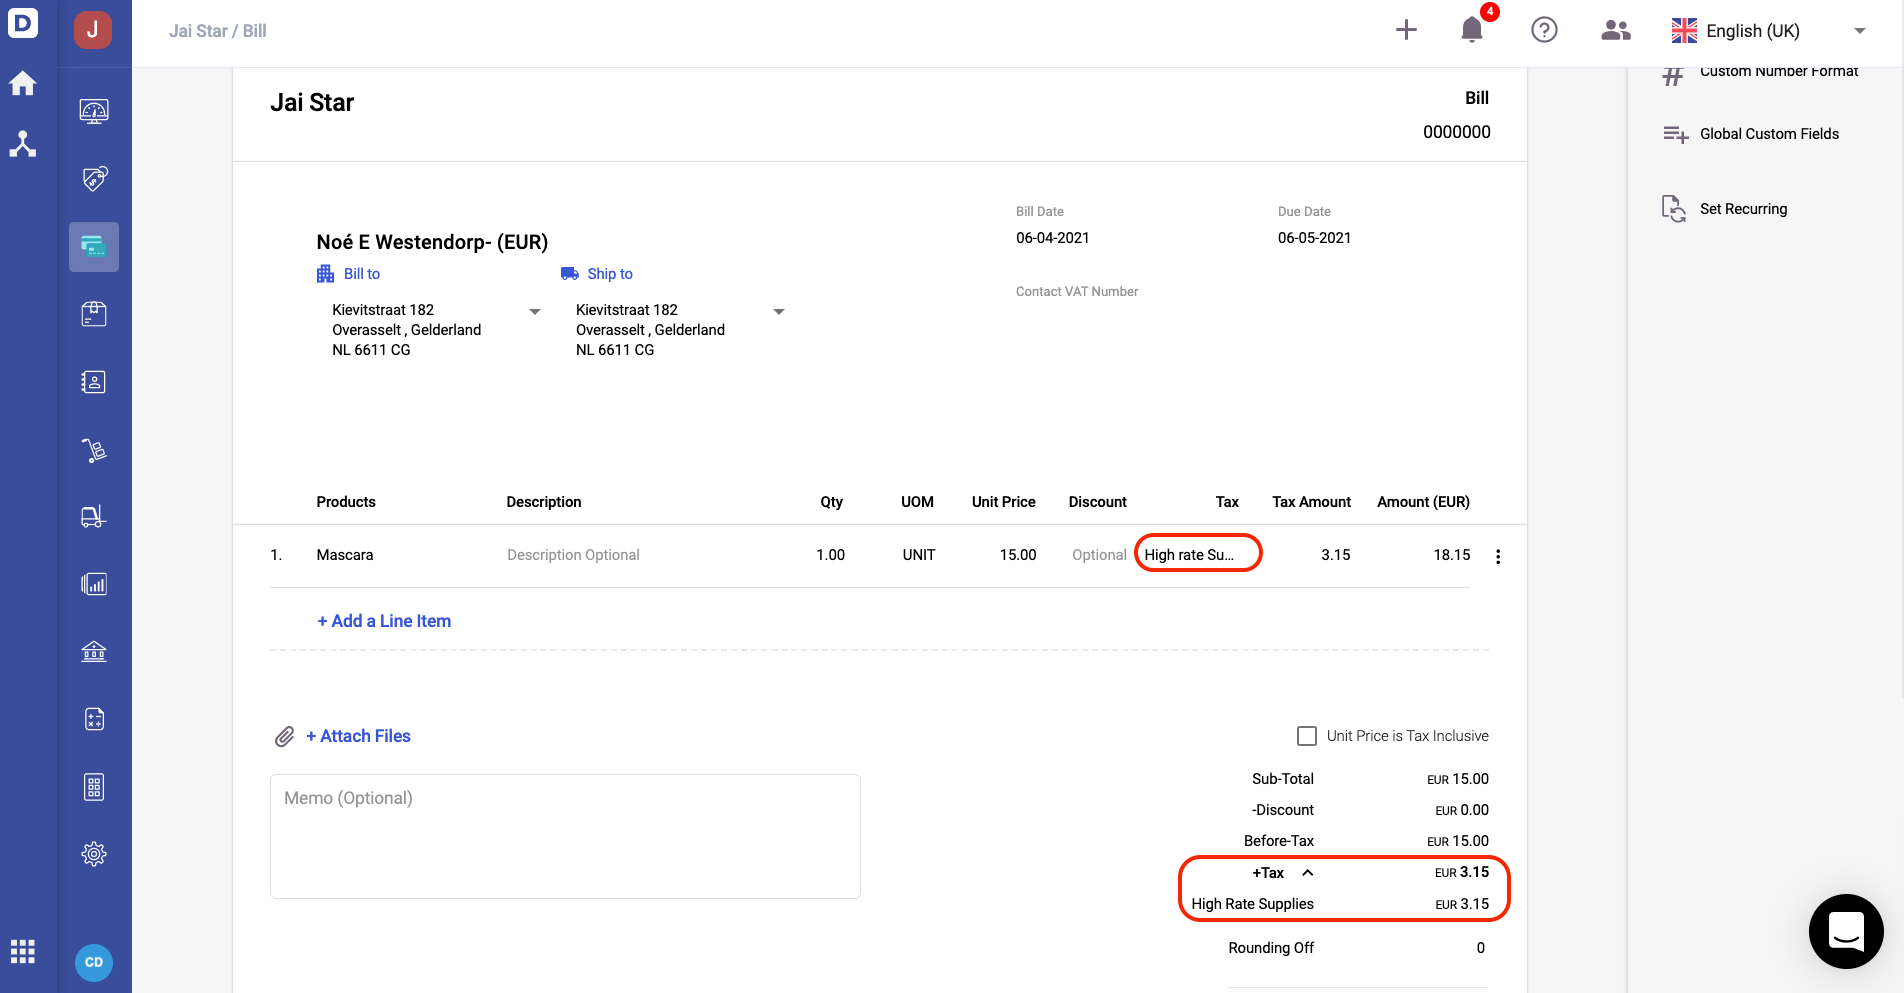
4. Upon selecting the product line item, the tax column will be auto-populated based on the default purchase tax rate saved in the Contact Module. You can also change the tax rate here.
5. Click on the Save button to create the bill.
Note: If the default sales and purchase tax rate are not indicated in the Contact Module, the system will pick up the tax rate saved in the Product Module.
Finally, you have successfully set-up your company details registered in Netherlands, customize the Chart of Accounts, create a new tax/tax group, indicate your vendor's business number and VAT identification number, and tagging the right tax rate against each product.