

Having the ability to close a hefty amount of deals is not easy, but it doesn't mean it's impossible. And, if you are running a business, this should be your number one goal - closing as many deals as possible. The higher the value, the better.
So, what are deals?
Deals are your sales opportunities to sell your products and services to your clients. Typically, your deals will pass through a sales pipeline, which is a visual presentation of all your deal statuses so you can predict your future revenues easily.
Imagine if you have multiple deals, and you have trouble organizing and tracking the progress of each deal, then - using deal management software will help you solve this issue.
You can consider Deskera CRM+ if you're looking for one.
How to create a deal in Deskera CRM+?
- Login to your Deskera CRM+ Account.
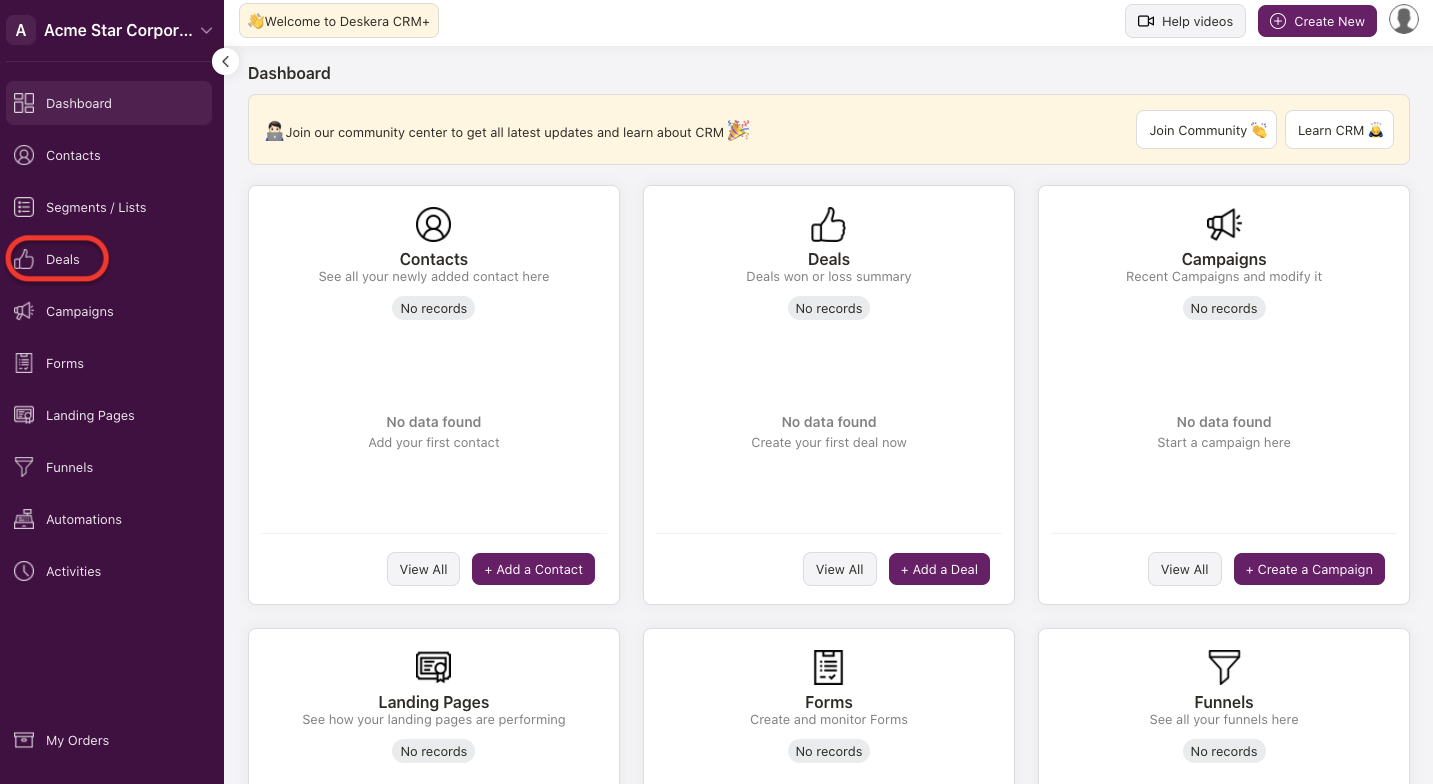
2. You can view Deskera CRM+ Dashboard once you are logged-in to your account. Click on Deals on the sidebar menu. The system will direct you to Deals page.
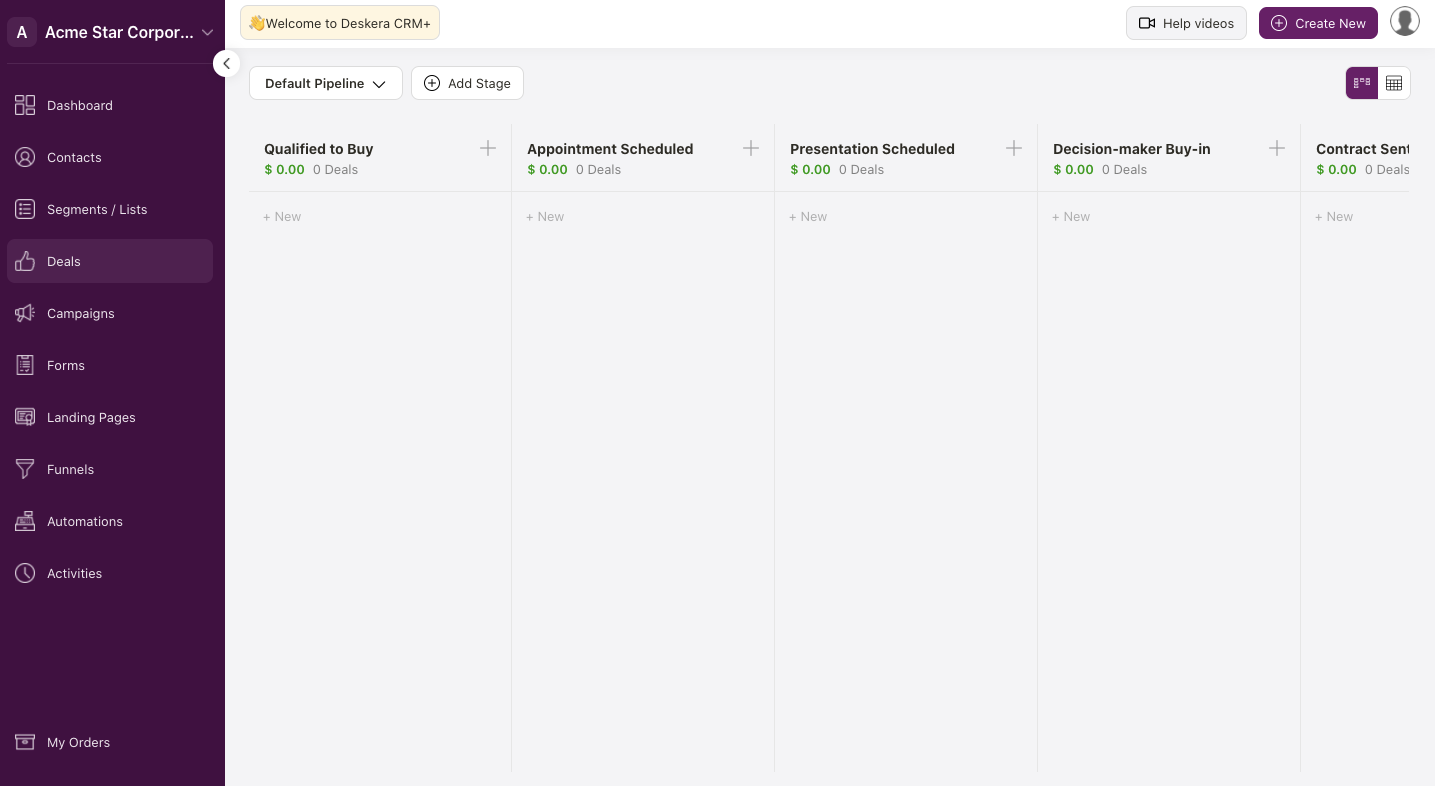
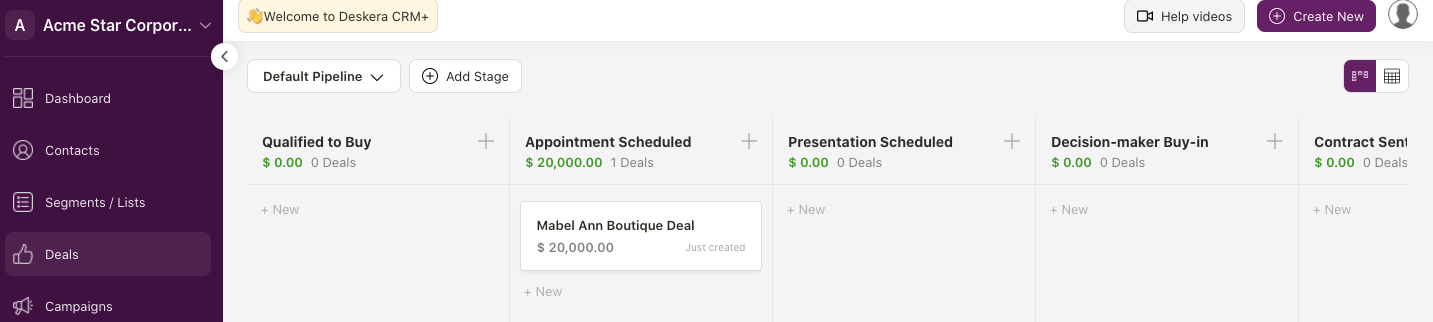
3. On the deal page, you can view the system's default pipeline that consists of seven deal stages:
- Qualified to buy
- Appointment Scheduled
- Presentation Scheduled
- Decision-maker buy-in
- Contract sent
- Closed won
- Closed lost
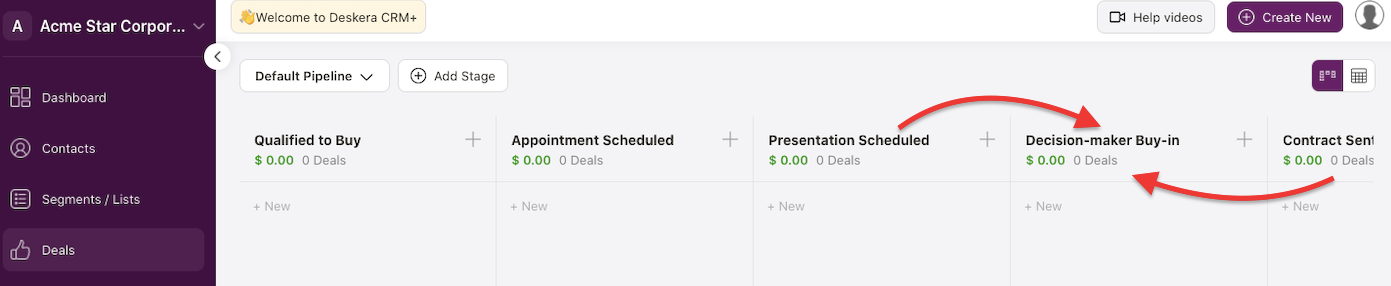
4. If you need to re-arrange the deal stage sequence, you can use the drag and drop feature to change the deal stage. Click on the deal stage and drag it to the respective sequence that you want.

5. If this pipeline doesn't suit your sales process, go on and click on the default pipeline's drop-down arrow. Click Add Pipeline.

6. Click on the Add Stage button to create a new deal stage in the default pipeline. Enter the deal stage name in the pop-up and save it. You can use the drag-and-drop feature to update the deal as well.
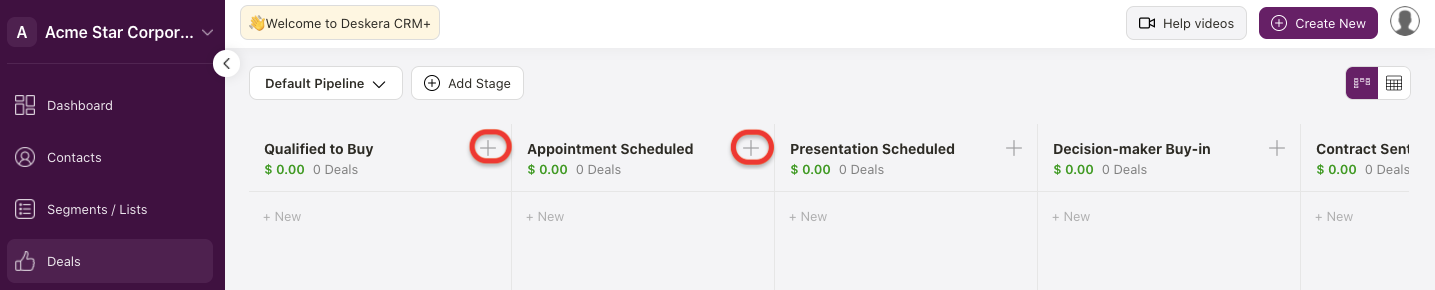
7. If you want to add a deal in each deal stage, click on the Add icon. A pop-up will appear. Fill in the following details:
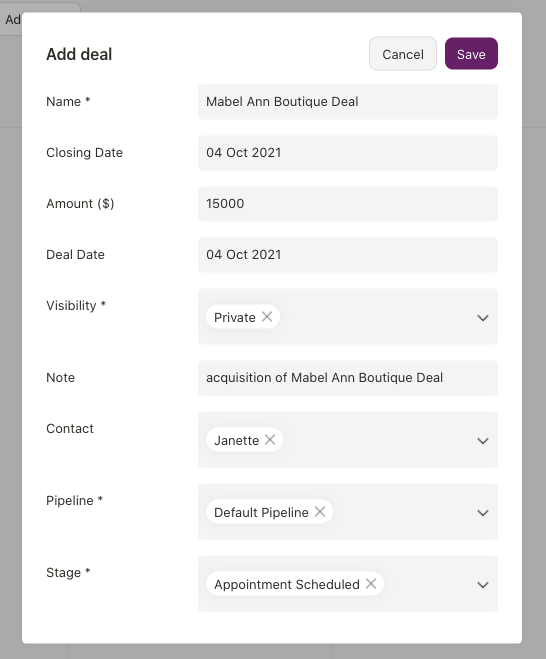
- Name - Enter the deal name
- Closing Date - Choose the expected deal closing date
- Amount - The deal's total value
- Deal Date - The initial date the deal is created
- Visibility - The internal user that can view the deal's information
- Note - Enter a short description of the deal
- Contact - Choose the prospect or lead from your Contact Module
- Pipeline - Choose the right pipeline for this deal
- Stage - Enter the deal stage in the respective pipeline
8. Click on the Save button.
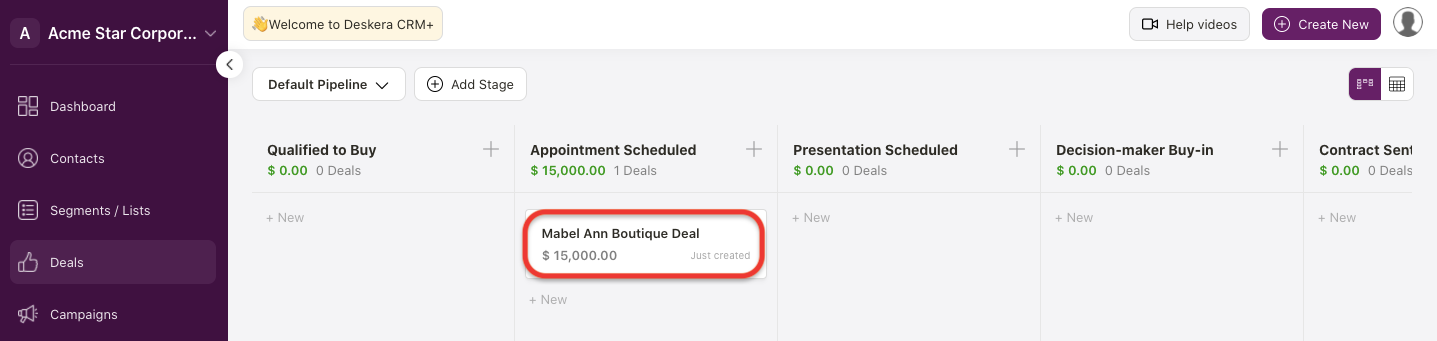
9. Finally, you can view the deal in the respective deal stage that you have indicated above.
** Currently, you cannot delete the deal that you have created in the system
How can I edit the deal information?
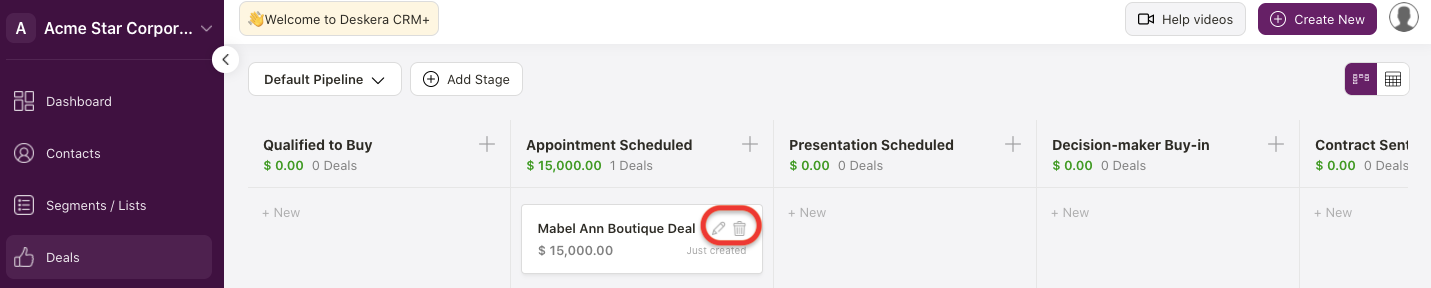
Hover your mouse on the deal card. You can view the edit icon after doing so. Click on the edit icon.
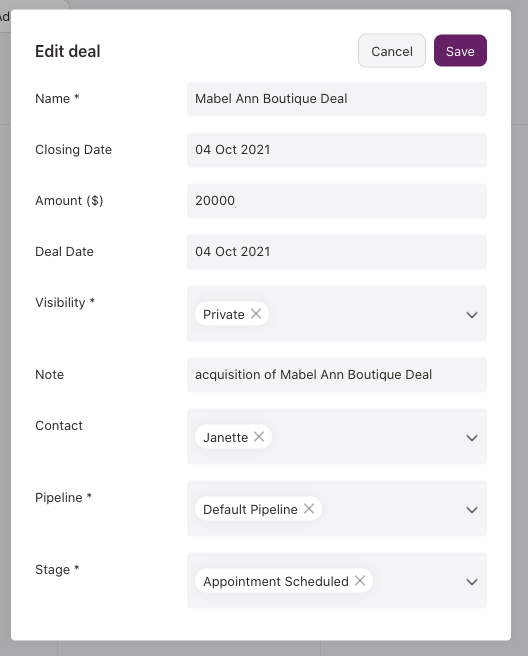
A pop-up will appear and you can edit all the information here. Once done, click on the save button.
The changes will reflect accordingly as per your latest update.
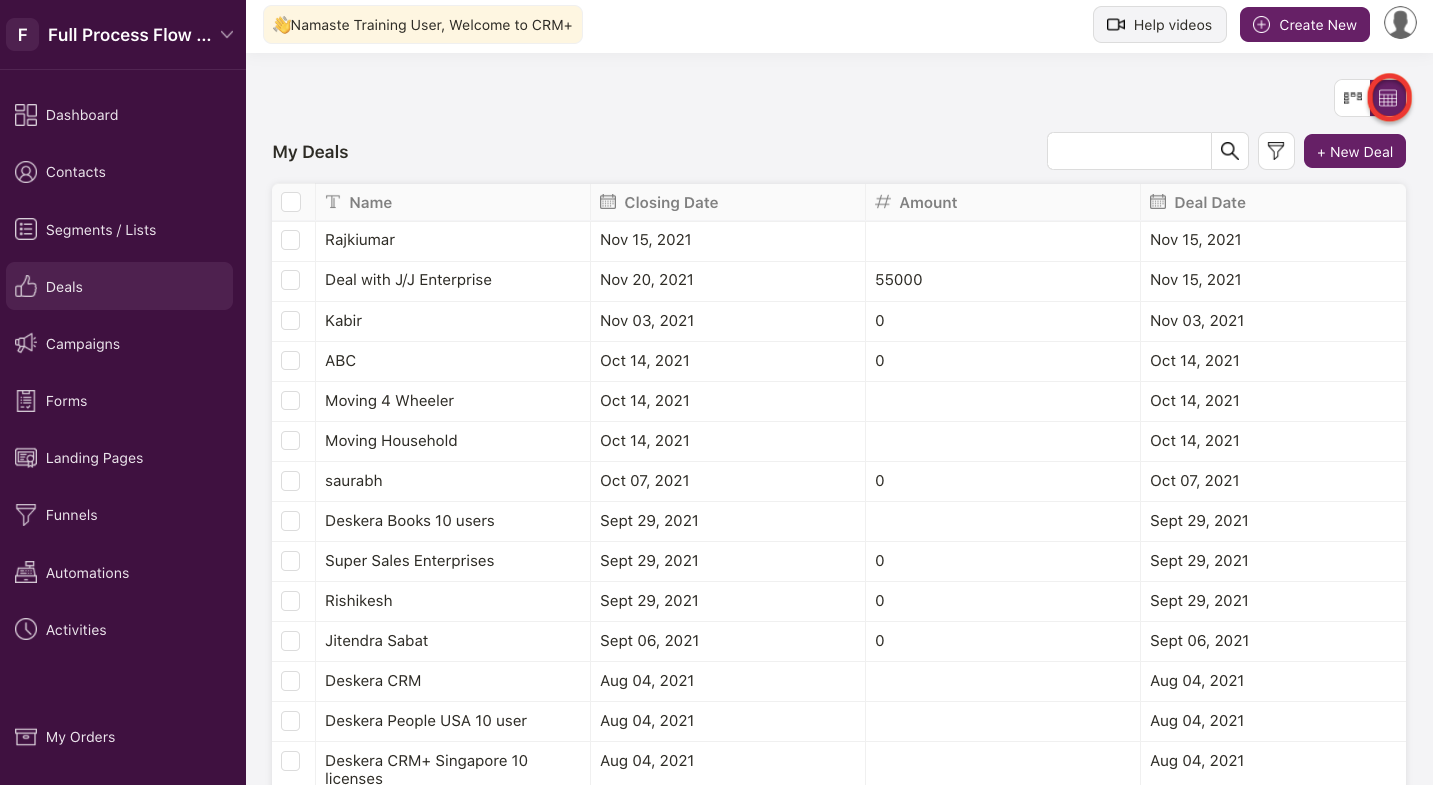
If you wish to view all your deals in table format, you can do that as well. Click on the table icon at the top right screen. The deals will be reflected in table format
How can I view the activity tag to the deal?
To view the deal's profile, click on the deal.
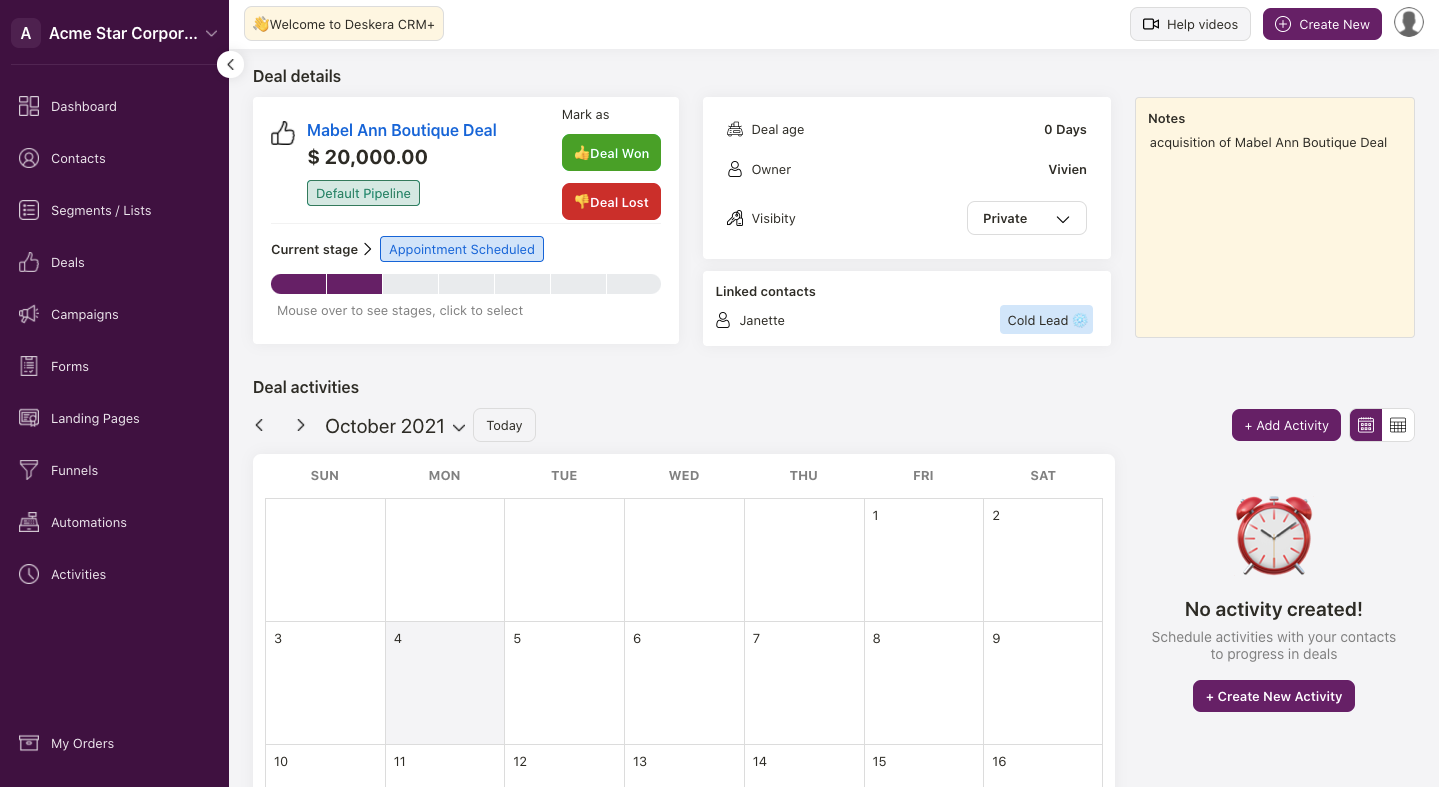
The system will direct you to the Deal Profile page.
On this page, you can view the deal's value, the additional detail of the deal such as the deal age, the owner of the deal, the deal's visibility, the activities created for the deal, notes, or any logs related to this deal.
How can I mark the deal as won or lost?
When your deal passed through various deal stages, ultimately, there is only one result; whether you won the deal, or you lost.
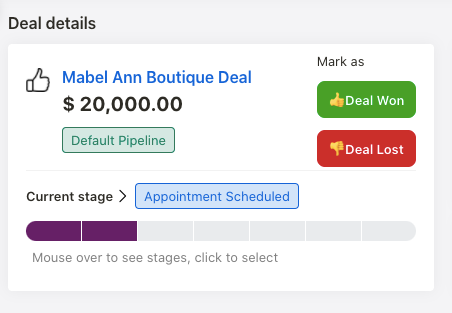
If you won the deal, you could hit on the deal won button and vice-versa.
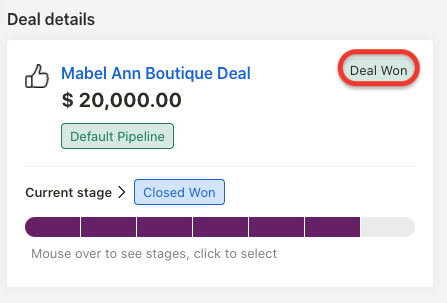
The system will automatically update the deal as won.
What if you accidentally mark the deal as won when you initially want to keep it as lost?
Well, you can click on the deal lost stage, and a pop-up will appear.
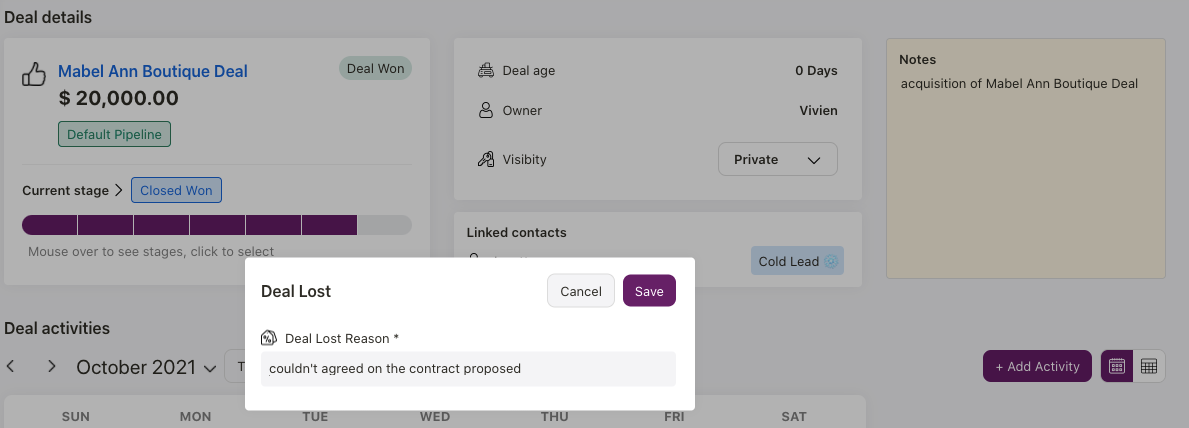
Please enter the reason why you're not able to close the deal here and save it.

The system will automatically mark this deal as lost.
How can I share the pipeline access to internal users?
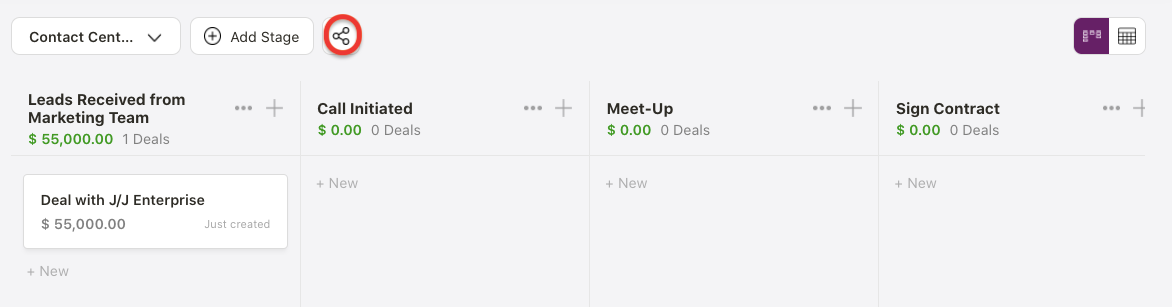
- Click on the share icon on the pipeline page.
- A pop-up will appear.
- Enter the user's email address and choose the access type given to this user:
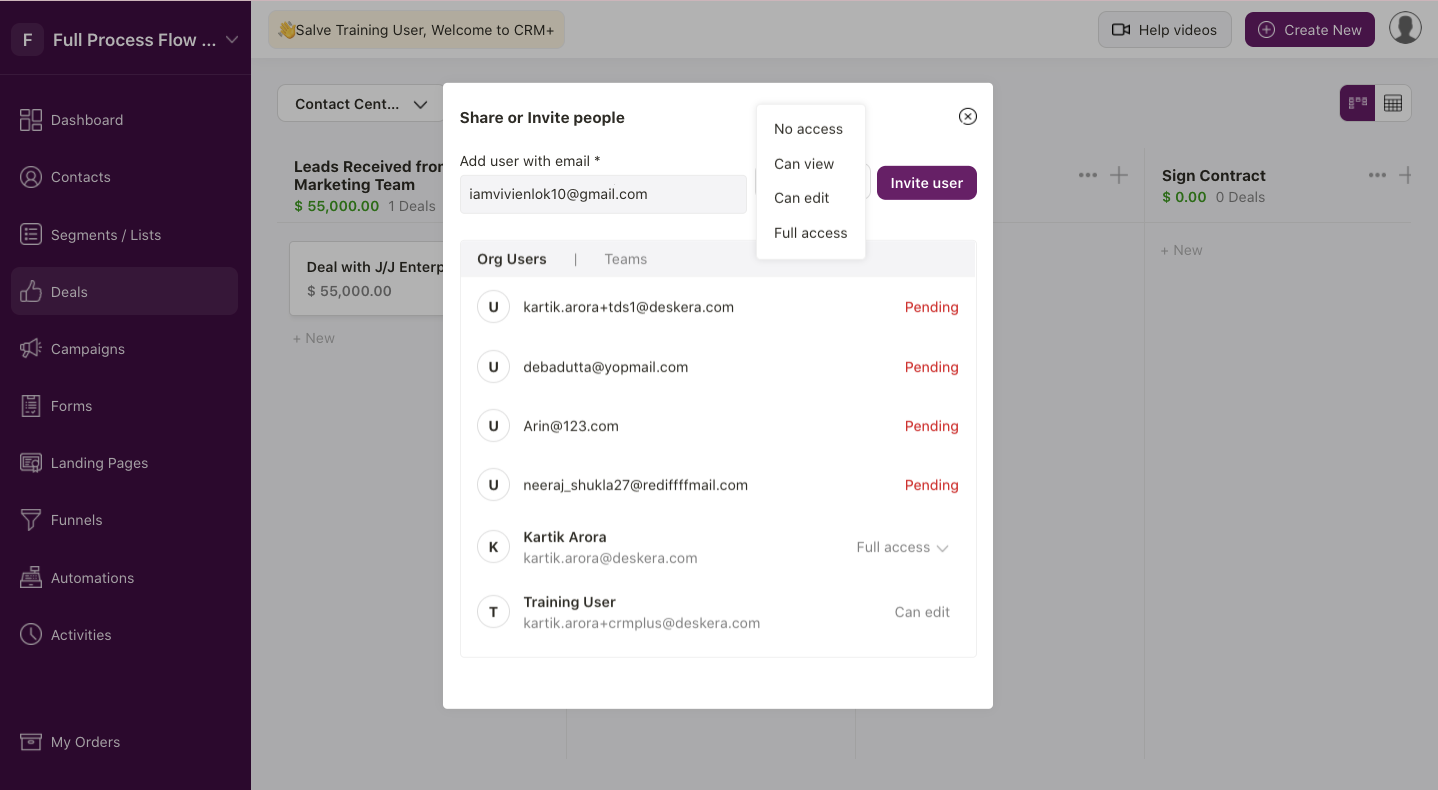
- no access - the user has no access to view or edit the deals in the pipeline
- can view - the user can only view the deals in the pipeline without having the right to edit the information
- can edit - the user can add, edit, or delete the deals in the pipeline
- full access - the user can view, add, edit, or delete the deals in the pipeline
4. Click on the Invite User button.
5. The user will receive an invitation email in their inbox. The user will have to accept the invitation to proceed.