

Deskera e-commerce store enables small businesses to sell their products and services online.
Setting up your store using the Deskera eCommerce builder is fast and easy. It takes less than a few seconds to sign-up, and you can jump straight in.
This article will walk through the step-by-step guide to set up your eCommerce store using Deskera.
How do I sign up for eCommerce store using Deskera?
To sign-up for Deskera e-commerce store, follow these steps below:
- Login to your Deskera account. You need to have Deskera account before you can access to Deskera e-commerce store.
- Once you have logged -in, click on this link; https://store-builder.deskera.com/.
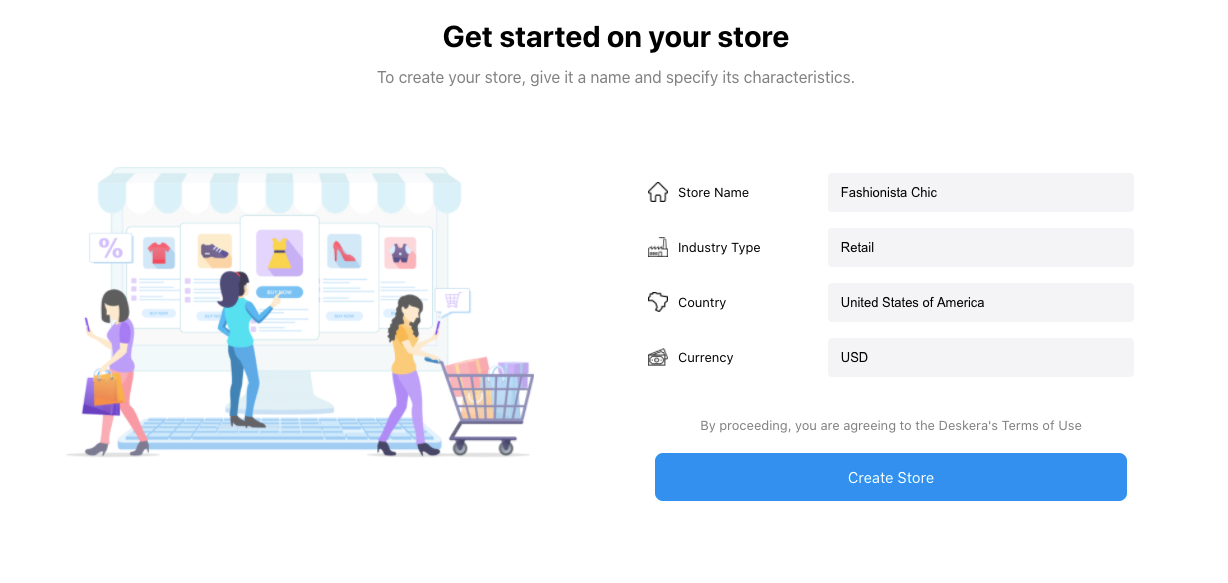
3. On this page, fill in your store information such as:
- Store Name - This will be the name of your store
- Industry type - Select the industry you're in
- Country - The country you run your business
- Currency - Choose the currency for the transaction in your store
4. Next, click on the Create Store button.
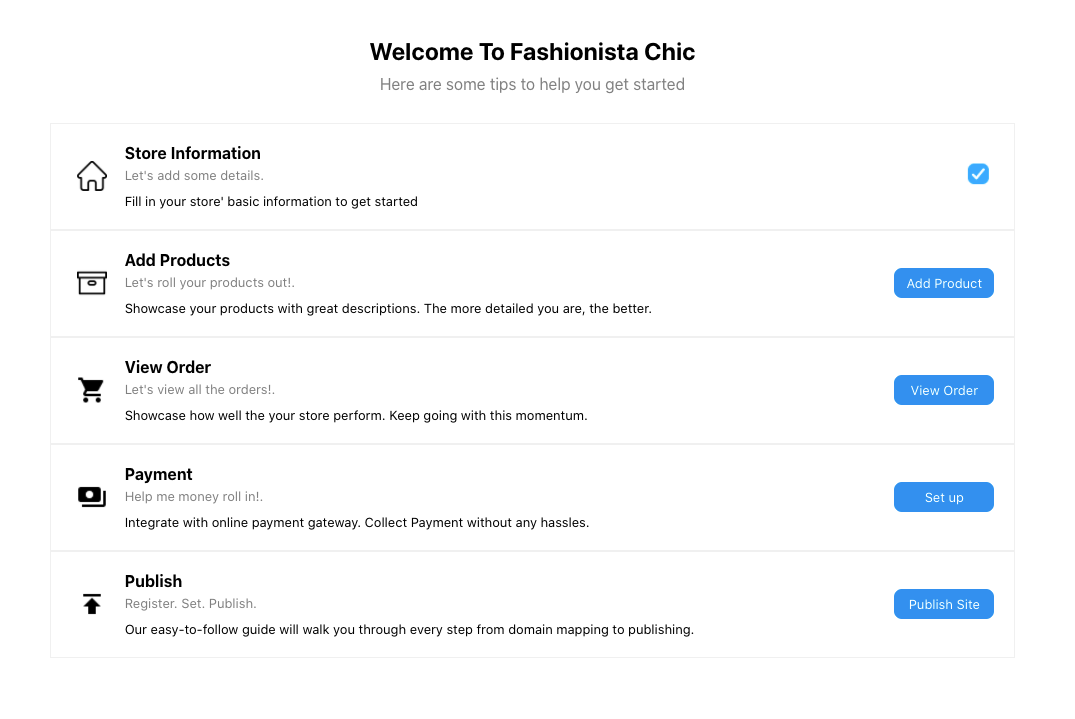
5. In your store, you should be able to view your store information mark as checked.
How do I add my products?
After you have successfully set-up your store, the next thing you need to do is to onboard your product listing.

Follow the steps below to add products:
- Click on the Add Products button.
- A pop-up will appear and you need to fill in the product details such as:
- Upload your product image (**how many number customer can upload? the size of the image)
- Product name - The product name
- Selling Price - The amount you're selling your product
- Purchase Price - The amount you purchase your product
- Listed - Enable this toggle to allow the product listing to appear on your store
- Product description - The product details, specification, and additional information
3. Click on Save button.
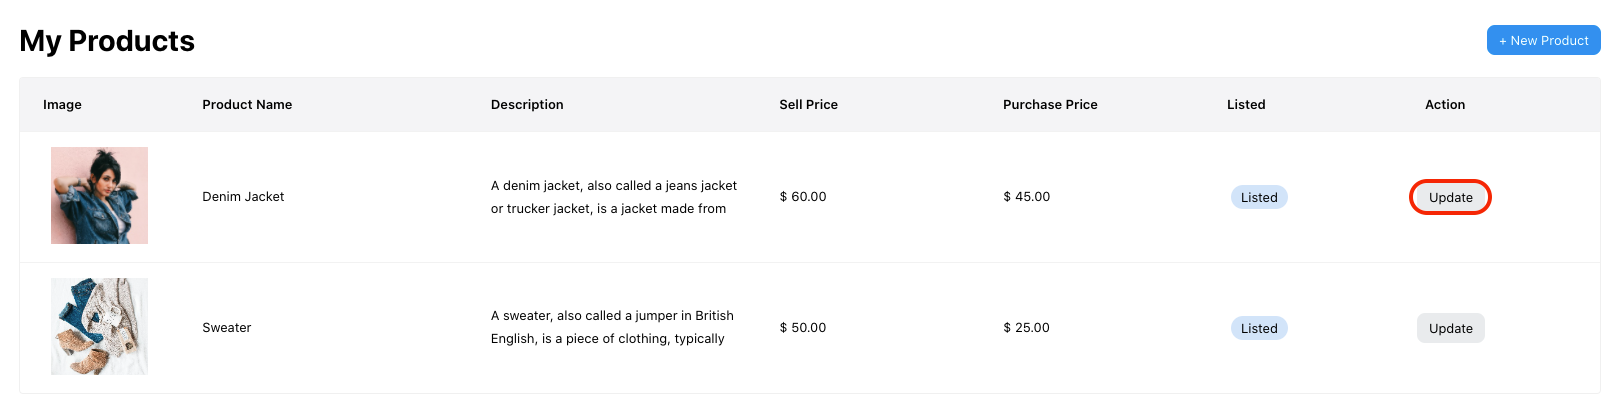
4. You can update the product details by clicking on the update button. This will open a dialog box. You can edit the fields in the dialog box and Save.
**Please note that you have to create the product manually. We do not have the bulk import product feature in the eCommerce store.
How do I setup the payment gateway?
You can collect payment from your customers conveniently with the Stripe integration in Deskera eCommerce store.
To set-up the payment gateway, follow the steps below:
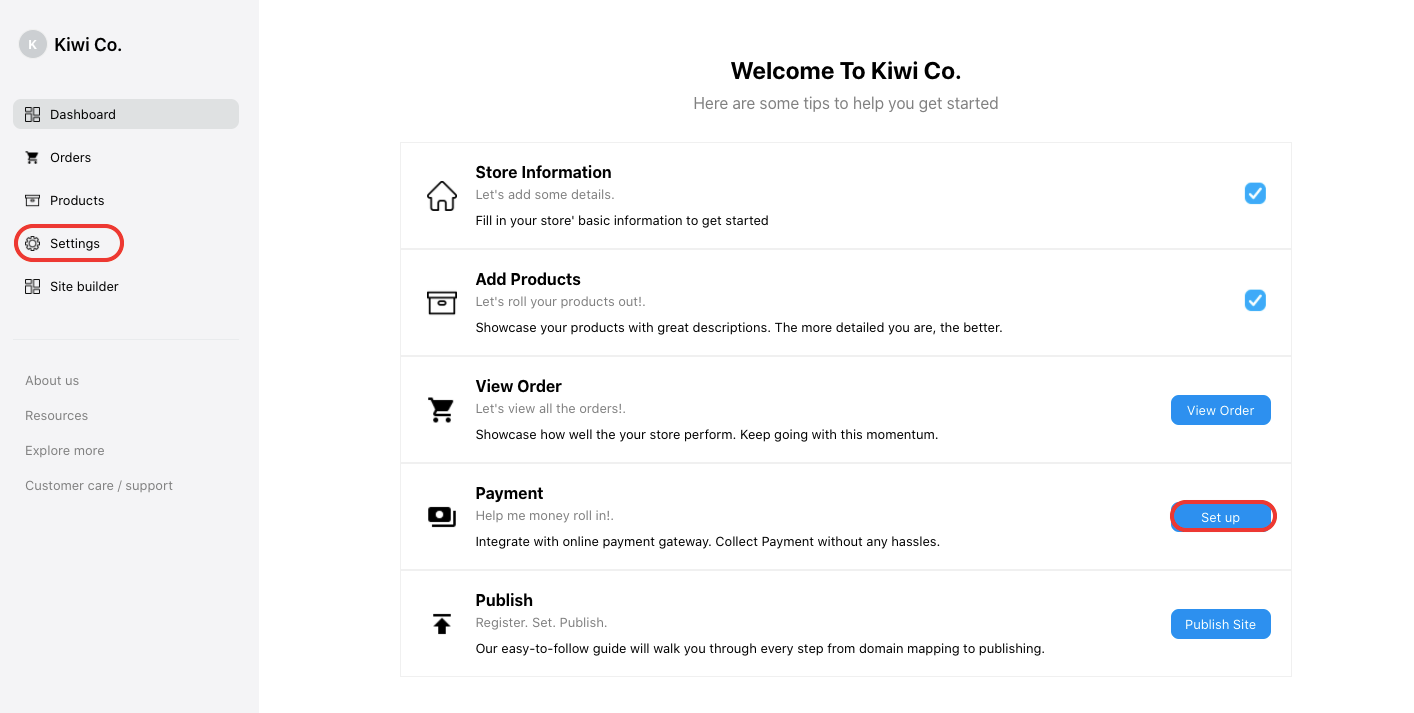
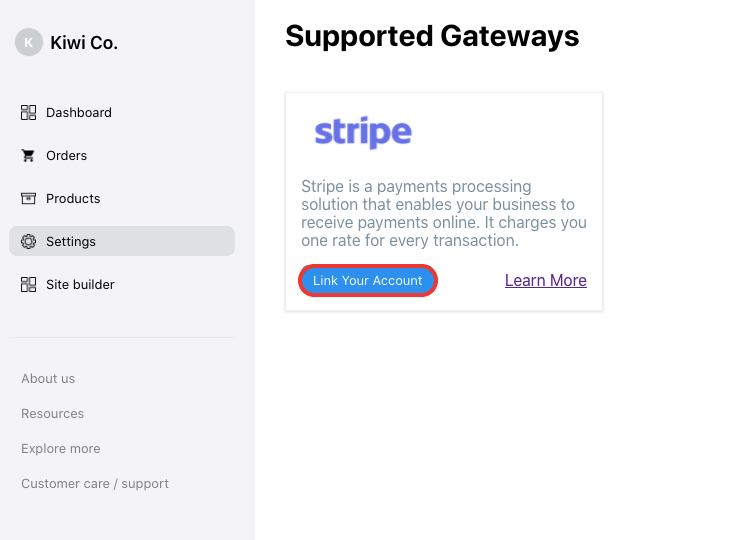
- On the main e-commerce store dashboard, click on the Settings button via the sidebar menu. Alternatively, you can also click on the set-up button under the payment section.
- You can view the Stripe payment gateway option here. Click on the Link your account button.
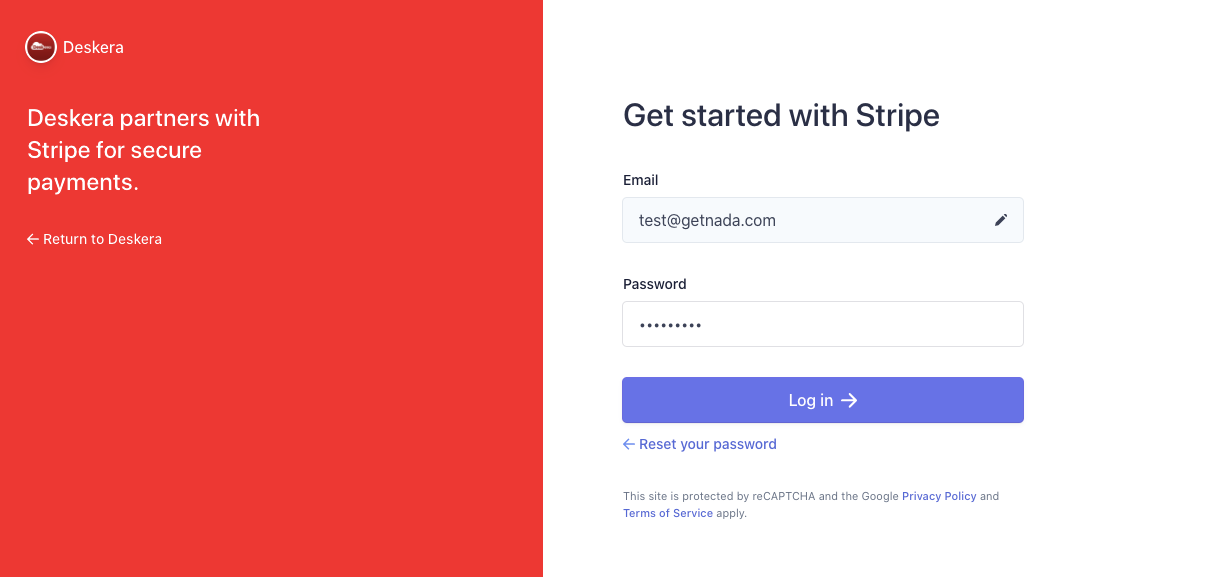
3. Next, click on the link your account button.
4. Fill in your Stripe account credential and click on the log-in button.
5. You will receive the verification code from Stripe. Enter the verification code here and continue.
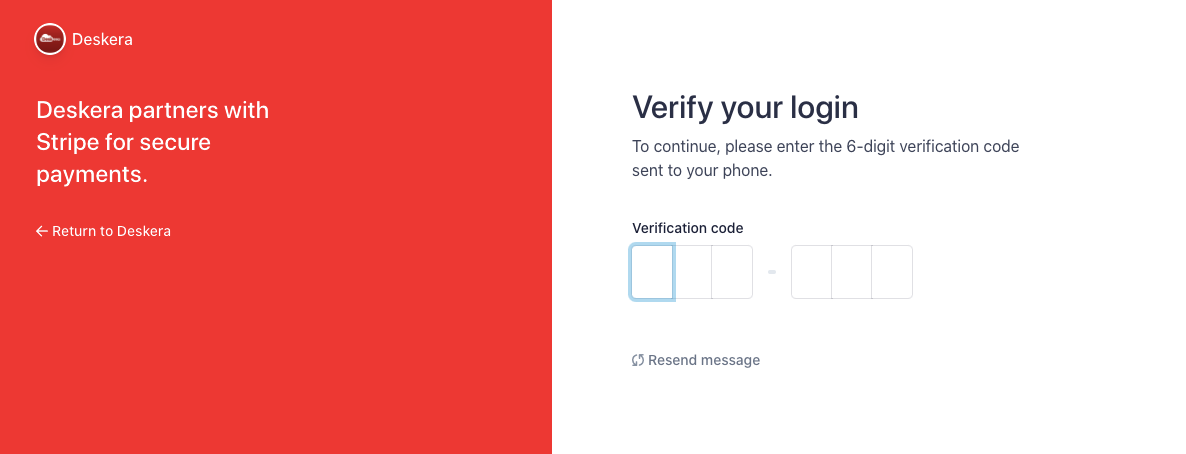
6. Lastly, you can view your Stripe account connected to your eCommerce store.
**Please note that you can only collect payment from your customers using Stripe. You cannot make any payment via Stripe.
How do I view the product listing on my eCommerce store?
Create your website using Deskera Website builder by referring to the guide below.
 Vivien Lok
Once you have created your website online, you can link your landing page to your eCommerce store.
Follow the steps here to view the product listing on your landing page:
- On the eCommerce Dashboard, click on the site builder via the sidebar menu.
- This action will direct you to your company's website.
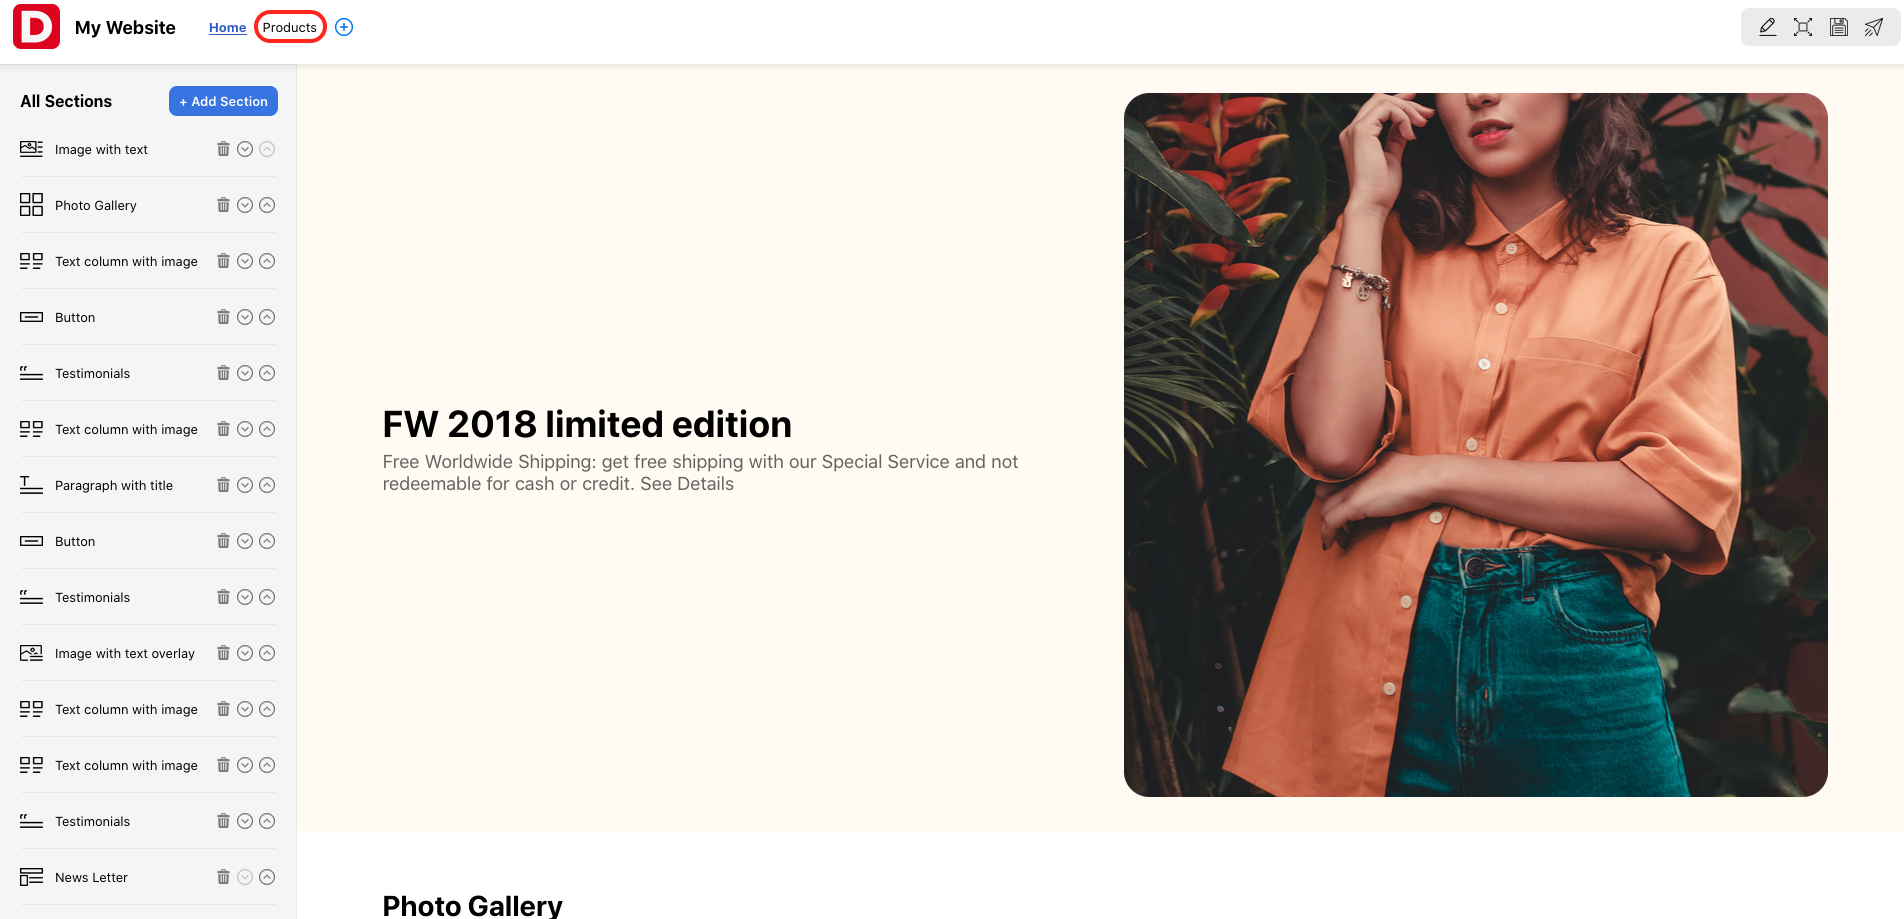
3. Click on the Product button as shown above to view your product listing that you have created in your eCommerce store.
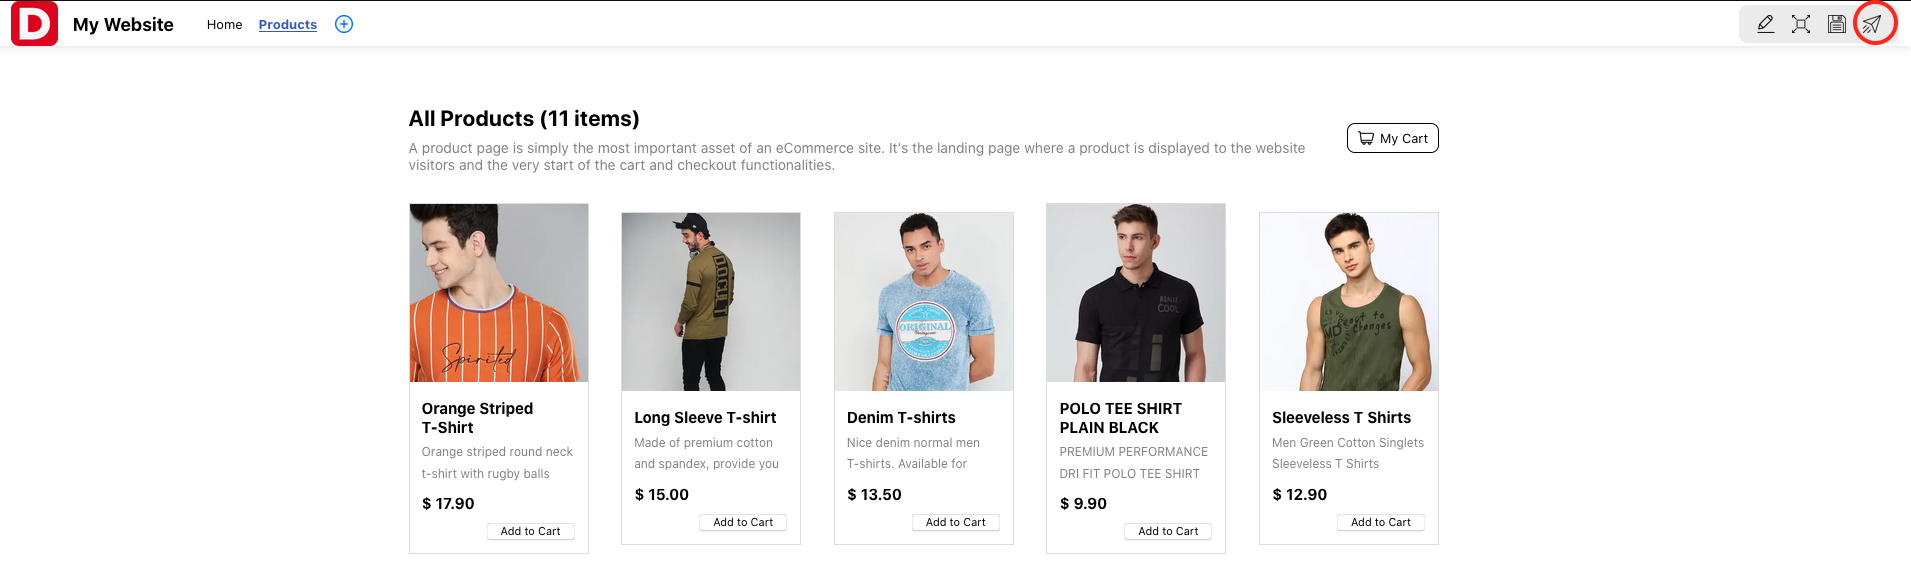
4. To view you eCommerce store live, click on the publish button at the top right of the screen.
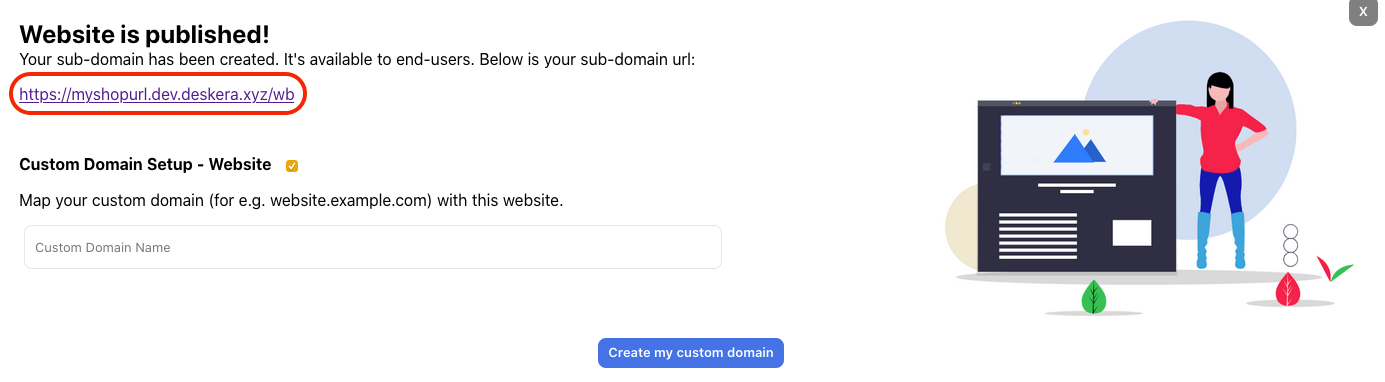
5. A pop-up dialog box will appear. Click on the website url link here. You can also map your custom domain here as well.

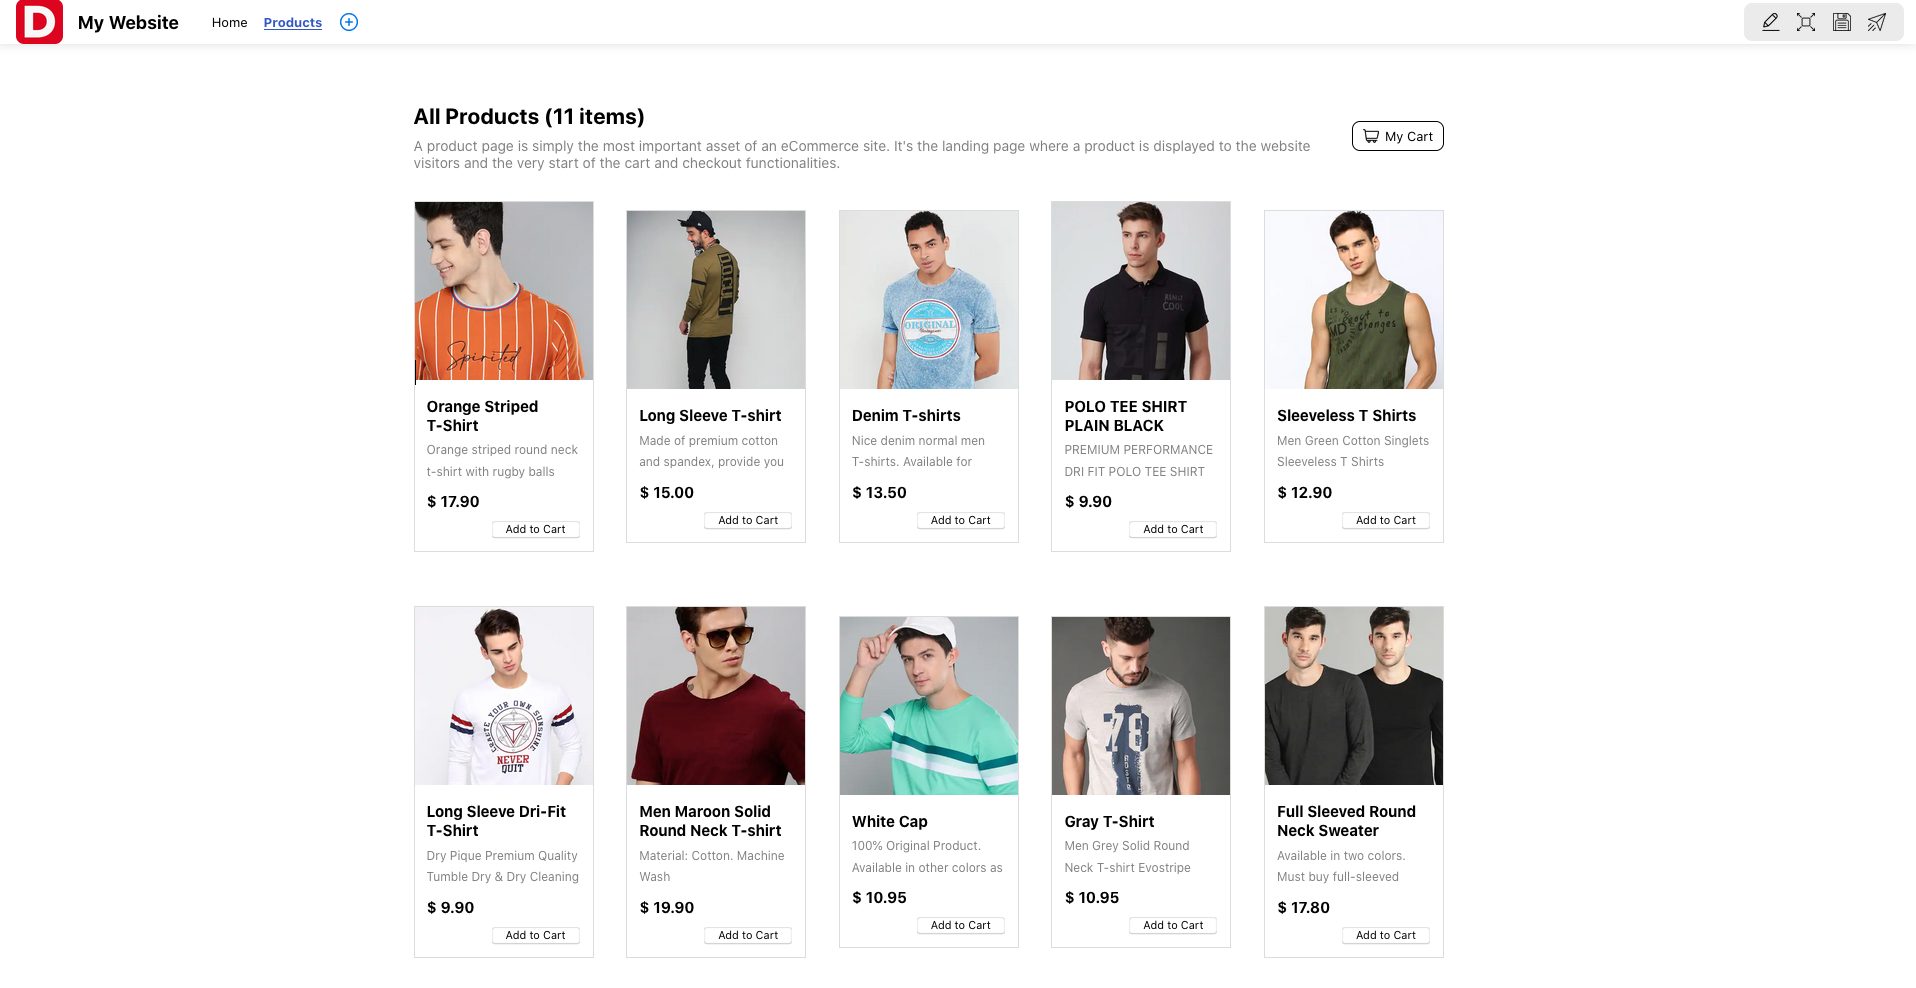
6. You can view your landing page as per the image above. Any online users can purchase your products and services online once you have published your store live.
How can I view my customer's order?
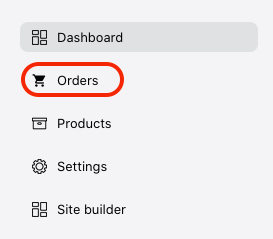
On your eCommerce store Dashboard, go to Order to view the orders placed by your customers.
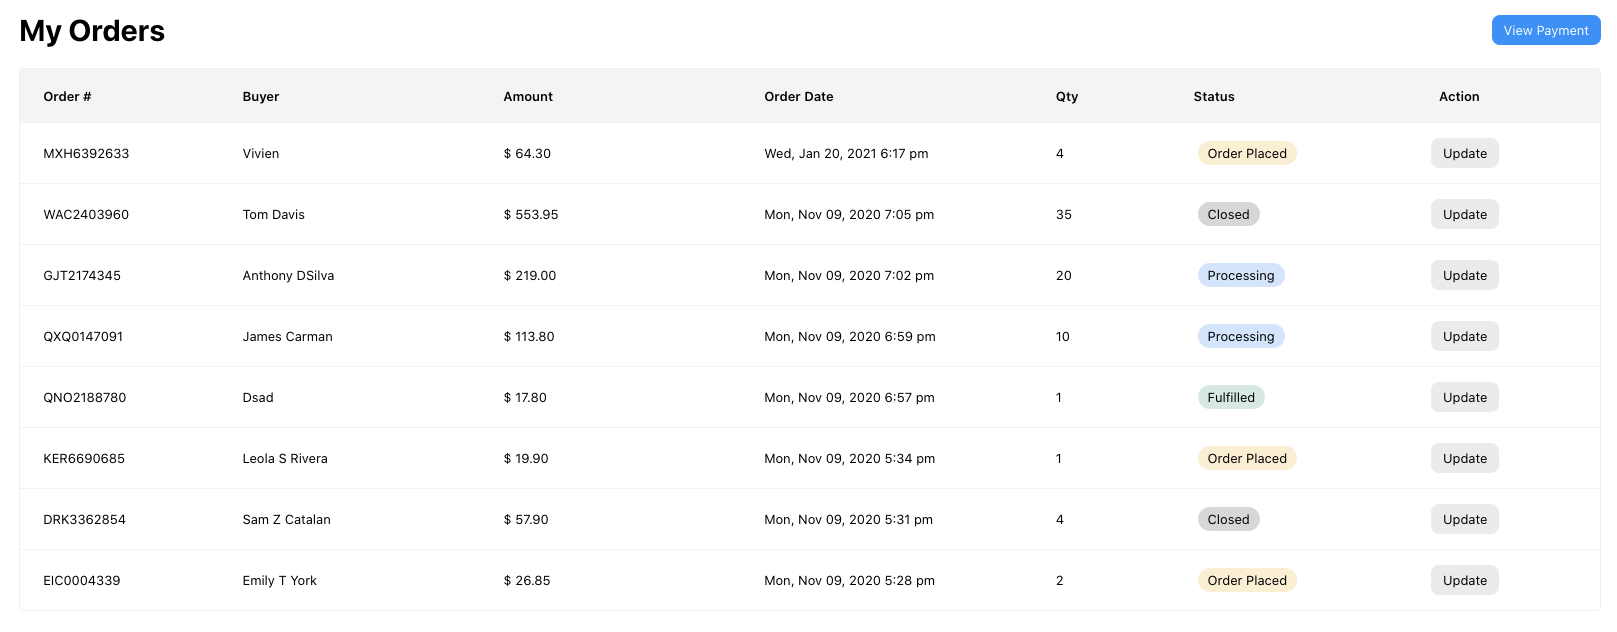
You can view the following fields here:
- Order - The order number generated by our system
- Buyer - Your customer's name
- Amount - Total amount of customer's purchase
- Order Date - The record of time, day, and date the customers place their orders
- Quantity - The total quantity of products purchase from your customers
- Status - The order's status. You can change the status of the order by clicking on the Update button. Choose from order placed, processing, fulfilled, rejected and closed
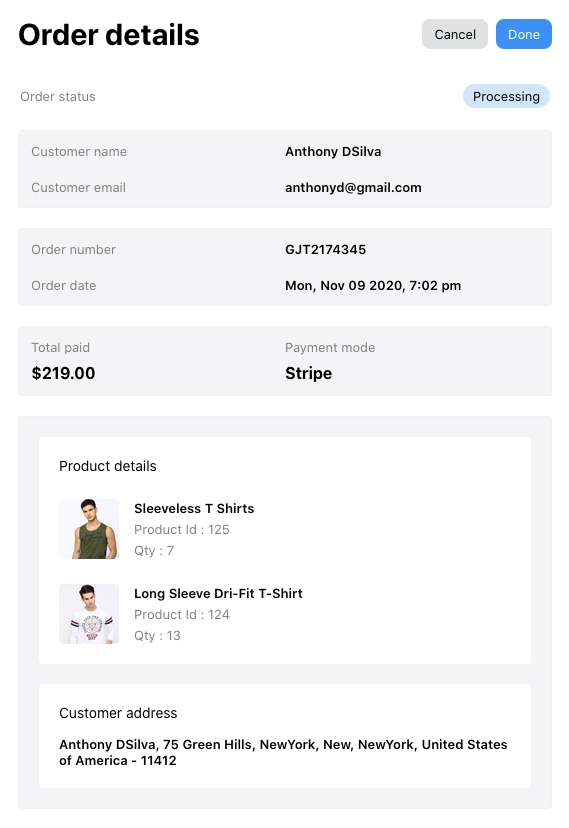
To view the order's details, click on the order itself. This will open the dialog box as shown above.
You can view the total number of products ordered by your customers, your customer name, email address, shipping address, and their outstanding balance.
How do I view the payment made from my customers customers?

On the Order Summary page, click on the View Payment button.
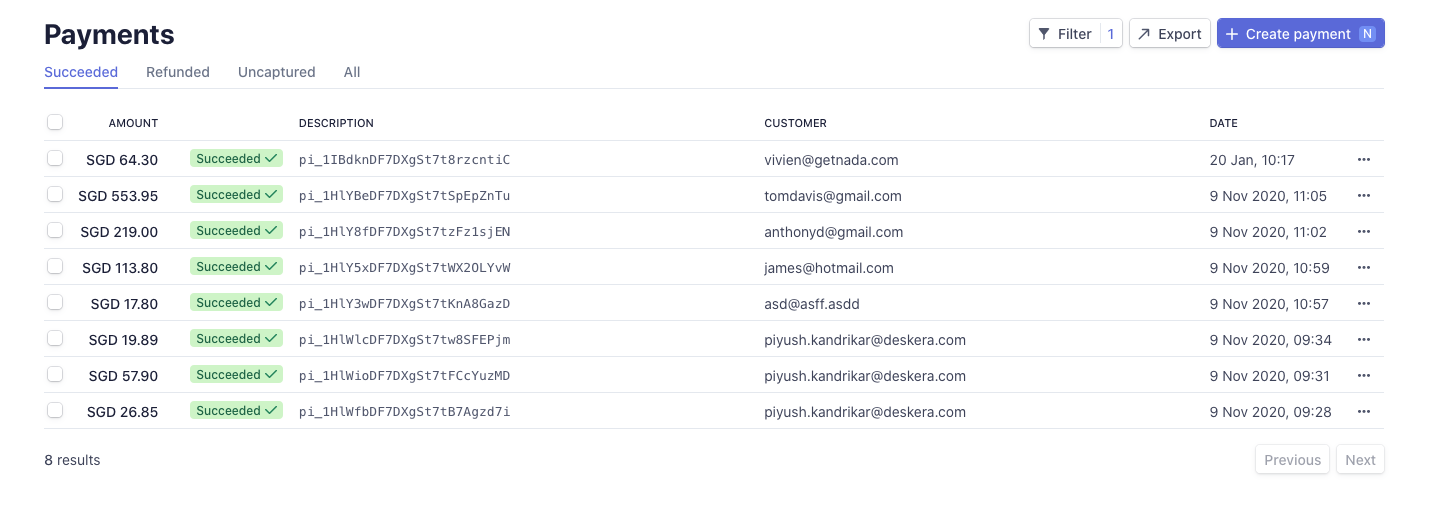
This will direct you to Stripe Dashboard.
Click on My Payments on the sidebar menu. All the payments received from your customers will be reflected here.