

Based on the previous article, we have already explained how to create a new custom field.
In this article, we will see the steps to apply the custom field you’ve created in the buy and sell tab.
To apply the custom fields to your bill/quote/order/invoice documents:
- Go to the respective Module in Buy and Sell Tab (Quote, Invoice, Order, Bill).
- When creating the Quote/Invoice/Order/Bill page, fill in the specific fields such as contact, products, the date the document is issued, the due date, discount rates, etc.
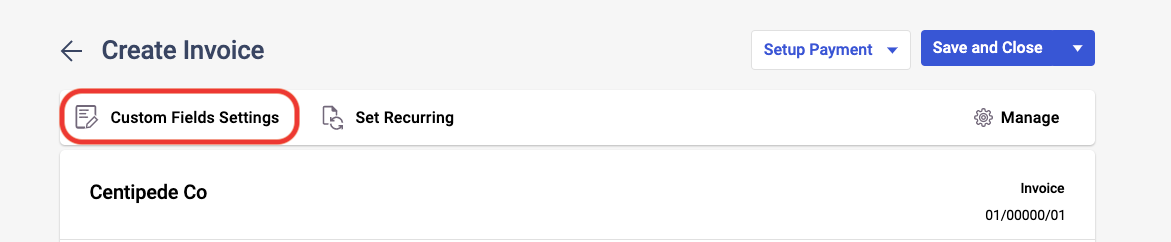
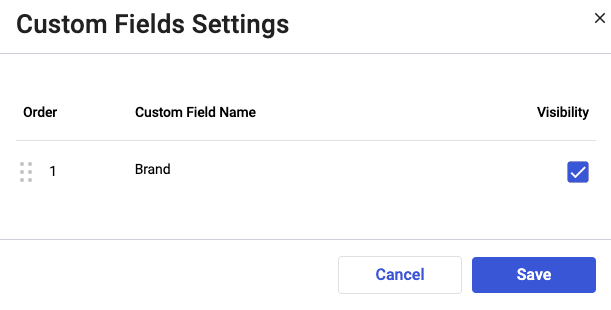
3. Next, click on the custom field settings button. A pop-up will appear and you can select the custom field created in the Custom Field Master.
4. Click on the Save button.
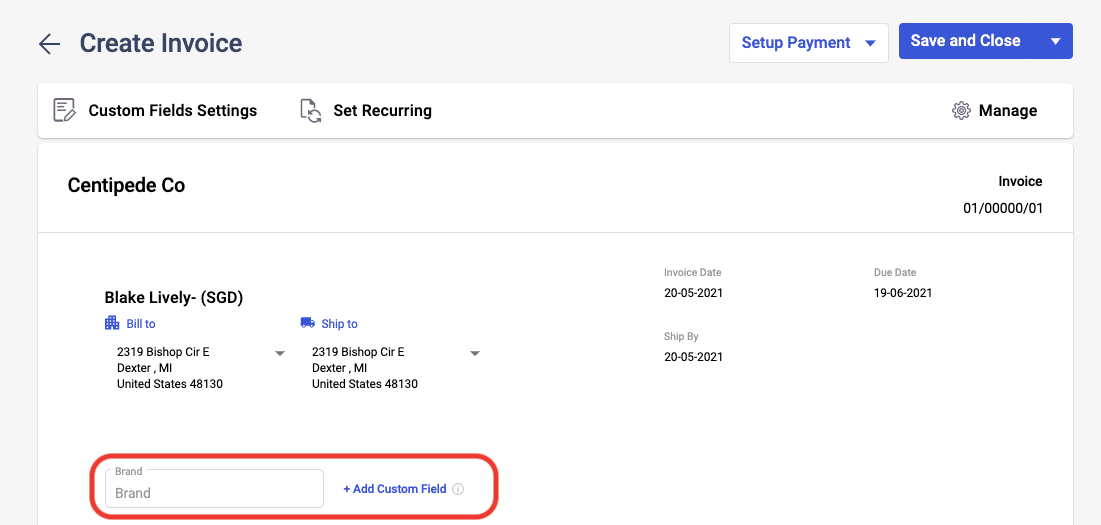
5. You can then view the custom field applied against this bill/quote/order/invoice documents as per the screenshot above. Click on the Add Custom Field to create a new custom field in the system.
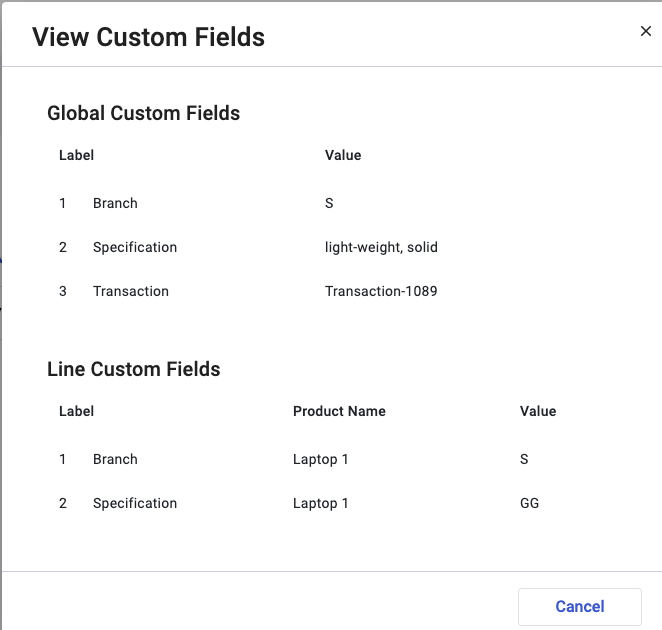
6. To view the global custom field and line item custom field for your bill/quote/order/invoice, click on the three dots of the respective documents and click view custom fields button.

7. This action will open the custom fields created in the documents. You can now view the custom fields created in the documents.
Congratulations! Finally, you have successfully learned how to apply the custom field that you've created in the Buy and Sell tab.