

Have you ever wondered how you can complete your endless work tasks using the shortest time so that you can strike that off by night falls?
It can be stressful and overwhelming to complete a big pile of work, especially if you have limited resources and time.
That's why you need automation to do the work for you.
Automation helps you perform your daily repetitive tasks easily.
You can focus on other areas of your work that need more attention, hence improving your overall work productivity.
Let us introduce you to Deskera Workflow Engine - the software that helps you automate your daily nitty-gritty tasks so that you can achieve more in a single day.
What is a workflow engine on Deskera?
What is a workflow?
A workflow is a series of recurring tasks that you need to perform daily to achieve your business goal.
Business workflow is the set of processes that guide your employees to achieve smoother, more standardize, and consistent operational flow.
With Deskera Workflow Engine, you can design your business processes and automate a series of recurring tasks that fit your business requirements and needs.
Once you have designed the workflow, Deskera application will take cues from the designated workflow and execute them based on the preset rules.
How do I access to the workflow engine on Deskera?
- Login to your Deskera Account
- Once you have logged in, click on the Switch To button at the bottom left.
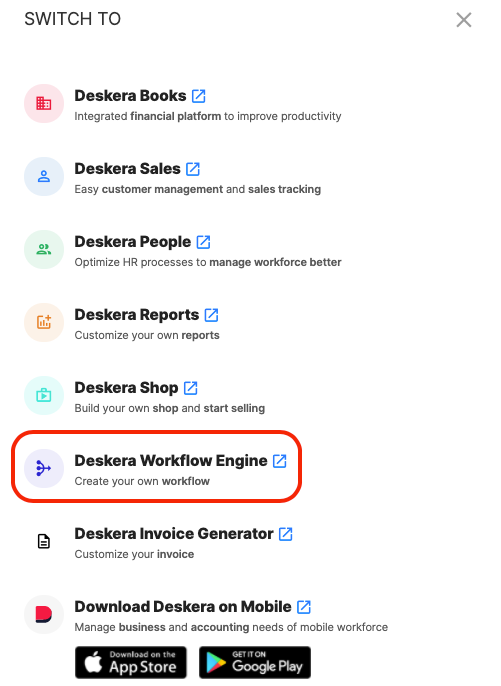
3. Click on Deskera Workflow Engine.
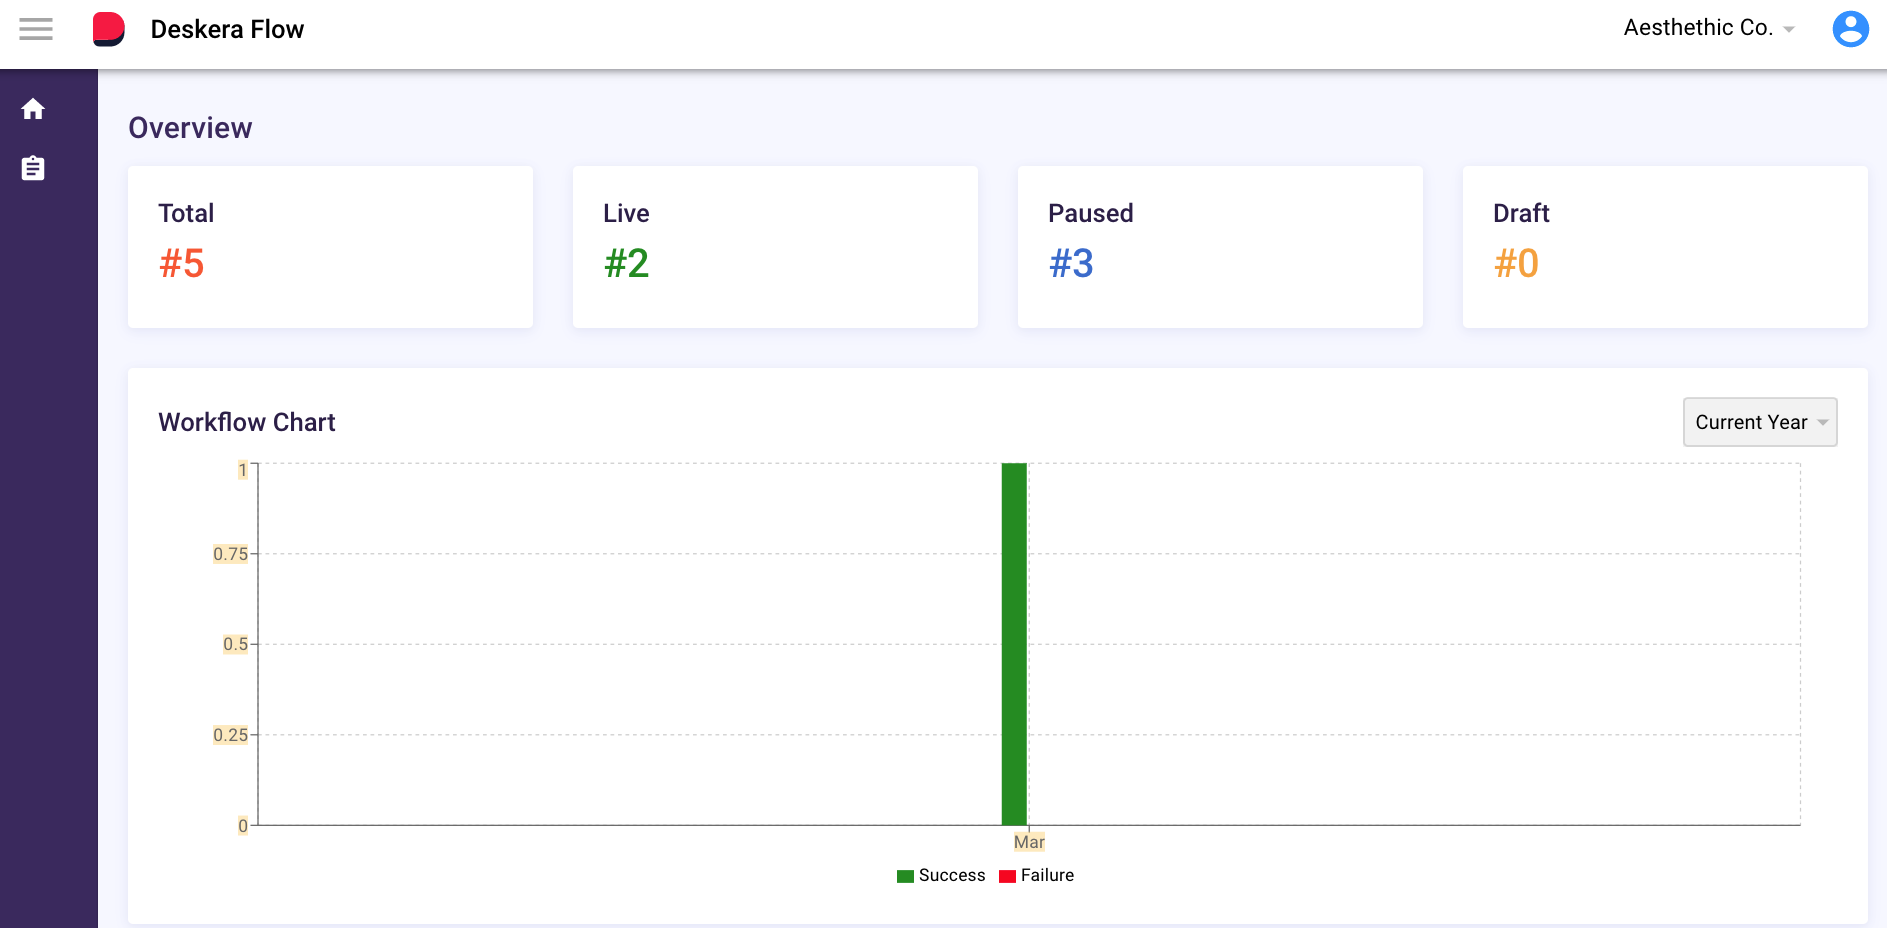
4. This action will direct you to Deskera Workflow Engine Homepage.
5. On the sidebar menu, click on the board icon. Here you can create a new workflow or use the predefined templates saved in the system.
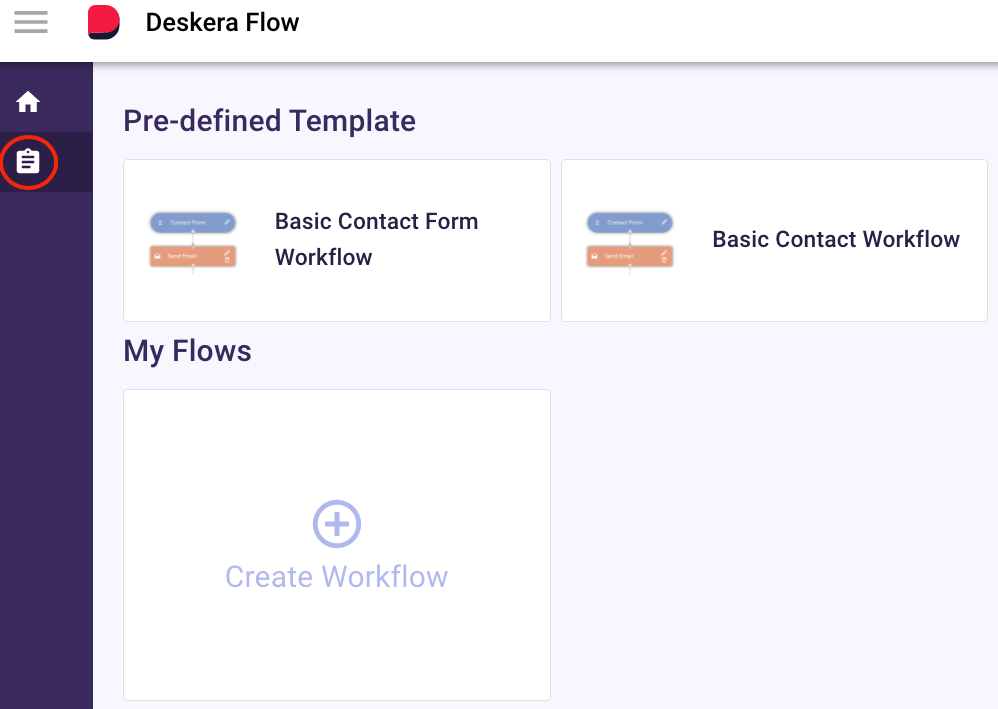
How do I use the predefined template on Deskera?
There are two predefined templates in Deskera Workflow Engine:
A. Basic Contact Form Flow
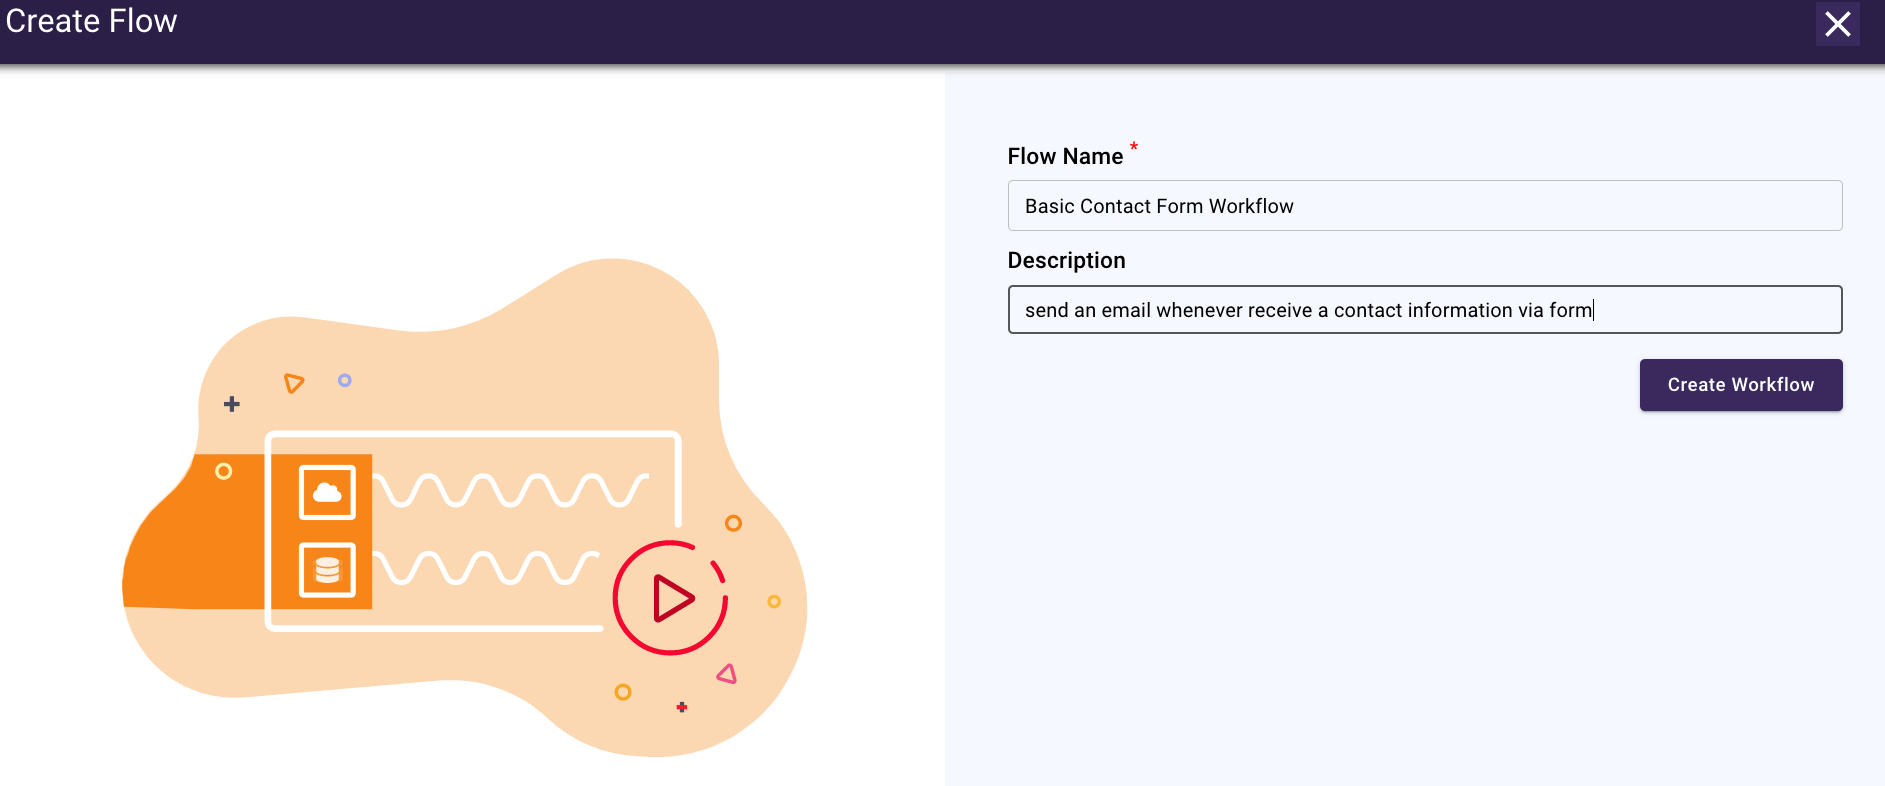
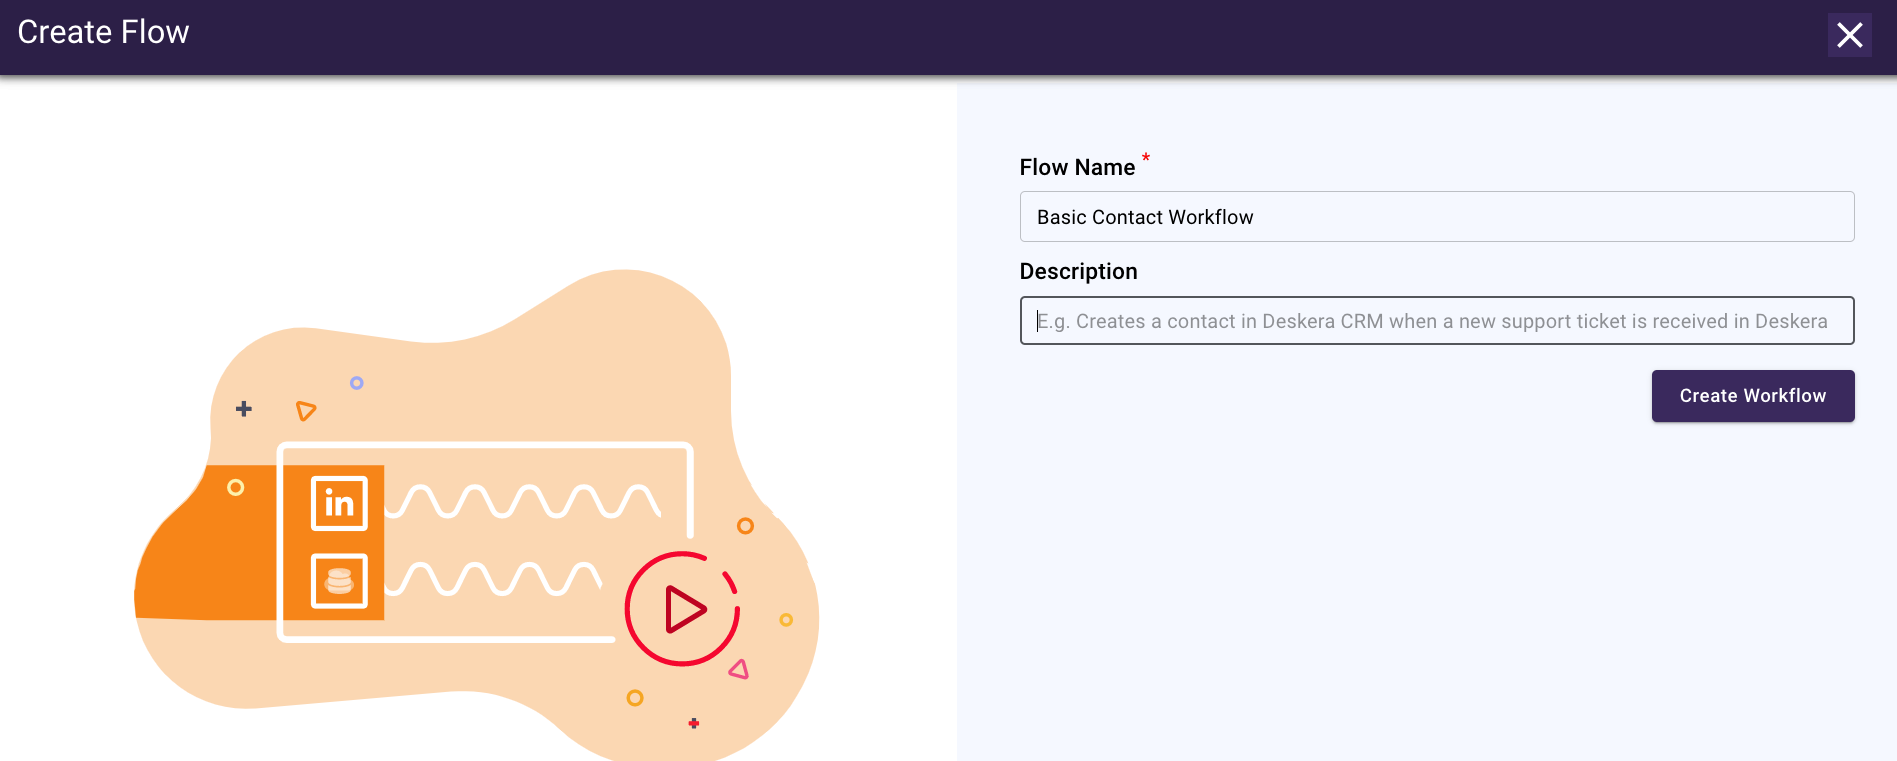
- Clicking on the basic contact form flow template will direct you to the create flow screen, as per the image above.
- Fill in the flow name and the description.
- Click on the Create Workflow button to save it.
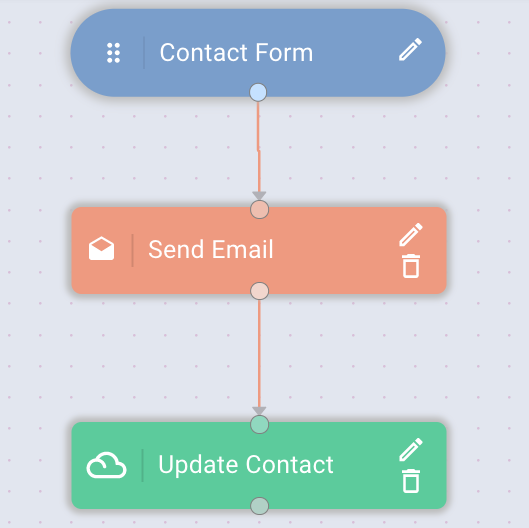
4. On the following page, you can view the predefined workflow, starting with creating contact, sending an email, and updating contacts.
This means that whenever you receive contact information via the form in Deskera CRM, the system will send an email notification.
The system will then automatically update the contact information as per your configuration.
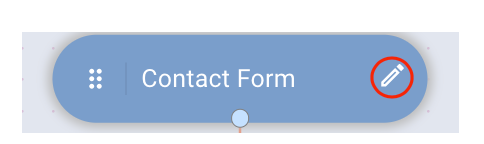
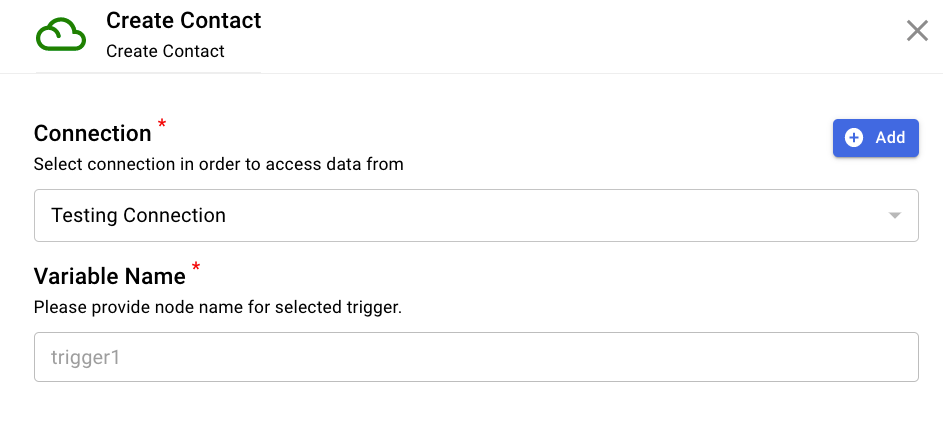
5. Click on the edit icon on the contact form placeholder to connect to your organization.
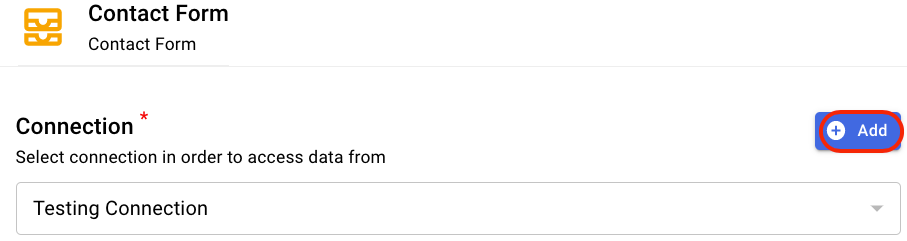
6. Connect to your Deskera account by clicking on the Add button.
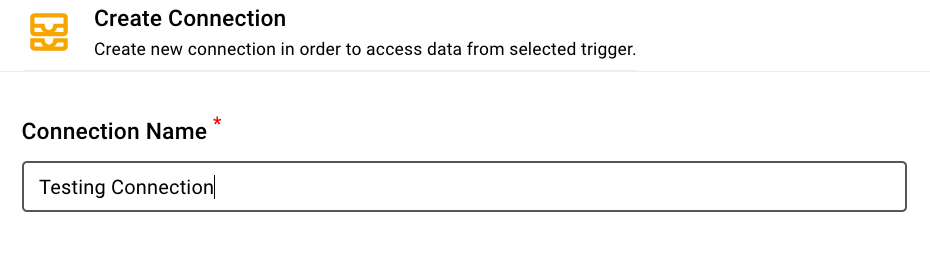
7. Enter your connection name and click on the Authorize button.
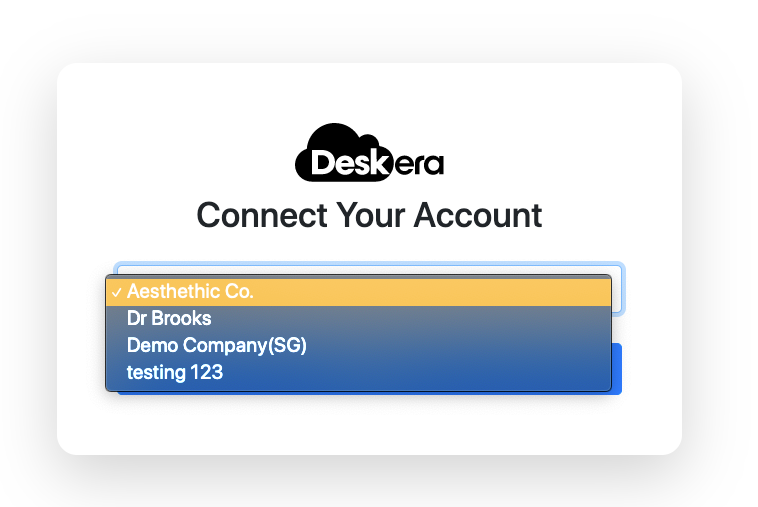
8. Connect to one of your organizations in Deskera and click Authorize.
**You can connect to multiple organizations. You can have multiple connection with different organizations and can select any connection available.
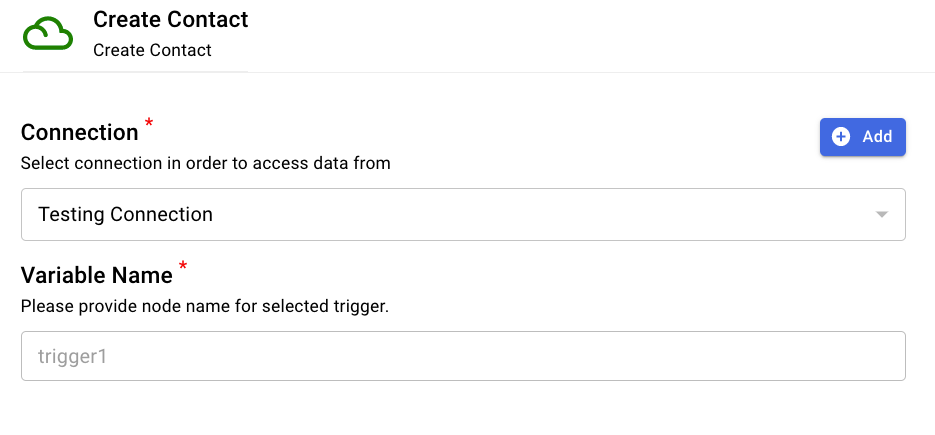
9. The variable name is set to the default trigger1 and you cannot edit this.
10. Click on the Done button.
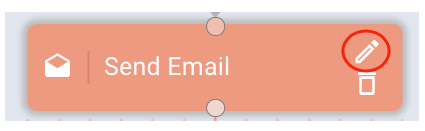
11. Next, click on the edit icon for the send email placeholder.

12. A pop-up will appear, and you have two templates to choose to send the email:
- Basic template - If you choose the basic template, Deskera cannot track whether the recipient reads the email.
- My template - If you choose My Template, Deskera can track whether the recipient's email is read. The email template here is populated from the email template saved in My Templates folder in Deskera CRM.

13. Once you have chosen the respective template, a slider will appear on the right-hand side screen. Fill in the following information:
- Send email using - You can choose Deskera email service or your own service.
- Send email to - This will be your contact's email. This will be auto-populated as per the variable set in point 9.
- Subject - This is the email's subject.
- Message - This is the email's body. You can also insert the fields available on the right-hand side -the system variables and contact form fields so that the system can populate the respective data accordingly.
- Resend enabled - Indicate yes or no whether to resend the email if the receiver does not view the email.
- Retry Interval - Indicate the retry interval by days, hours, and minutes if the email is not read.
- Retry Count - Number of times the email should be sent if not read
**Resend if not viewed only applicable for email with template. Otherwise we cannot track the email view status
14. Click Done.
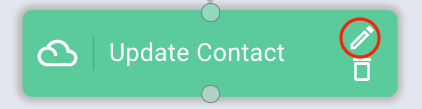
15. Next, you need to configure the update contact placeholder. Click on the edit icon.

16. This action will open the slider on the right-hand side screen.
17. Fill in the following information by mapping the system variable, contact and activity fields on the right-hand side panel to the respective input fields:
- Contact name
- Visibility
- Phone
- Address
- Label
18. Click Done.
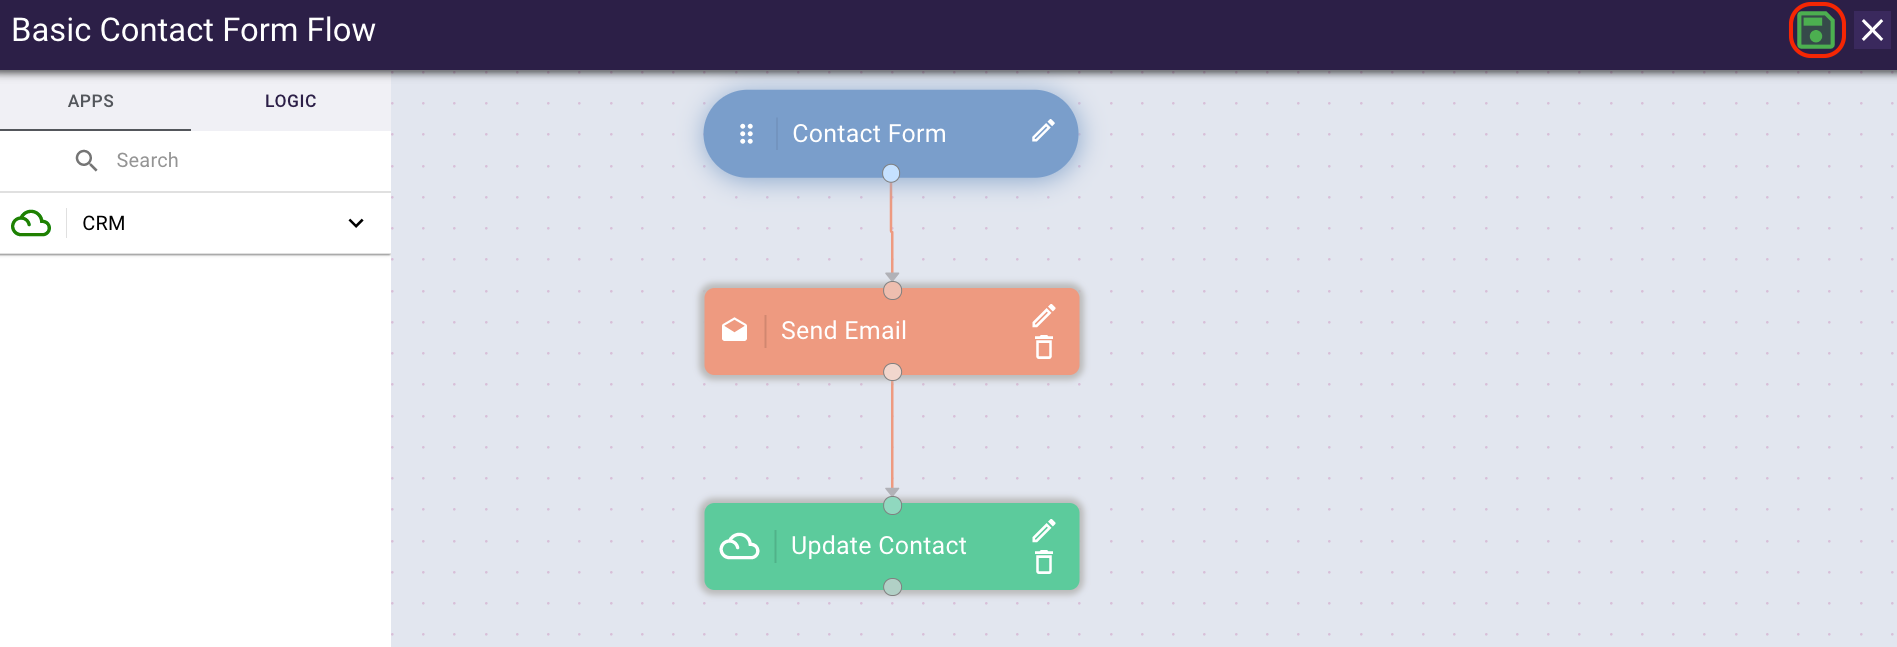
19. Once you have configured the workflow, click on the Save button to save the changes. If you forget to save this workflow, you will lose all the changes made.

20. Click on the play button to activate the workflow.
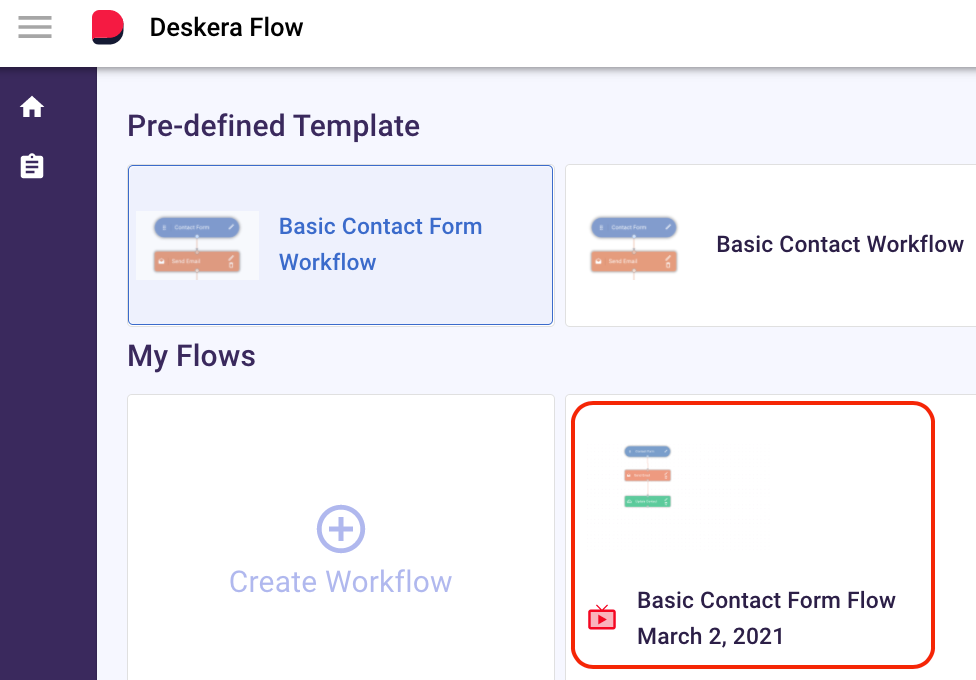
21. You can view the workflow under the My Flows section. The play icon indicated in the workflow shows that the workflow is currently active.
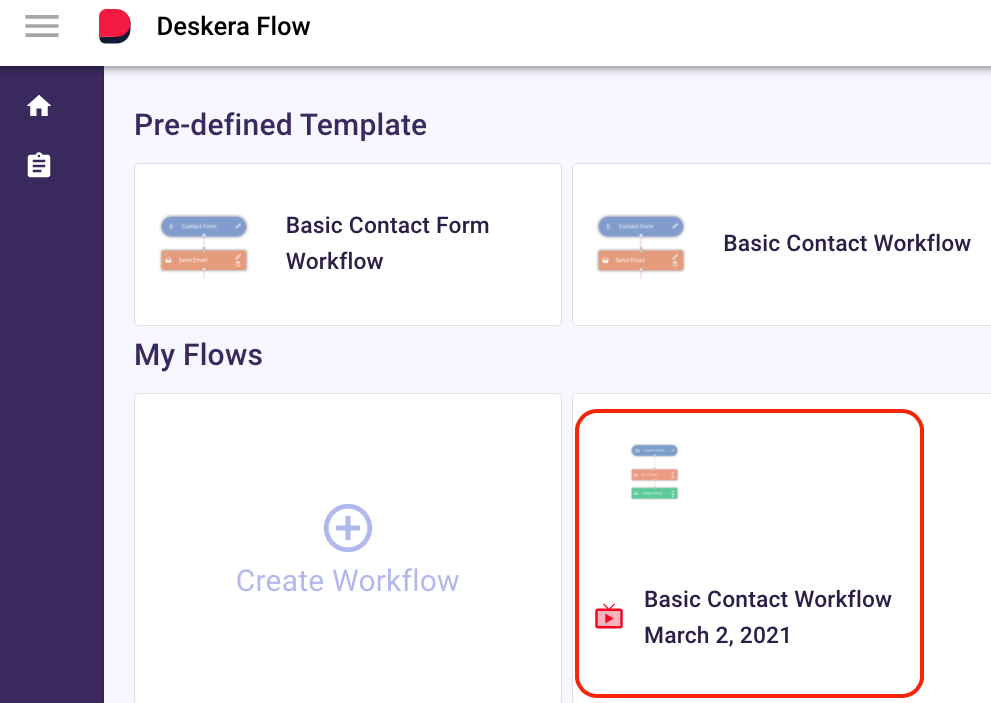
B. Basic Contact Flow
- Clicking on the basic contact workflow will direct you to the create flow screen, as per the image above.
- Fill in the flow name and the description.
- Click on the Create Workflow button to save it.
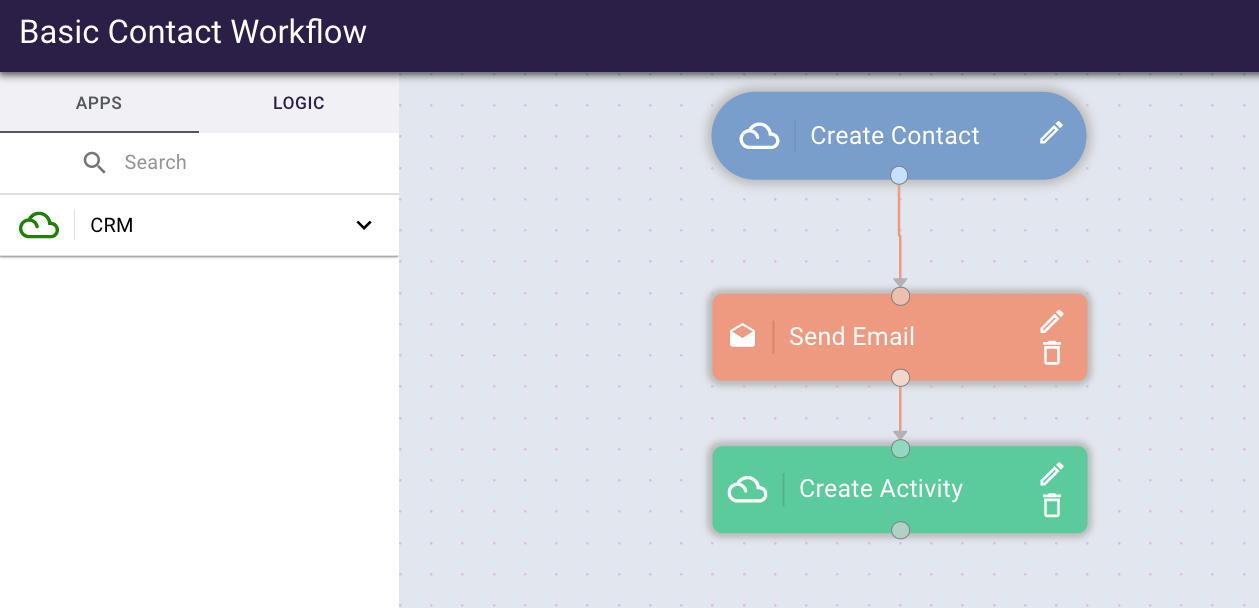
4. On the following page, you can view the predefined workflow that starts from creating contact, send an email, to create an activity
This means that whenever you create a contact in Deskera CRM, the system will send the email notification to the contact. The system will then automatically create an activity tag to the respective contact.
5. Click on the edit icon on the contact form placeholder to connect to your organization.
6. Connect to your Deskera account by clicking on the Add button.
7. Enter your connection name and click on the Authorize button.
8. Connect to one of your organizations in Deskera and click Authorize.
**You can connect to multiple organizations. You can have multiple connection with different organizations and can select any connection available.
9. The variable name is already set to the default trigger1, and you cannot edit this.
10. Click on the Done button.
11. Next, click on the edit icon for the send email placeholder.
12. A pop-up will appear, and you have two templates to choose to send the email;
- Basic template - If you choose a basic template, Deskera cannot capture whether the user reads the email.
- My template - If you choose My Template, we can track whether the email is read or not. The email template here is fetched from the email template saved in My Template folder.
13. Once you have chosen the respective template, a slider will appear on the right-hand side screen. Fill in the following information:
- Send email using - You can choose Deskera email service or your own service.
- Send email to - This will be your contact's email. This will be auto-populated as per the variable set in point 9.
- Subject - This is the email's subject.
- Message - This is the email's body. You can also insert the fields available on the right-hand side -the system variables and contact form fields so that the system can populate the respective data accordingly.
- Resend enabled - Indicate yes or no whether to resend the email if the receiver does not view the email.
- Retry Interval - Indicate the retry interval by days, hours, and minutes if the email is not read.
- Retry Count - Number of times the email should be sent if not read
**Resend if not viewed only applicable for email with template. Otherwise we cannot track the email view status
14. Click Done.
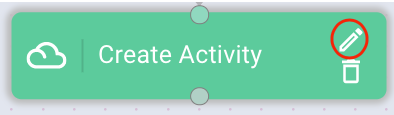
15. Click on the edit icon to configure the create activity placeholder.
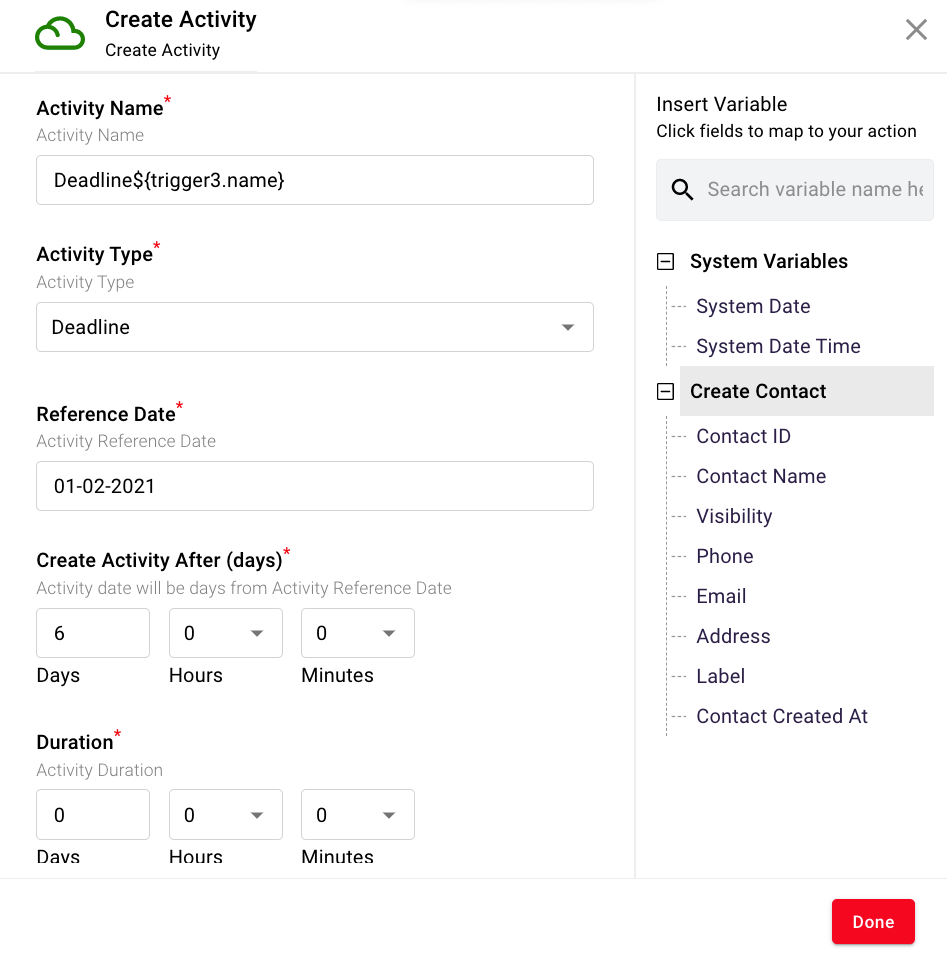
16. This action will open the slider on the right-hand side screen. Fill in the following information by mapping the system variable and contact fields to:
- Activity name
- Activity type
- Reference date
- Create activity after
- Duration
- Assign To
17. Click Done.
18. Once you have configured the workflow, click on the Save button to save the changes. If you forget to save this workflow, you will lose all the changes made.

19. Click on the play button to activate the workflow.
20. You can view the workflow under the My Flows section. The play icon indicated in the workflow shows that the workflow is currently active.
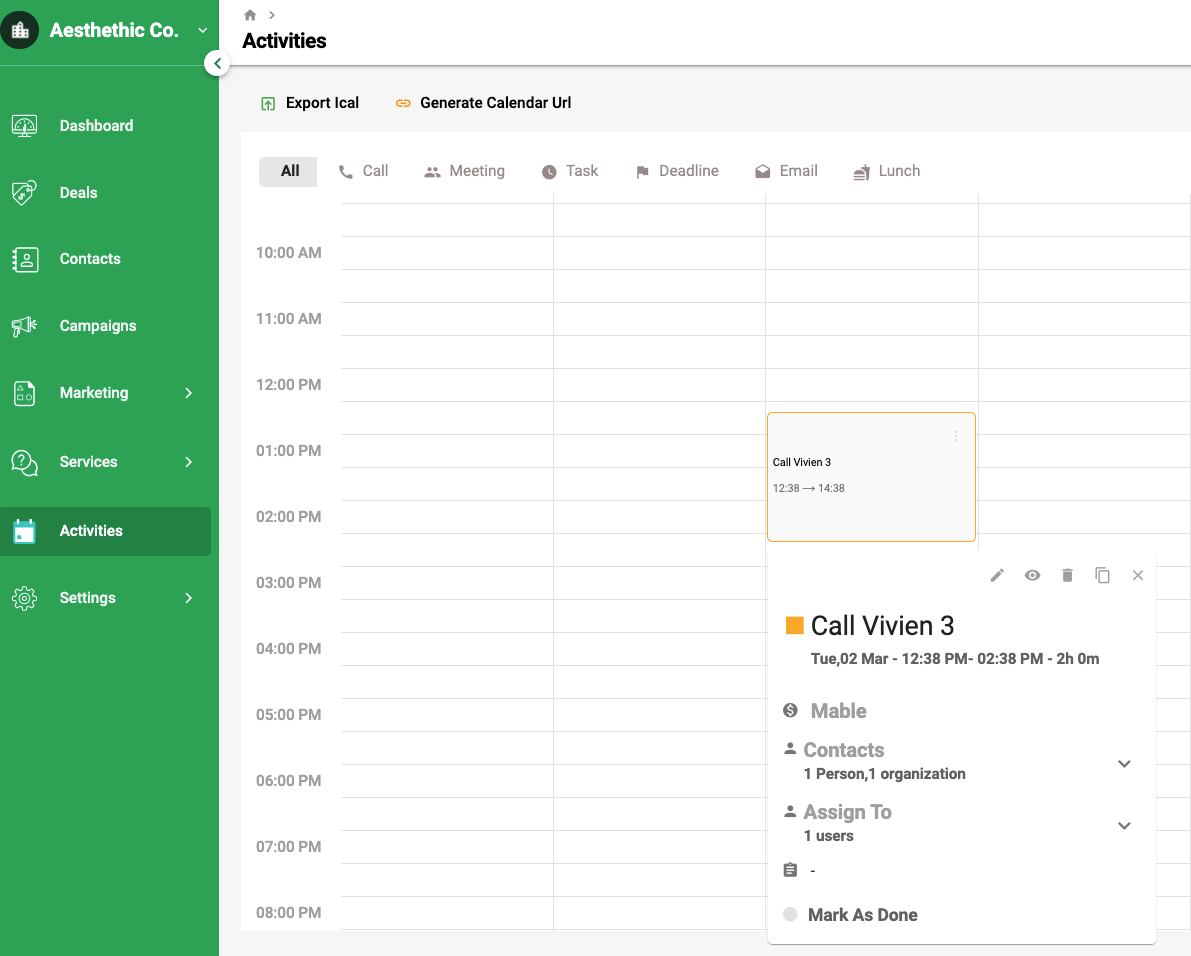
21. Finally, you can view the activity related to the contact in Deskera CRM.
How can I create a new workflow?
If you want to create a new workflow that suits your business processes, you can go ahead to do so.
Follow the steps below to create a new workflow using Deskera Workflow Engine:
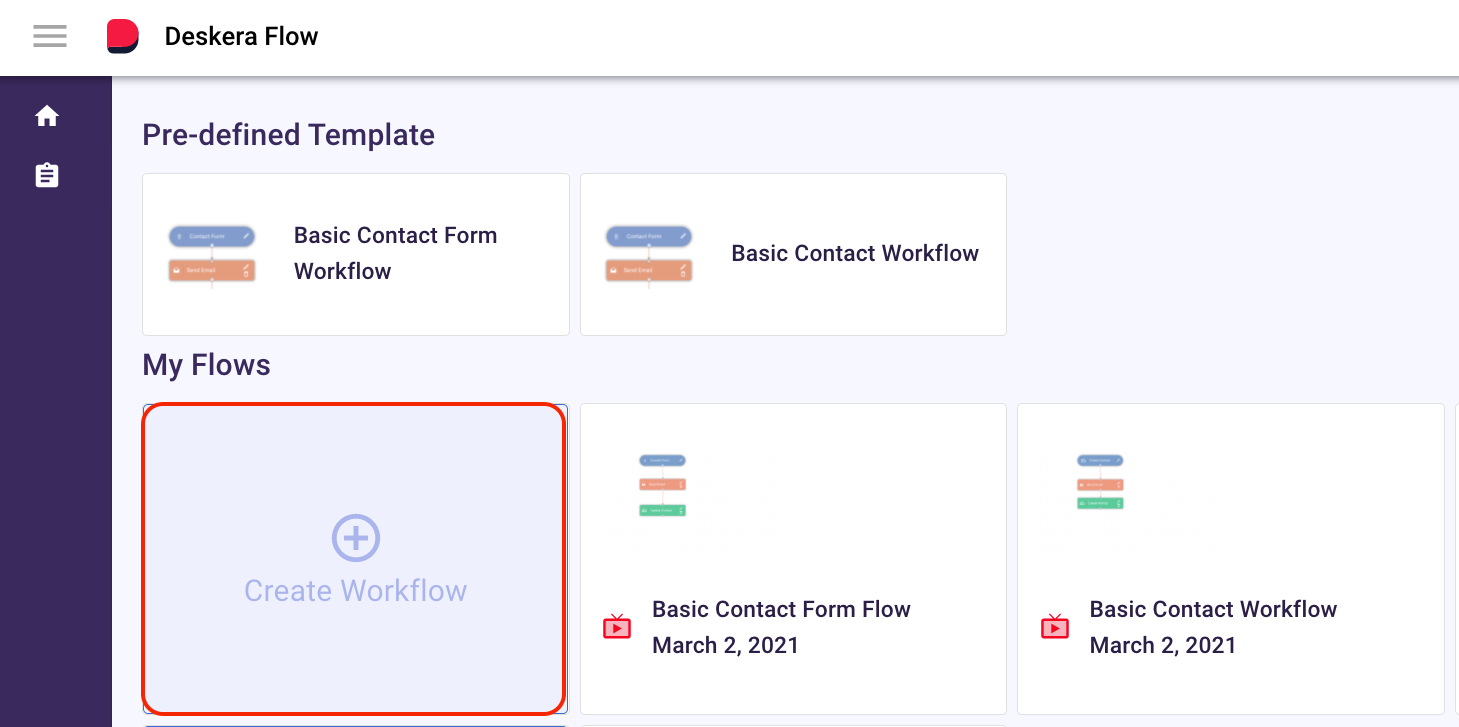
- Click on the Create Workflow button.
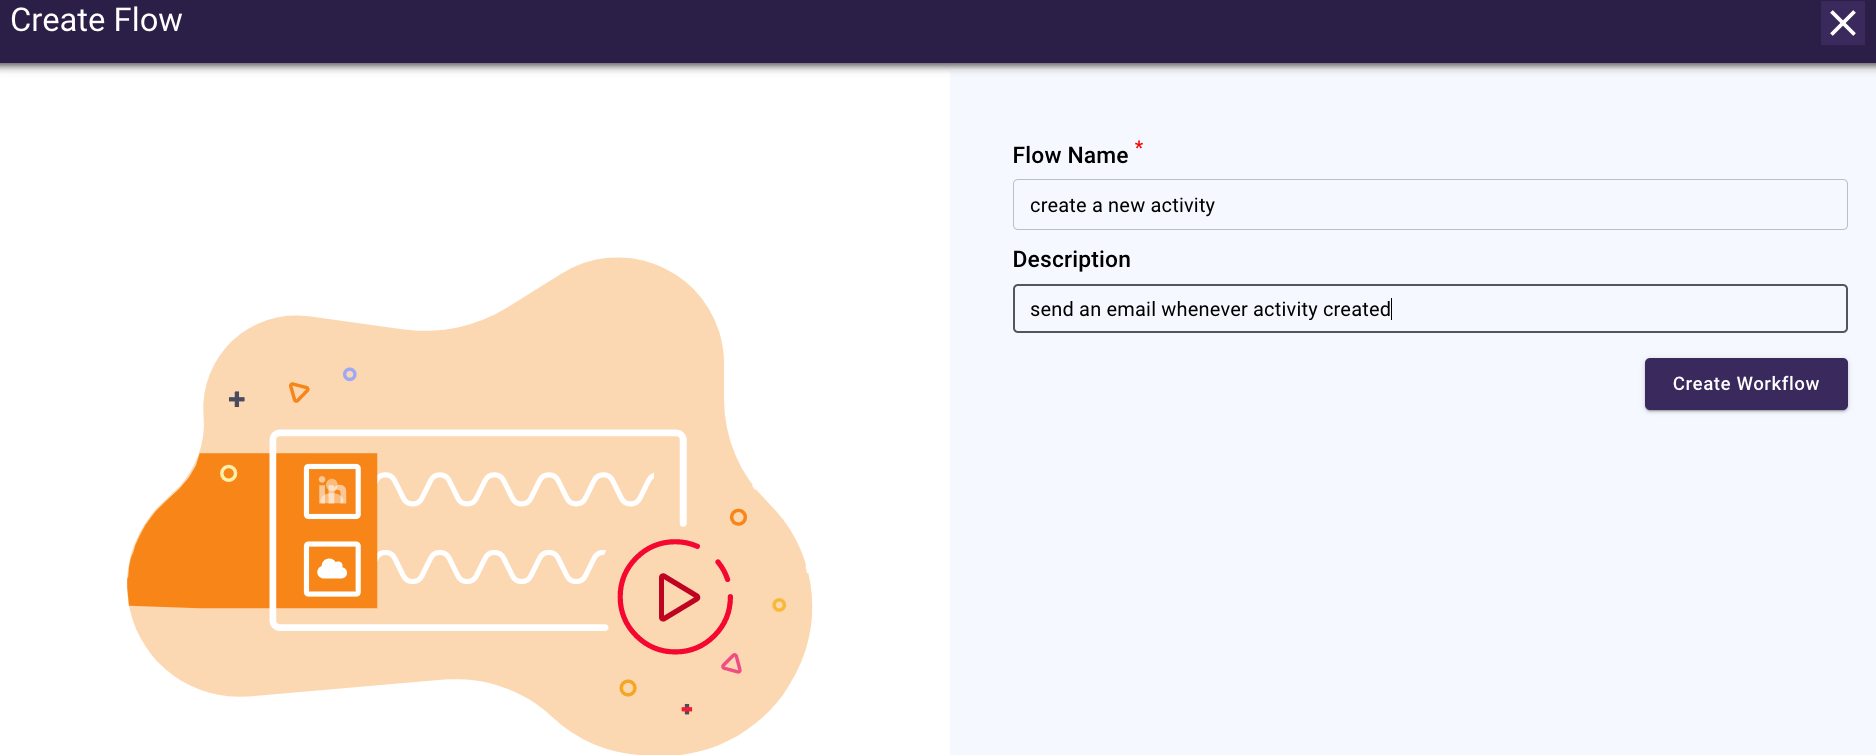
2. Next, create a new flow by entering the flow name and description.
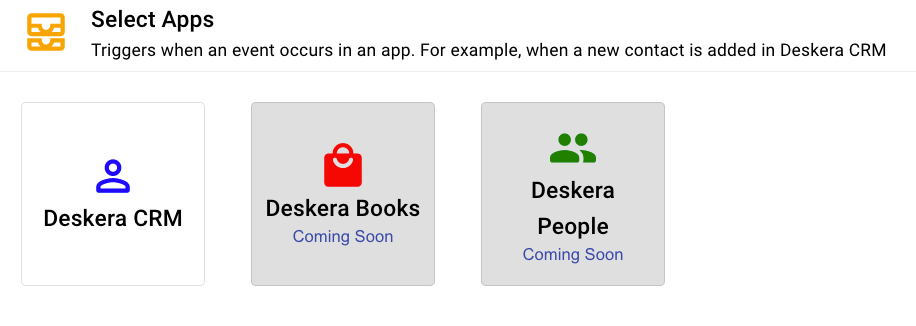
3. Select the App for the trigger and event to happen. You can only choose Deskera CRM for now. We'll have this covered for Deskera Books and Deskera People in the future.
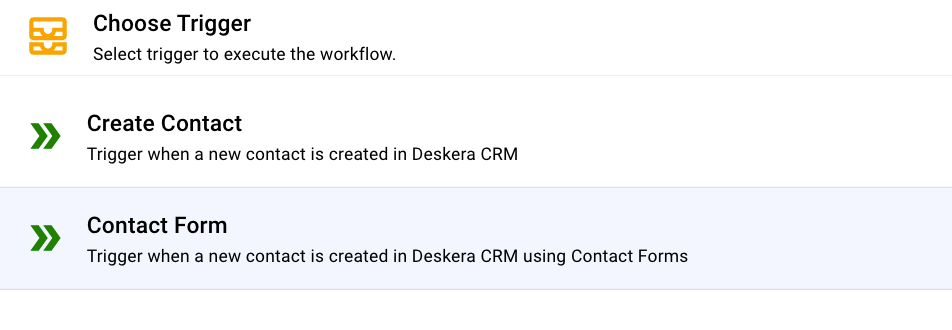
4. There are only two triggers you can choose in the system:
- create contact
- create form
You cannot delete the triggers in the system.
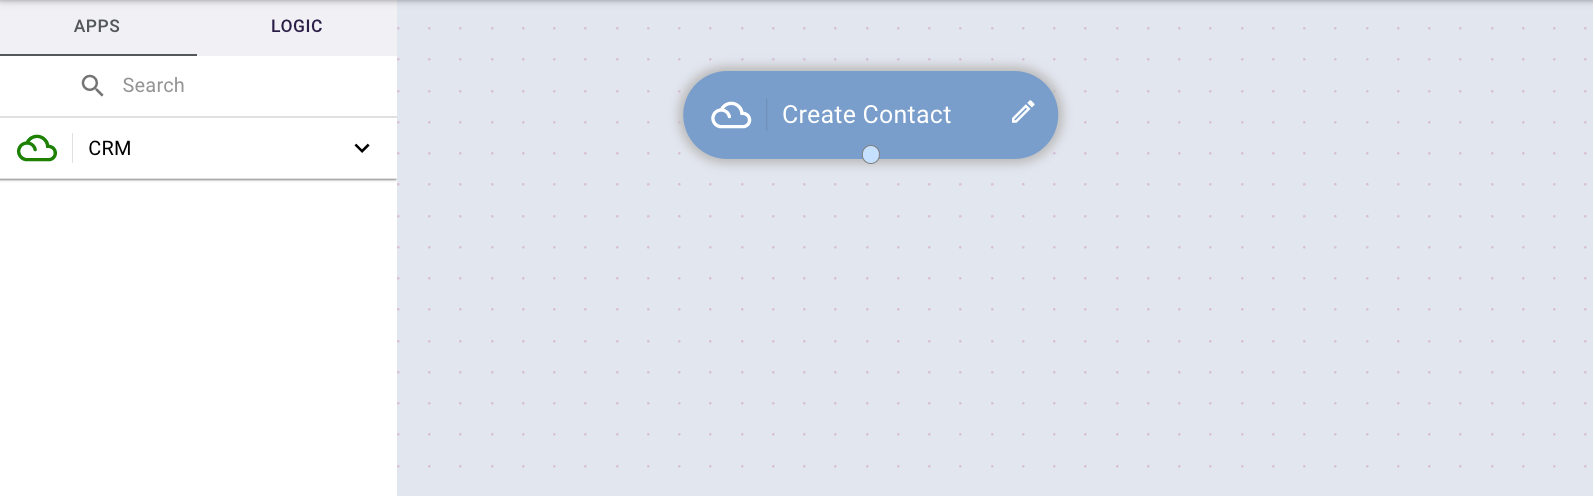
5. You can view the create contact trigger on the blank page. Click on the edit icon to set up the connection to the trigger.
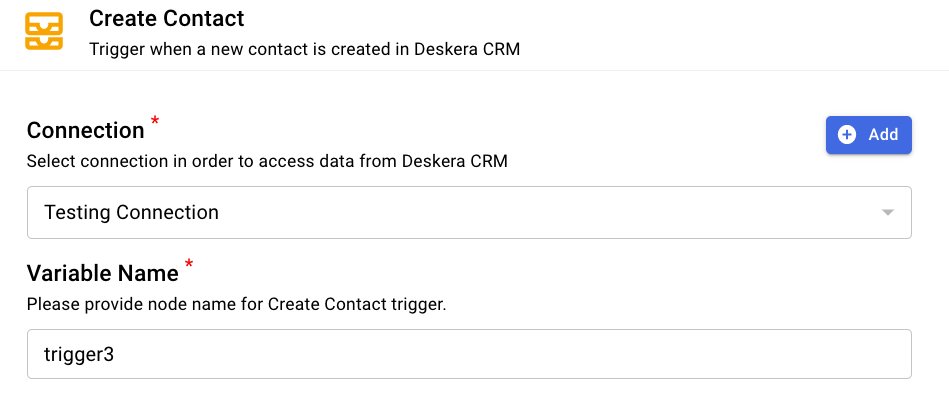
6. Connect to your organization ization and save the variable name.
Note: Once you have saved the variable name, you cannot edit it again. You can only save it once.
7. Click Done.
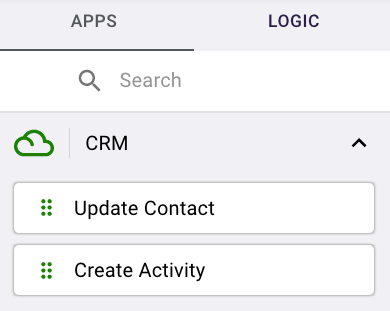
8. On the left hand side panel, click on apps; you can choose the trigger actions such as update contact and create activity.
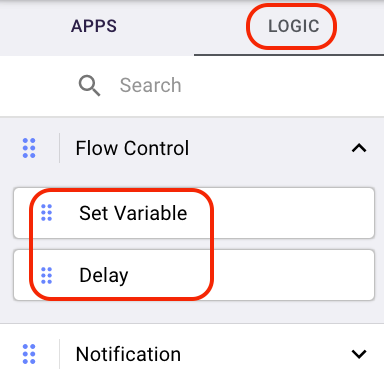
9. Click on the Logic tab. Select drop-down arrow next to the flow control - Choose from set variable and delay placeholder.
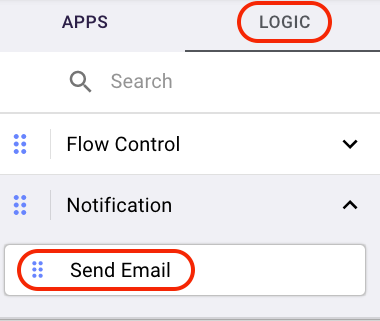
10. Under Notification, you can also choose the send email action to your contact.
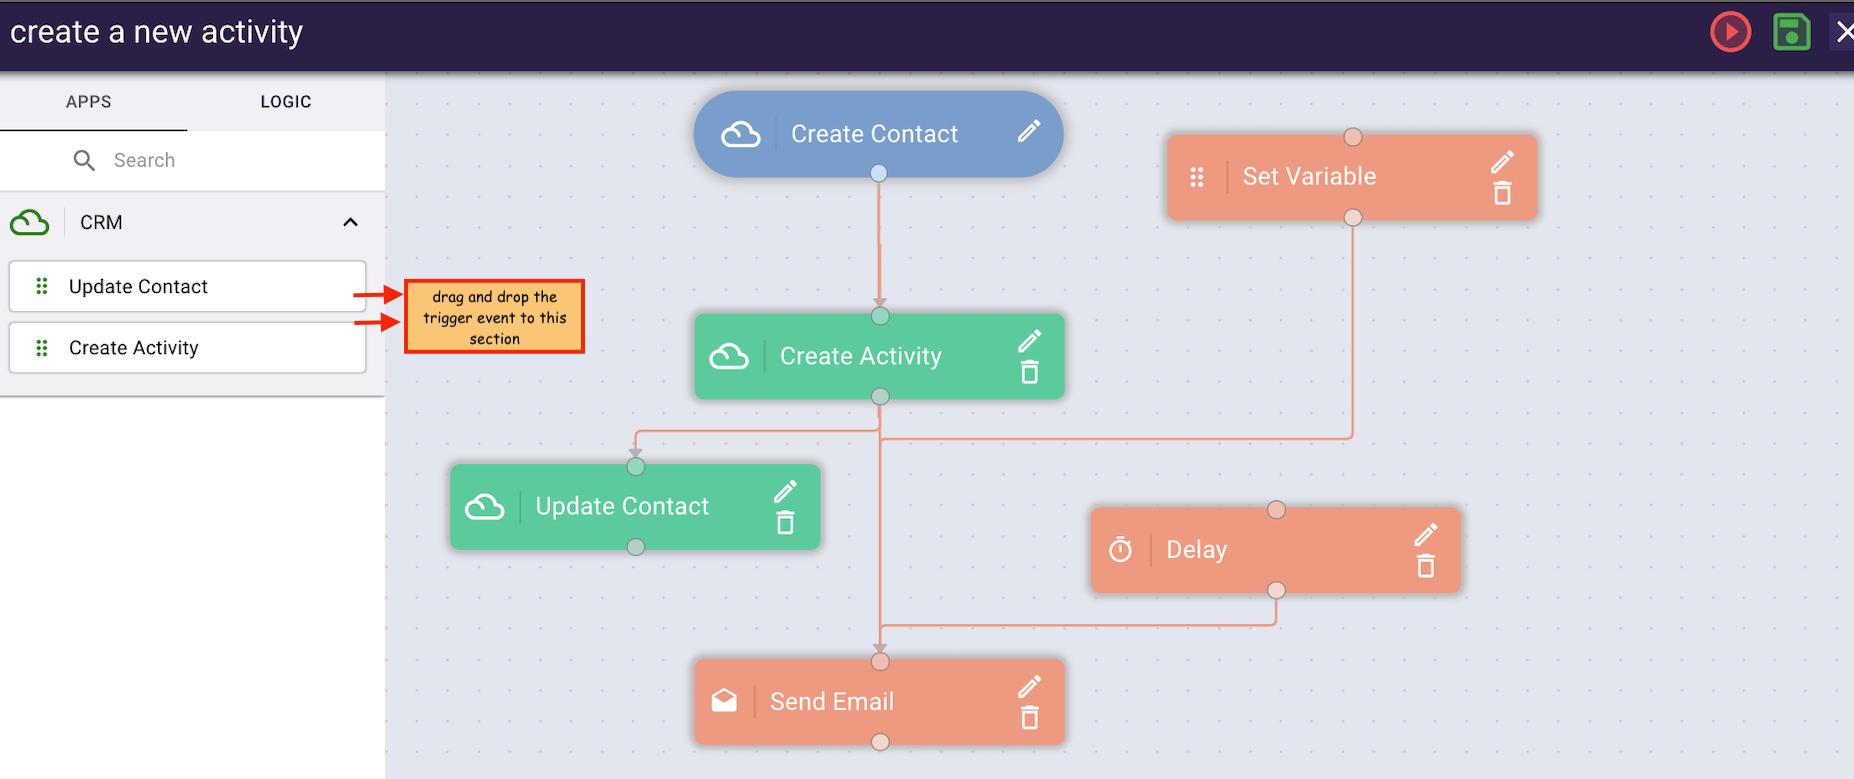
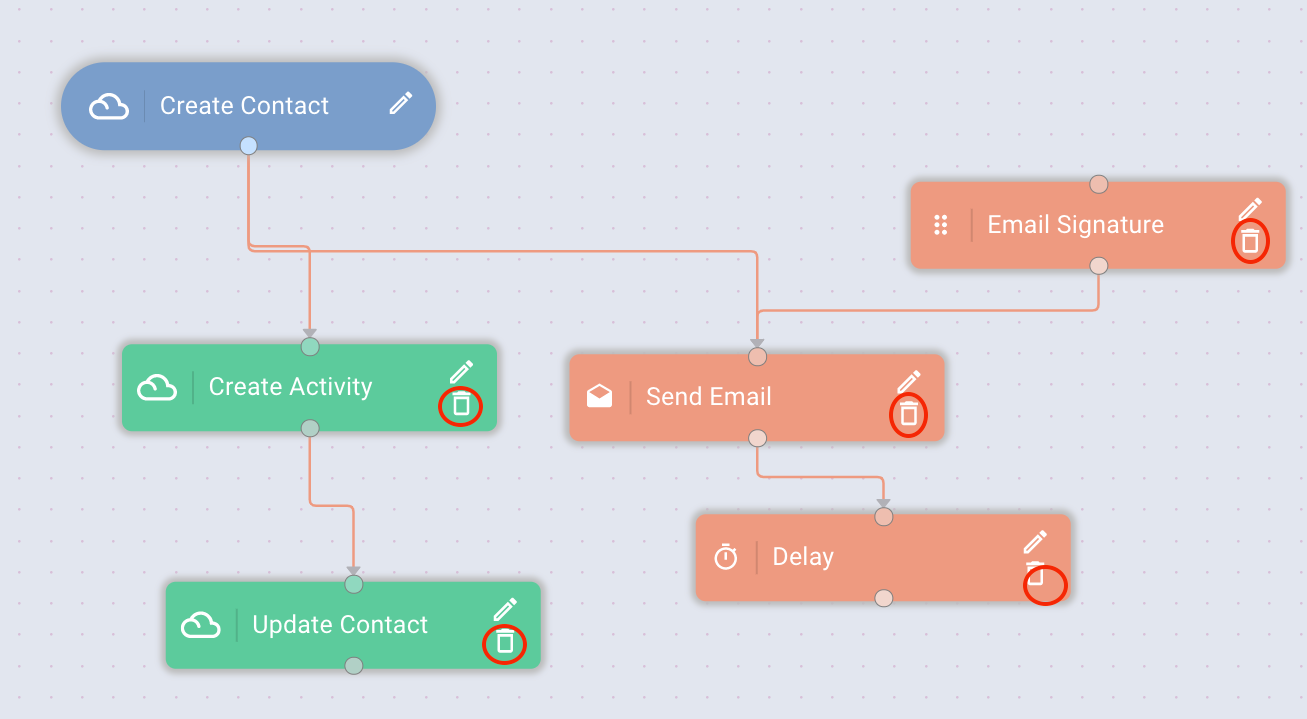
11. Design your workflow by dragging the trigger events to the blank page. Connect one dot to another by building the task sequence, as per the image above.
12. Save the workflow and activate it.
How is the purpose of the set variable and delay button?
You can view the set variable and delay button under the Logic tab on the sidebar menu.
Here's the explanation for these fields.
A. Set variable
This will serve as the additional fields that you wish to add in the system, aside from variable fields, contact and form fields.
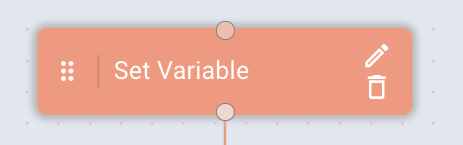
- Click on the edit icon of the set variable.
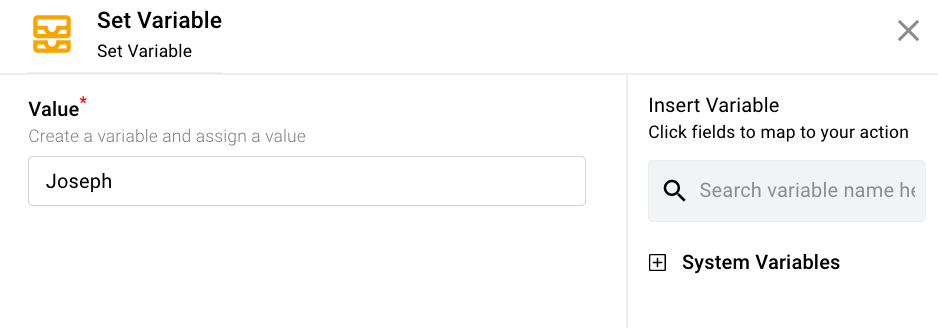
2. Enter the values here >> Click Done.
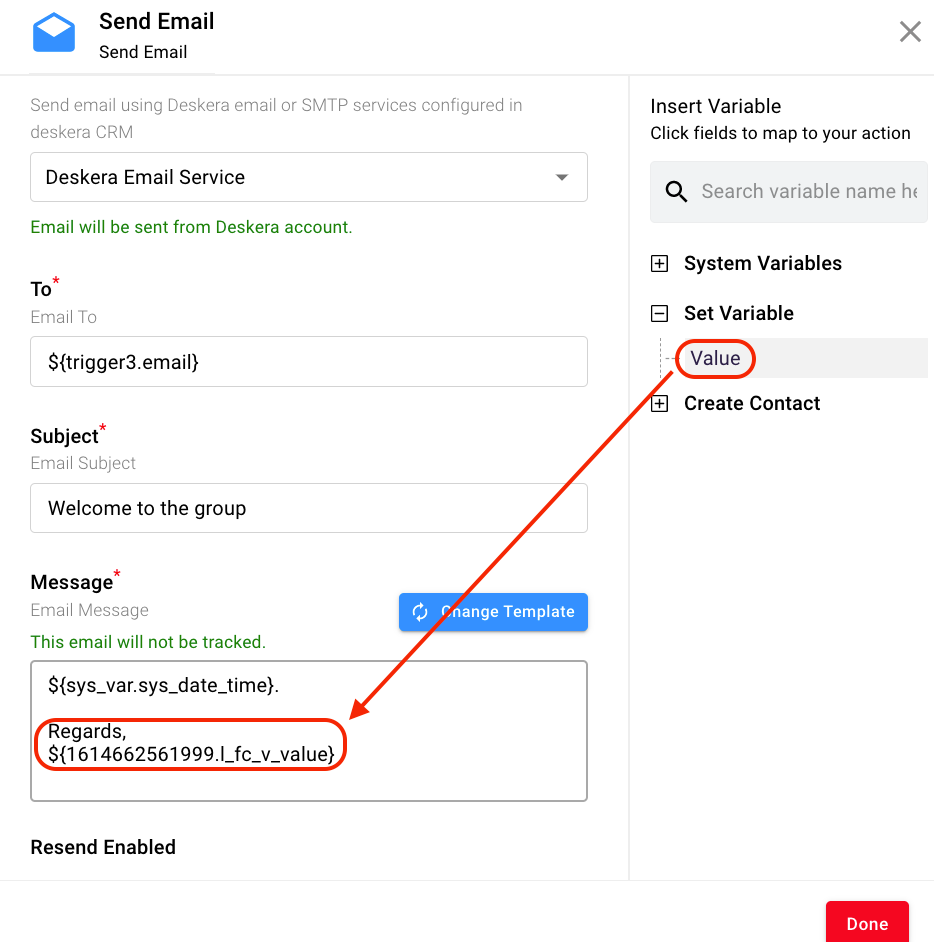
3. You can view the new variable saved in the send email box. Use this field in the email's body.
B. Delay
After an action is performed, you can add the delay button to the next action if you wish the trigger event to happen later.
If you mark it as immediately, your contact will receive the email notification immediately after the action is triggered.
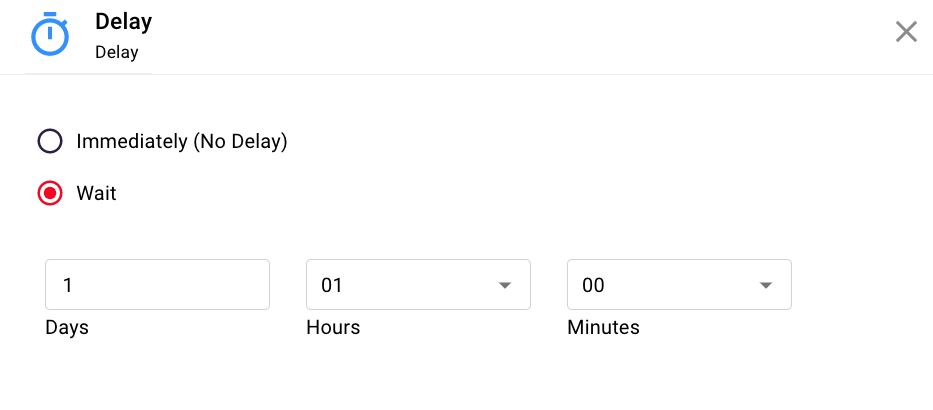
If you mark it as wait, your contact will receive the email notification based on the interval set.
Can I delete the existing workflow?
The answer is no.
You cannot delete the existing workflow that you have created in the system.

However, you can click on the pause button in each workflow to mark it as inactive.
Also, you can delete all the trigger events except the trigger itself.