

With the advancement of technology, businesses can utilize technology to capture leads from various platforms.
One of the beneficial features for every business is the chatbot feature.
With the chatbot feature, users can immediately reach out to an organization if they are keen on their products and service.
Real-time engagement allows businesses to build a meaningful and deep connection with their leads and customers, which helps improve sales revenue, and overall customer experience.
Follow the steps below to integrate the chatbot on your landing page:
- Login to your Deskera CRM Plus account.
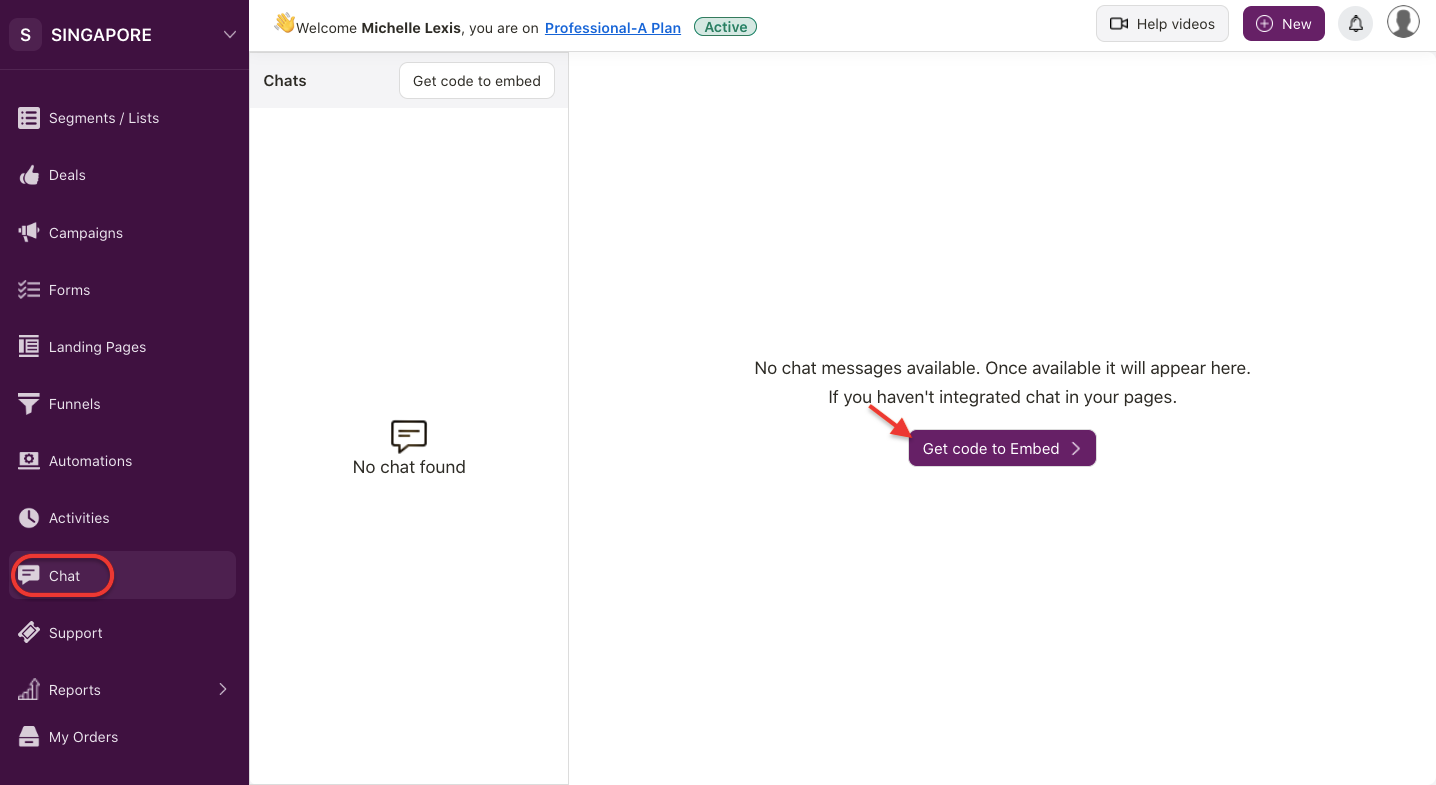
2. On the right-hand side panel, click on the Chat Module.
3. Click on the "Get Code to Embed" button.
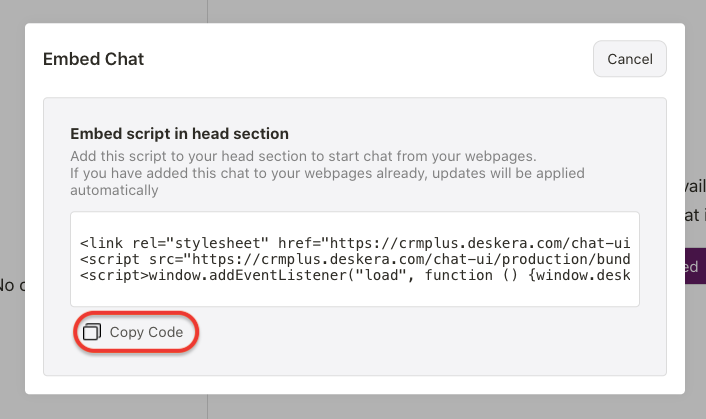
4. A pop-up box will appear. Click on the copy code button.
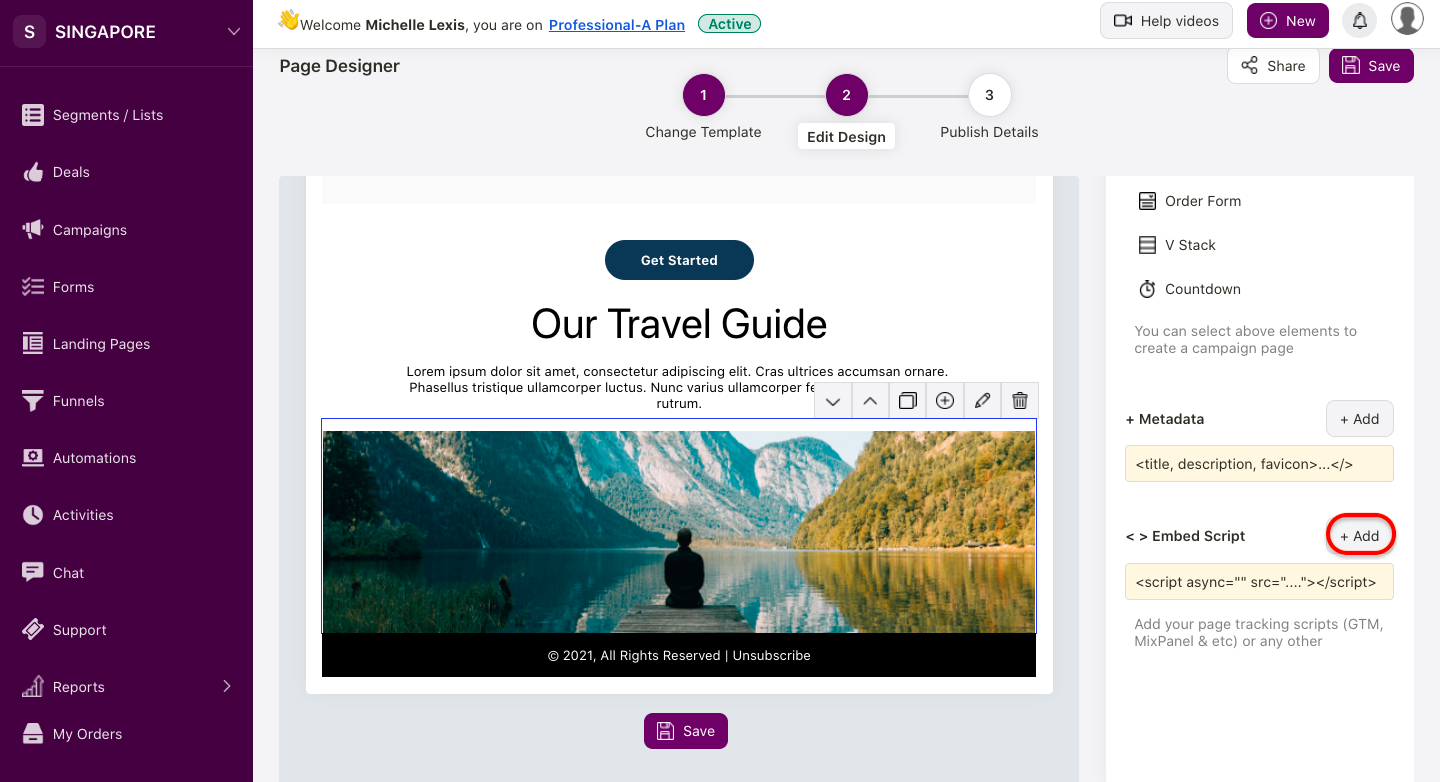
5. Next, go to your landing page module. If you have created a landing page, you can click on the edit button under the action column.

6. On the edit design page, click on the "Add" button under the embed script section.
7. A pop-up menu will appear. Paste the code you have copied earlier under the web page header.
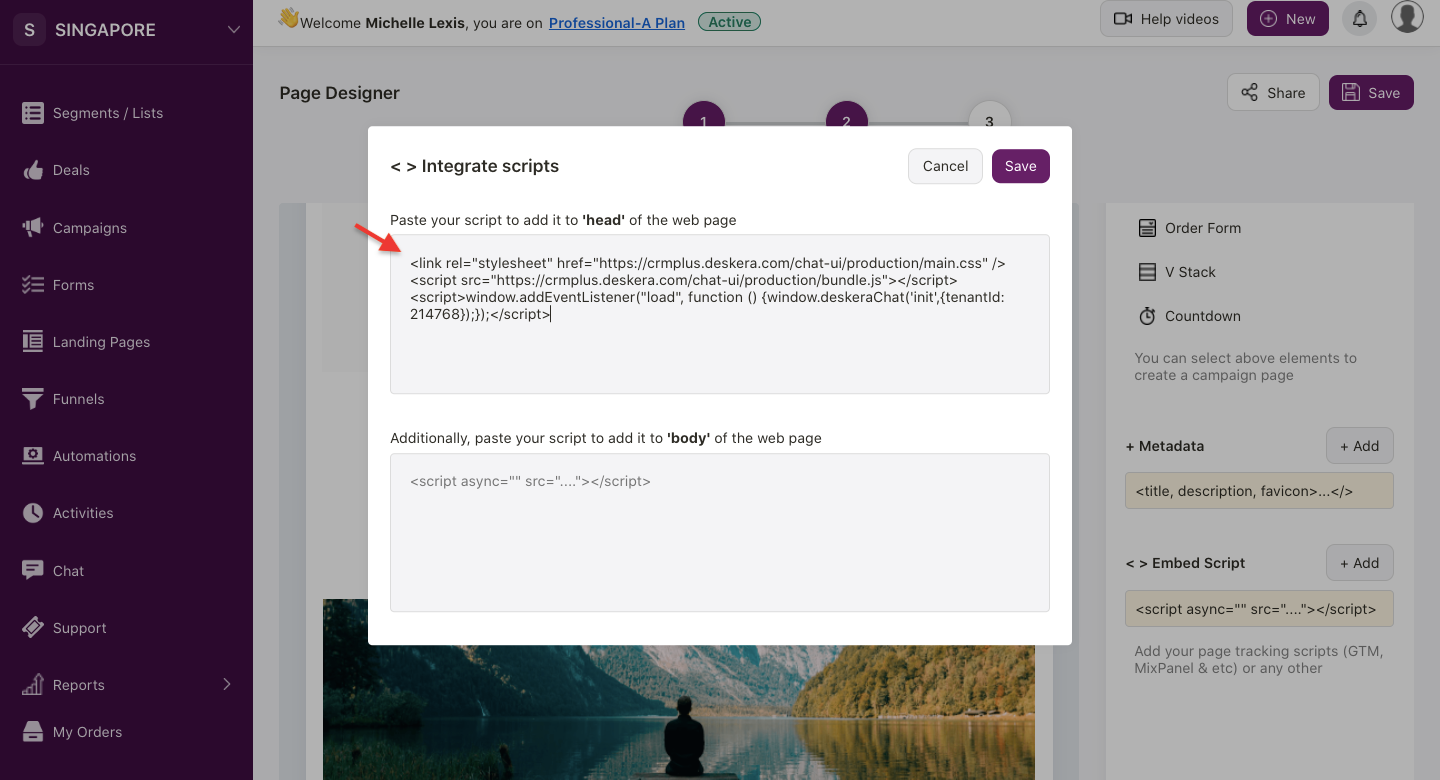
8. Click Save.
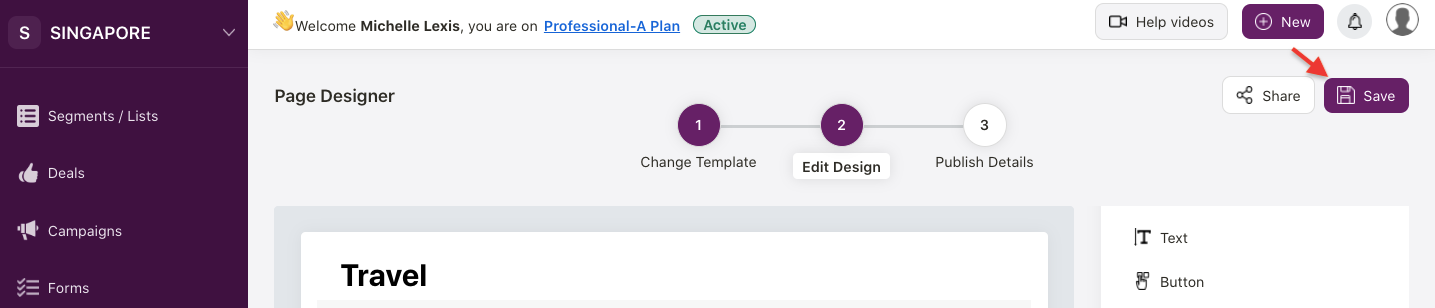
9. Next, save the changes on the landing page template.
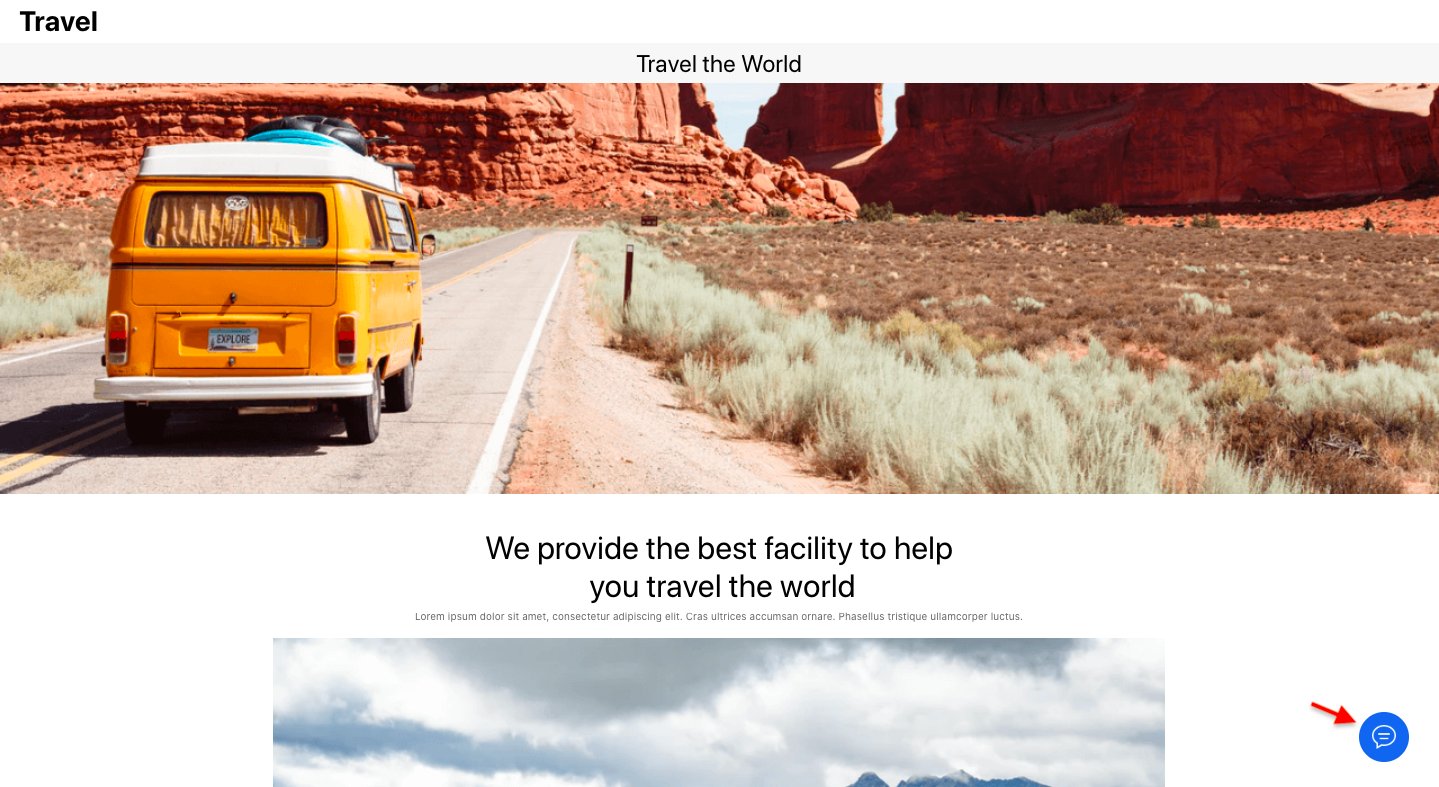
10. After saving, go to your landing page. On this page, you can view the live chat icon at the bottom right.
11. The website visitors can message you directly from the chatbot. They can attach files, emojis or images using the chatbot as well.
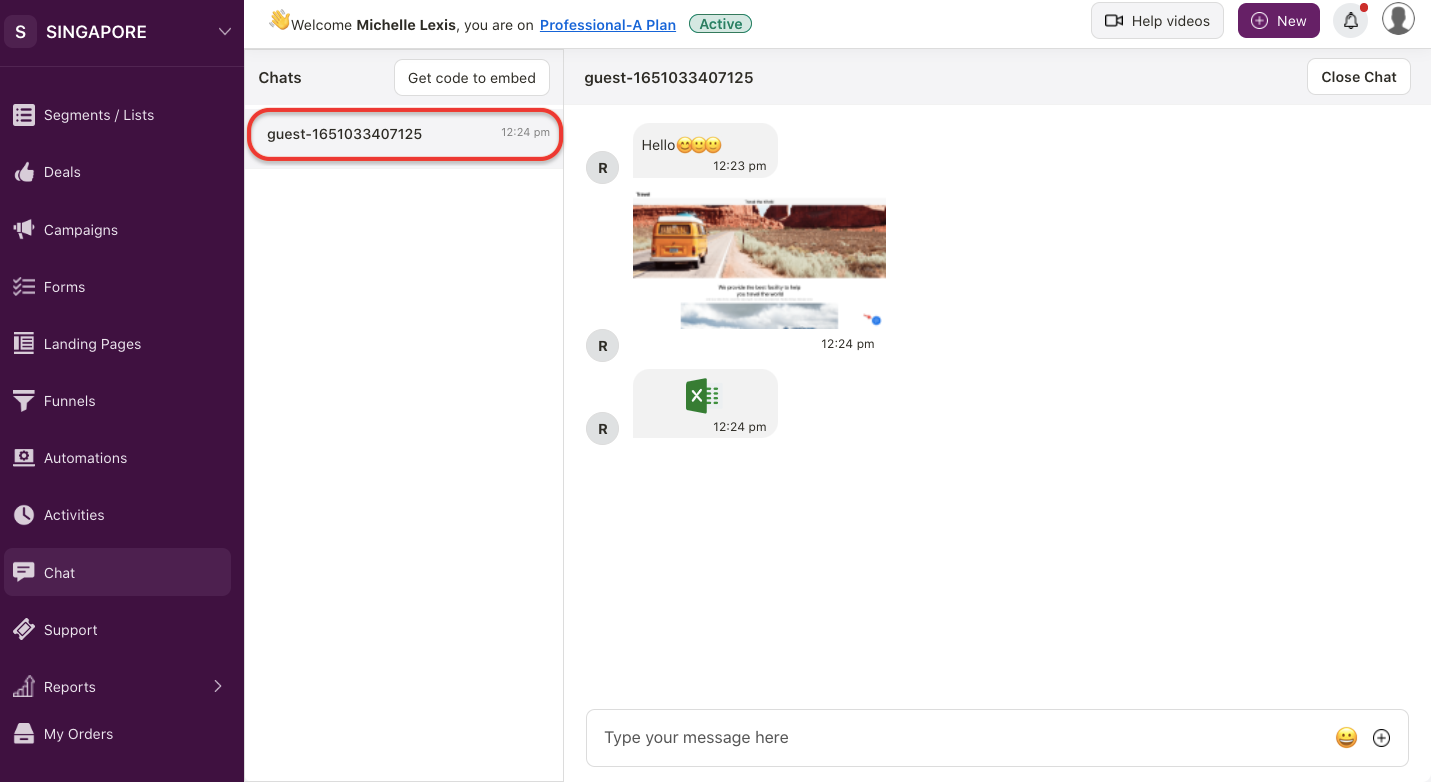
12. Your support team can view and reply to the messages from your website via the Chat Module.
13. Reply to the queries submitted from the chatbot and close the chat once the visitors' queries are answered.
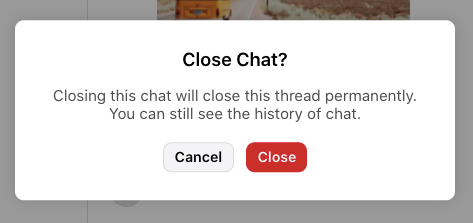
14. A pop-up message will appear after clicking on the close chat button. Click Close.
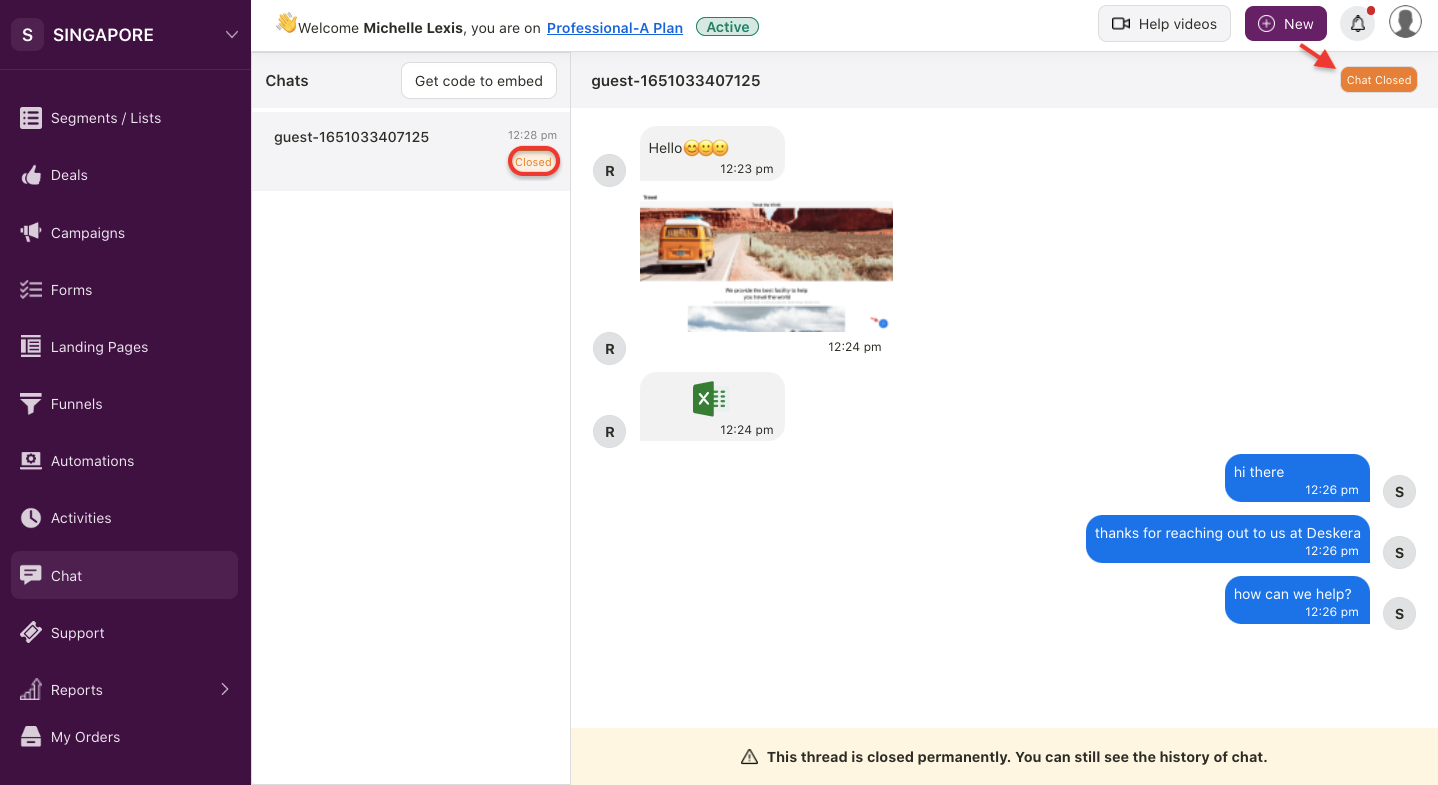
15. The chat thread will be closed permanently. However, you can still view the chat history.