

Creating a business bank account allows you to monitor your business cash flow in and out from your organization.
It's vital to have a business bank account so that it's easier for you to make and receive payment for business related transactions.
Follow the steps below to create a bank in Books+:
- Login to your Books+ account.
- Go to Bank Module via the sidebar menu.

3. Click on the "+ New Bank" button.
4. A pop-up menu will appear.
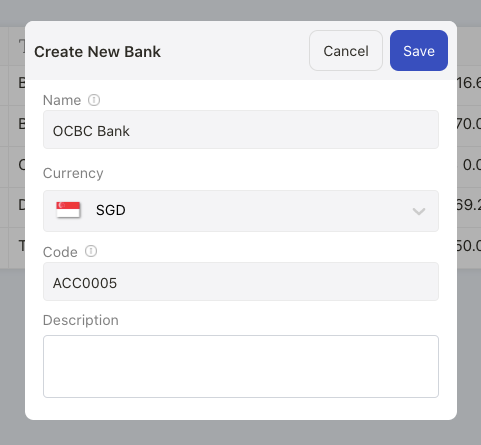
5. Fill in the bank name, currency, code and description. *You will need to activate multi-currency feature via setting if your bank is in foreign currency
6. Click on the Save button.
7. You can view the bank created in the Bank Summary List.
How can I import my bank feeds?
After you have successfully created your bank in Books+, you need to import your bank feeds to the system.
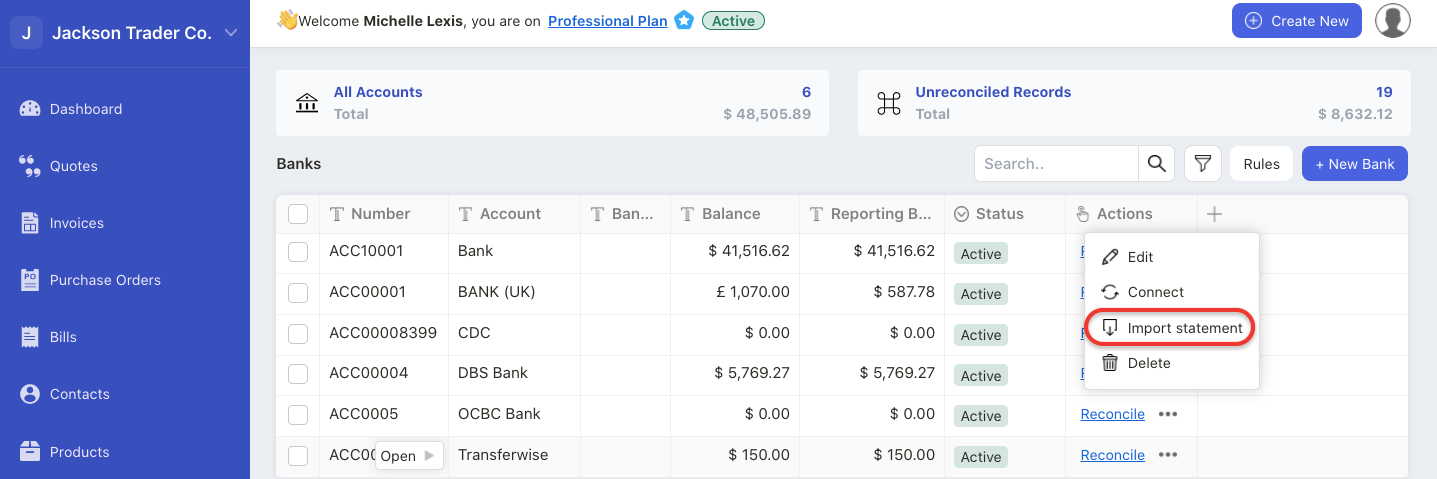
Click on the three dots on the actions column and select import statement button.
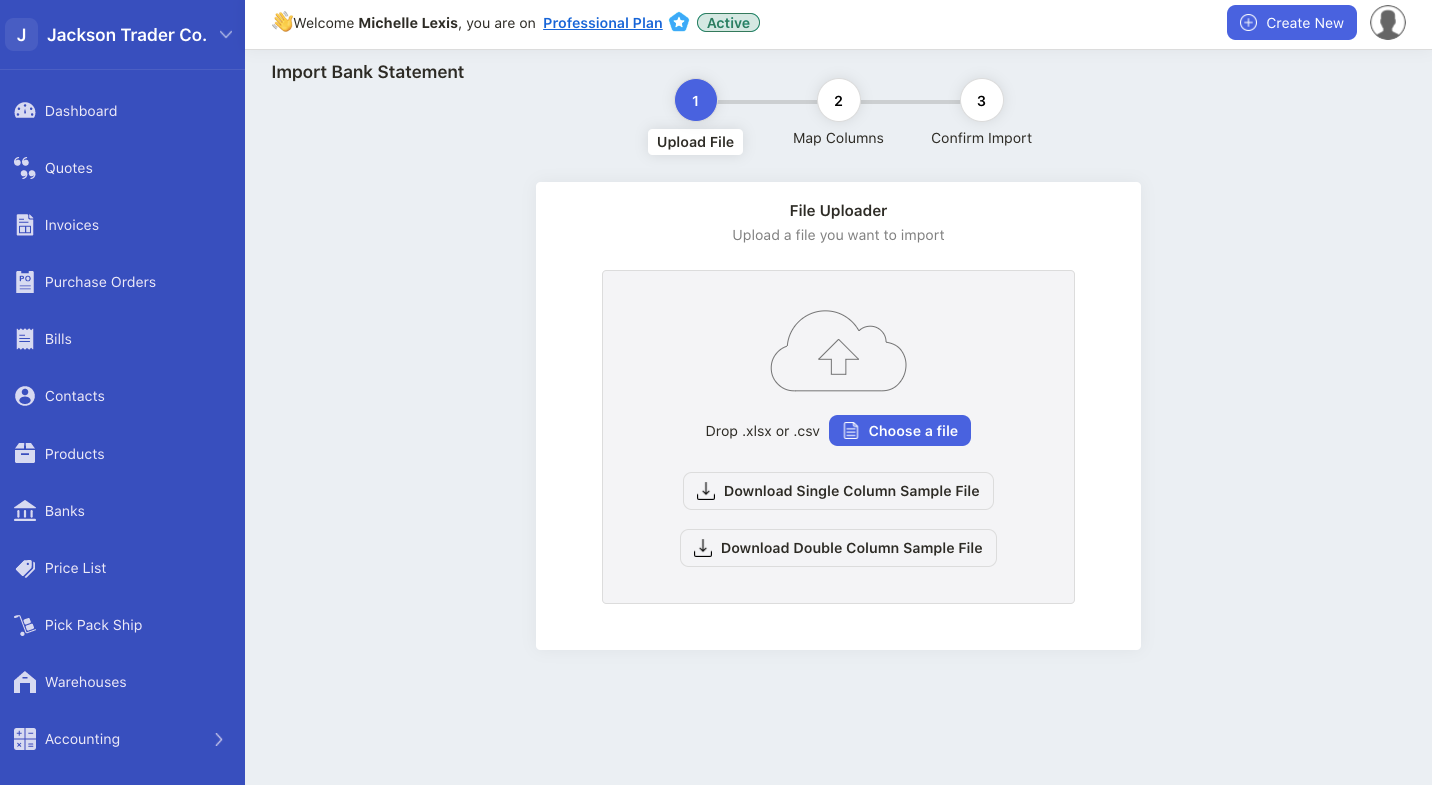
On the following page, download the sample file from the system. It's compulsory to use the sample file from the system.


You can either download the single column sample file, or double column sample file.
Next, follow the steps to successfully import the bank statement to the system:
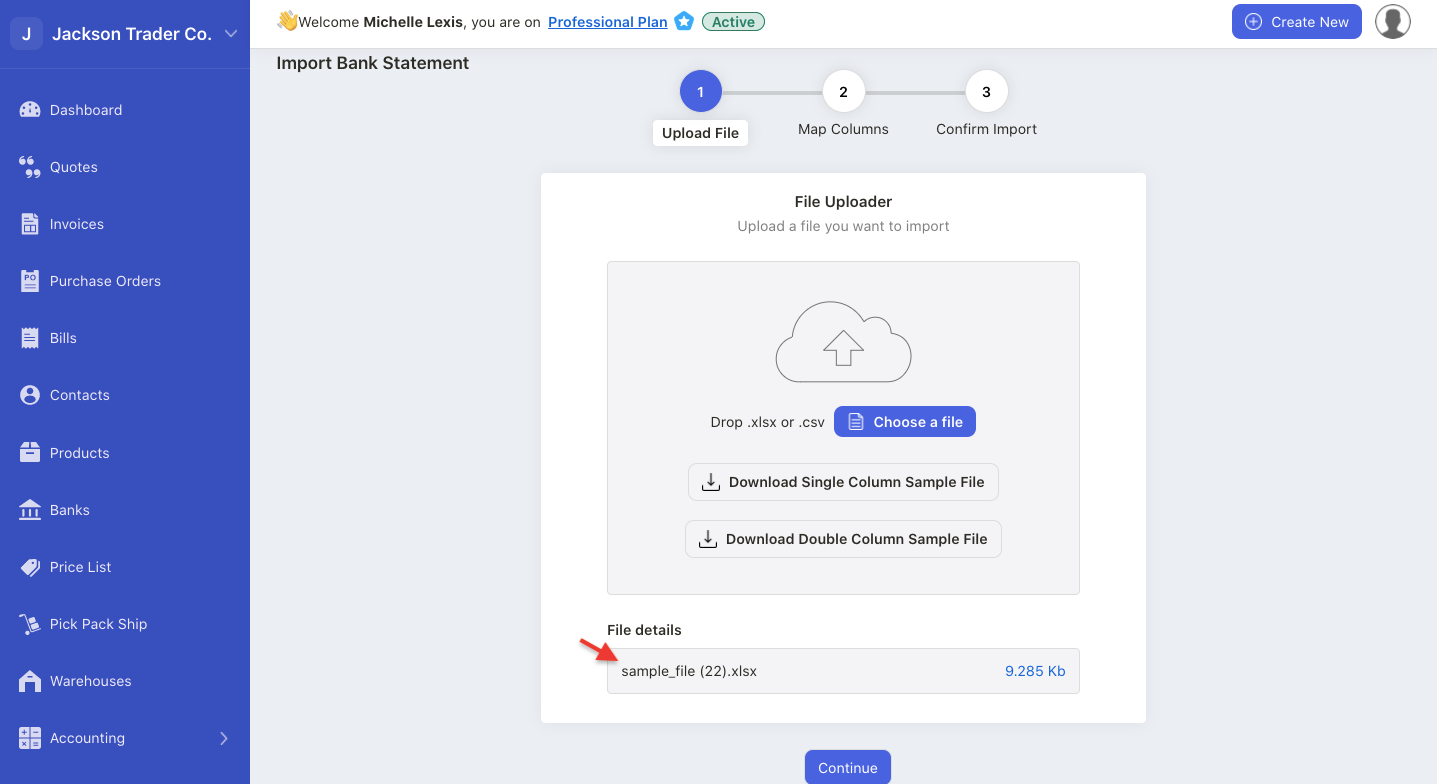
- Fill in the fields in the sample file and save it. Save the file and upload it to the system. Under the file details, you can view your file uploaded to the system. Click on the continue button.
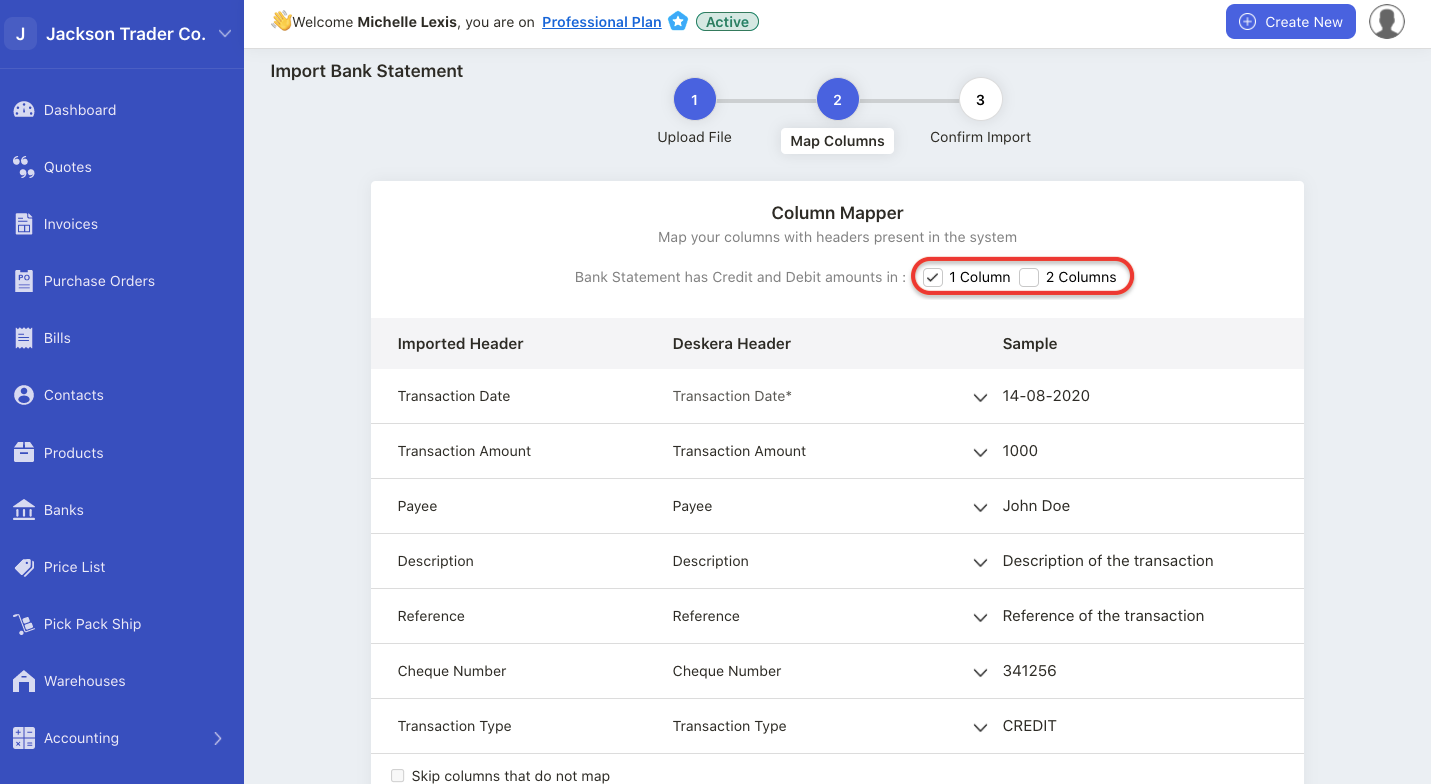
2. During the mapping stage, make sure that the Deskera Header matches to the sample value. Tick the checkbox whether your sample file has credit and debit field in one column or two columns. Also, please make sure to choose the correct date format. Click continue.
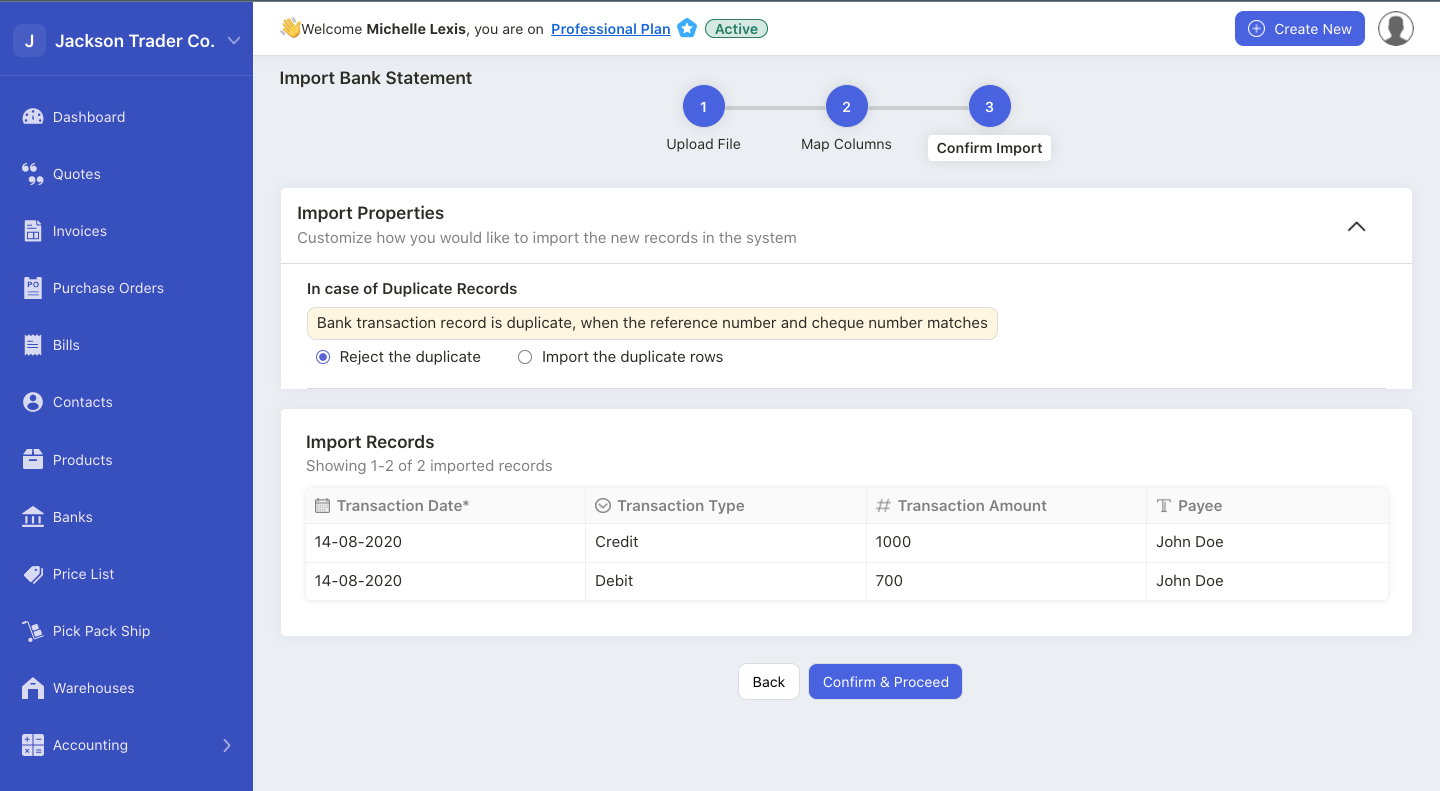
3. In the final stage, make sure the information imported are valid. If the information is invalid, the field will appear in red boxes. You will have to edit the fields directly on this page until the data is valid. Click confirm and proceed.
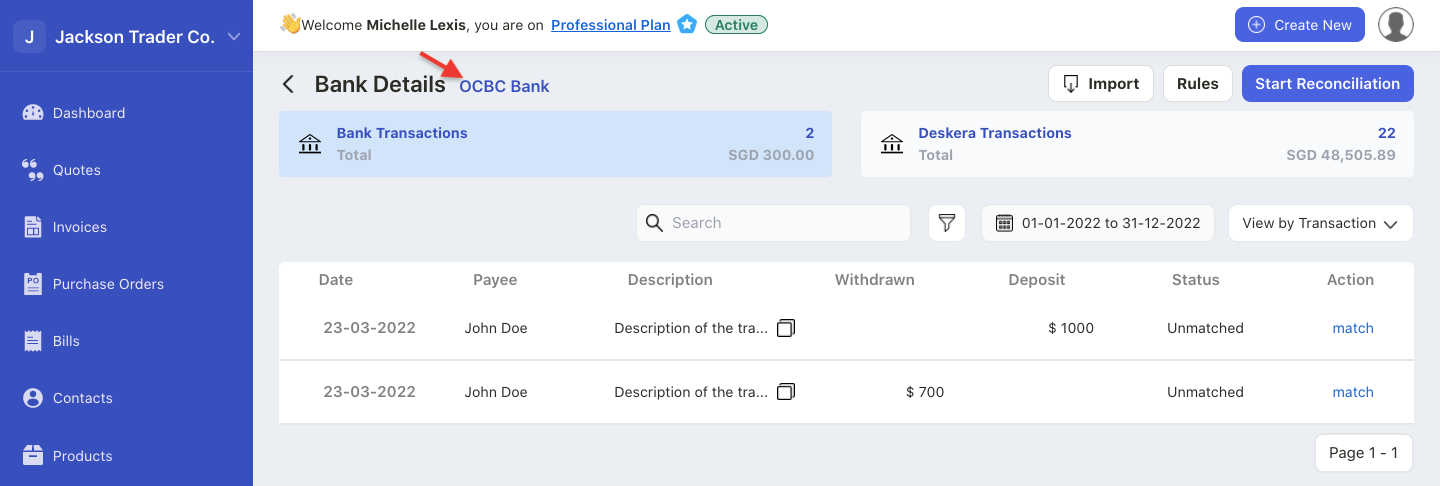
4. To view the bank statements, go to the respective bank and open the bank transaction page. You can view the bank entries in the sample file successfully uploaded here.
5. Alternatively, you can also import your bank statements using our third-party app, Plaid.
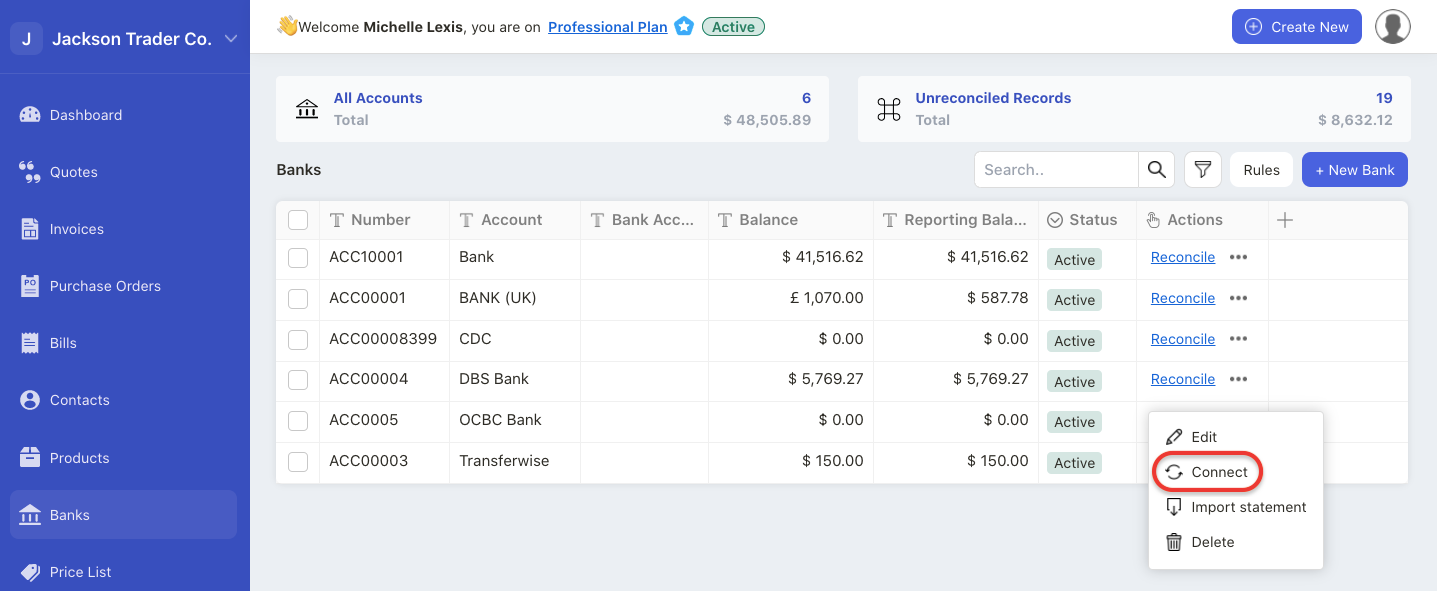
6. Click on the three dots and select connect button.
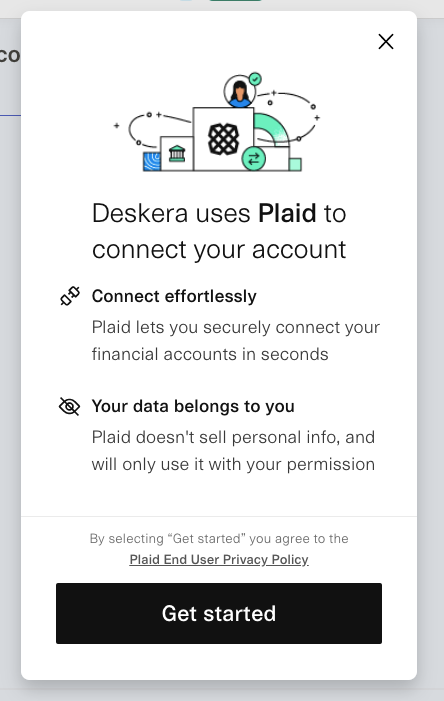
7. Next, a pop-up box will appear. Click on the get started button to use Plaid services.
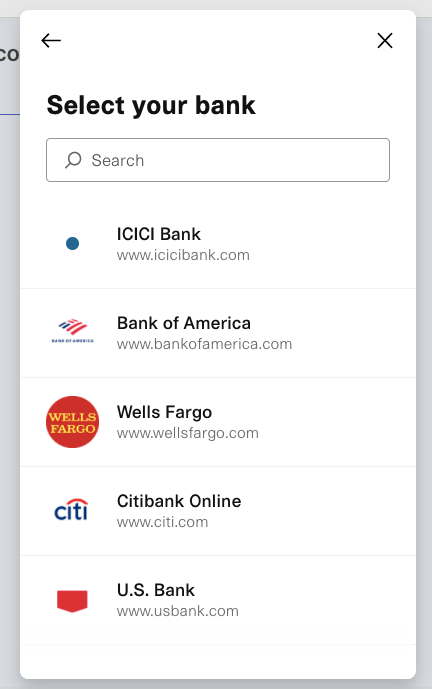
8. Choose your bank only if your bank is supported by Plaid.
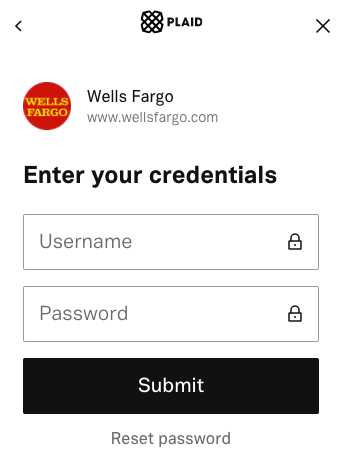
9. Enter your bank account credential and click Submit.
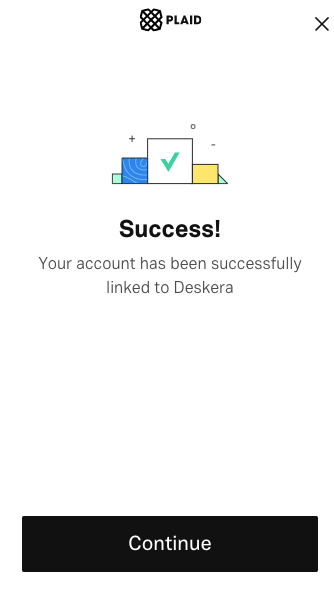
10. Once you have linked your bank account using Plaid, you can view the image above. Click on the Continue button.
11. On the Bank Summary List, you can view the respective bank account successfully linked via Plaid. All your bank feeds will be automatically sync to Books+.
12. You can always disconnect the bank connection if you wish to manually upload your bank entries.
Note:
- Plaid supports only US and Canada banks. Refer to our blog post here to check if your bank is listed for connection by Plaid
- It will take about 1-2 working days for the bank transactions to be reflected in Deskera Bank Module
How can I edit my bank details?

Click on the three dots and select the edit button.
You can only edit the bank name and description. The currency and bank code cannot be edited.
How can I delete my bank account?

Click on the three dots and select the delete button.
You can only delete bank that is not in use; meaning the bank balance is zero.
How to mark my bank account as inactive?
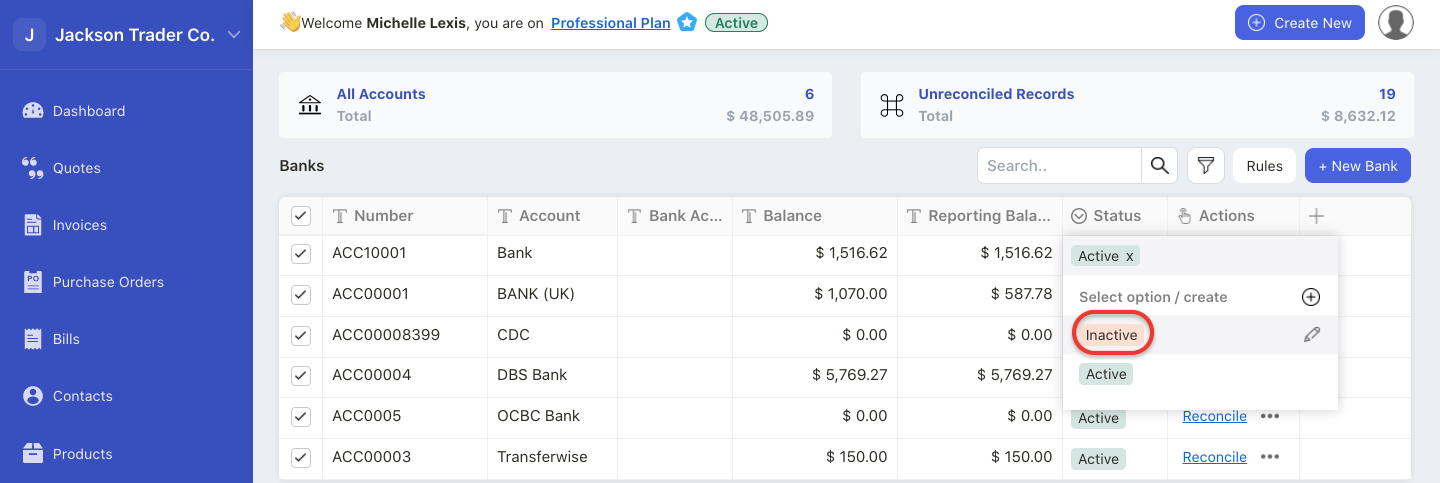
Click on the active button under status column.
Next, select the Inactive button.
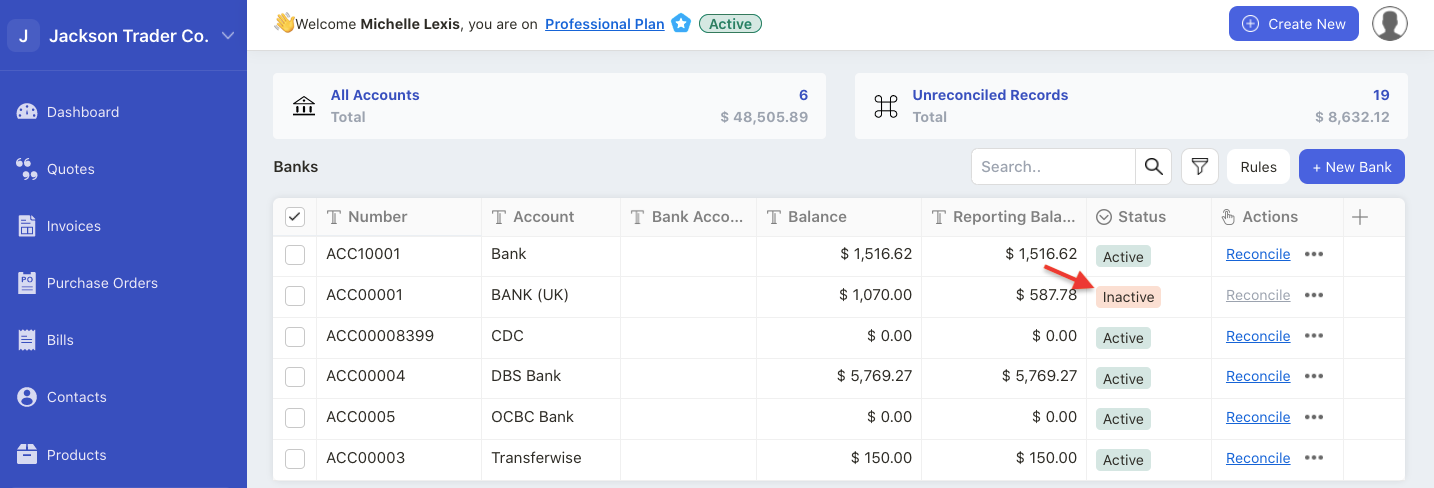
The bank status will be reflected as inactive. You won't be able to view this bank account option whenever you are receiving or making payment. The reconcile button will be disabled as well.