

Using Deskera Books+, you can easily apply custom fields to each of your contacts to group them better based on personality, background, and or demographic.
Create the master custom field in the Setting tab. Make sure that the custom field is enabled in the Contact Module.
- Go to the Contact tab on the sidebar menu.
- When you are creating a new contact, fill in the necessary field such as contact name, UEN number, tax number, etc.
3. Once you have done filling up the contact's shipping and billing address, click Next.
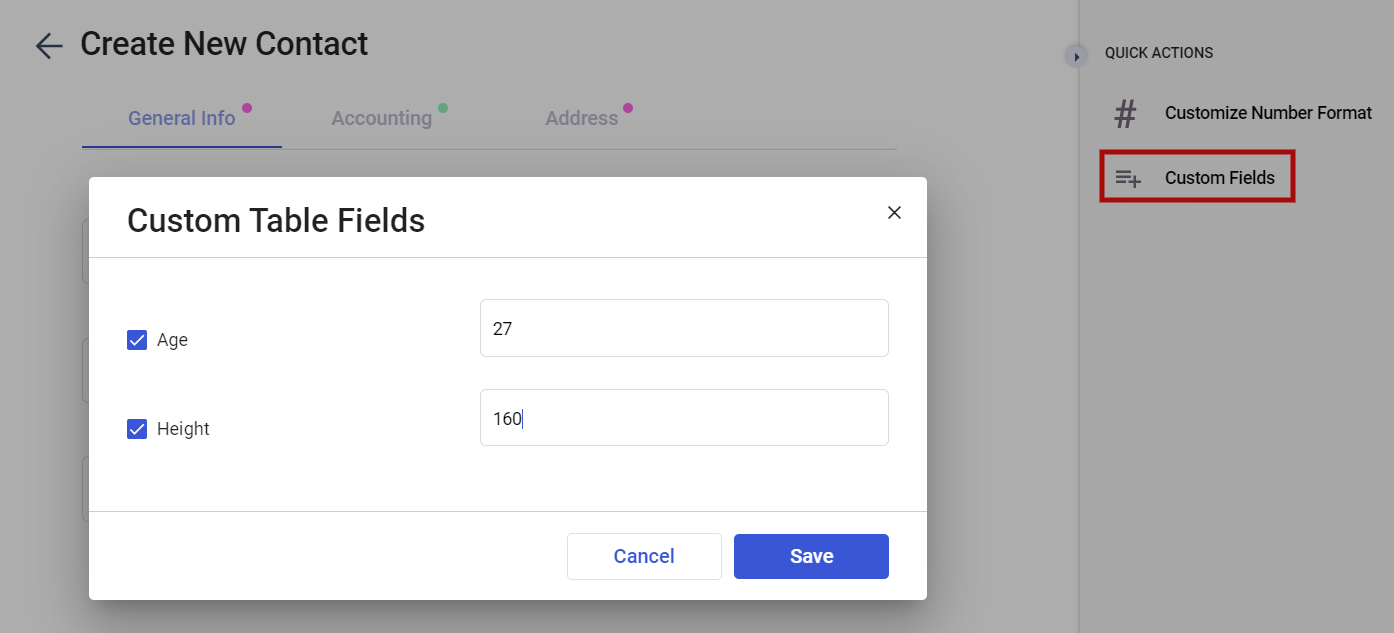
4. In the Advanced tab, the custom fields are shown based on the fields you have created in the custom field master. You can define value for these fields here.
5. Finally, click on the 'Save’ button.

6. To view the contact's custom field, go to the Contact section and simply scroll right on the grid that is shown. All custom fields are listed as individual columns on this grid.