

The Product Module serves as the directory for all the product-related information whereby you can configure and manage your products and services records conveniently.
Deskera Mobile App allows you to effectively manage your products and services to facilitate seamless purchase and sales processes requiring up-to-date product information.
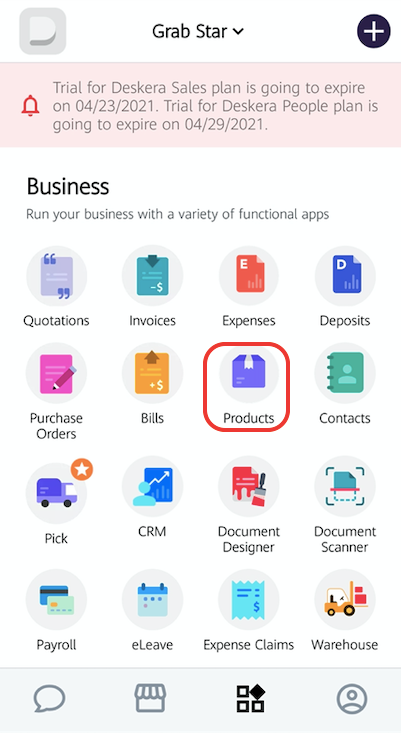
- Login to your Deskera Mobile App account.
- On your organization's dashboard screen, tap on the Product icon under the Business Modules section.
- If this is your first time creating a product, you will be prompted with a message to either add a new product or service.
- In the Product screen, you will need to fill in these fields:
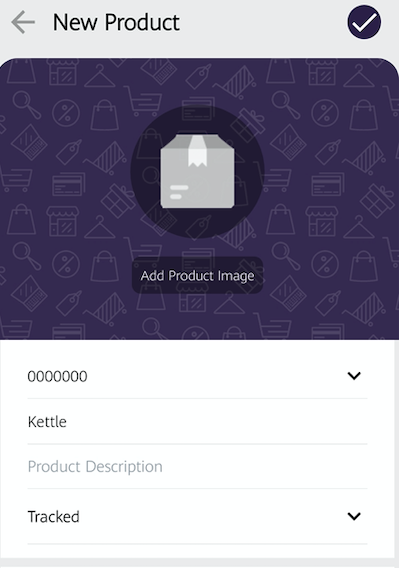
- Product's Image - Add the product's image here
- The product's code - You can use the product's sequence code populated from the system or customize your sequence code
- The product's name - Enter the product's name
- Product Description - Write a short description related to the product
- Product Type - Choose whether the product is tracked, non-tracked, or bill of materials
5. In the following section, you are required to fill in the Sell and Buy section such as:
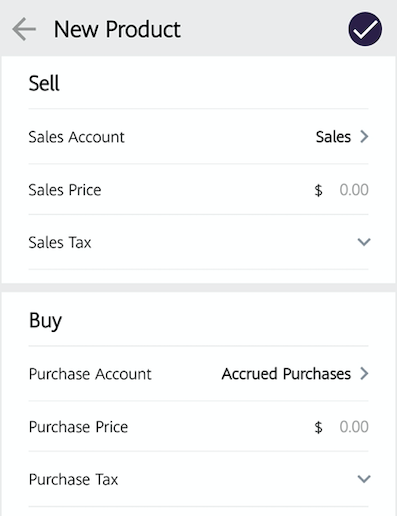
- Sales Account - The sales account affected in the journal entry
- Sales Price - The selling price of the product
- Sales Tax - The sales tax rate involved, as per your country's compliance and regulation
- Purchase Account - The purchase account affected in the journal entry
- Purchase Price - The purchasing price of the product
- Purchase Tax - The purchase tax rate involved, as per your country's compliance and regulation
6. Once you have finished filling in the Sell and Buy section, you are required to fill in the product's inventory-related fields:
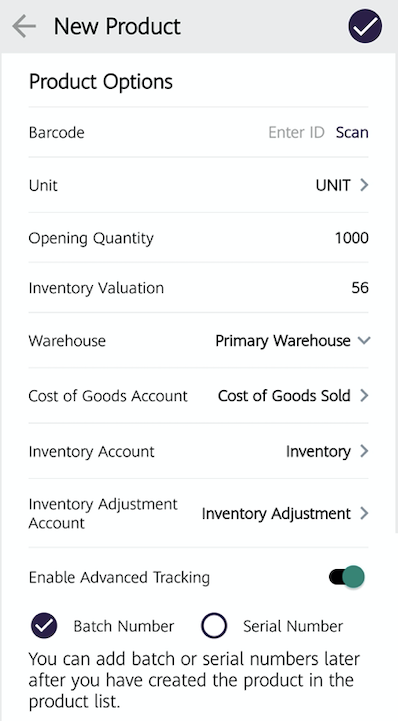
- Barcode - Enter the product's barcode or scan the barcode. The app will read the barcode automatically
- Unit - The product's unit of measurement (UOM)
- Opening Quantity - The opening quantity of the product. Please do not edit the opening amount of the product once you have saved it
- Inventory Valuation - The product's valuation
- Warehouse - Indicate the product's warehouse
- Cost of Goods Sold - Select the Cost of Goods Account
- Inventory Account - Select the Inventory Account
- Inventory Adjustment Account - Select the inventory adjustment account
- Enable Advanced Tracking - Enable the advance tracking toggle; Choose either batch number or serial number.
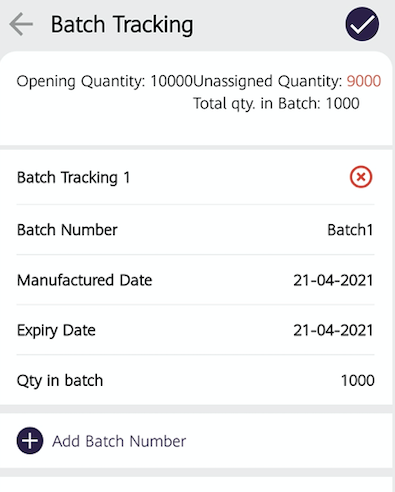
- Add the batch/serial number, manufactured date, expiry date and the quantity in each batch. Ensure that the quantity in each batch/serial number does not exceed the opening quantity saved in the product module
- Custom Field - Add an additional custom field for the product if required
7. Once you have fill in all the details, click on the Tick button at the top right of the screen to save the product.