

Having covered what a Sales Pipeline is in the previous article, you can now proceed to how to create a Pipeline using Deskera CRM system.
- Click Deals on the sidebar menu.
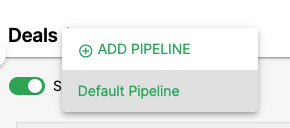
- By default, you will view the Default Pipeline in the system.
- You can navigate between the different types of Pipelines by click on the drop-down arrow.
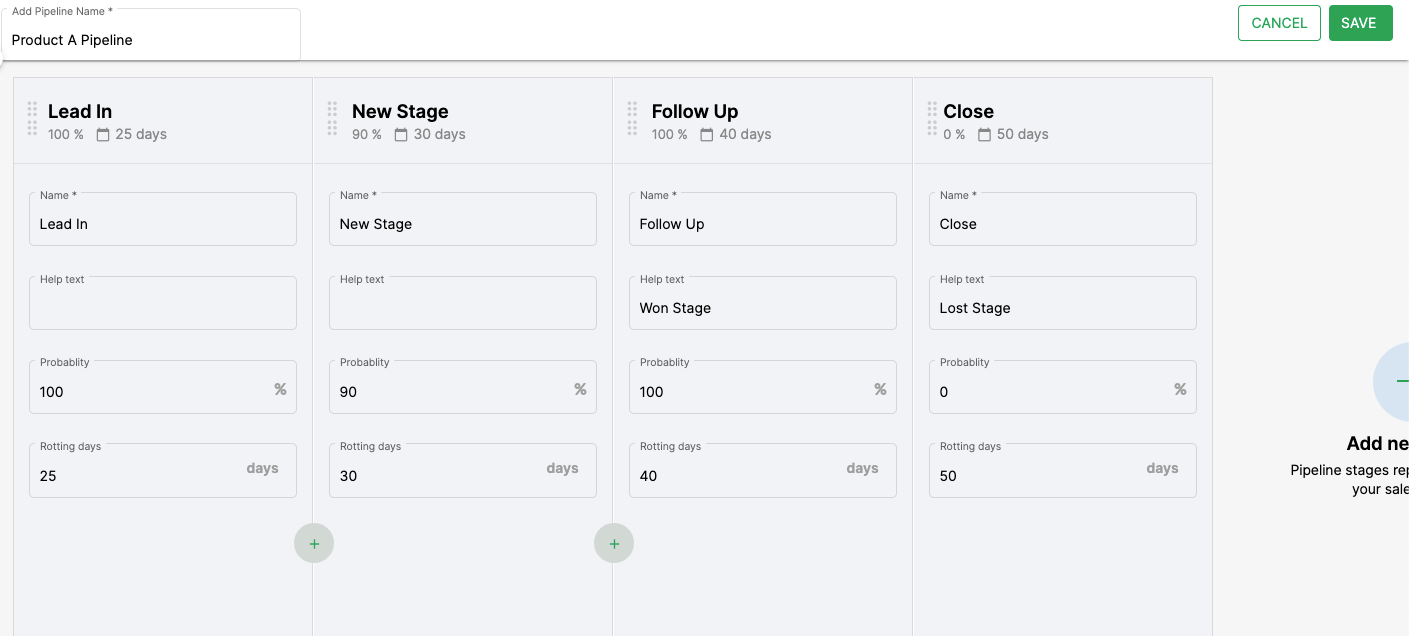
4. Click Add Pipeline to create a new Pipeline and give your pipeline a name on the top left of the page.
5. Fill in the stage name, probability, and rotting days for the stage and click the Add symbol to create the next stage.
- Probability represents the confidence you have to close the deal within the closing date.
- Rotting days are the number of days your deal has stayed idle. It means the deal failed to progress to the next stage. Rotted deals are highlighted in red color.
6. Once you are done, click Save on the top right-hand side of the page and review the stages of Pipelines you have created.
You may now add new Deals in the respective pipelines.