

It's not easy to reconcile bank statements with business transactions especially if you have hundreds or even thousands of transactions a month.
It's tedious, time-consuming, and straining to the eye, spending hours mapping one transaction to another.
However, with the power of automation, you can set specific bank rules in Deskera Books and let the magic works.
Read more below to find out more.
How to set bank rules in Deskera Books?
- Login to your Deskera account.
- Once logged-in, you will be directed to Deskera's main console.
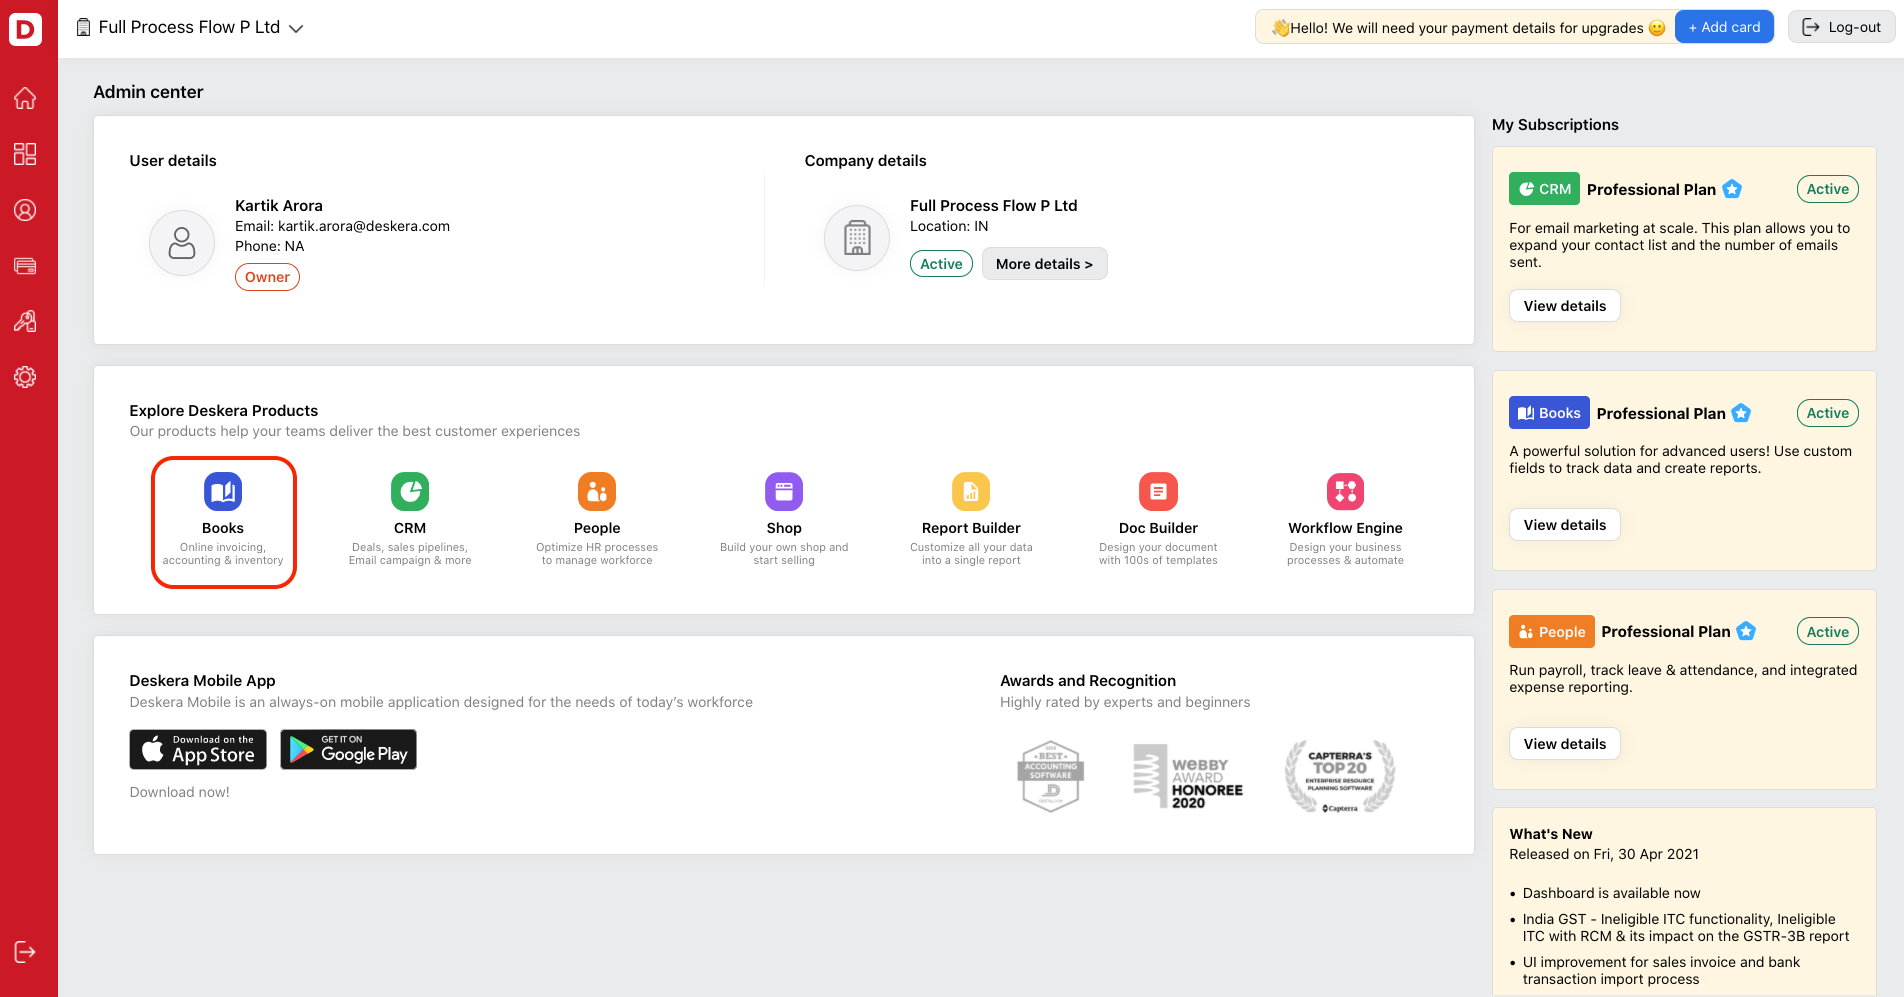
3. Click on Books and the system will direct you to Deskera Books' main dashboard.
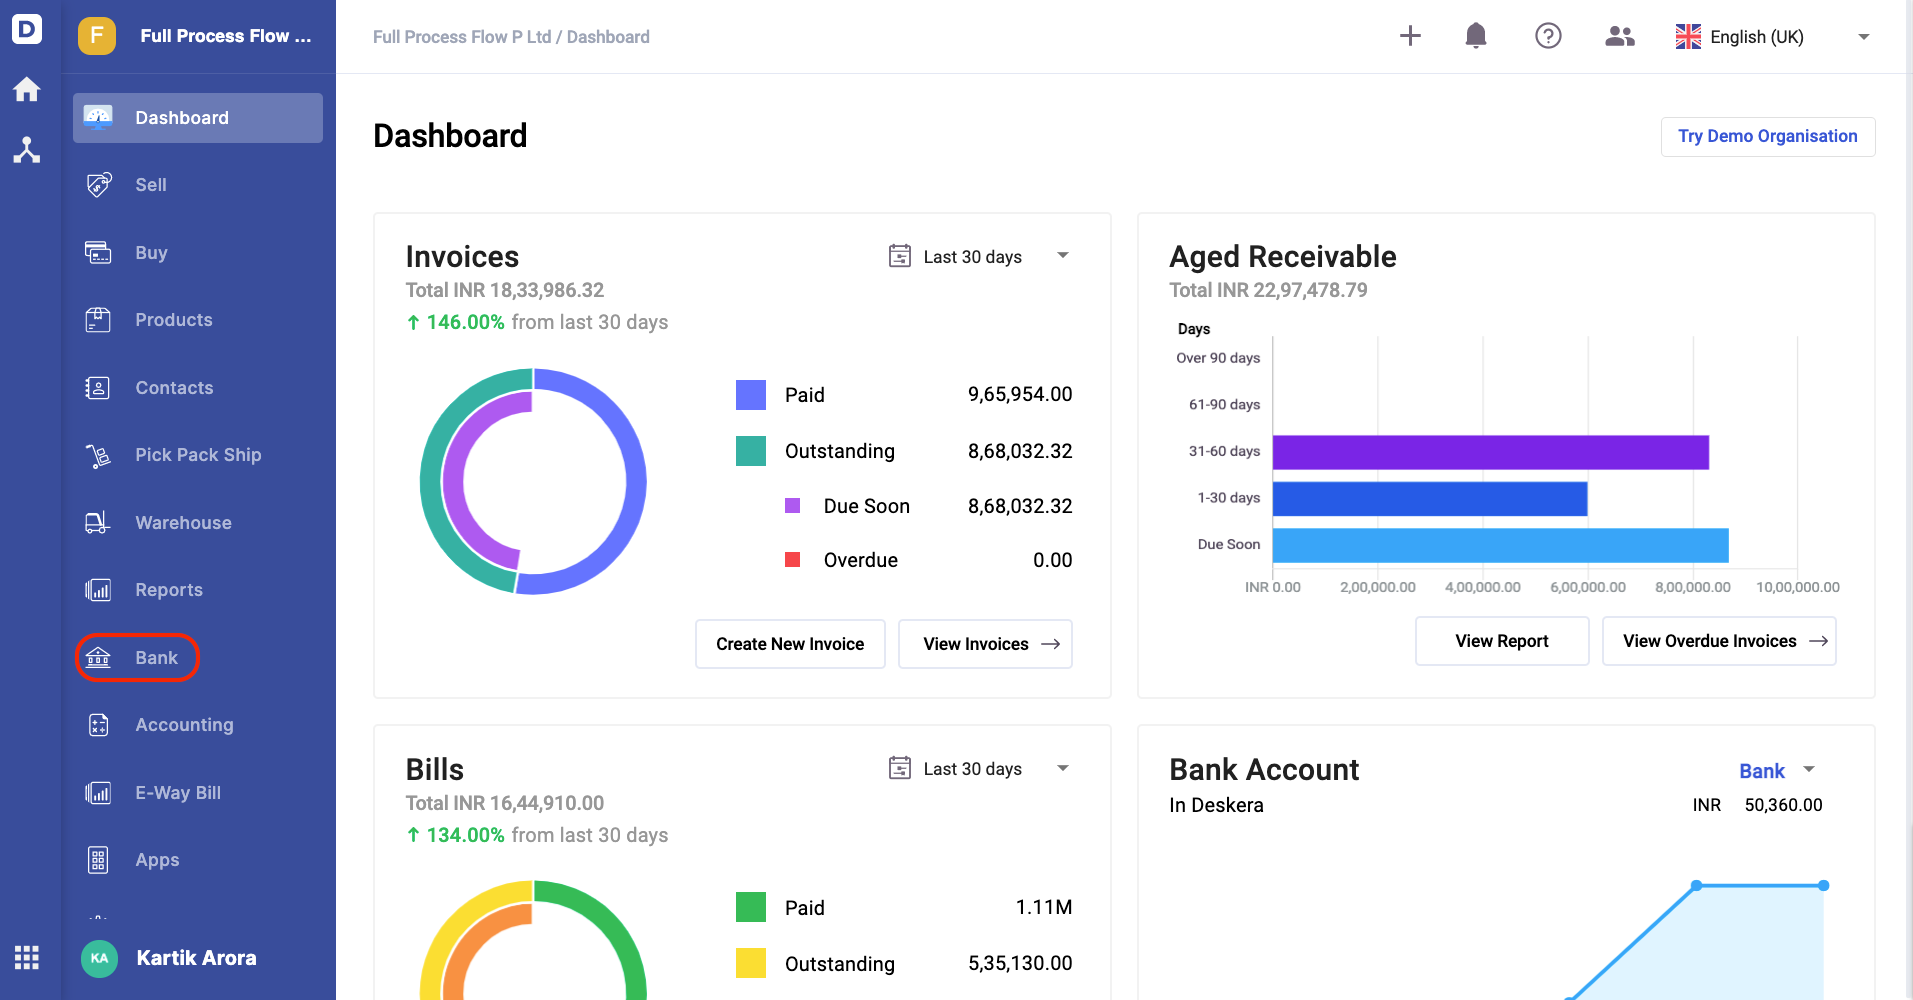
4. Select Bank via the sidebar menu.
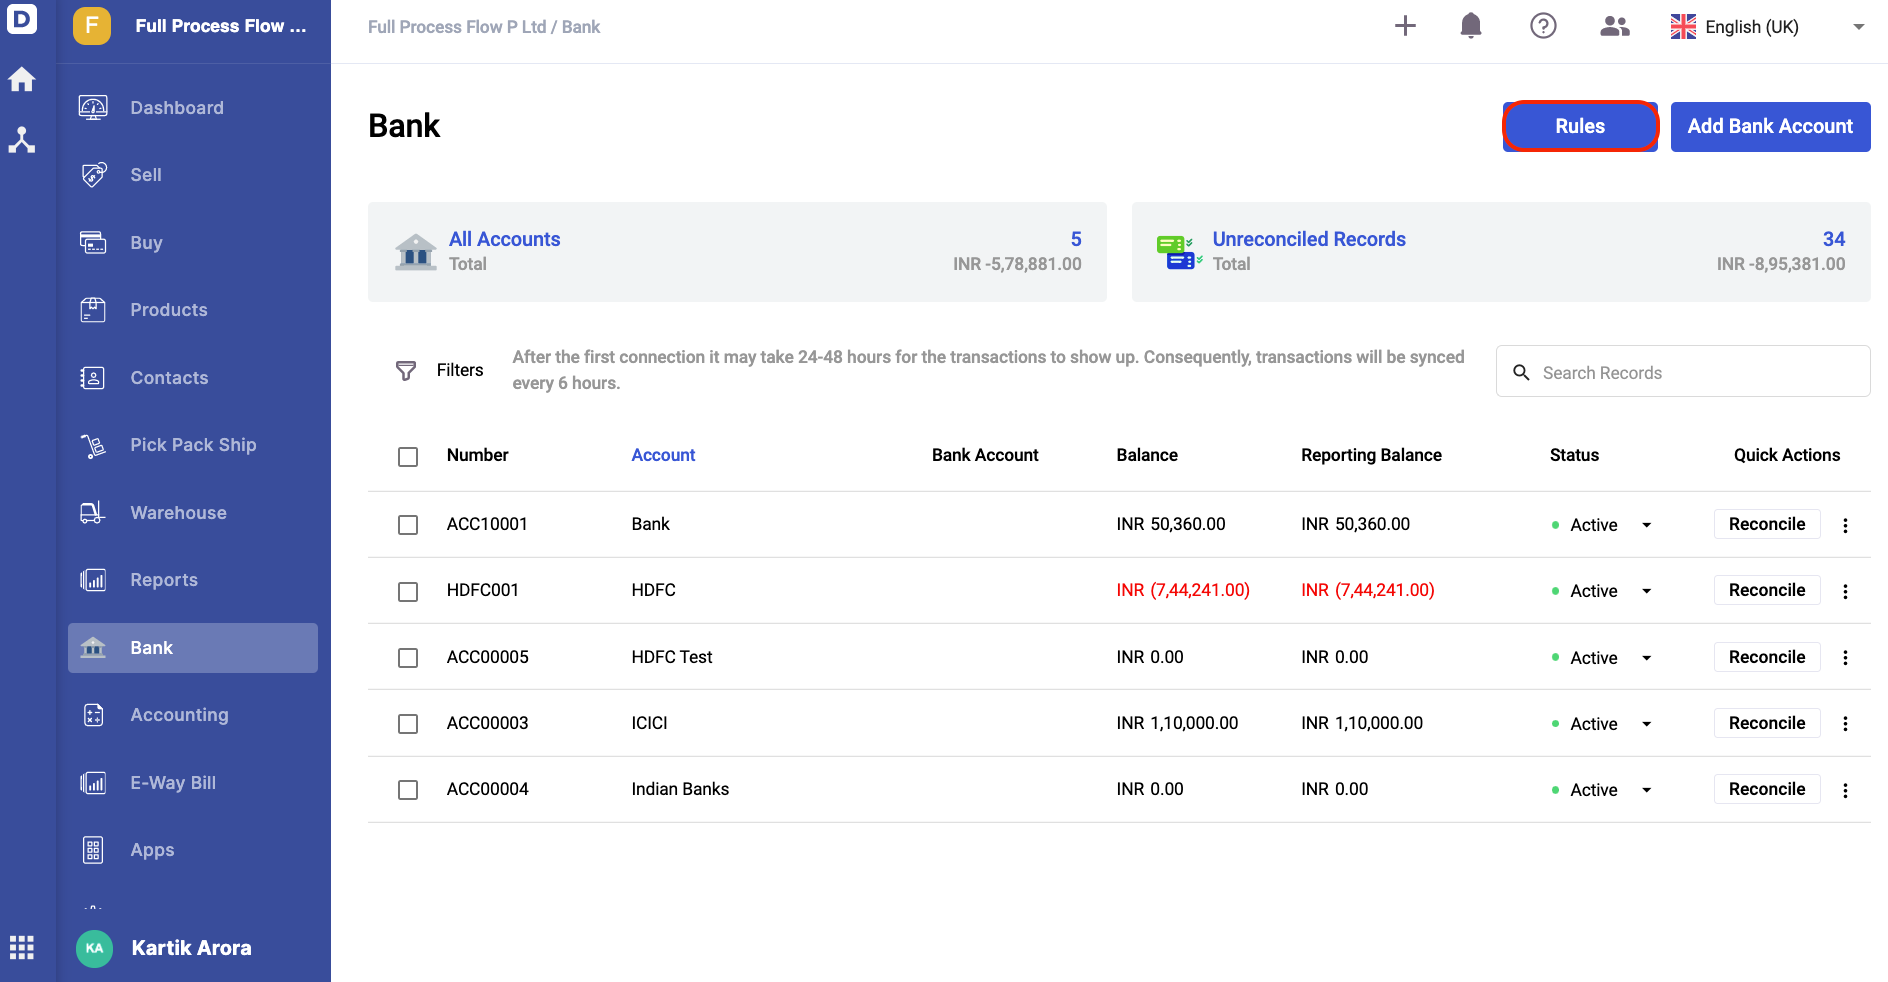
5. On the bank screen, click on the rules button at the top-right.
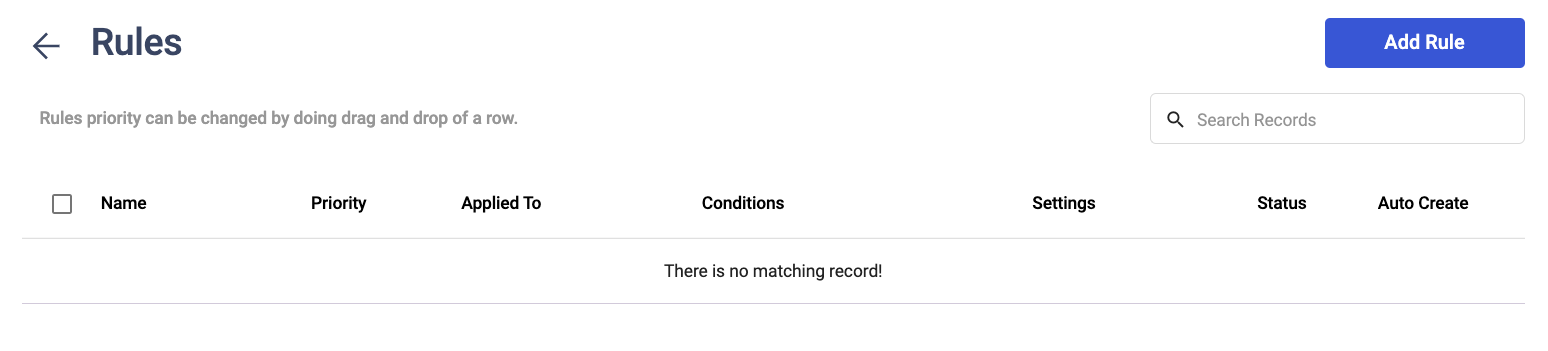
6. On the following rules screen, click on Add Rule button.
7. A slider will appear and you will need to fill in the details below:
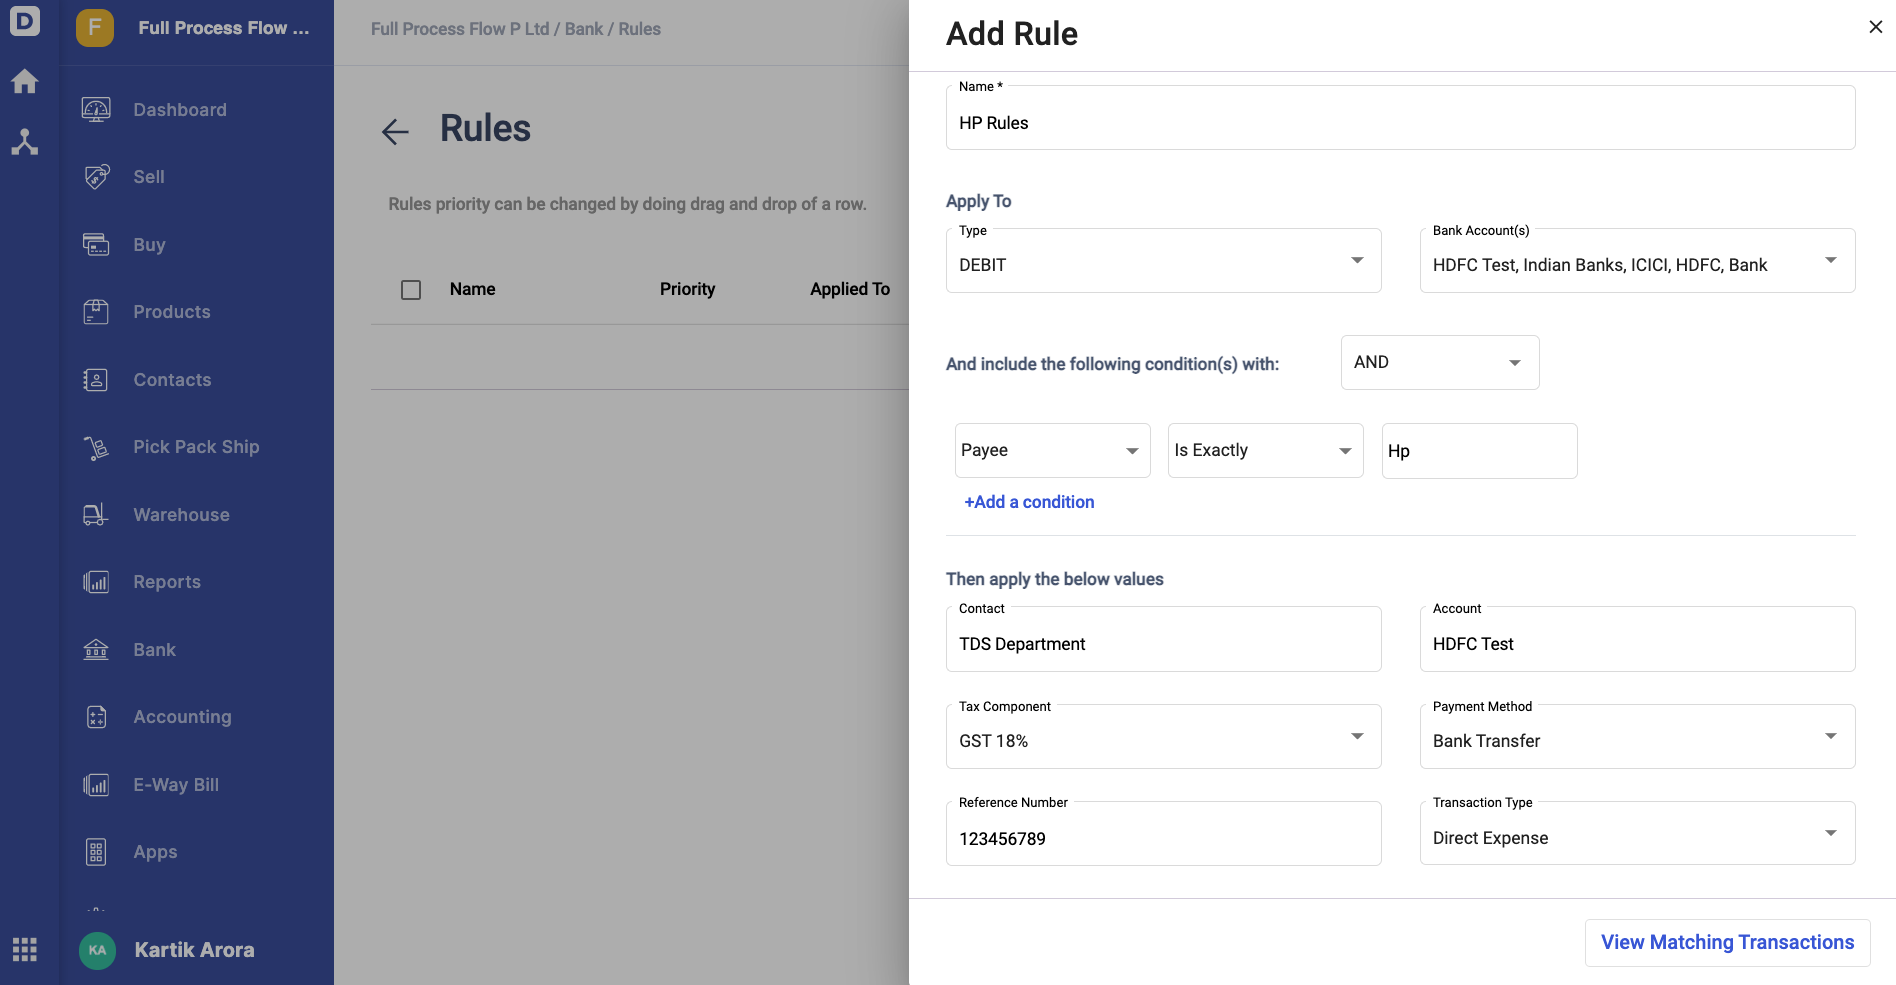
- Name - Enter the rule's name.
- Type - Apply the rules to either Credit or Debit entry
- Bank Account - Choose from the list of bank accounts you have saved in the Bank Module.
- Conditions - Select the conditions available; in the event in which the Description, Payee, Transaction Date, or Amount is exactly, contains, or doesn't contain specific values. You can add multiple conditions here. Also, you get to decide whether all conditions have to be fulfilled or only certain conditions to be fulfilled for the rule to works
- Action- Enter the values for the contact, account, tax component, payment method, reference number, transactions type, and memo fields
- Choose whether to review and create or auto-create the transactions in Books
8. Once you have entered all the fields on this screen, click on the view matching transactions button.

9. Next, you can view a list of transactions that fit the rule applied earlier.
10. Click on the Save button.
How does the automation rules work?
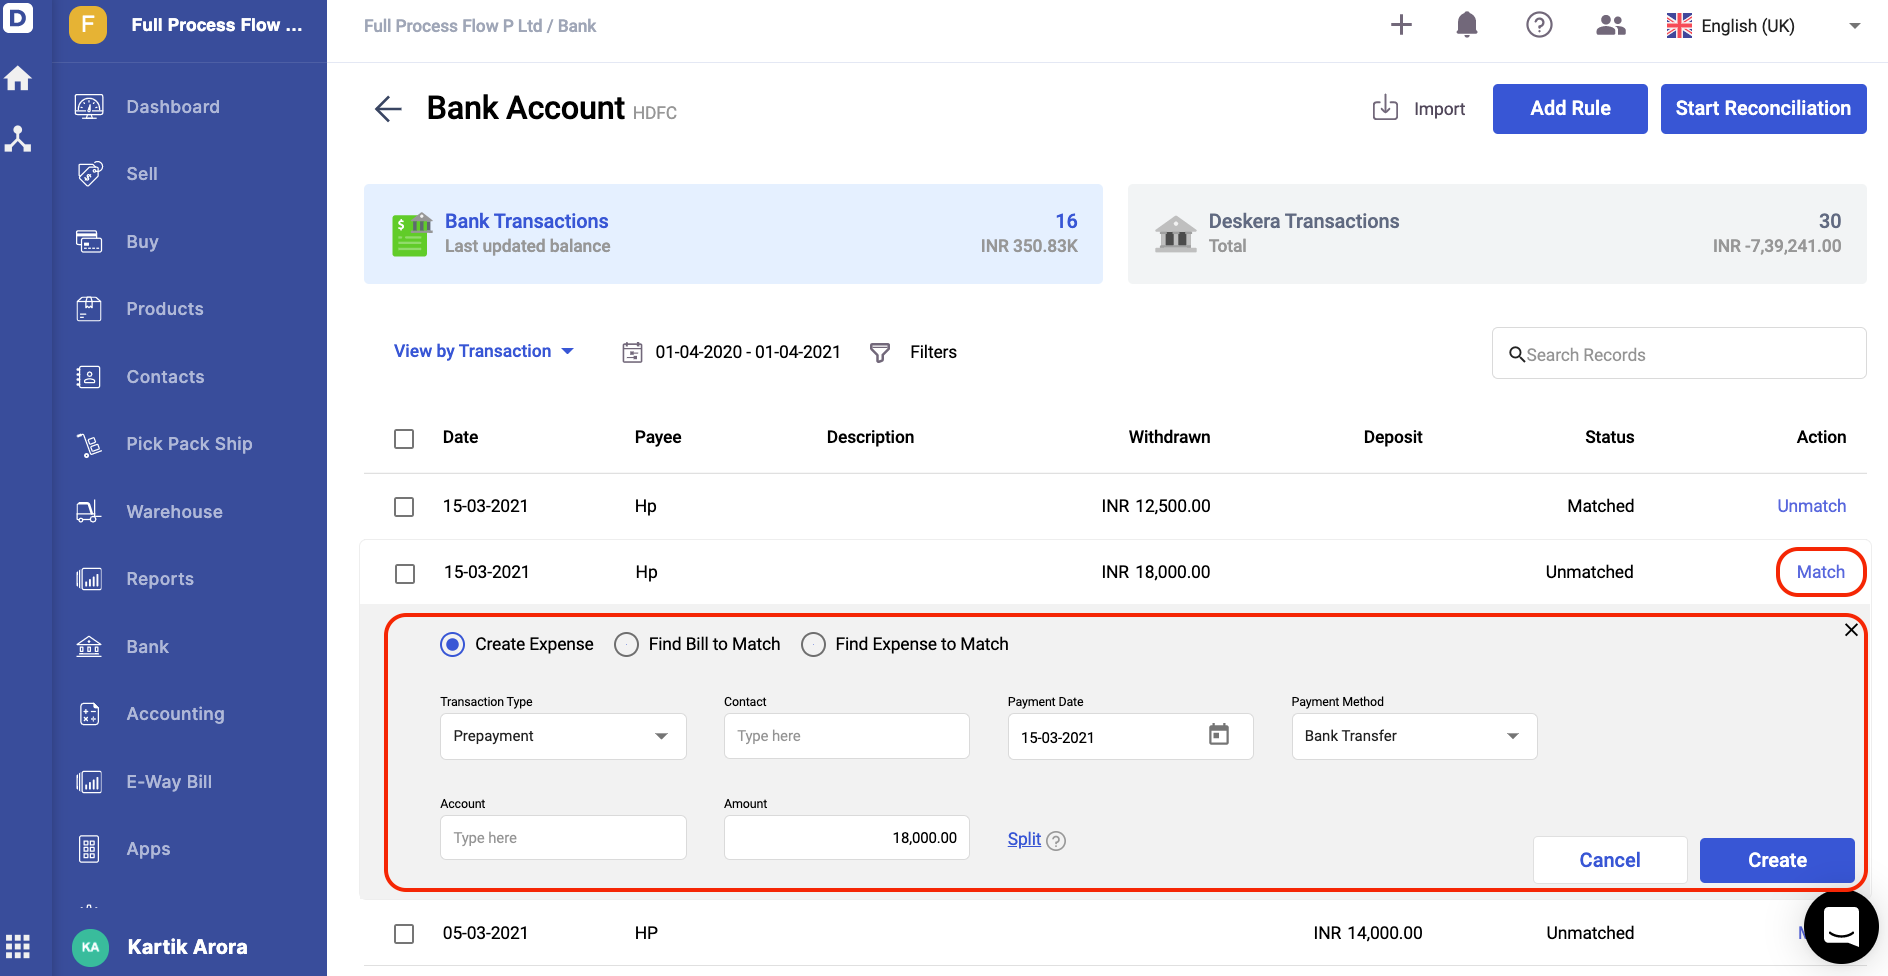
- Before you set the rules, the fields for HP payee will show as blank.
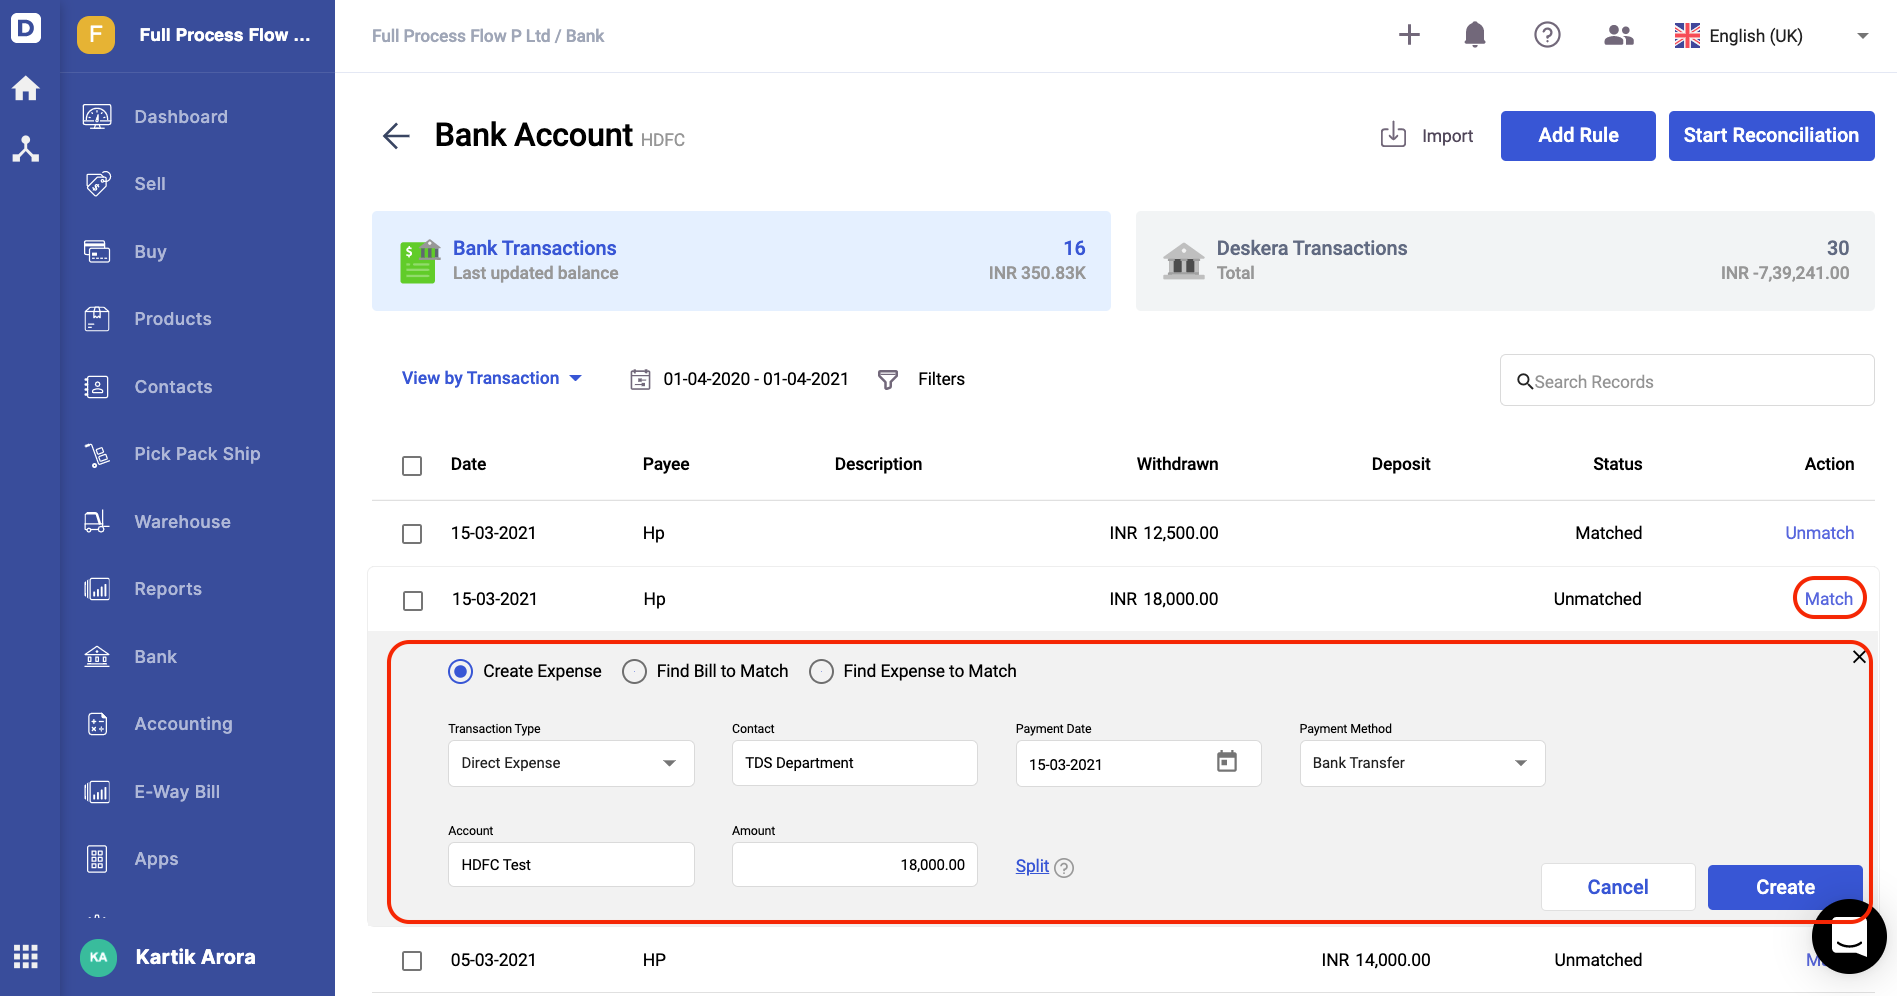
2. After saving the rules, in which the payee is exactly Hp, the HP payee's fields will be auto-populated after clicking on the match button in the respective bank screen.
3. Next, click on the Create button to match the bank and business transaction.
How can I edit, delete, or deactivate the bank rules?
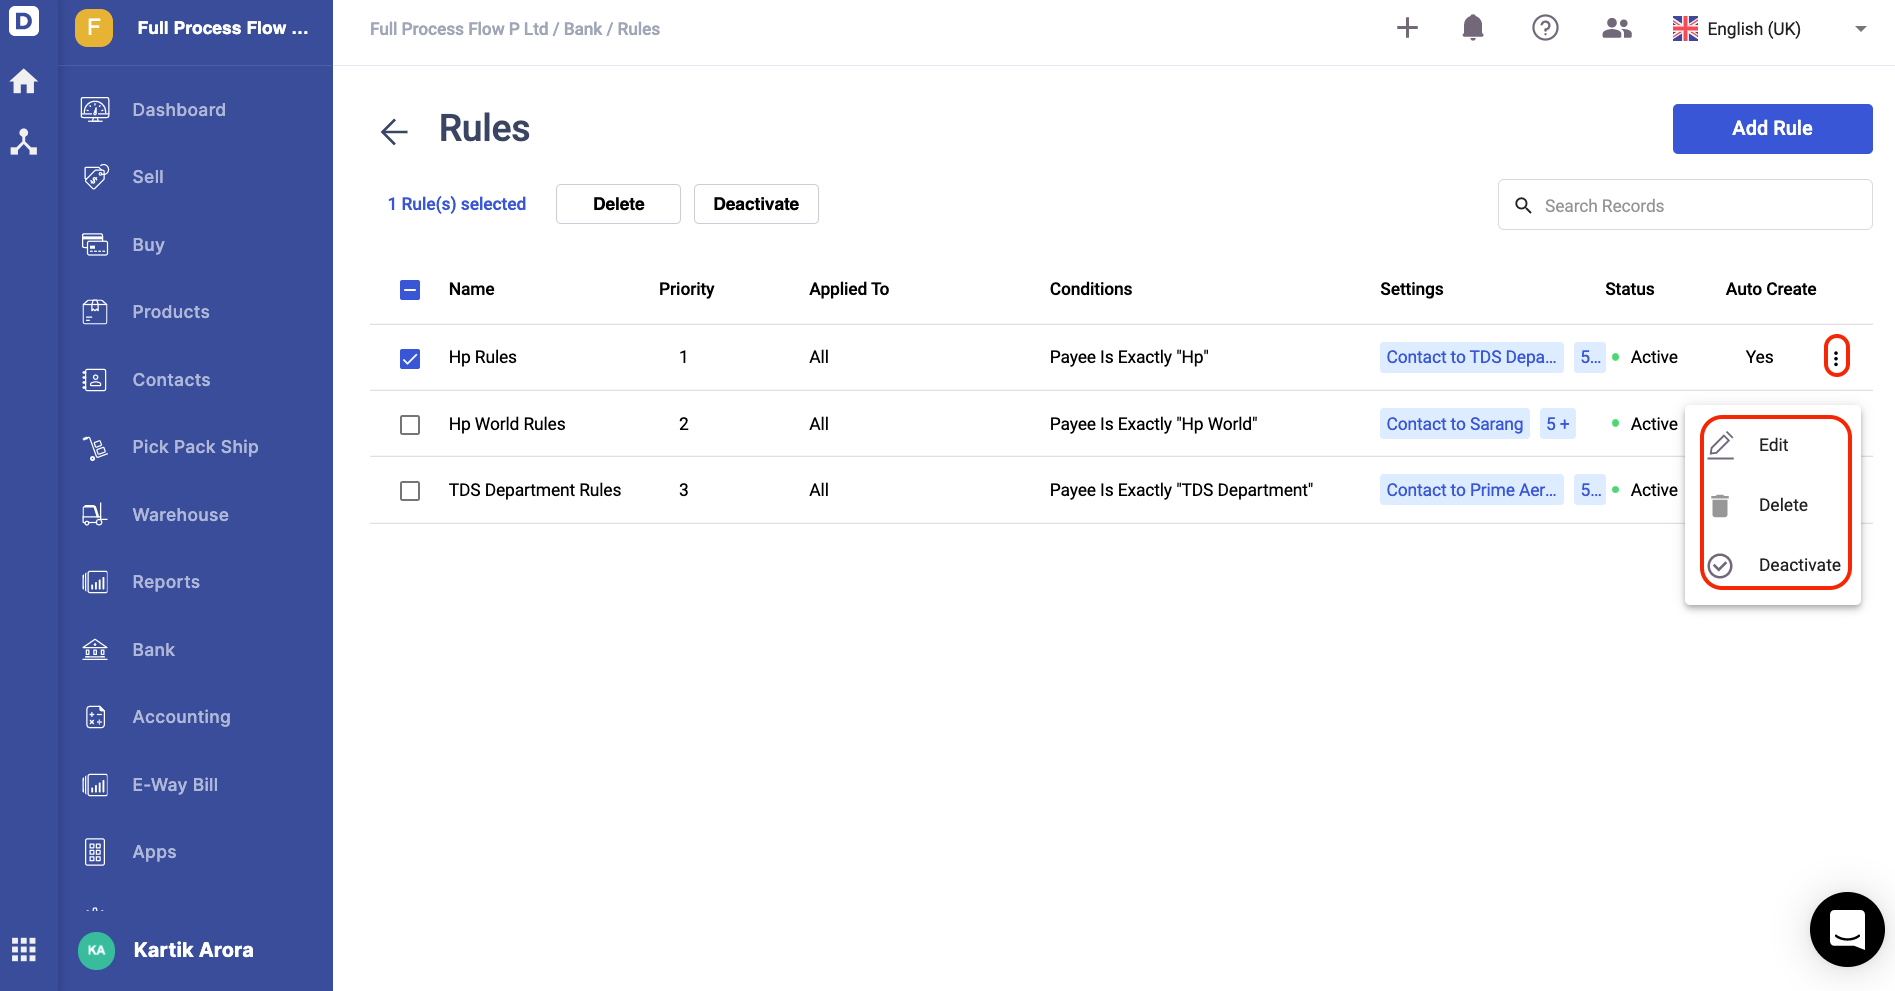
- Go to the Rules screen.
- Click on the three dots, and this will open the action box;
- Edit - Select edit to make changes to the rules' conditions and fields
- Delete - To remove the rule completely from the system
- Deactivate - To change to rule's status to inactive so that the rules are not triggered when the conditions are met. You can always change to active status in the future
3. You can use the drag-and-drop feature to change the rules' priorities.