

Small business owners in Australia can rejoice as we made it to the Australian continent.
Deskera has recently rolled-out Australia compliance, which means you can quickly jump on board.
Read more below as we cover the step-by-step guide for Australia compliance so that you can navigate Deskera fuss-free.
Let's start.
How do I set up my company details?
Follow the steps here to set-up your company details:
- Once you have created your account with Deskera, our system will direct you Deskera Dashboard.
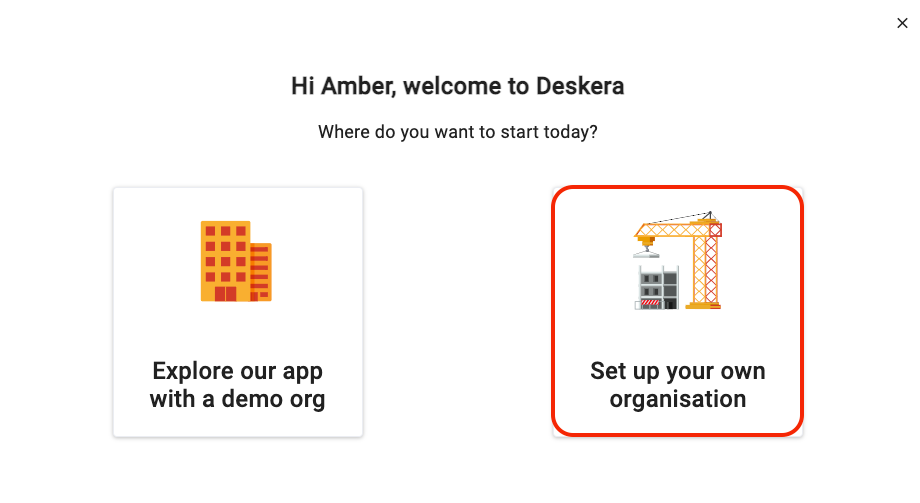
2. A pop-up message will appear >> Click on the set up your own organization icon.

3. In the following screen, fill in the following fields:
- Your organization name - This is populated based on the organization name you have filled when signing up for your Deskera account. Please note that you cannot edit the company name once you have saved it during the sign-up process.
- The financial year start date
- The book beginning date - To understand more about these dates, please click here.
- Tax Residency - Select the country your business is registered. You can select Australia.
- Reporting Currency - This would be auto-populated based on the currency of the country you have selected. In this case, it will be the Australian Dollar (AUD).
4. Click on the Create button.
Where can I save my company registration number?
You have successfully set-up your organization in Australia.
So, what's next?
Next, you will need to fill in your business number, company number, and Business Activity Statement reporting method.
To do that, follow the steps here:
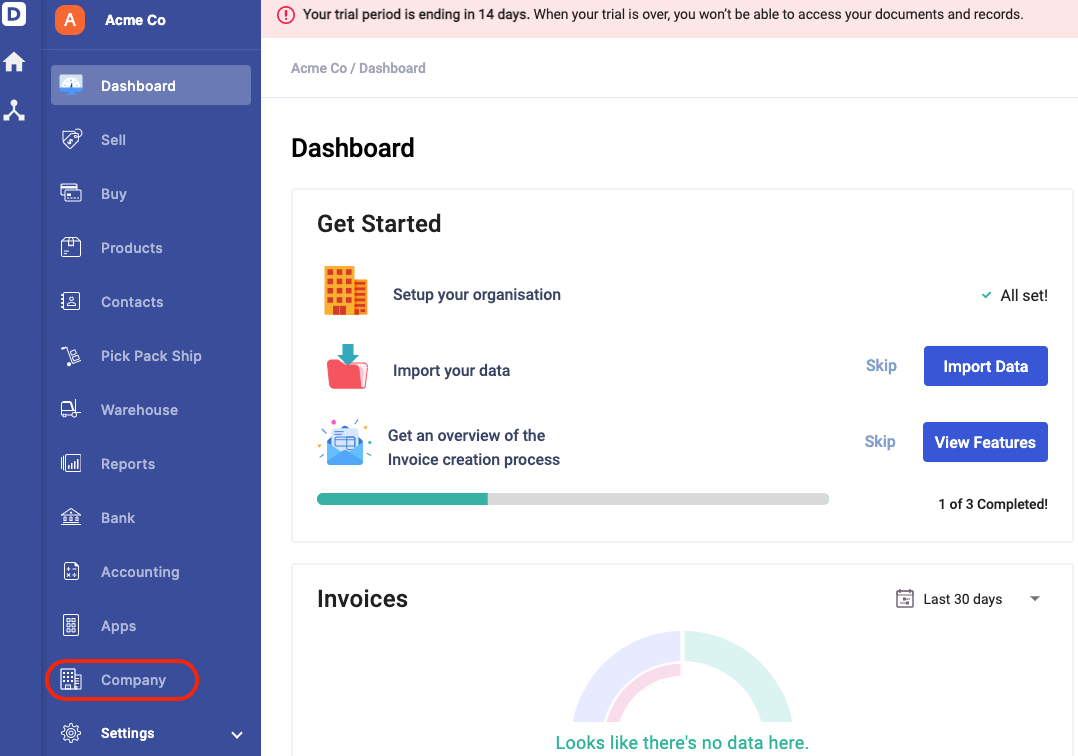
- On Deskera Books' Main Dashboard, click on the company tab via the sidebar menu.
- The system will direct you to your company details page.
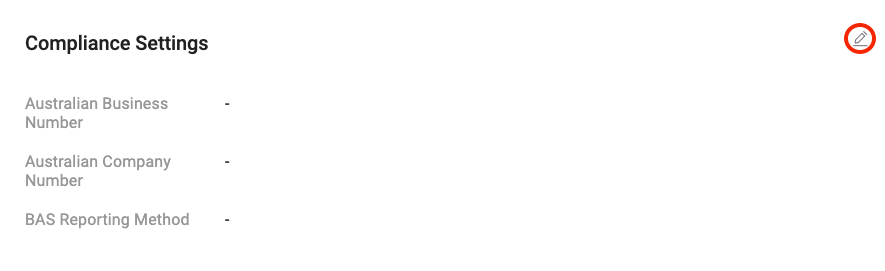
3. Click on the edit icon under the compliance settings section.
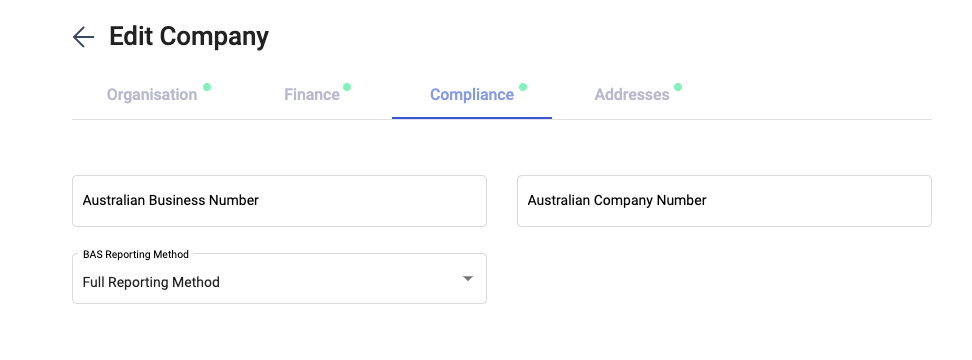
4. Next, fill in the fields as shown:
- Australian Business Number (ABN) - Enter your business number with not more than 20 characters. This is a non-mandatory field.
- Australian Company Number (ACN) - Enter the company number with not more than 20 characters. This is a non-mandatory field.
- BAS Reporting Method - Choose either Simpler Reporting Method or Full Reporting Method. Once you have selected your preferred reporting method, it's advisable not to change it.
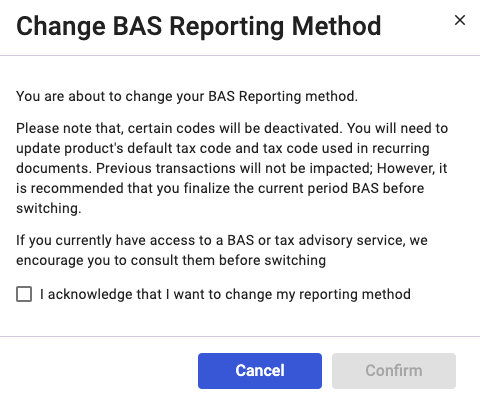
If you choose to change the reporting method, you will be prompted with the the message above. Tick the checkbox to acknowledge the message and press confirm.
5. Click on the update button to save.
Setting up your Chart of Accounts
To view the default Chart of Accounts, you can read more on the steps here:
- Go to Accounting via the sidebar menu.
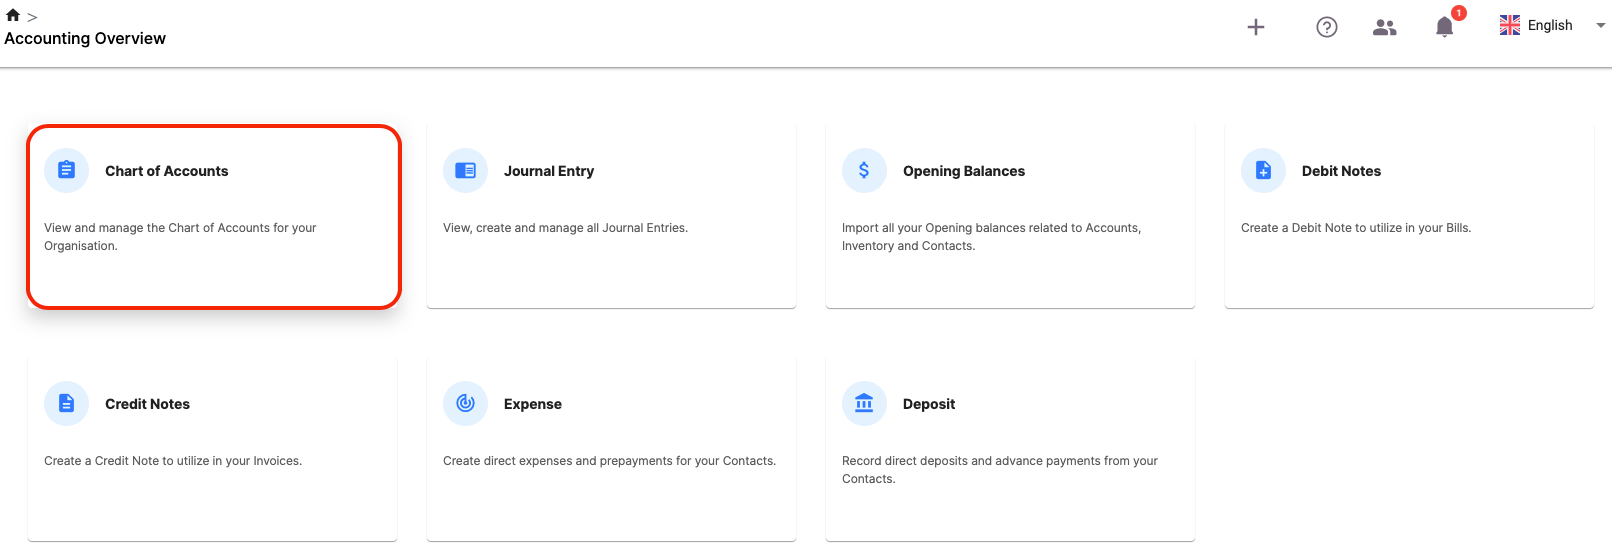
2. Click on the Chart of Accounts (COA).
3. On this page, you can view the default COA listed in Deskera Books.
4. Here are the additional default COA made available for businesses in Australia:
5. If you couldn't find any COA that fits your business requirements, you can always create a new account by clicking on the "Add" button.
Please refer to this article to guide you on creating the Chart of Account in Deskera Books.
Create a new tax rate and tax group
Once your Chart of Accounts is up and running, next, you need to ensure that the applicable tax rates are available for your organization.
Follows the steps here to view the default tax rates in Deskera Books:
- Click on Settings via the sidebar menu >> Select Tax.
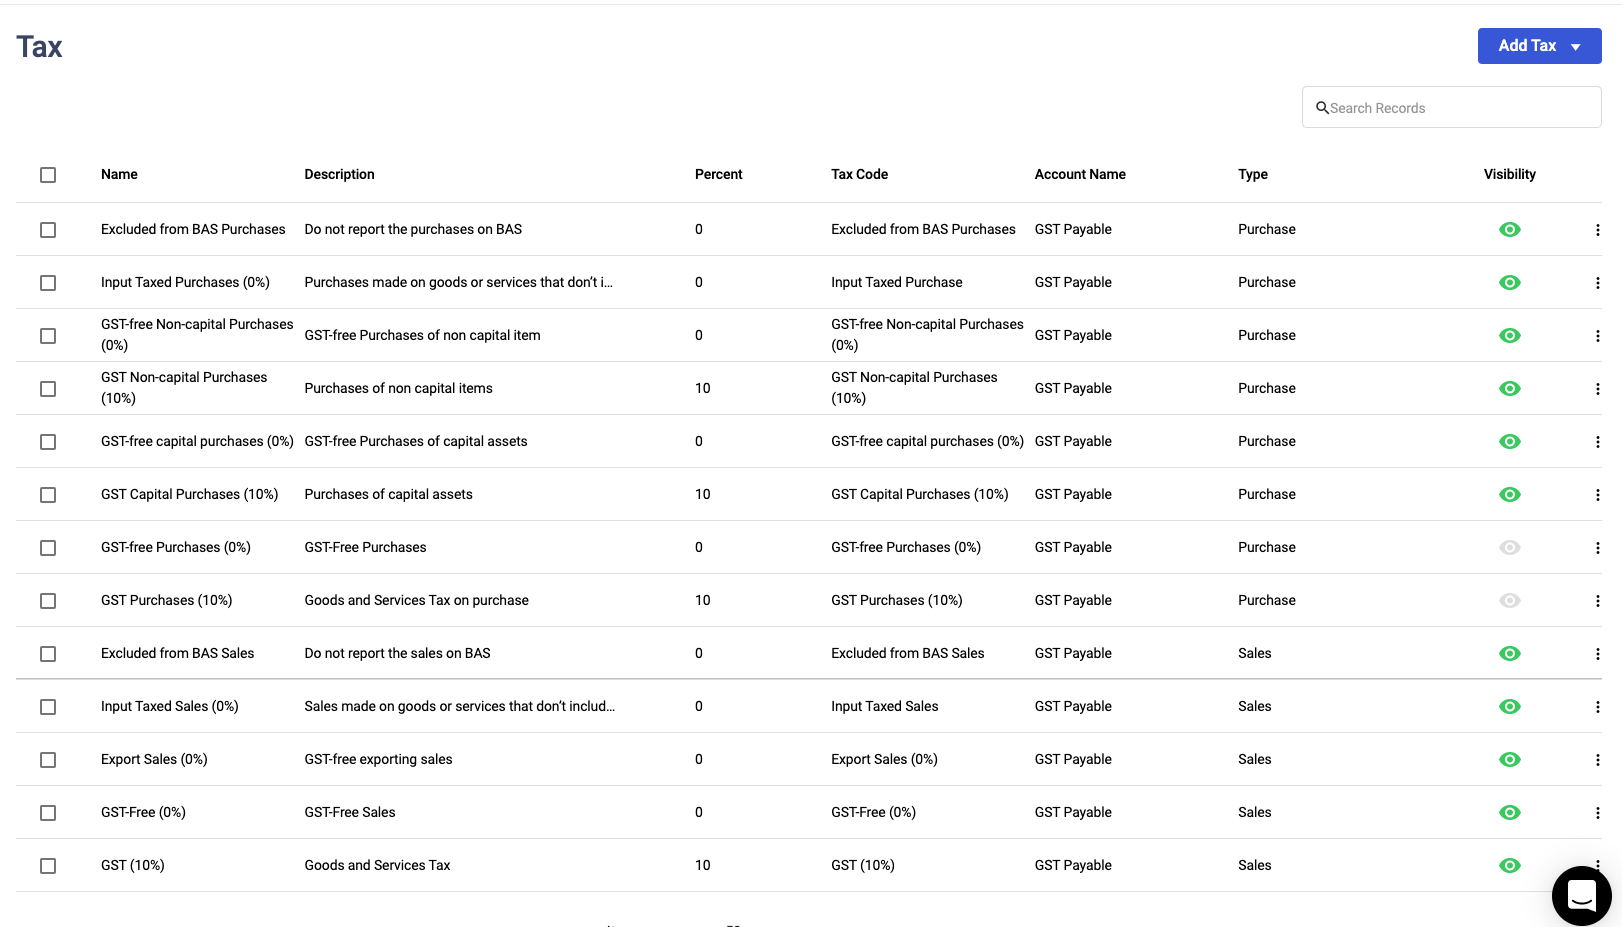
2. On this page, you can view the list of default tax rates available.
3. If you couldn't find any tax rate relevant to your business, you can always click on the Add Tax button to create a new one.
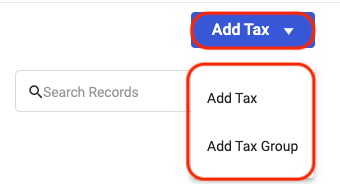
4. You can choose to add Tax or add tax group:
a) Add Tax: This means creating a single tax rate. Fill in the following fields to save the tax rate:
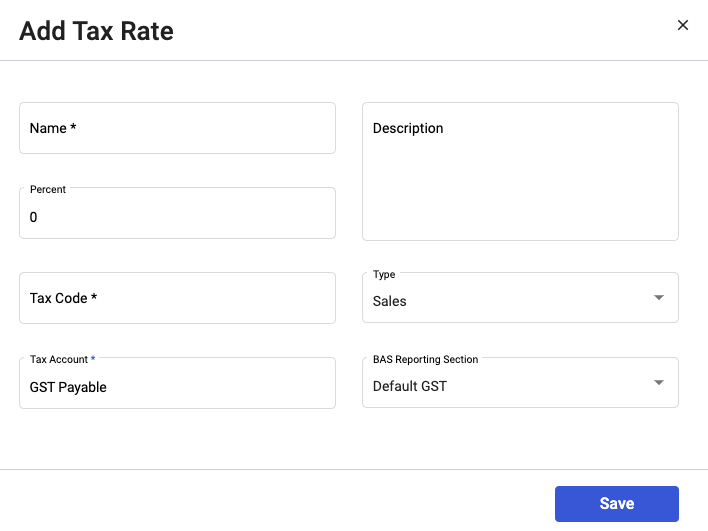
- Tax Name - Enter the tax name
- Percentage - The percentage of the tax rate
- Description - Short notes describing the tax
- Tax Code - Enter the tax code
- Tax Type - Choose the tax type. You can select the tax type either as Sales or Purchases
- Tax Account - Select the tax account involved. The options that appeared from the dropdown here is populated based on the accounts in COA
- BAS Reporting Sections* - Indicate the BAS Reporting section. Choose from default GST, Export Sales, Other GST free-sales, Input Taxed Sales, Capital Purchases, Non-Capital Purchases, Input Tax Purchases, and Excluded from BAS.
b) Add Tax Group: If you choose to create a tax group, you can add multiple tax components to this tax group. Fill in the following fields as shown:
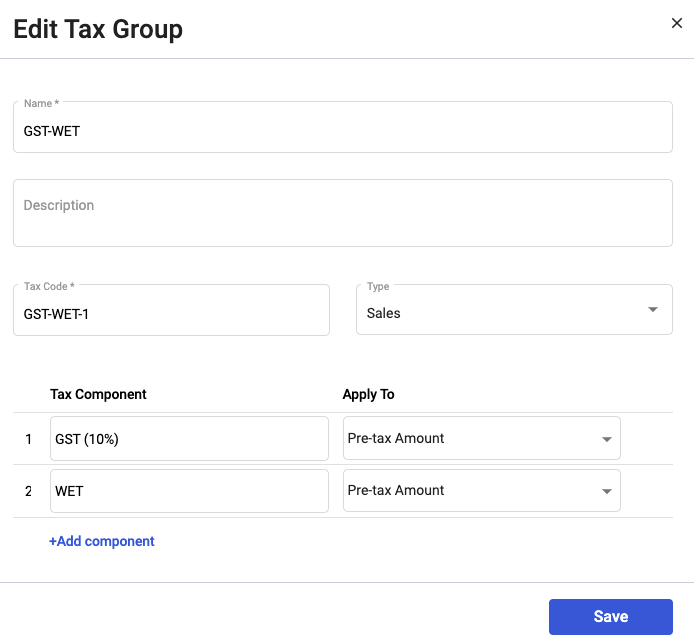
- Name - The name of the tax group
- Description - Notes describing the tax group
- Tax Code - Enter the tax code for the tax group
- Type - Choose the tax type; Purchase, or Sales
- Tax Component - You can choose from the list of tax rates from the drop-down. Please note that you cannot select the tax group in the tax component. Also, you cannot add more than 5 tax components here.
- Apply To - Choose either pre-tax amount or after-tax-amount. You can only select one after-tax-amount in this field.
6. Click Save. You can now view the newly added tax and tax group from the Tax List.
7. You can edit the tax details but cannot delete the system's default tax rate. Also, you are only allow to delete the tax rate you created on your own.
8. If you have already applied the tax rate in any documents or contacts, you cannot delete the respective tax rate.
How can I indicate my vendor's ABN or ACN?
Contact means both your customers and vendors in Deskera Books.
To indicate your vendor's business or company number, you can follow the steps mentioned below:
- Go to the Contacts tab via the sidebar menu.
- Click on the Add Contact button.
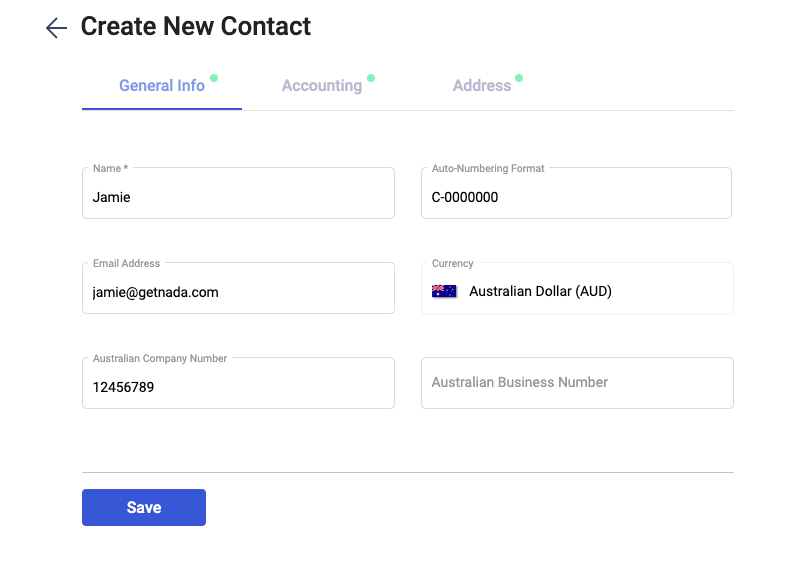
- Fill in the fields as shown below:
- Name - Your contact's name
- Auto-numbering format - Customize the auto-numbering format for the contact
- Email Address - The contact's email address
- Currency - The currency is auto-populated based on the currency saved on the setting page
- Australian Company Number - Your vendor's company number
- Australian Business Number - Your vendor's business number
4. Click on the Save button.
How do I set up the product default tax rate?
Read below to find out more about the steps to apply the tax against a product in Deskera Books.
- Go to Products via sidebar menu.
- Fill in the fields in the general info tab.
- After that, click on the Accounting tab. Fill in the Buy and Sell account and tax rate for the respective product.
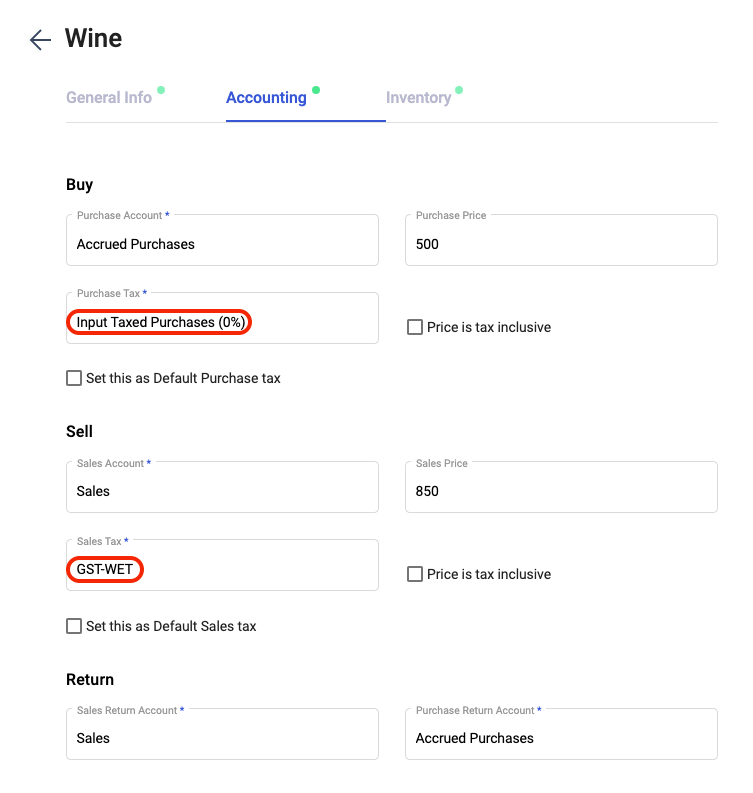
4. Once you have set-up the purchase tax and sales tax for this product, click on the Save button.
How to apply the tax against an invoice or bill?
Once you have created your products and contacts, you can start issuing invoices or bills to your customers/vendors.
To create an invoice, you can follow the steps here:
- Go to the Sell tab on the sidebar menu.
- Click on the Create Invoice button.
- Fill in the fields in the invoice as per the guide here.
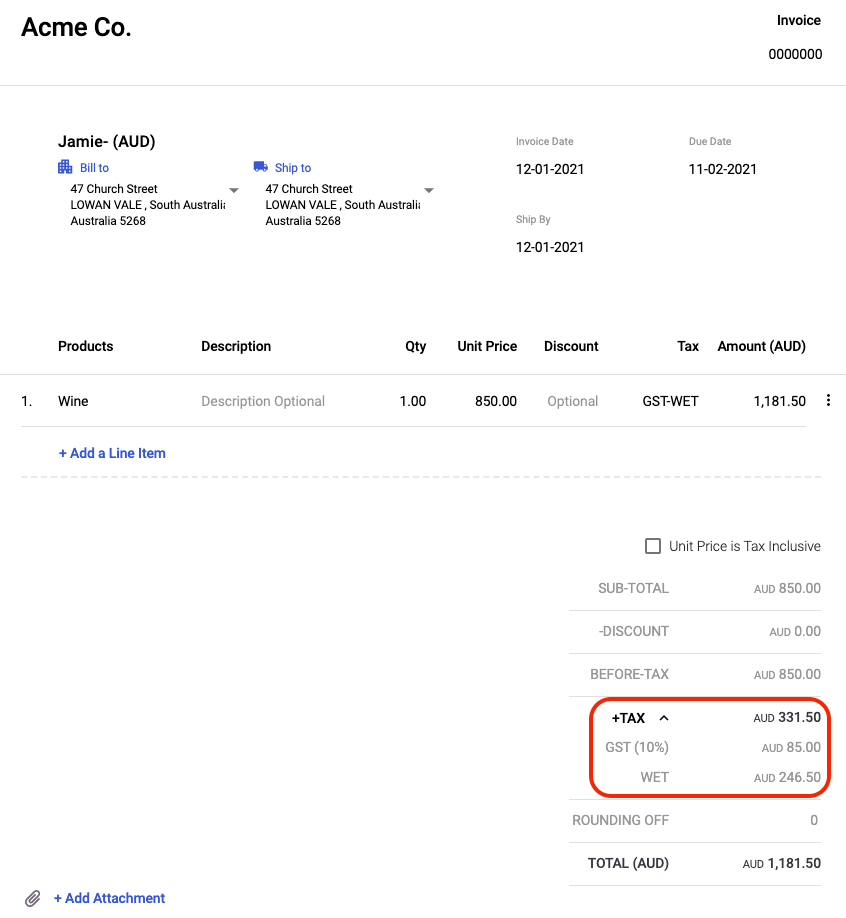
4. Upon selecting the product line item, the tax column will be auto-populated based on the default sales tax rate saved in the Contact Module. You can also change the tax rate here.
5. Click on the drop-down arrow next to the tax field. You can view the allocation of tax based on the tax component in the tax group.
6. Click on the Save button.
You can follow the steps mentioned below to create a bill:
- Go to Buy via the sidebar menu
- Click on the Create Bill button.
- Fill in the fields in the bill as per the guide here.
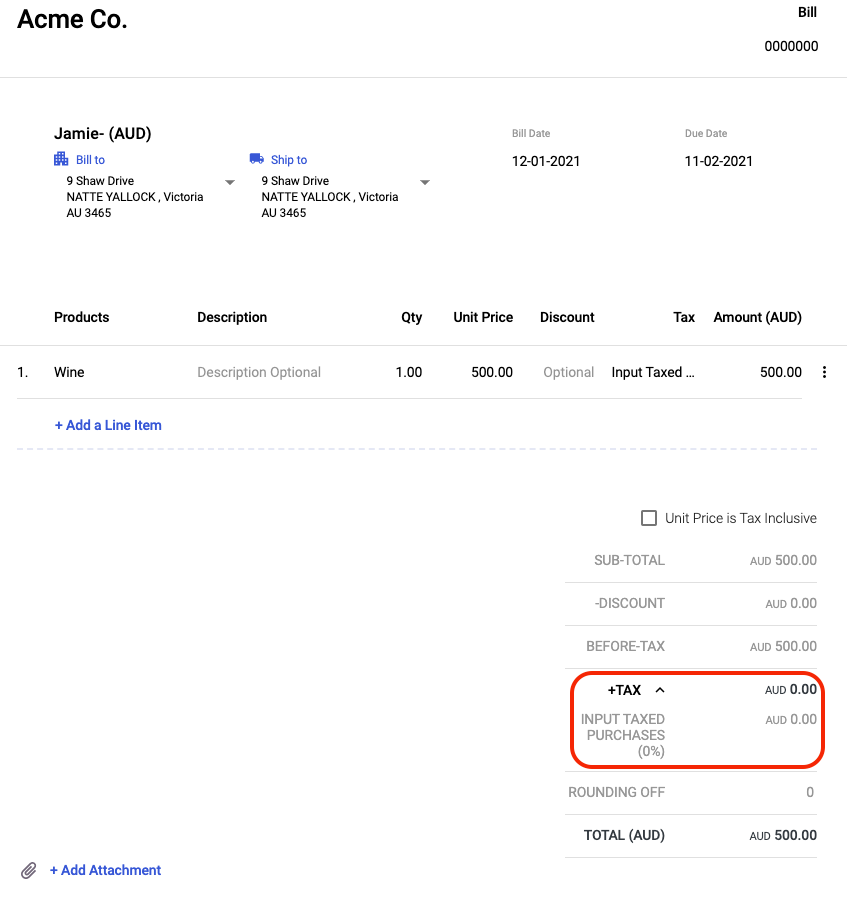
4. Upon selecting the product line item, the tax column will be auto-populated based on the default purchase tax rate saved in the Contact Module. You can also change the tax rate here.
5. Click on the Save button to create the bill.
Finally, you have successfully set-up your company details registered in Australia, customize the Chart of Accounts, create a new tax/tax group, indicate your vendor's ABN/ACN, and apply the tax against your product.