

Contacts in your Books+ application can be your customers and vendors.
You can create contact and store their information using Deskera Contact Module. The contact module is similar to a contact management software whereby you can keep the nitty-gritty details of each individual.
To create a new contact in Books+, follow the steps below:
- Login to your Books+ account.
- Go to Contact Module via the sidebar menu.
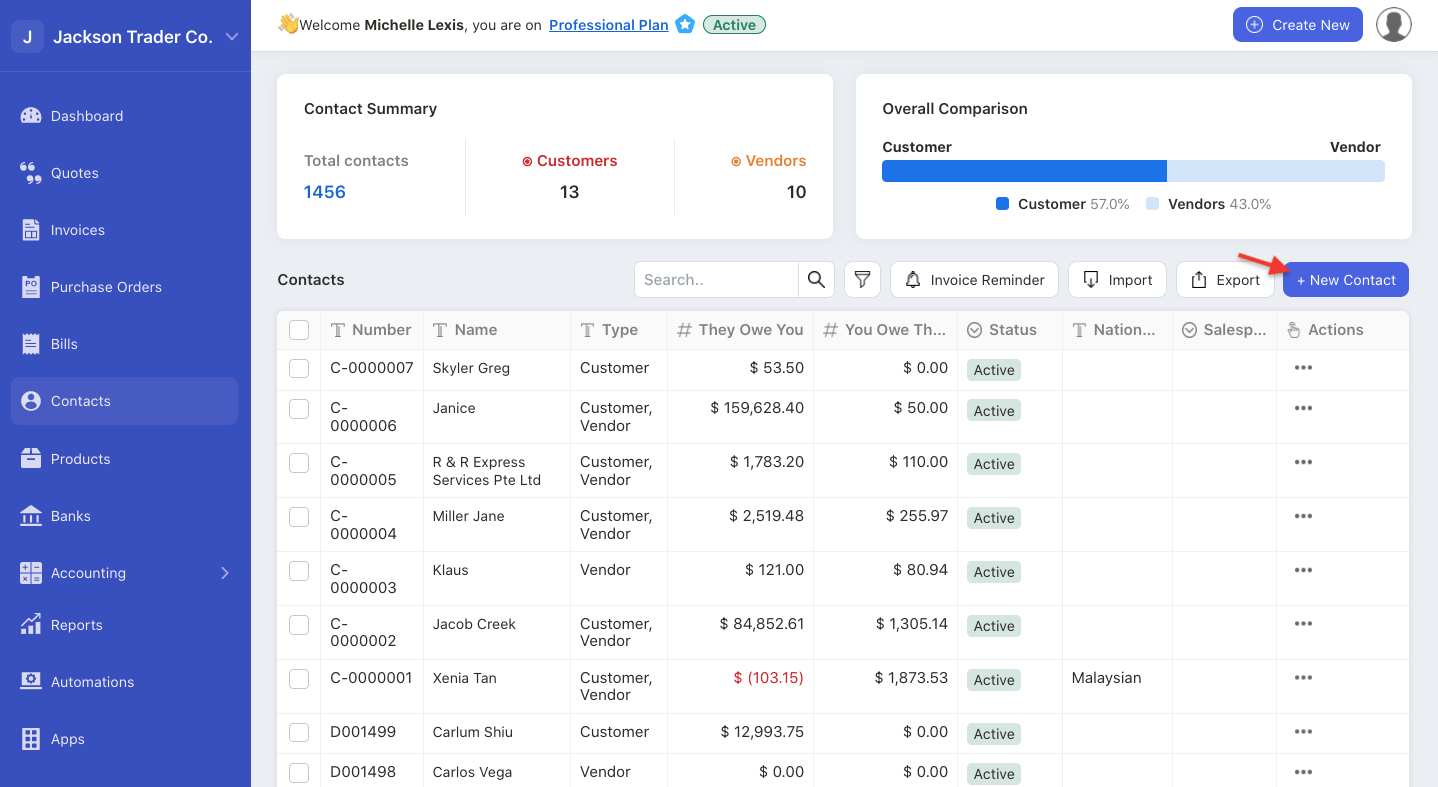
3. Click on the “+ New Contact” button.
4. A pop-up menu will appear. Fill in the contact details in the pop-up menu:
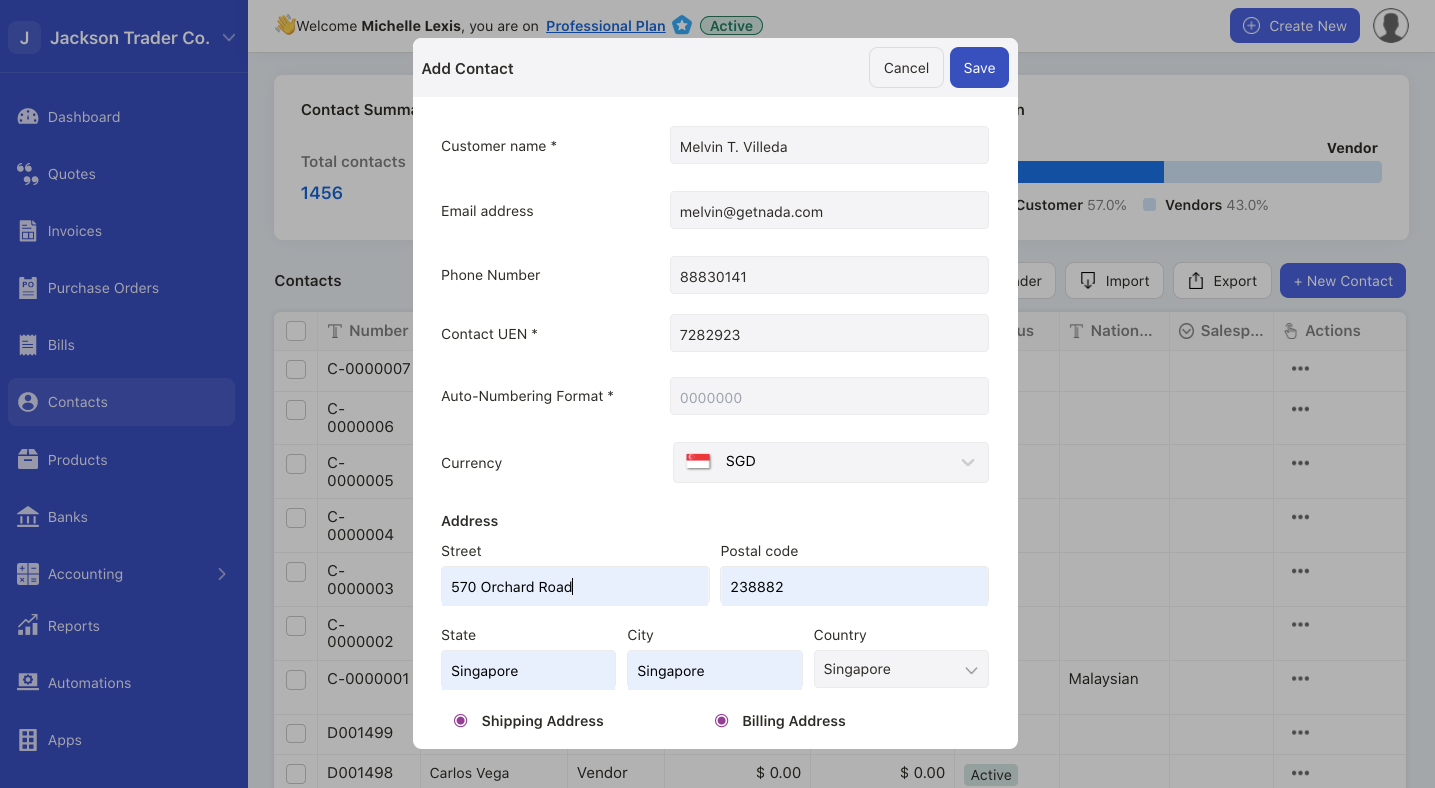
- contact name: enter the contact name
- email address: enter the contact email address
- phone number: enter your contact phone number
- contact UEN: enter your contact's company identification number
- auto-numbering format: enter your contact sequence number
- currency: enter the currency use to transact with this contact
- billing address: enter the contact billing address. You can add more than one billing address
- shipping address: enter the contact shipping address. You can add more than one shipping address
- tax number: enter your contact's tax number
- payment term: enter the payment term agreed with your contact
- payable account: choose the correct payable account. The system will set this to "aged payable" account by default
- receivable account: choose the correct receivable account. The system will set this to "account receivables" account by default
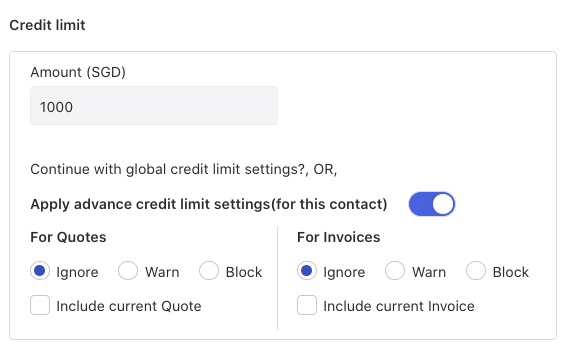
- credit limit: configure the credit limit for a customer. By setting the credit limit, you can ensure that all the unpaid orders from this customer doesn't exceed the limit configured. Choose whether to ignore, warn, or block the quote or invoice creation when your customers' purchases exceeded the configured credit limit
- purchase/sales price list: configure price list for this contact. Read more here.
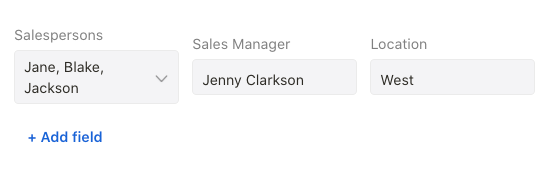
- custom fields: you can also create additional custom fields and tag against this contact
5. After you have updated all the fields, click on the save button.
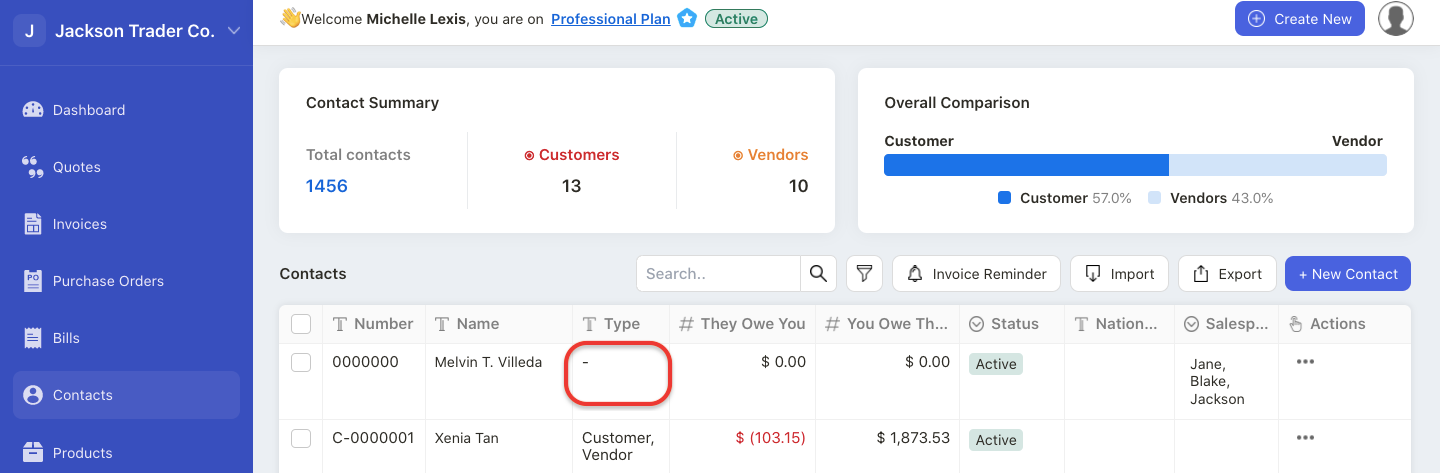
6. Please note that the contact type will appear as blank when you first save the contact.
7. Once you have created a sales invoice/quote document against the contact, then the system will auto-update the contact type as customer. The same applies when you create an order/bill document.
How can I edit the contact?
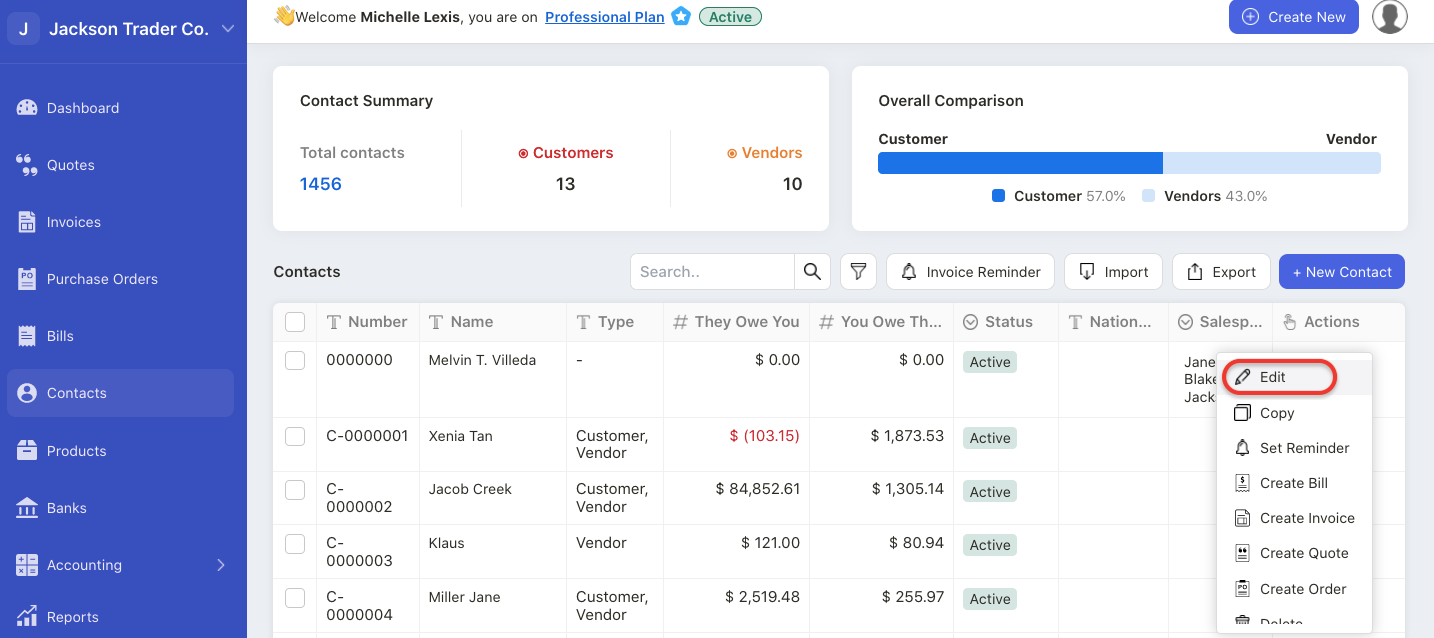
To edit the contact information, click on the three dots under the Actions column. Click on the edit button.
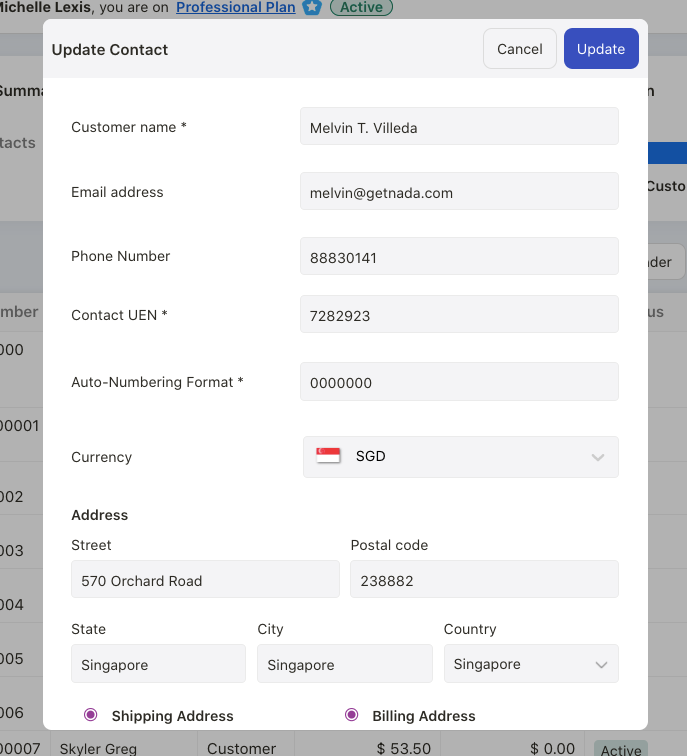
You can update all the fields in the pop-up box and click on the update button to save the changes.
Click on the copy button to create a duplicate contact record in this module.
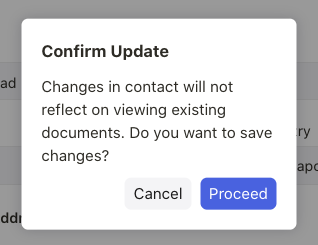
Note: The changes made in Contact Module will be reflected for all newly created documents. The changes won’t be reflected in your existing documents prior to the update.
How can I delete my contact?
To delete your contact successfully, you have to make that the contact is not in use.
Make sure that there is no quote, sales invoice, bill, order, opening sales invoice, opening bill, deposit, or expenses tag against the respective contact. Otherwise, you won’t delete this contact from the system.
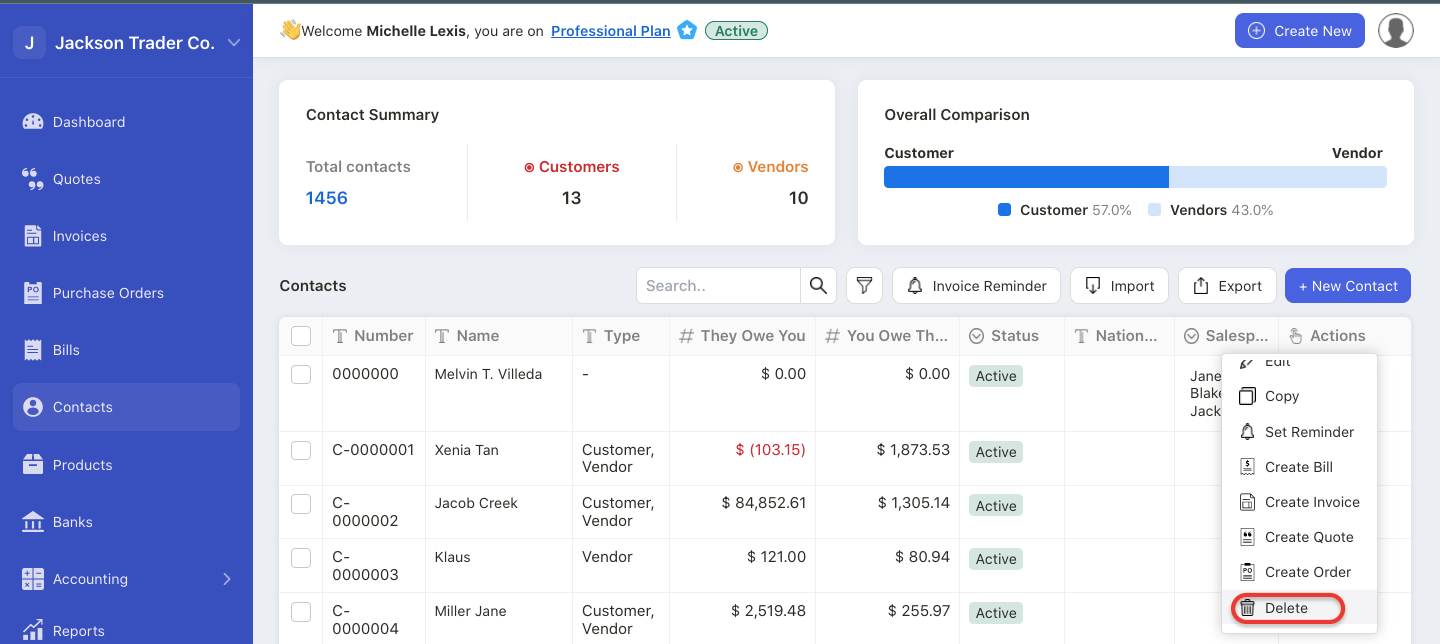
Click on the three dots under the Actions Column to delete the contact. Select the delete button to remove this contact permanently.
Note: Once you have deleted this record, you cannot recover the data for this contact anymore.
How can I bulk import my contacts?
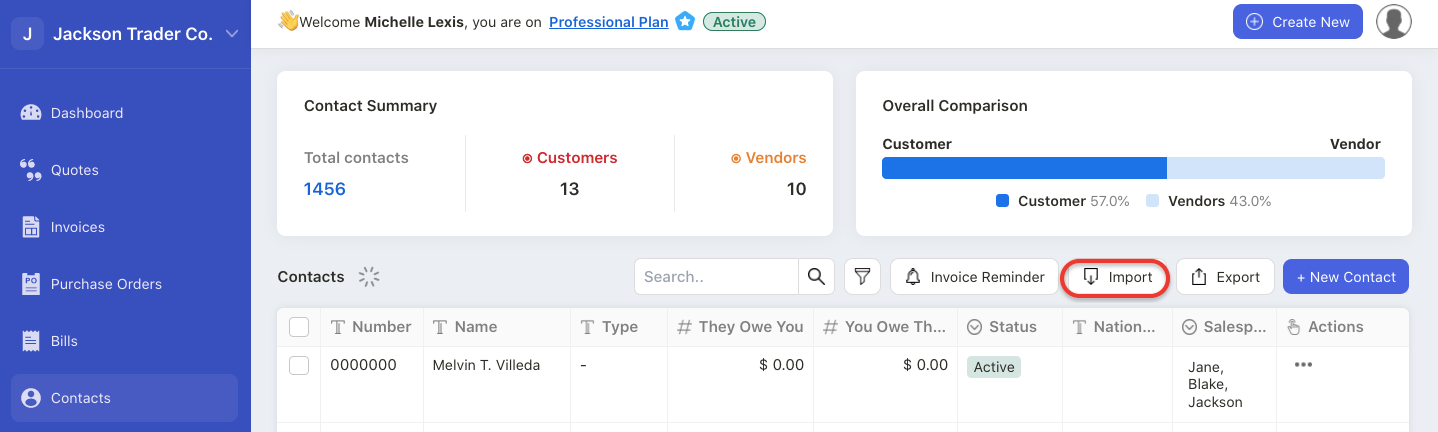
Click on the Import button in the Contact Module.

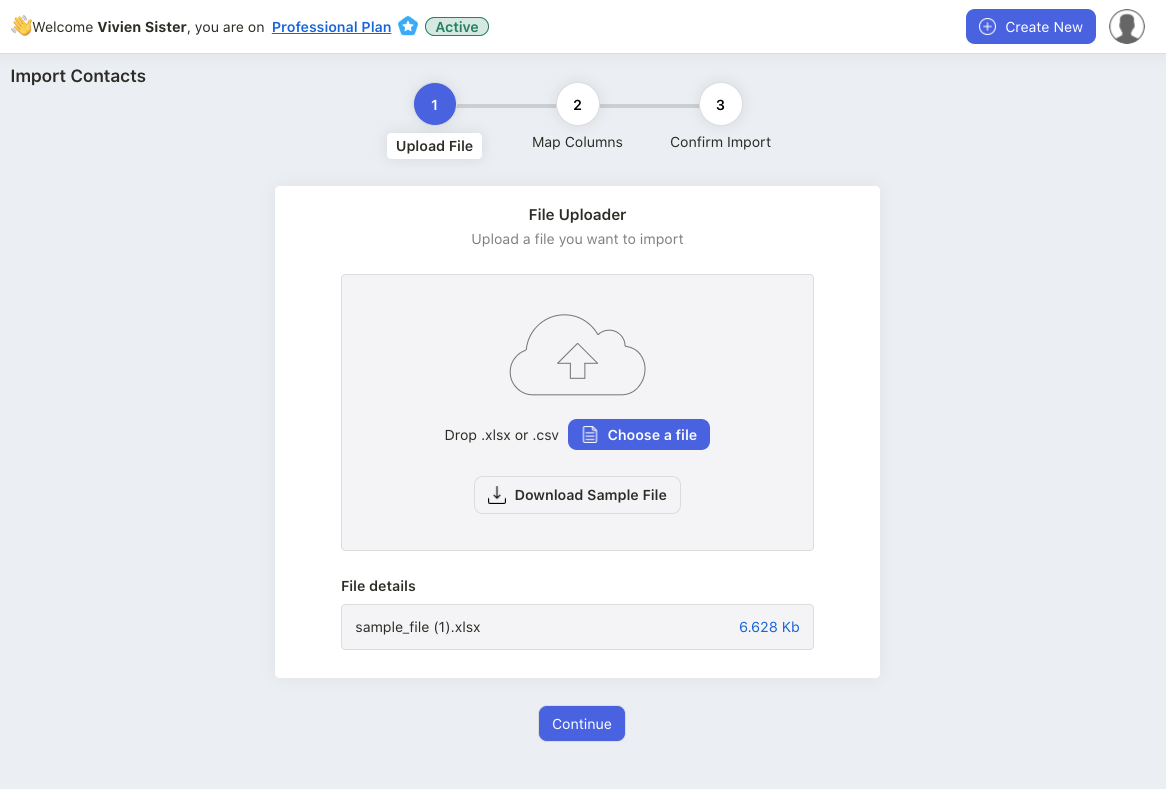
Download the sample file from the system.
It’s mandatory to use the sample file from the system. You have the option to add custom fields in this file as well.
Make sure that you have created these custom fields in the Setting > Custom Field Module.
Fill in the fields in the sample file.
Once you are done updating the file, save it and upload this file to the system.
Click on the continue button.
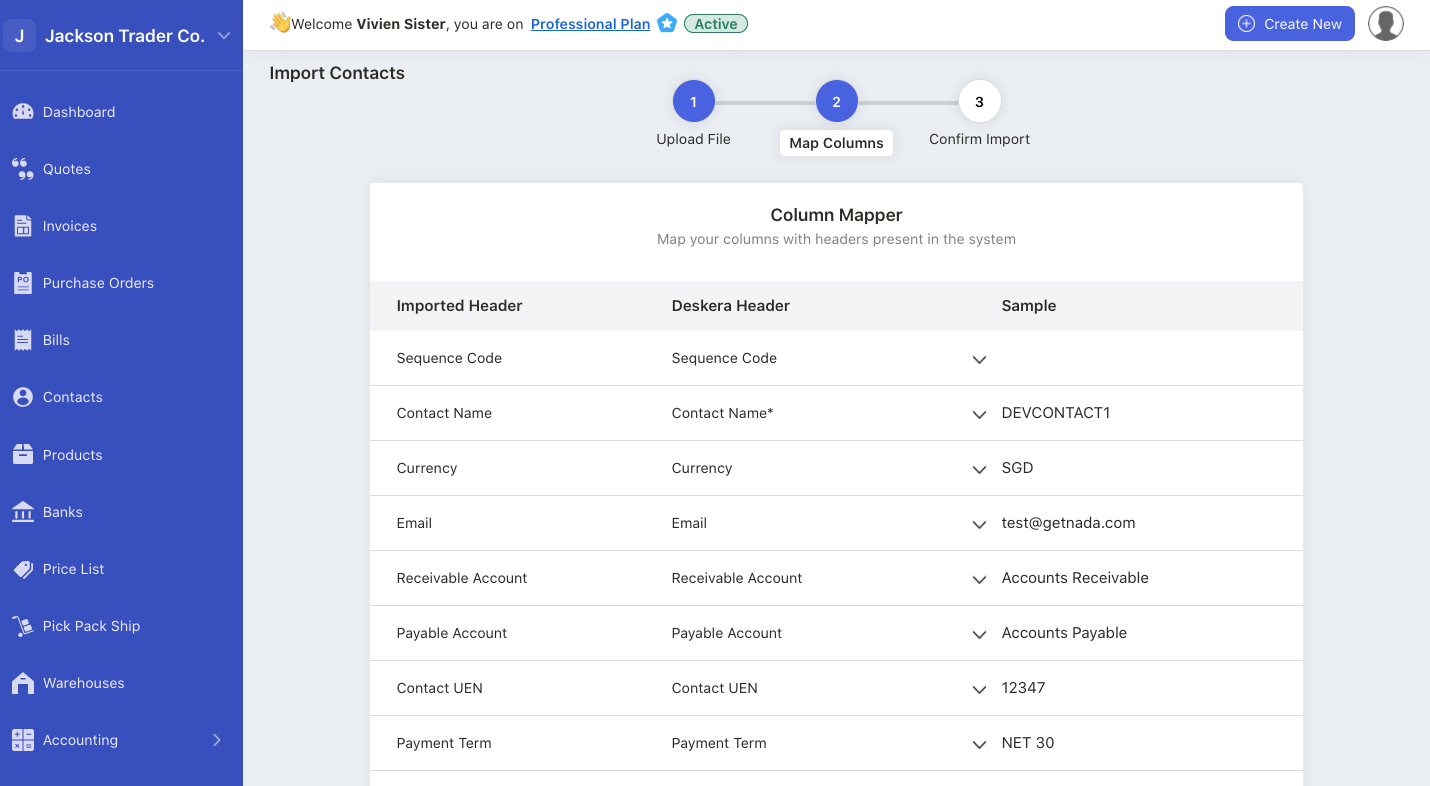
Please ensure that the Deskera Header map to the sample fields during the mapping stage.
Enable the checkbox “skip column that does not map” so that the system can ignore invalid rows.
Click on the continue button.
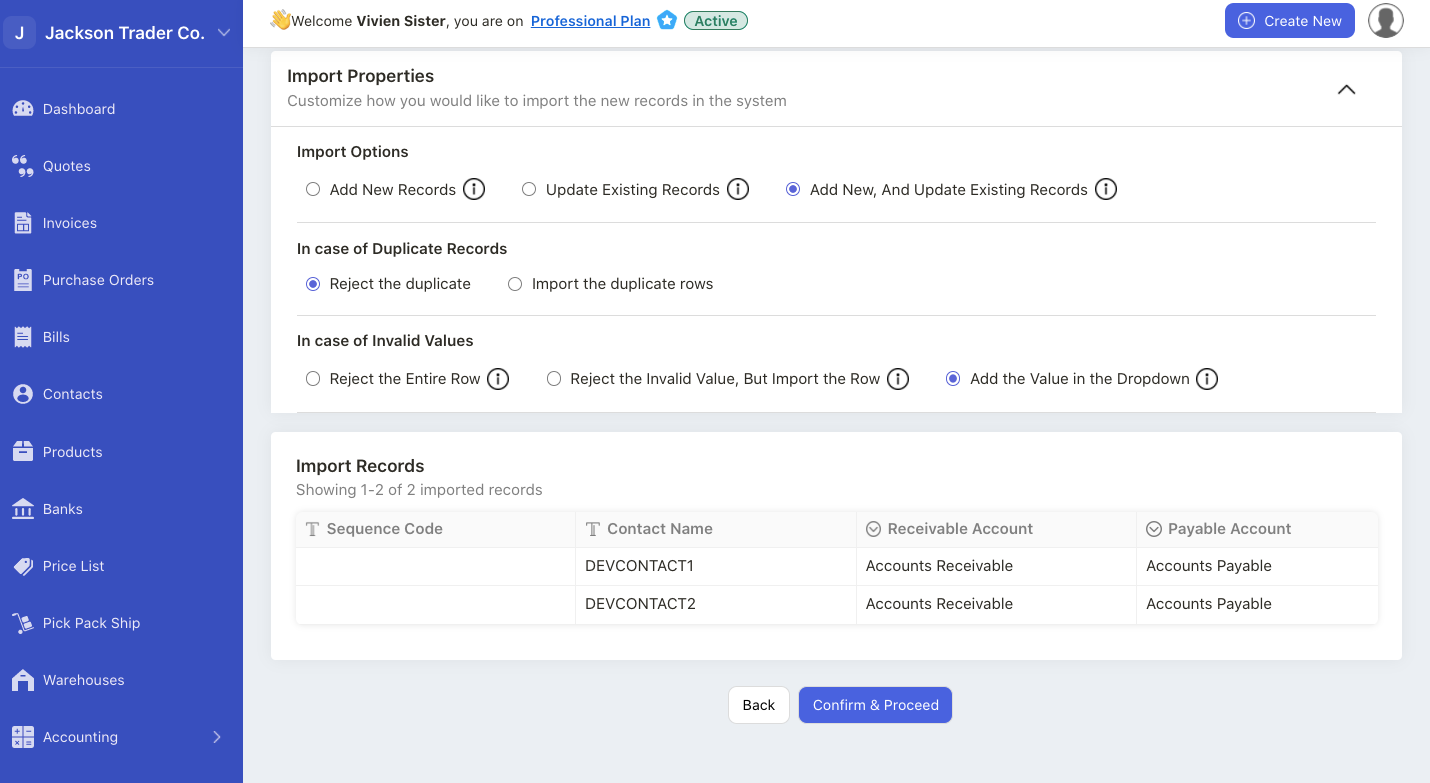
In the following stage, choose the import options; add new records, update existing records, or add new and update existing records. You can configure the import properties here.
Make sure that the data in the import records are valid. In case of invalid data, the values will be highlighted in a red box.
You can edit the fields directly on the box itself. Edit the information until the values become valid.
Next, click on the confirm and proceed button.
Finally, you can view all your contact data in the sample file imported to the Contact Summary List.
Note: You can only import 1500 records in one go.
How can I export my contact data?
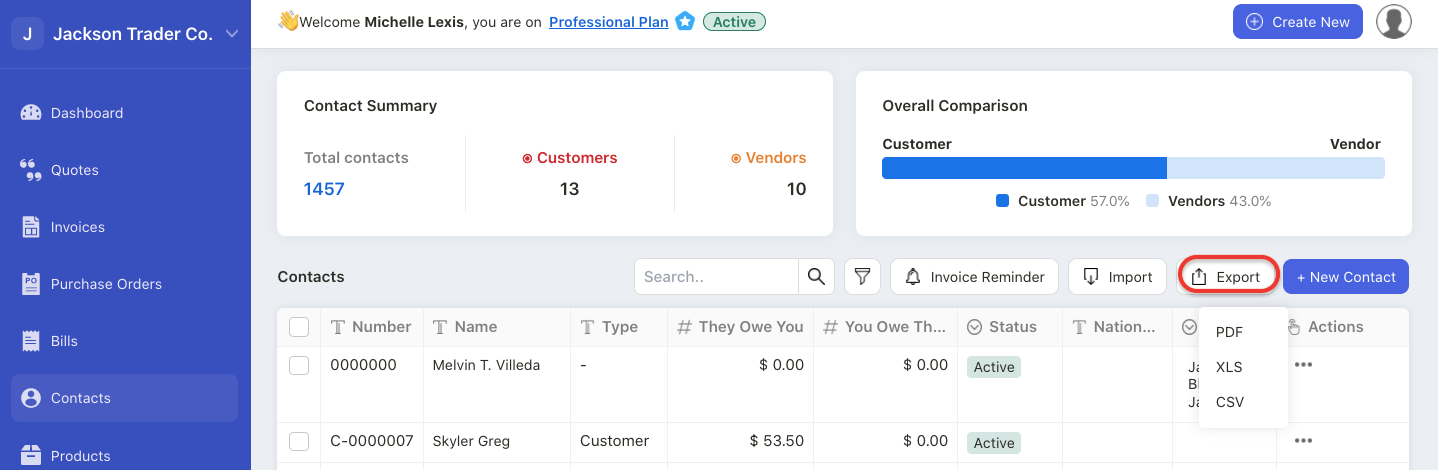
Go to Contact Module and click on the export button.
You can download the contact in PDF, XLS, or CSV format.