

Having a form on your landing page is the gateway that connects you to them.
When visiting your website, your leads will fill in their details through the form section if they wish to connect with you.
You can quickly connect with your potential customers using the information provided.
Let us understand more, how to create and manage Forms in Deskera CRM+.
How to create Forms in Deskera CRM+?
- Login to your Deskera CRM+ Account
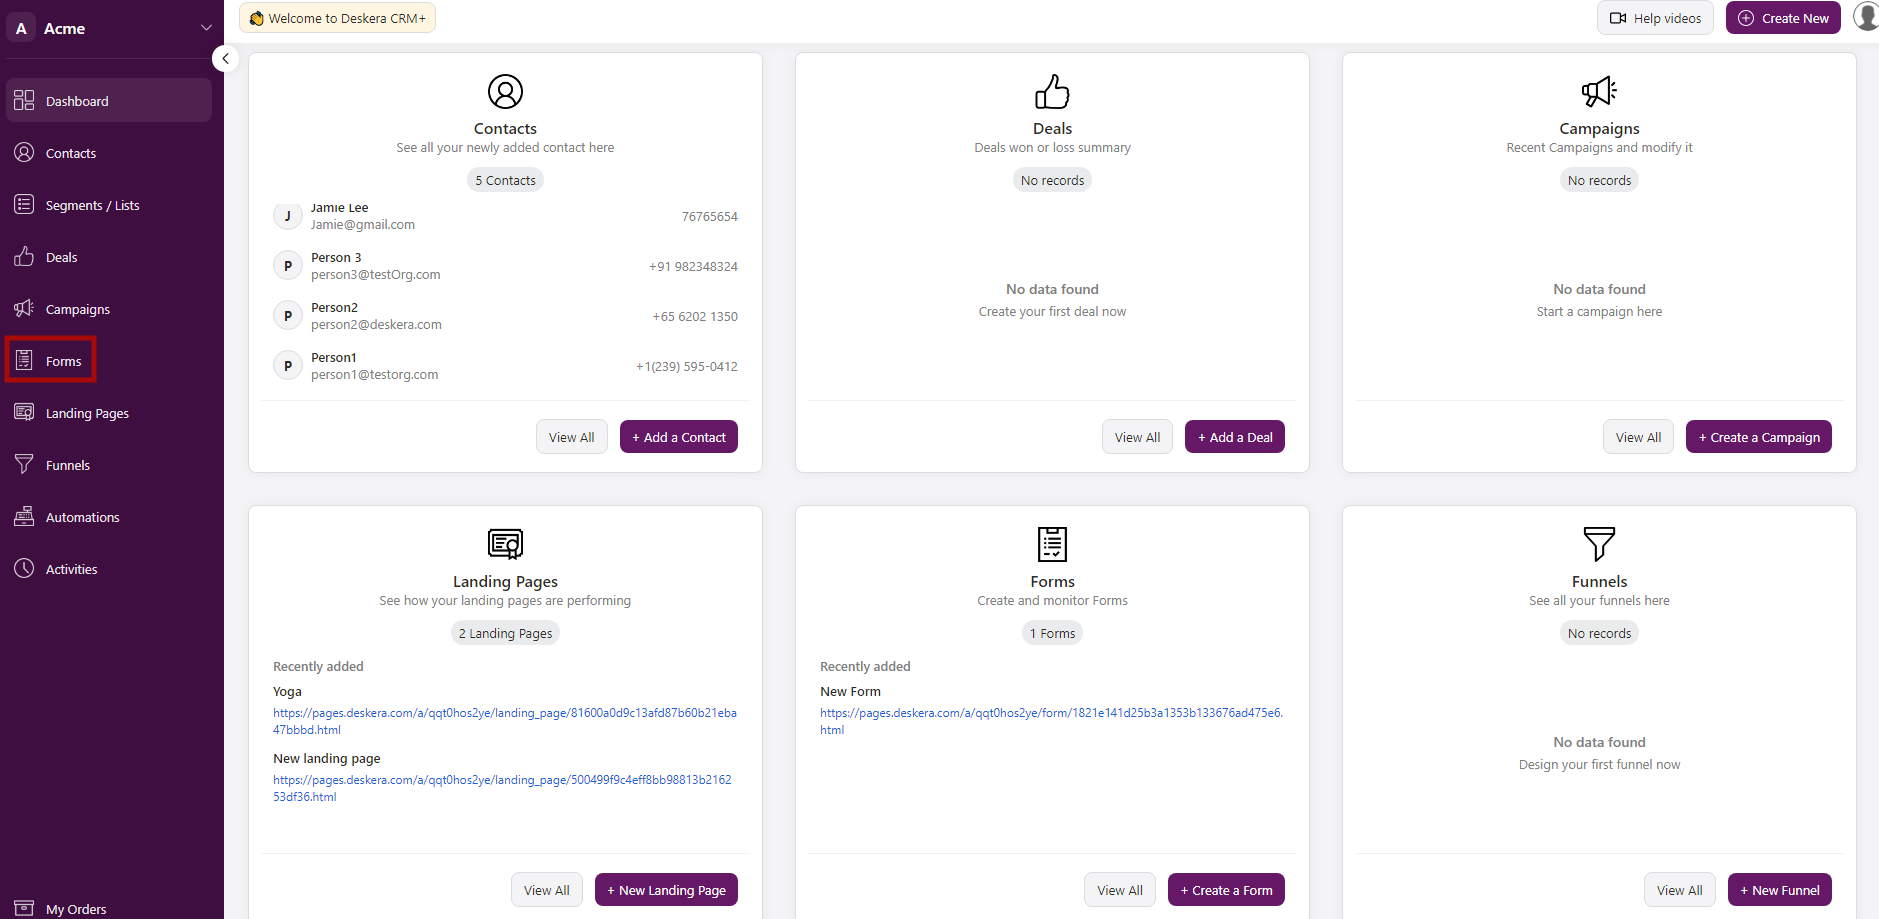
2. 2. After you have logged into your account, you can view Deskera CRM+ Dashboard. Click on Forms on the sidebar menu. Then, the system will direct you to Forms screen.
3. Next, click on the +New Form, for creating a new Form.

4. This will direct you to a new screen of Form Templates.
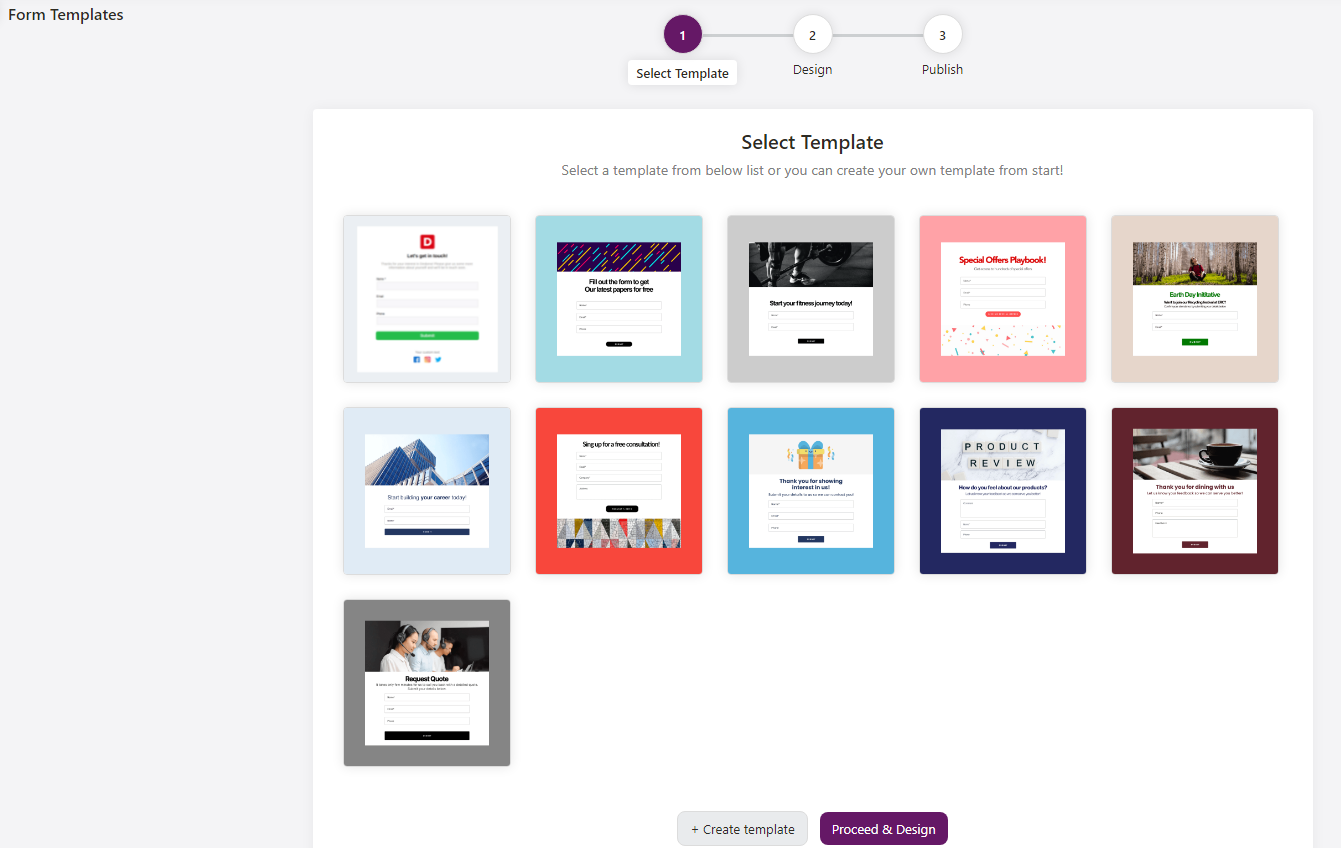
5. In this page, you can view and choose premade form templates that suit your business needs.
6. You can always choose to design your form from scratch, by click on + Create template.
7. Once you've selected your preferred form template, you can start by editing the menu section.

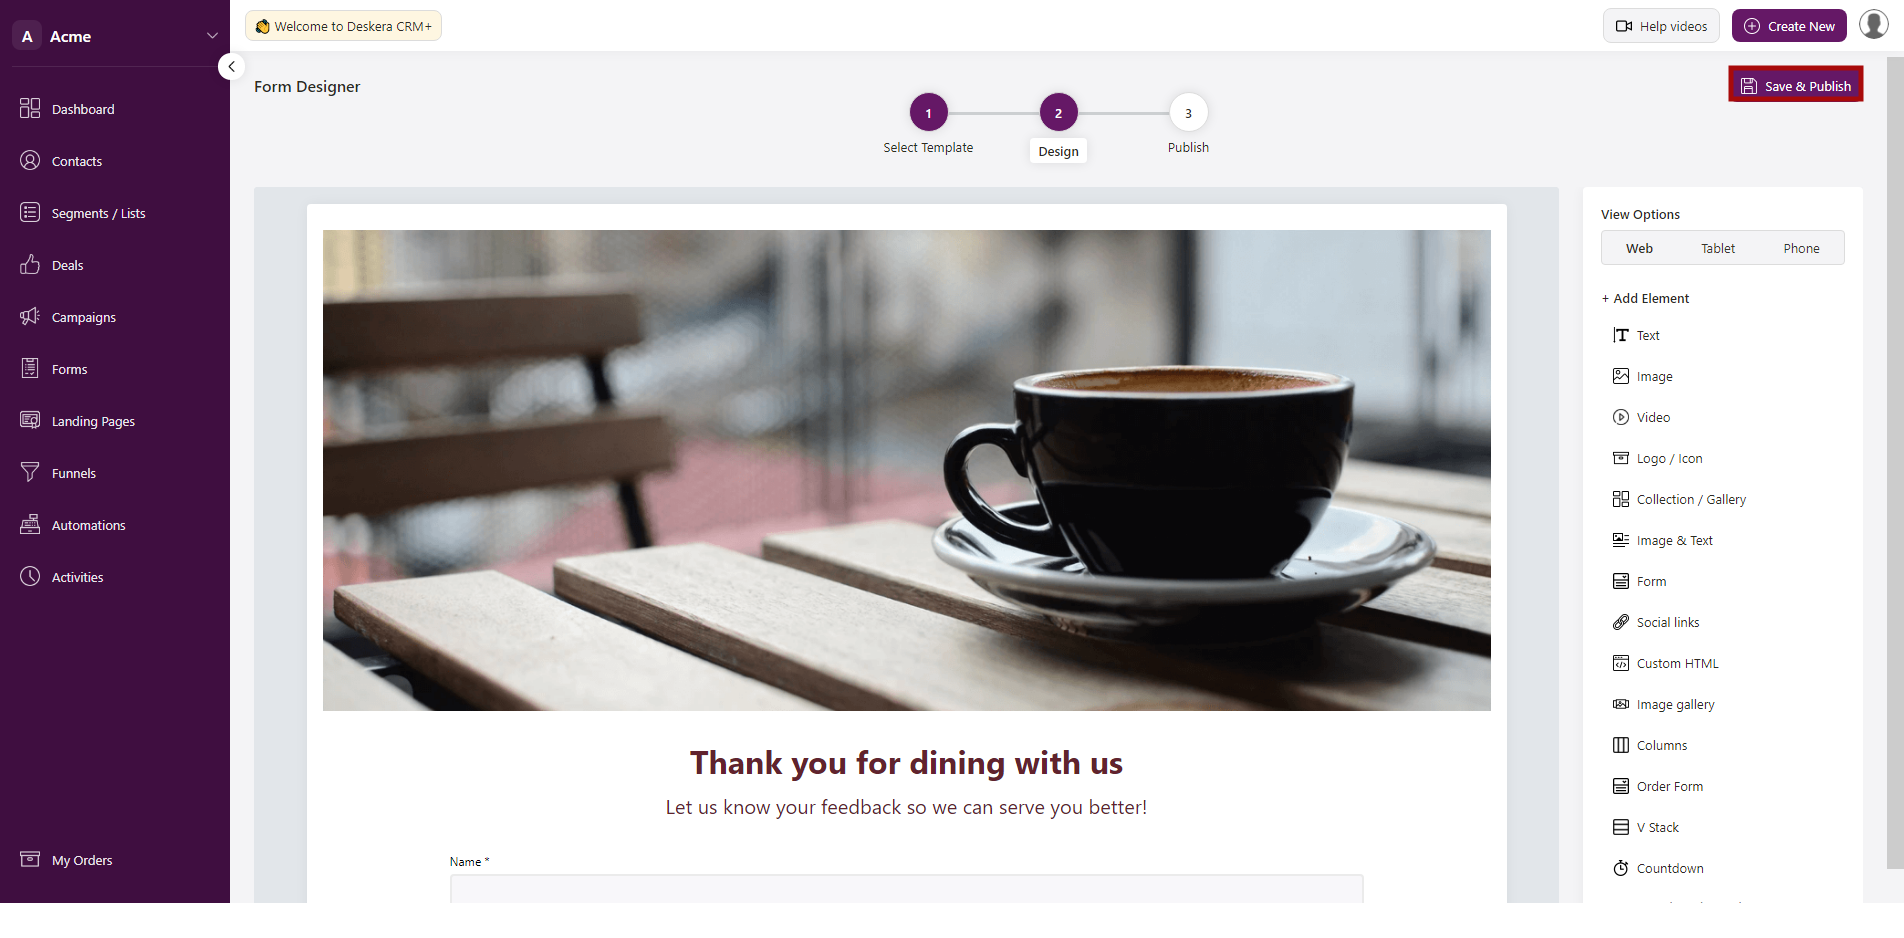
8. Under +Add Elements, you can view the list of options, which will help you to design your Form.
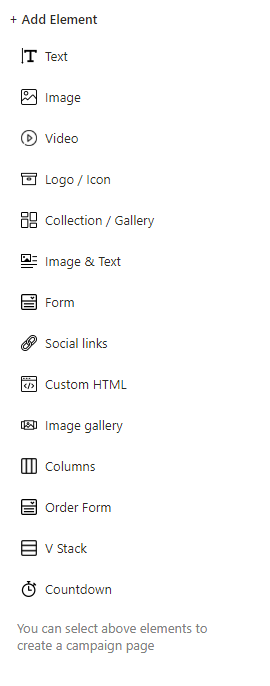
You can select the below listed elements to create your campaign page,
- Text
- Button
- Image
- Video
- Logo/Icon
- Collection/Gallery
- Image & Text
- Social links
- Custom HTML
- Image gallery
- Columns
- Order Form
- V Stack
- Countdown
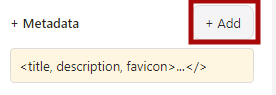
9. Add metadata
You can also add a metadata by clicking on the +Add button.
Below screen will pop-up , where you can fill in the required metadata information
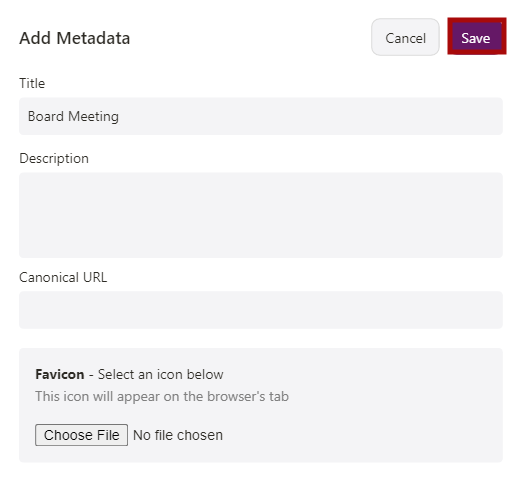
- Add the Metadata Title
- Add metadata Description
- Add Canonical URL
- Select the Favicon Icon from your desktop
Once the details are filled in, click on Save button, and you can view it under Metadata field.
Adding these metadata details you can improve your page SEO.
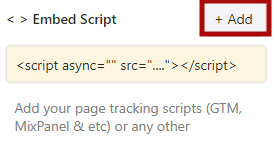
10. Add Embed Script
You can also add your Embed Scripts, by clicking on the +Add Button,
Below screen will pop-up , where you can fill in the required information
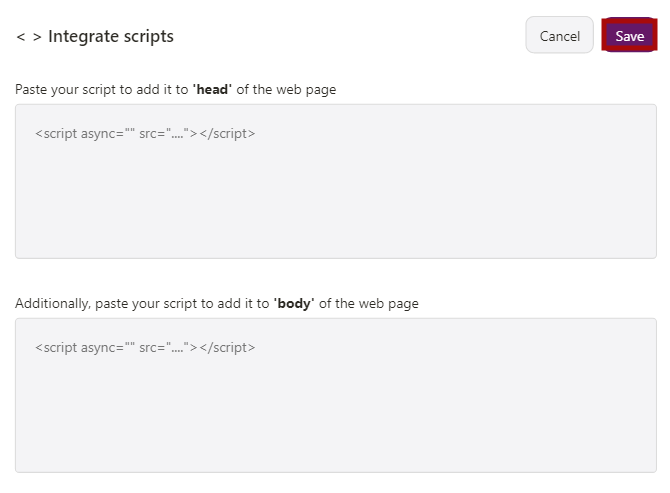
You can also add your tracking scripts like GTM, Mixpanel, etc or any other scripts for your page tracking.
Once, the required information is filled in, click on Save button, and you can view the script under the Embed Script field.
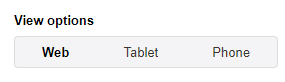
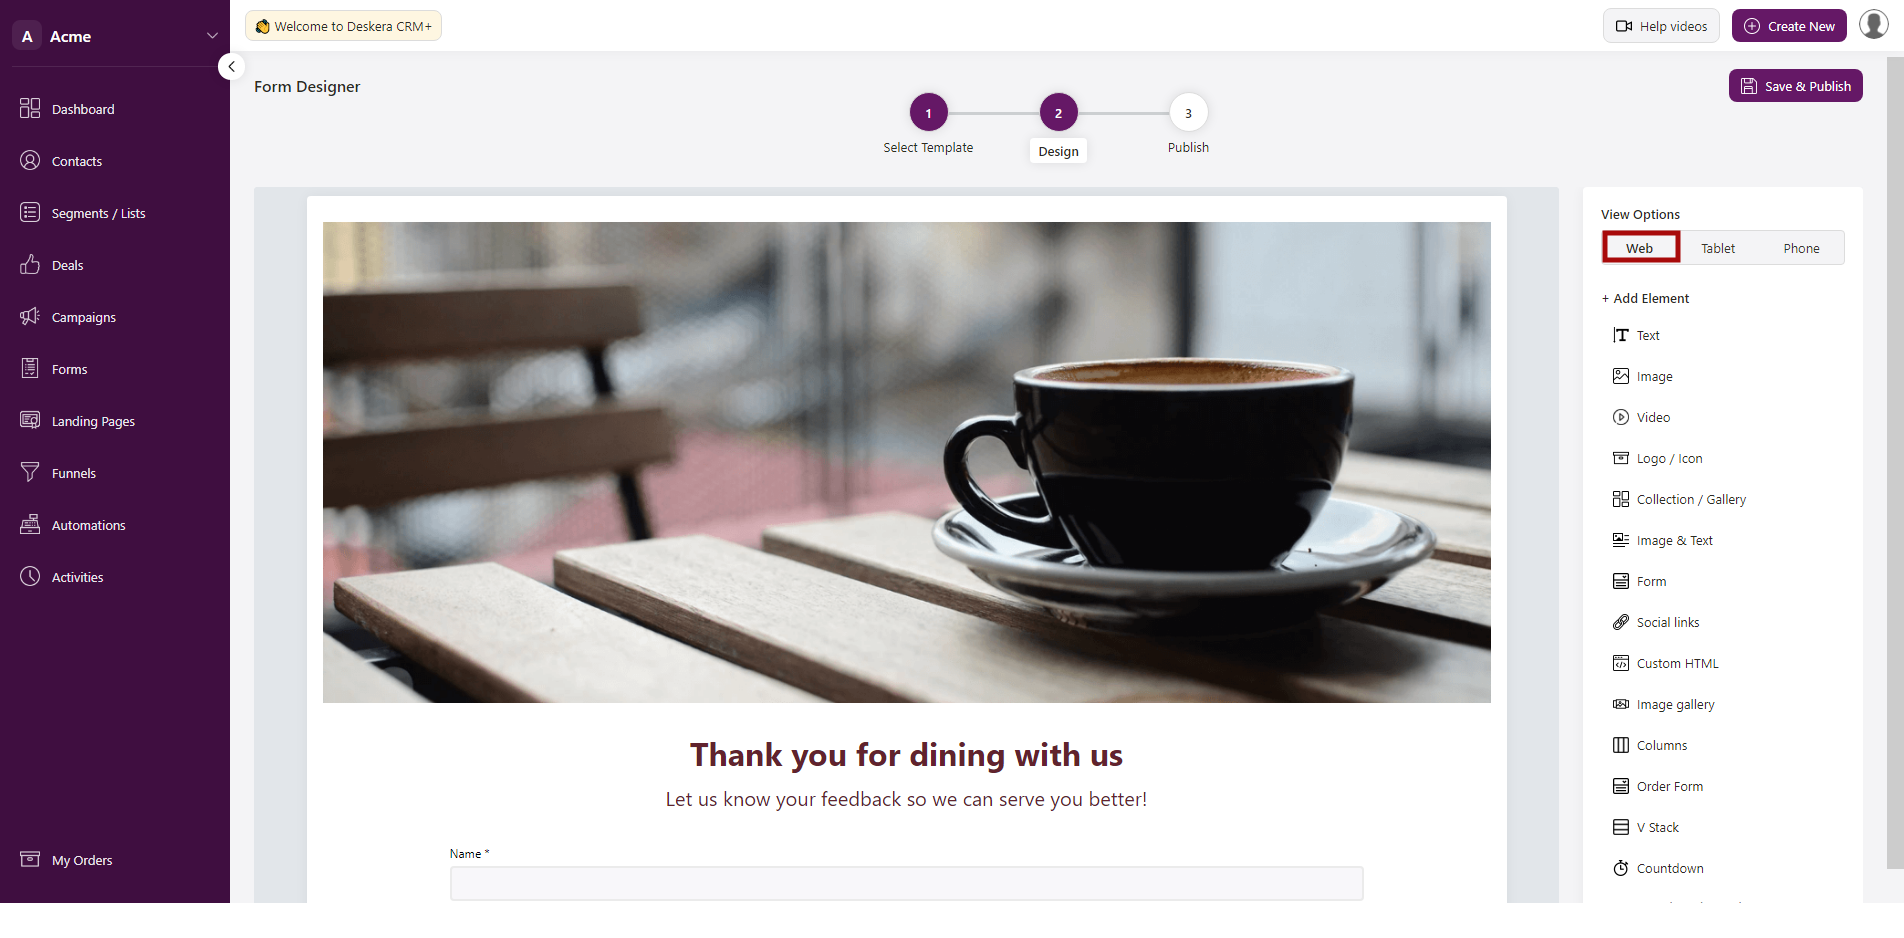
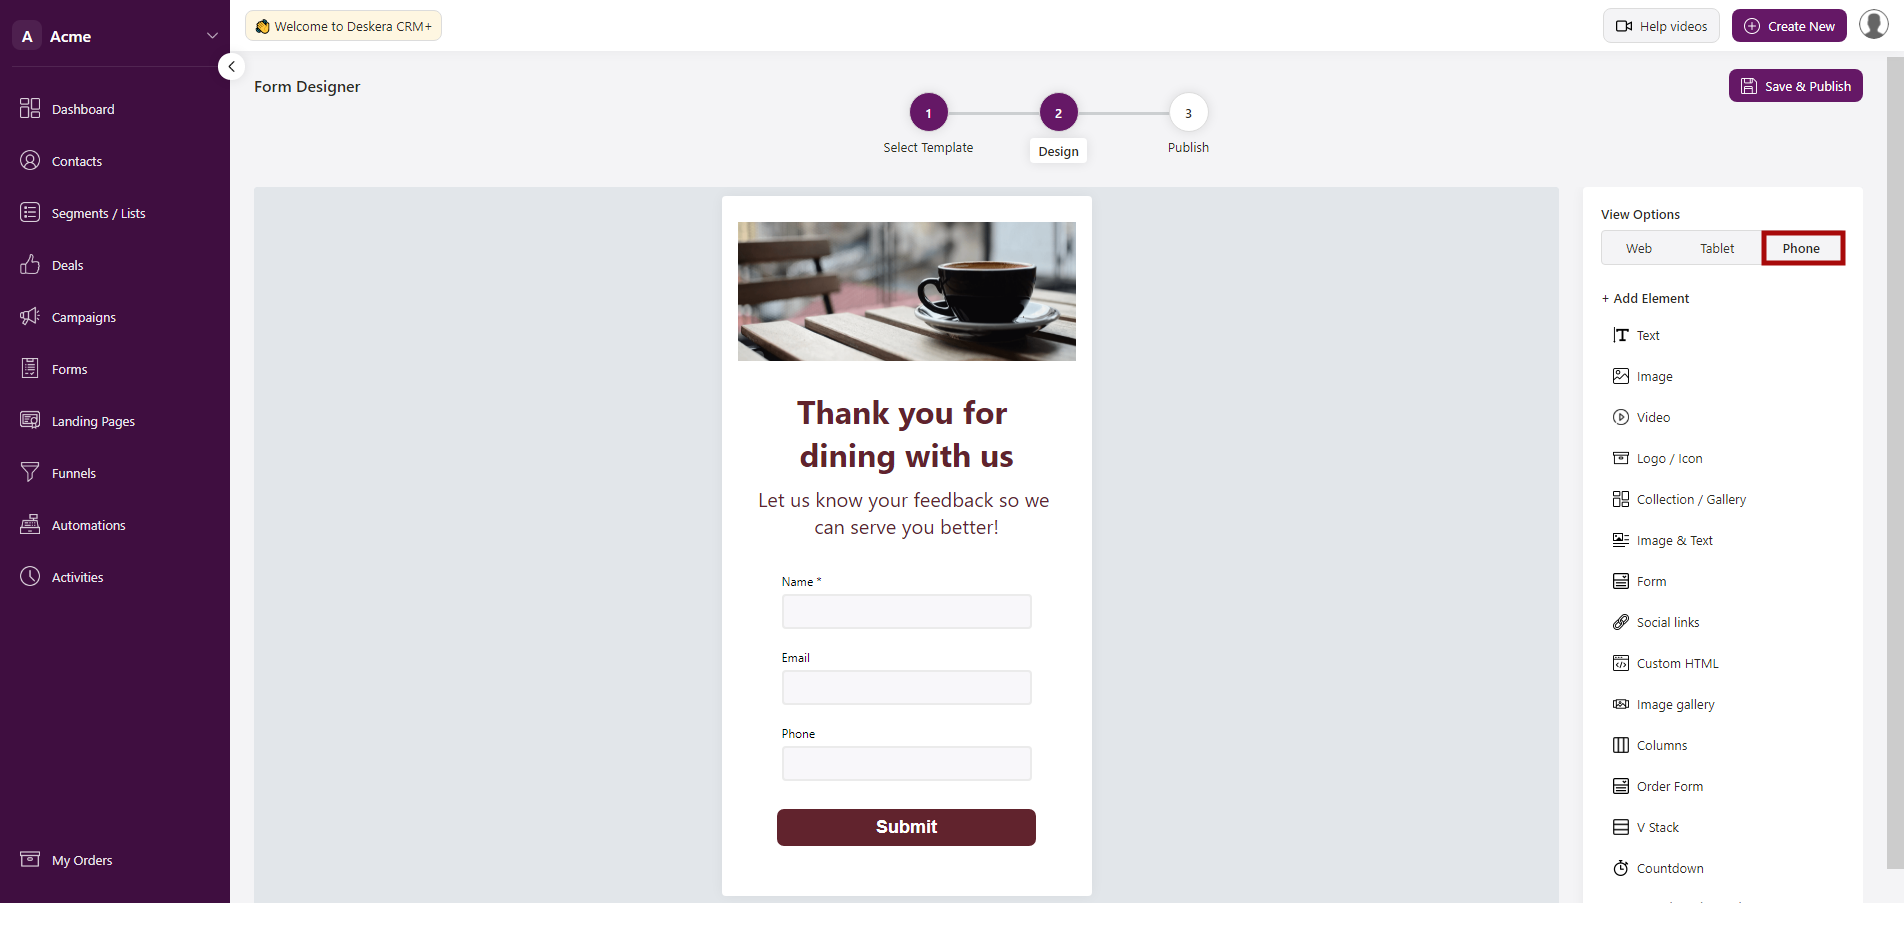
View Option of Form
You have below three option to view your Form before publishing.
- Web
- Tablet
- Phone
Web view
Tablet View

Phone View
How to edit the Form?
- You can edit the image, layout, and content by clicking on the elements itself.
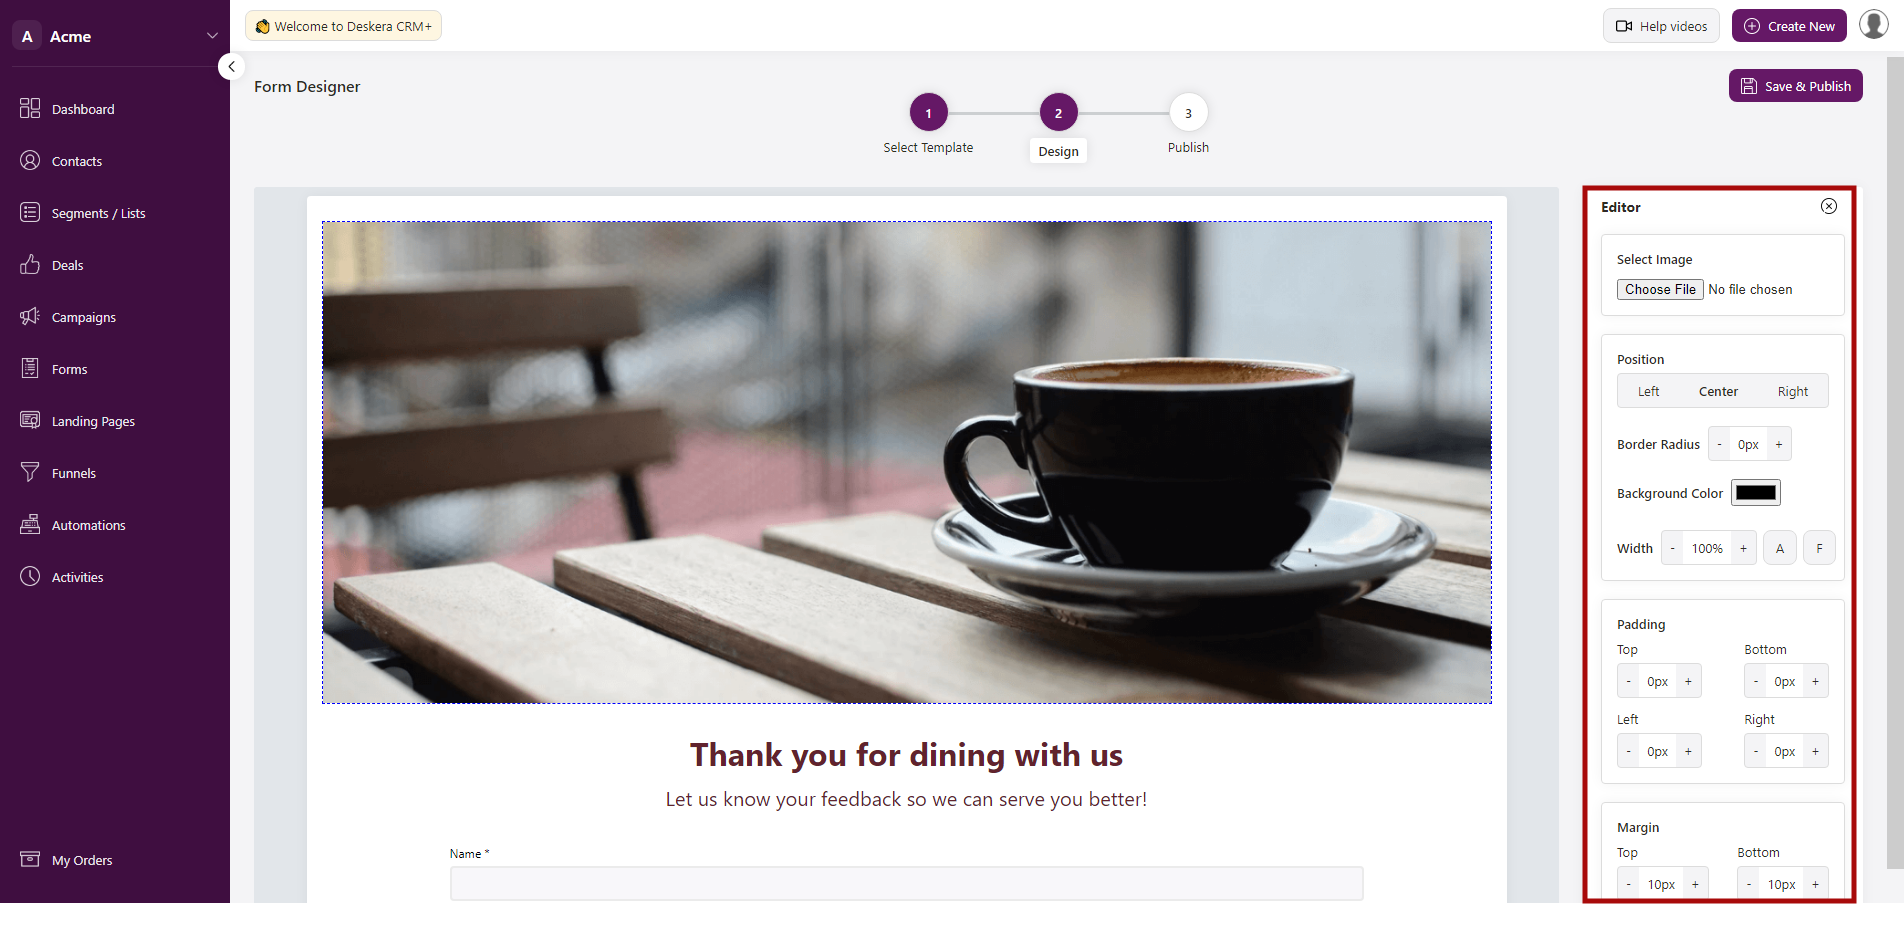
2. Clicking on the elements will open the Editor section on the left-hand side of the screen.
3. In the editor section you can edit the following,
- You can edit an image
- Text Size
- Text color
- Positioning
- Padding
- Margin, etc.
4. After these required changes are made, will reflect accordingly on the page designer.
How to adjust, copy, delete the page elements?
- By clicking on the elements itself, you can, adjust, copy, delete the Form elements section.
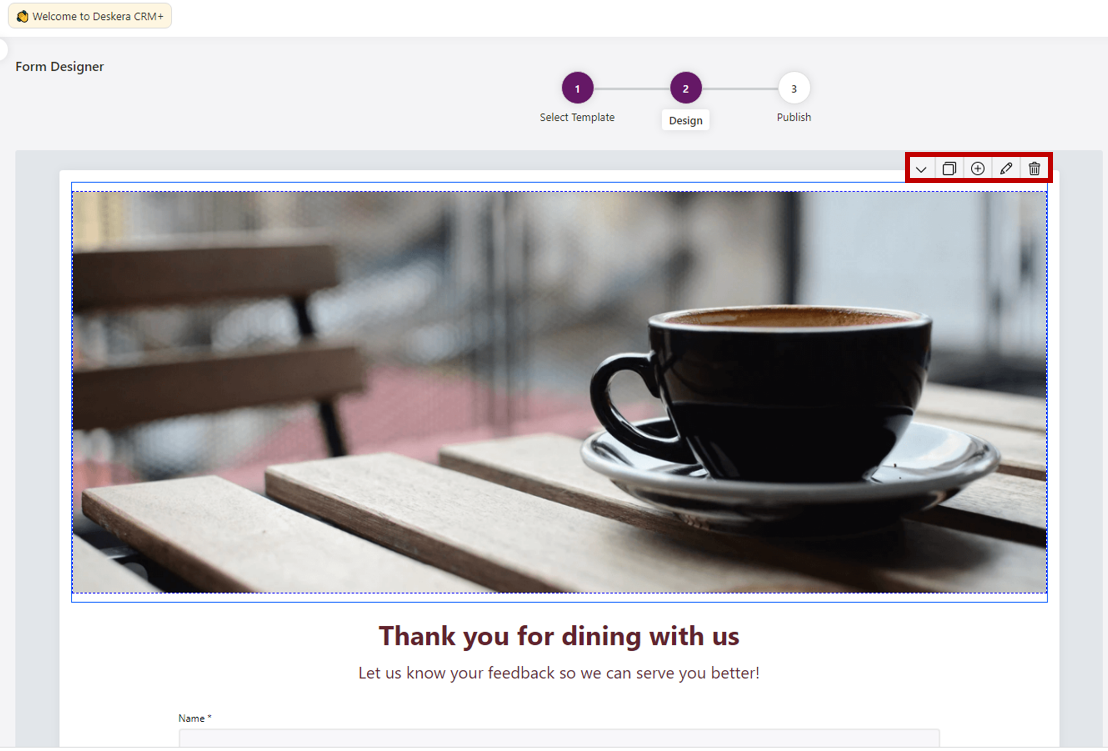
- Down arrow - By clicking on down arrow you can shift the element position.
- Copy Element - By clicking on the Copy Icon, you can replicate the element.
- + Element - By clicking on the + icon you have an option to add an element.
- Delete - If you want to delete the elements, click on the Bin icon.
How to save and publish Forms?
- After you have successfully designed the form template and everything is right in place, click on the Save and Proceed button.
2. A below screen will pop up, where you need to fill in the below Form details,
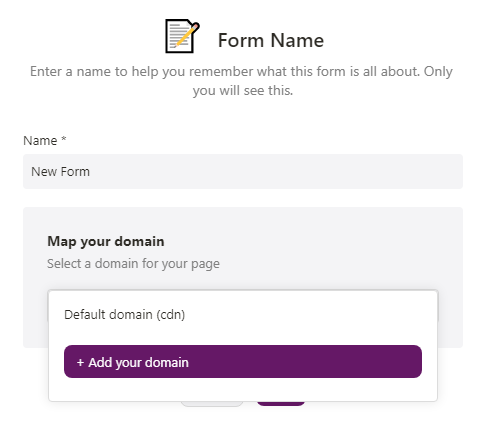
- Add your Form name
- Domain name you can select the default one, or you can add your own domain , by clicking on the +Add your domain button. The added domain will need a approval.
3. Next, after adding the domain details, click on Save button, and a below screen will appear,
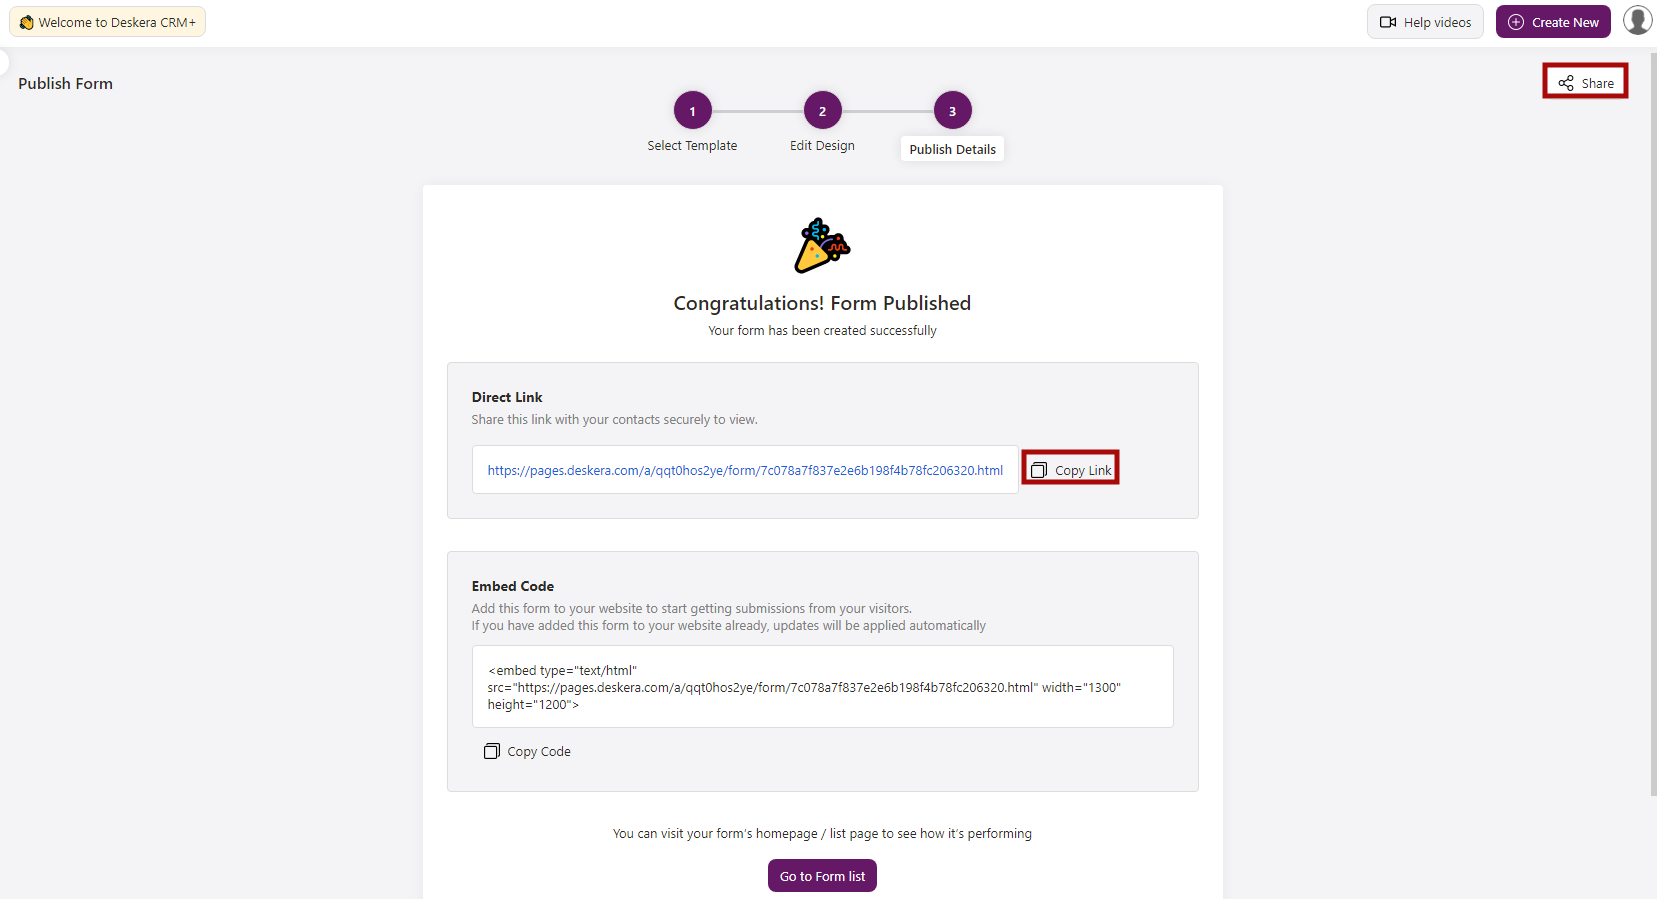
4. On this screen, you can see that your form published URL is created successfully, and you can copy, embed and share it with your user.
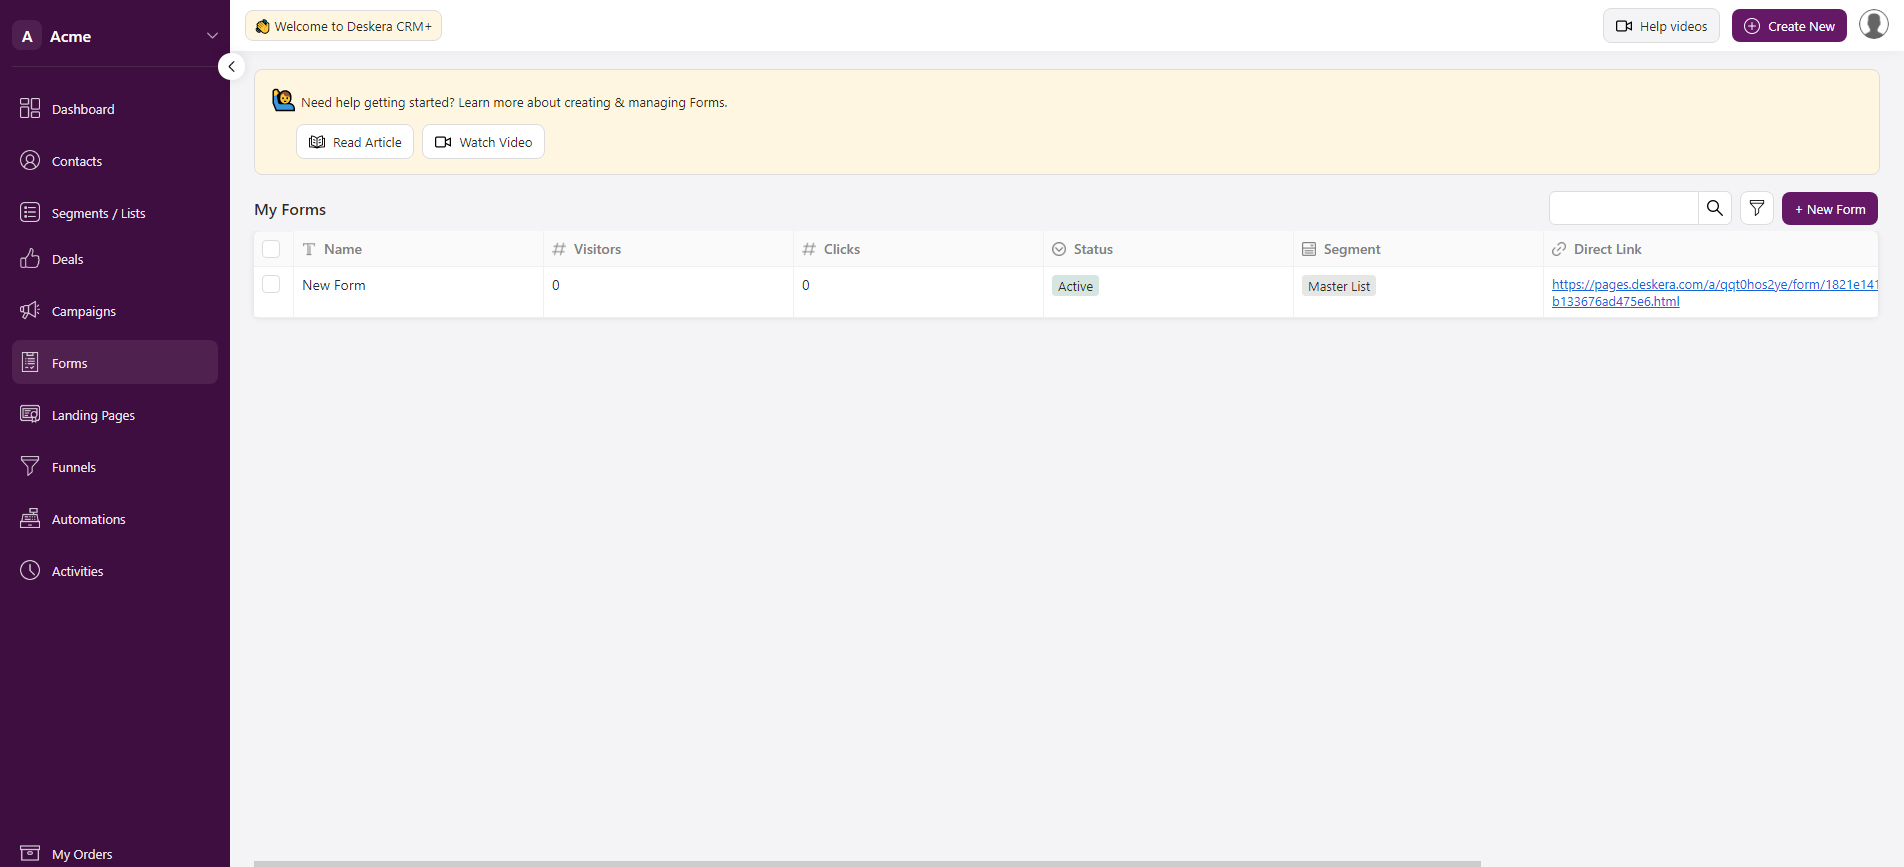
How to view Form list?
- To view the list of your Forms created, click on the Goto Form List button. It will direct you to the main Form screen,
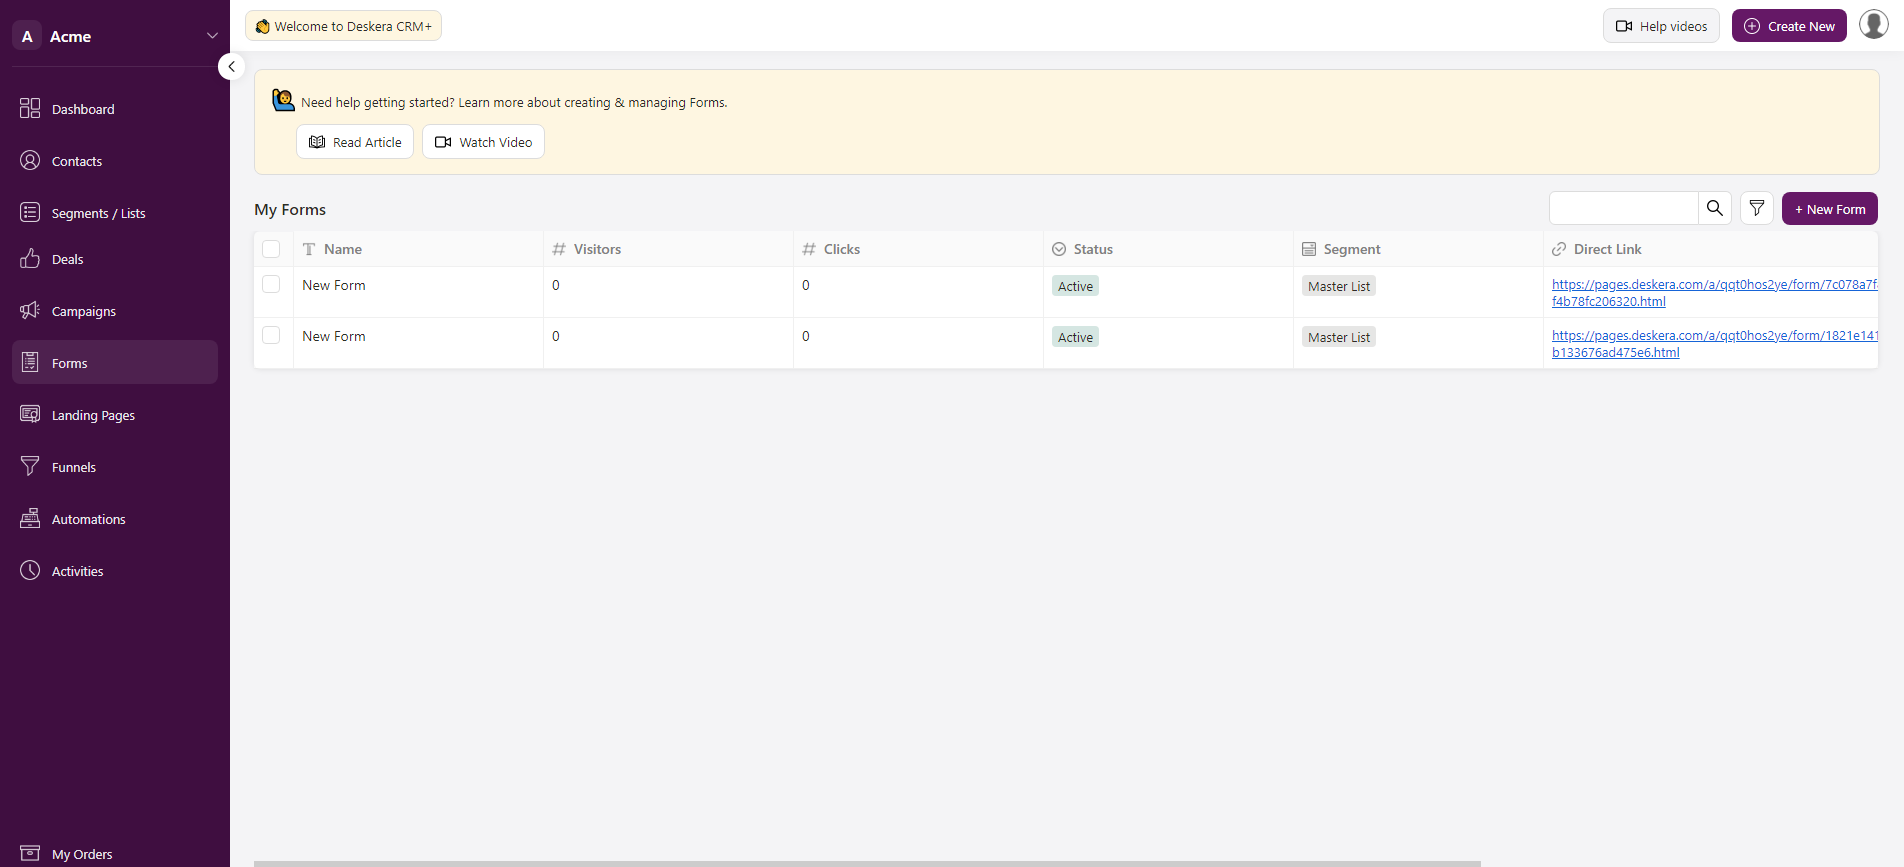
You can view the following details,
- Name - Form Name
- Visitors - You can view the total number of visitors visited your Form
- Click - No of clicks to the form
- Status - By clicking on inside status cell, you can change the Form status if Active/Inactive
- Segment - Can select the contact/deal segment from the list
- Direct Link - Form URL
- Create At - Form URL creation date
- Actions - Under Action you have two option, 1). Delete Form, 2). Edit Form, 3). Copy Form
Multi-select Forms
When you multi-select the Forms from the the list, you can perform the below actions,

- Status - Under the Status button, you can choose the status of the selected Forms, if Active/In-active. After you select the status, an Apply button will pop-up, click on it and the status will be updated in the form list.
- Delete - If you click on Delete button, the selected Forms will be removed from the list.
How to search, filter and add columns?
- You can search the Form details on the Form list by, entering the specific text under the search field.

2. You, also have an option to filter the Form list by clicking on the filter icon. A pop-up window will appear, where you need to click on +Add New Filter.
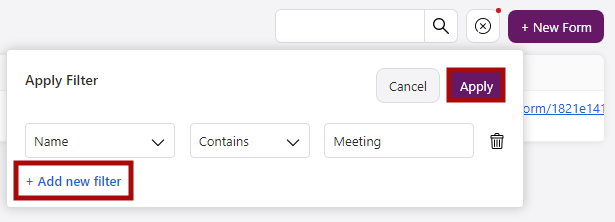
- For example, if you select to filter by name, next you need to select the applicable parameter, enter the name in the field and click on the Apply button.
- Then, the respective details will appear as per the values entered under the filter window. Likewise, you can also add multiple filters for the Form list.
3. Add Column
If, you need to add a new column to the Form List, you can do so, by clicking on the add column icon. A below pop-up window will appear,

- Column Name- Add column name
- Property Type - Select the property type from the list
Once the required details are filled on, click on the Done button, and the new column will be added to the form list.