

A Chart of Accounts is a consolidation of all accounts your company has identified necessary to record transactions in General Ledger.
You can use COA to organize your list of accounts and have an overview of the money you have, the money you owe, and money spent.
To view the Chart of Accounts in Books+, follow the steps below:
- Login to your Books+ account.
- Click on Accounting Module.
- Select Chart of Accounts.
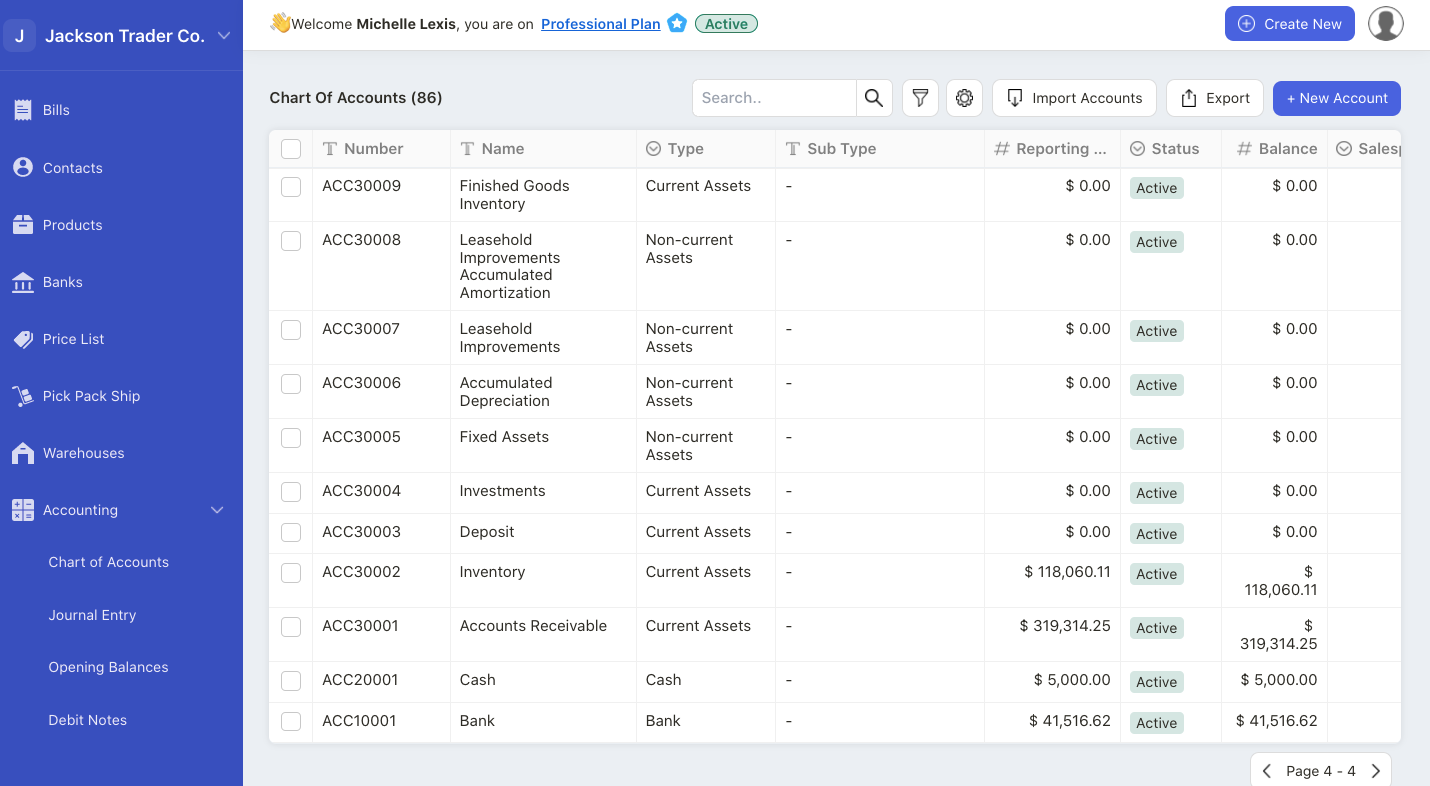
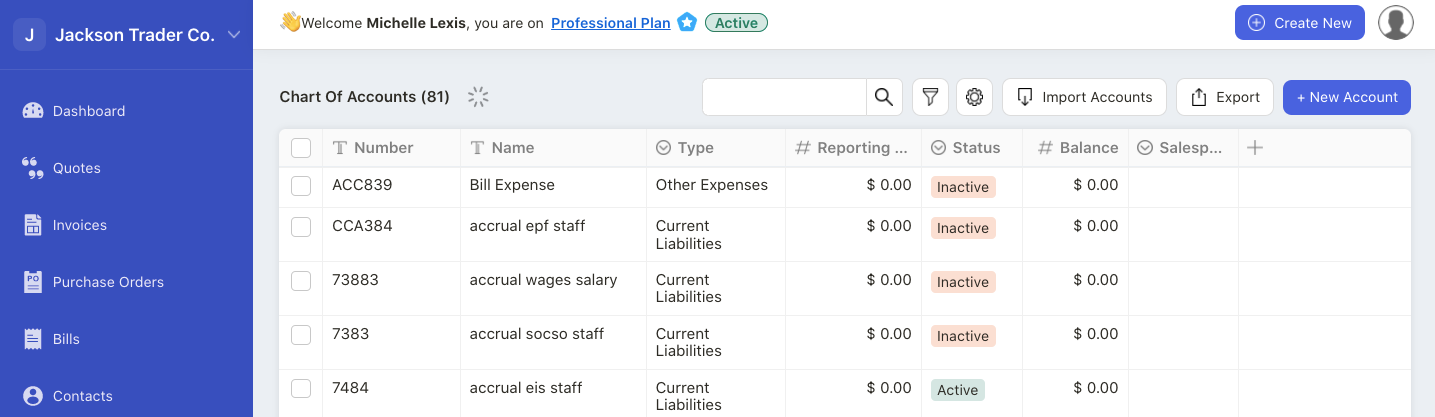
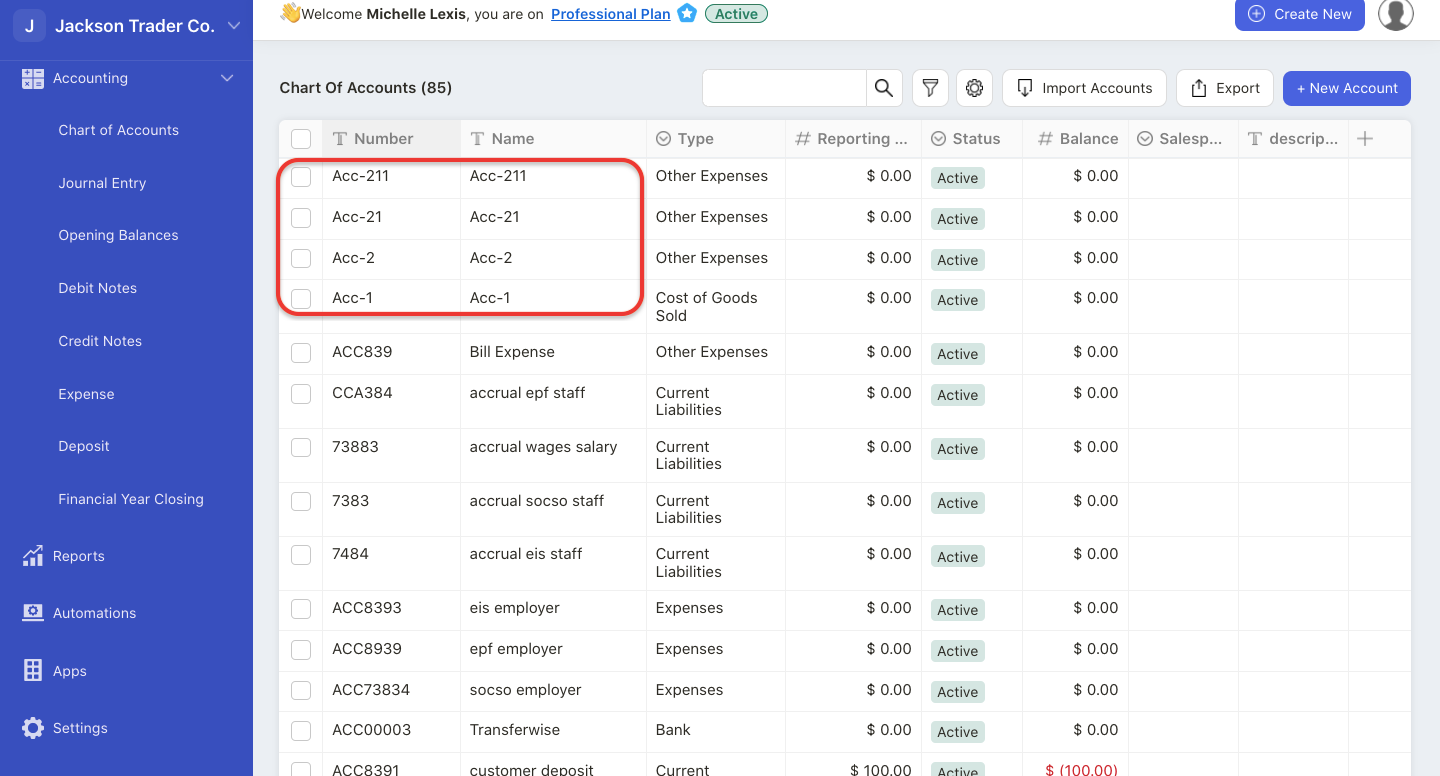
4. On this page, you can view all the default Chart of Accounts in the system.
5. Please note that you cannot delete the default Chart of Account.
How can I create a new Chart of Accounts?

To create a new COA, you can click on the “+new account” button.
A pop-up will appear. Fill in the fields in the pop-up box:
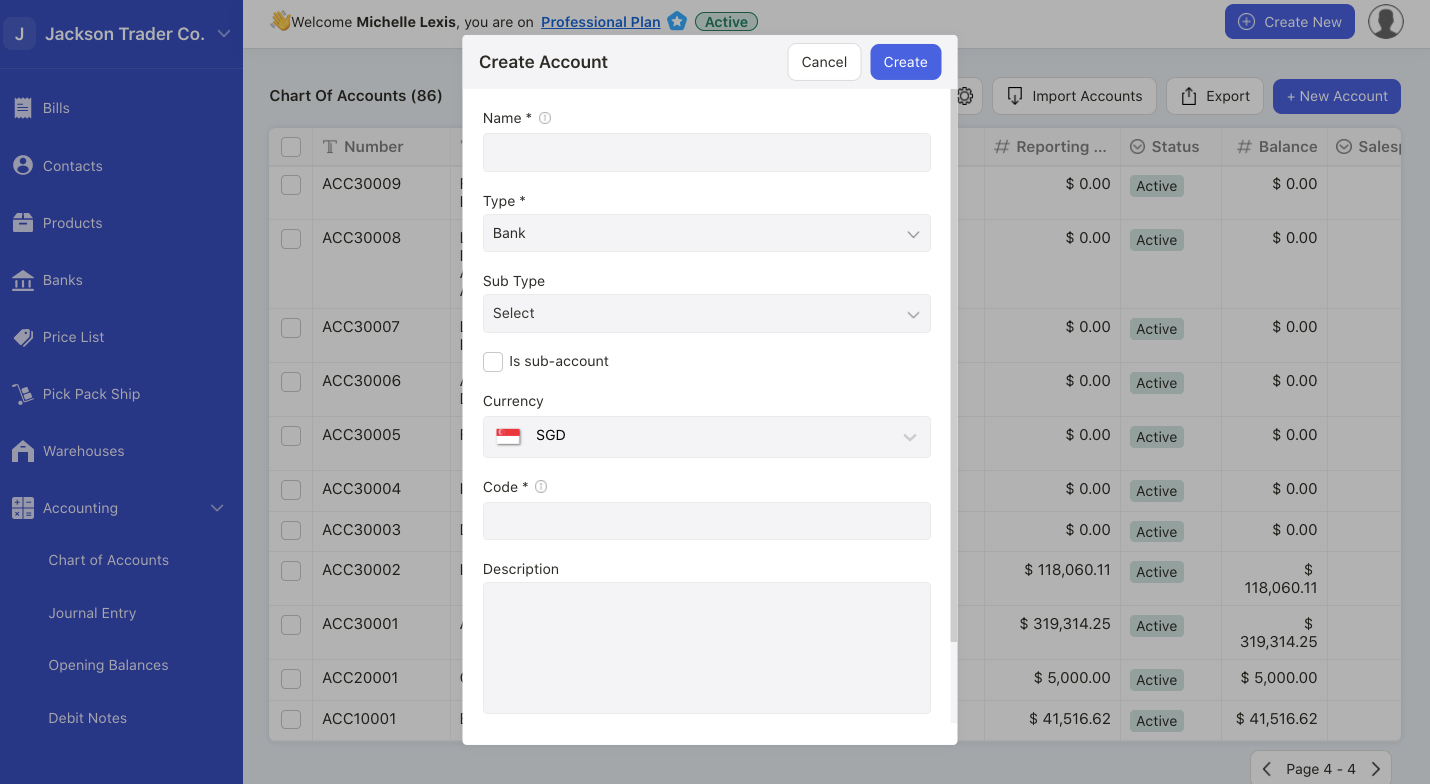
- Name: enter the account name
- Type: select the account type from the drop down menu
- Sub-type: choose the sub-type for this account. You can add sub-type account here
- Tax code: enter the tax rate applied against this account
- Code: enter the account code
- Description: enter the account description
Lastly click on the “Create” button.
How can I edit the Chart of Accounts?

Hover your mouse on the account. You should be able to view the open button.
Click on the Open button to open the action menu.
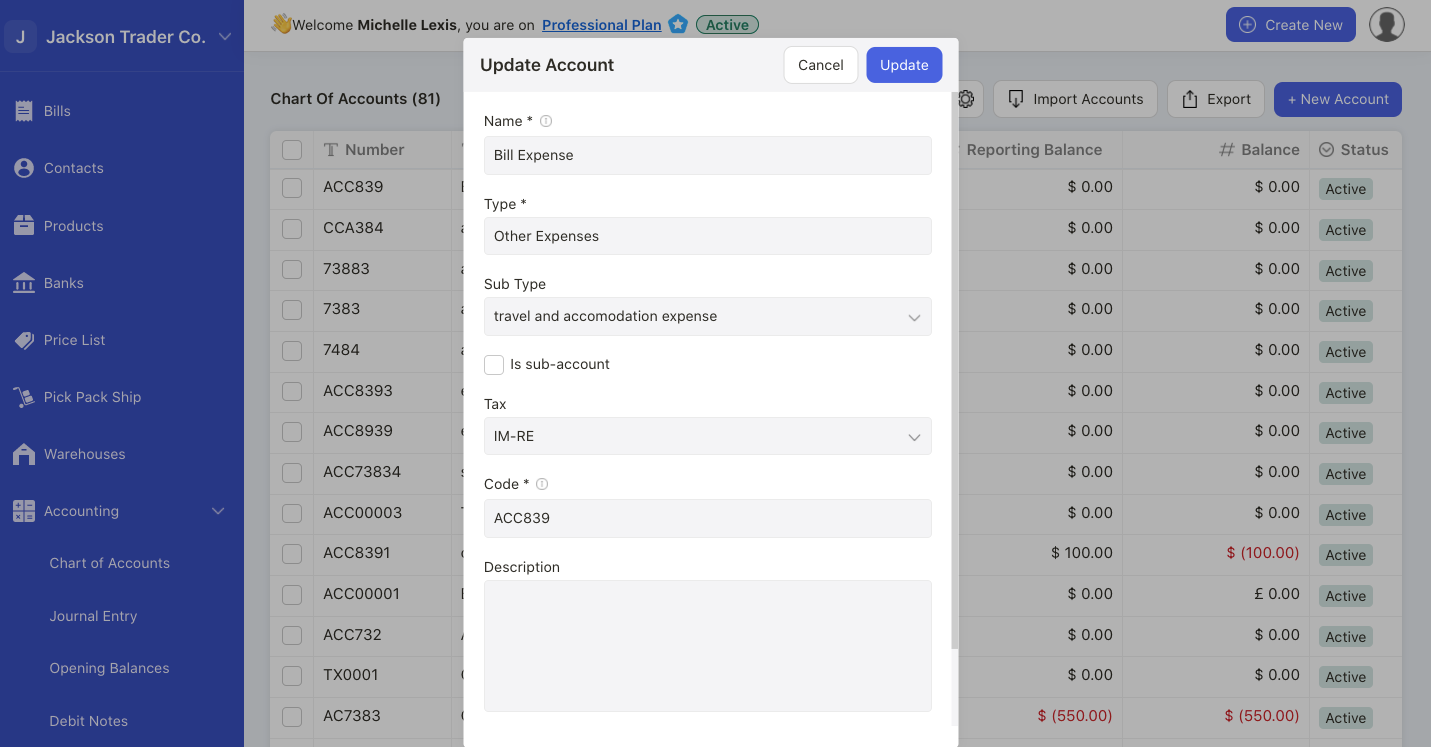
A pop-up will appear. Edit the fields in the pop-up box.
Click on the Update button.
Please note that all new changes will be reflected only in newly created documents. All the documents prior to the update will remain the same.
How can I delete the Chart of Accounts?
You cannot delete all the COA created in the system, including the default COA.
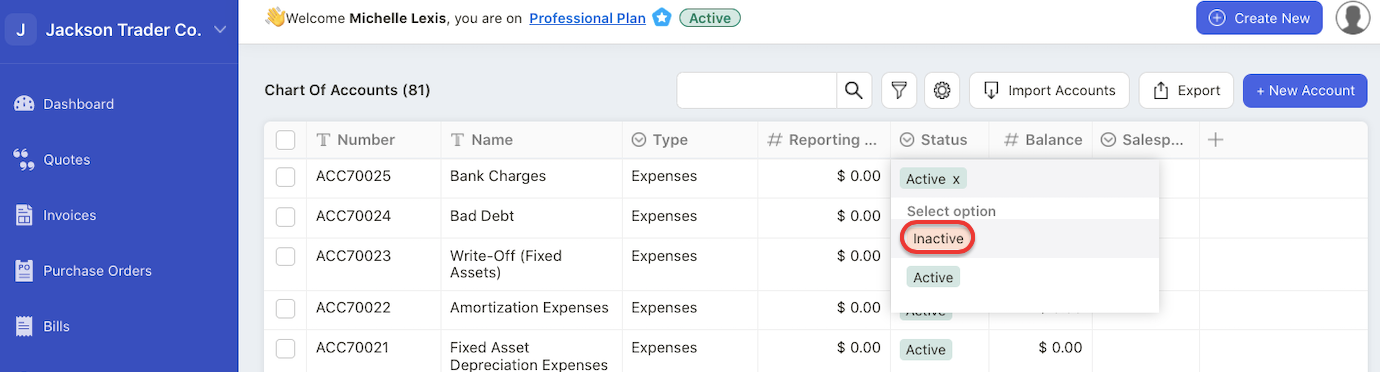
However, you can mark the COA you have created as inactive.To do so, click on the status column and select the inactive option.
Choose the active button to activate the account again.
Note: You cannot change the default COA status.
How can I create custom fields in COA?
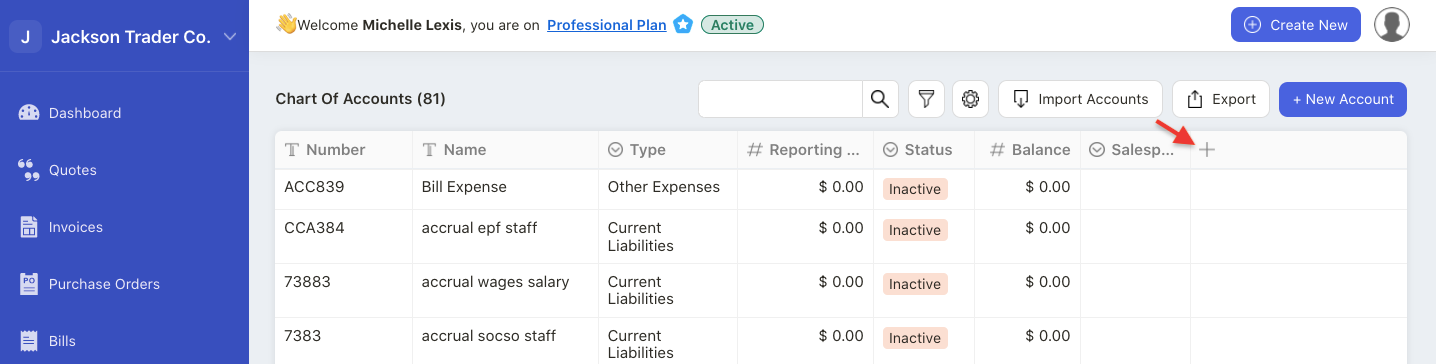
To create custom fields, simply click on the “+” icon on the COA Summary List.
Doing so will open the custom field pop-up menu.
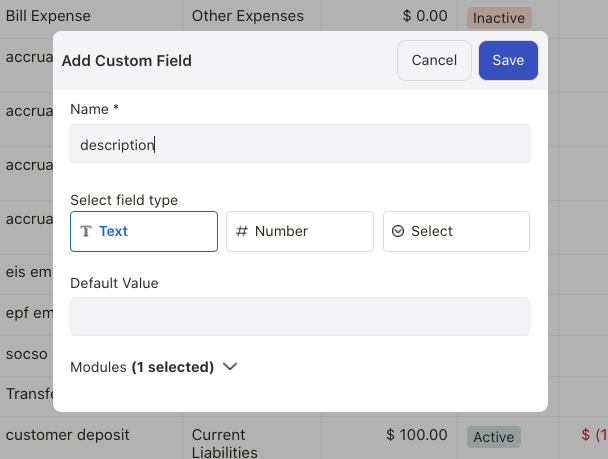
Fill in the fields in the pop-up box and save it.
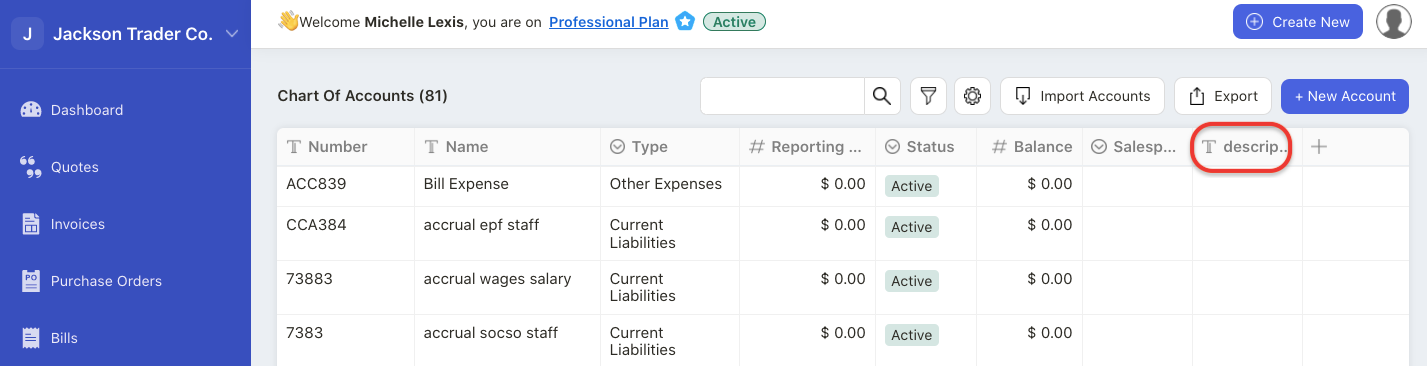
You can view the newly created custom fields on the table header.
How can I export my COA data?
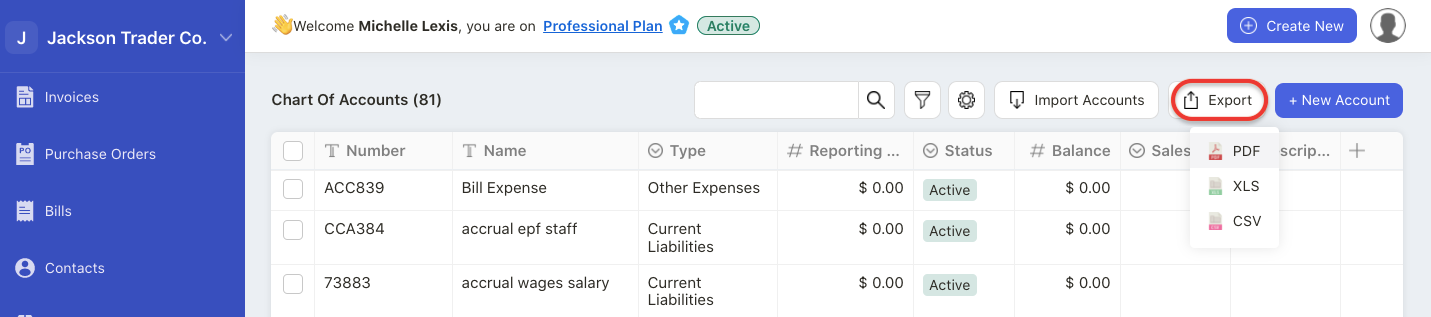
Click on the export button to download the COA in PDF, XLS and CSV format.
How can I search for my COA?
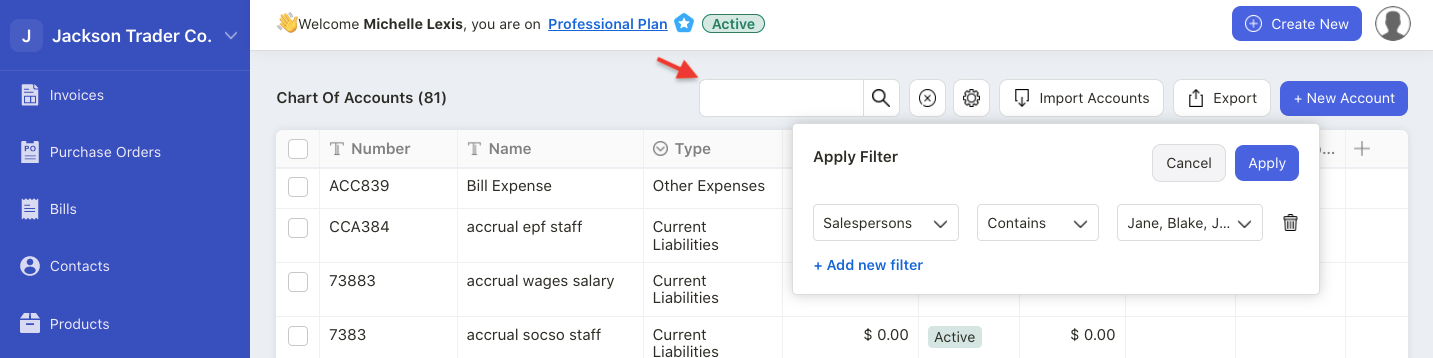
You can use the search box to look for an account. Enter the account name or the account code to search for a respective account.
You can use the filter button to filter the COA records based on custom fields.
How can I bulk import the COA?
Click on the import button and download the sample file from the system.
Please note that it’s mandatory to use the sample file retrieve from the system.

Fill in the fields in the sample file.
Save the file and upload this file to the system.

Click on the continue button.
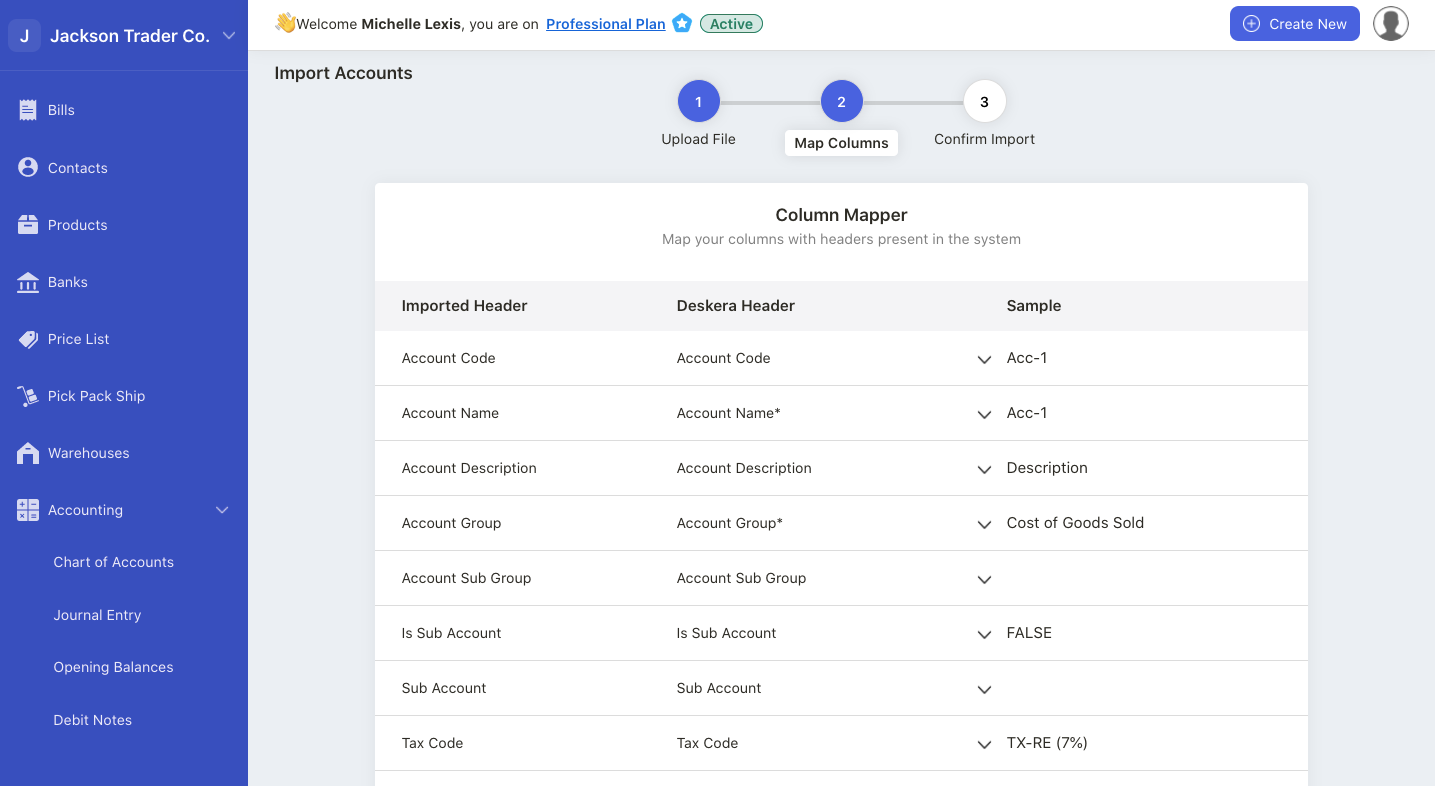
In the following stage, map Deskera Header to the sample values. You can click on the “skip columns that do not map” to skip invalid rows from being imported to the system.
Click on the continue button.
Next, make sure that all the import records are valid.
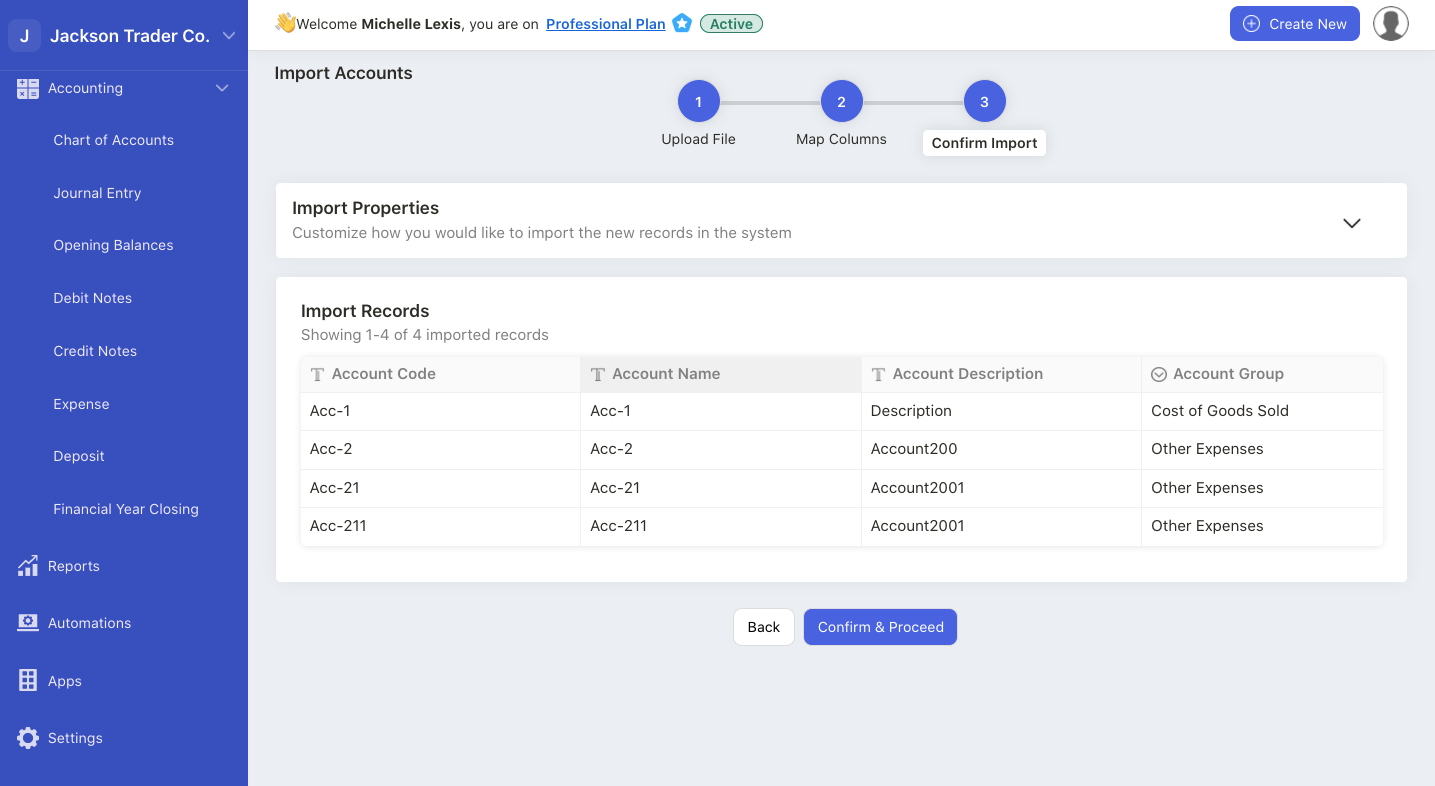
In case of invalid record, you are required to edit the values directly on the respective fields.
Once done, click on the confirm and proceed button.
All the COA in the sample file will be uploaded successfully to your organization.