
Deskera Books Contact Master feature allows you to manage and view all your contact details easily - both suppliers and customers.
1. Go to Contacts Master by clicking on the Contacts tab on the sidebar and then click on '+New Contact'.

2. On the Create New Contact page, fill in the contact details sections.
3. Under General Info tab fill in the below information
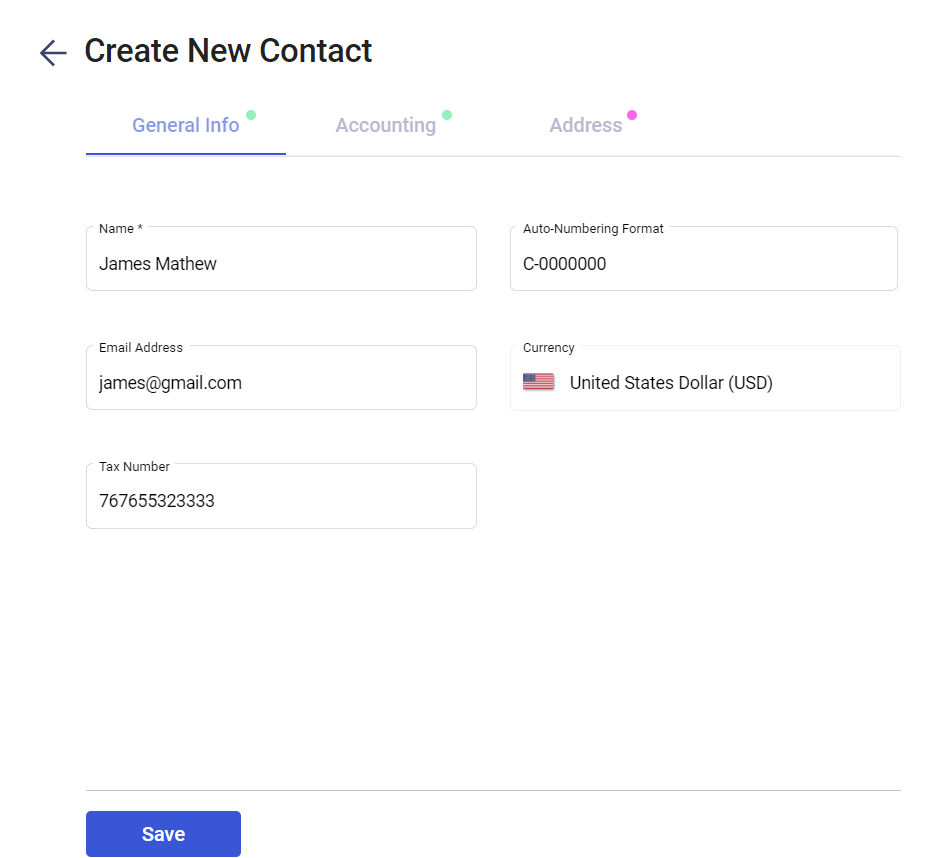
- Name
- Auto numbering format
- Email address
- Tax Number
- Contact UEN, PEEPOL Id(For Singapore org),If you tick on Contact of Singapore Gov, you need to fill in Business Unit and Attention to details
4. Under Accounting Tab you need to fill in below mandatory fields
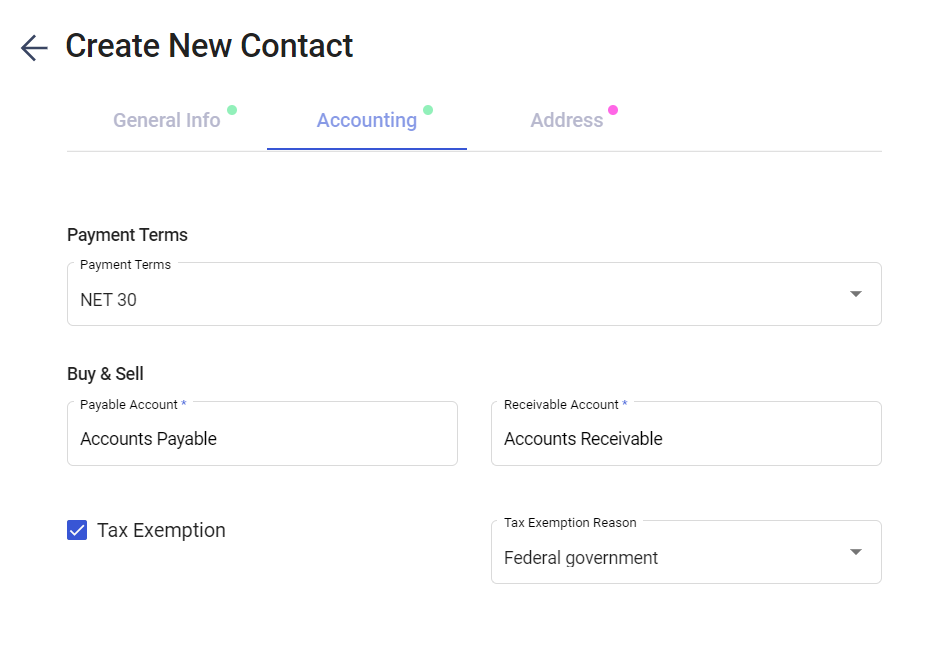
- Payment Terms
- Under buy and sell, select Accounts Receivable and Accounts Payable from the drop down menu
- If you Tick on Tax Exemption, you need to mandatory fill in the Tax Exemption reason.
5. Lastly under Address tab, fill in the Billing and Shipping Address
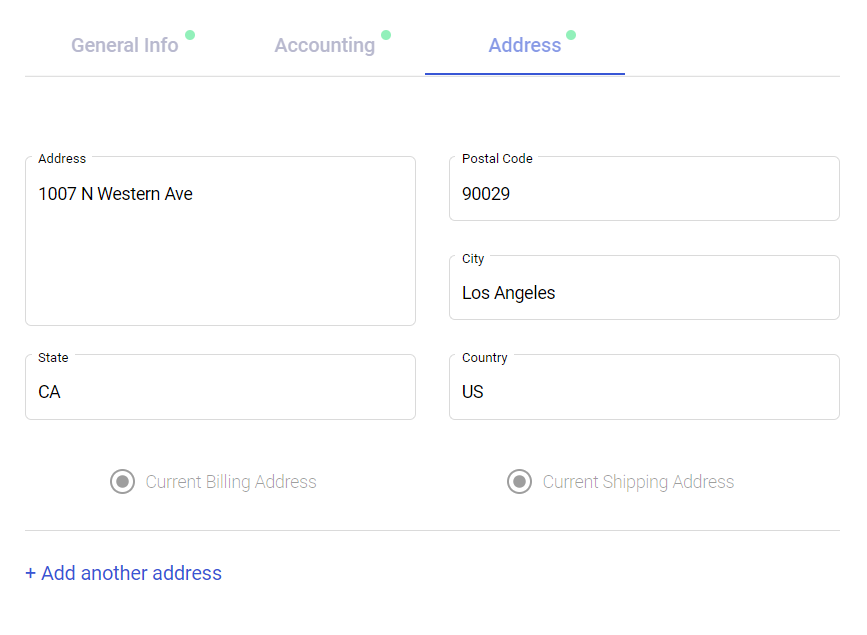
You may also indicate if the Billing Address is the same as the Shipping Address and vice versa - this will clone the current address over to the respective Address page.
6. Once you have filled the General info ,Accounting info and address info you can click on the SAVE button to finish.
7. You also have an option to bulk import the contacts by clicking on the Import Contacts tab
8. By clicking on the Export contact icon, you can download the contact file in pdf, csv and xls format
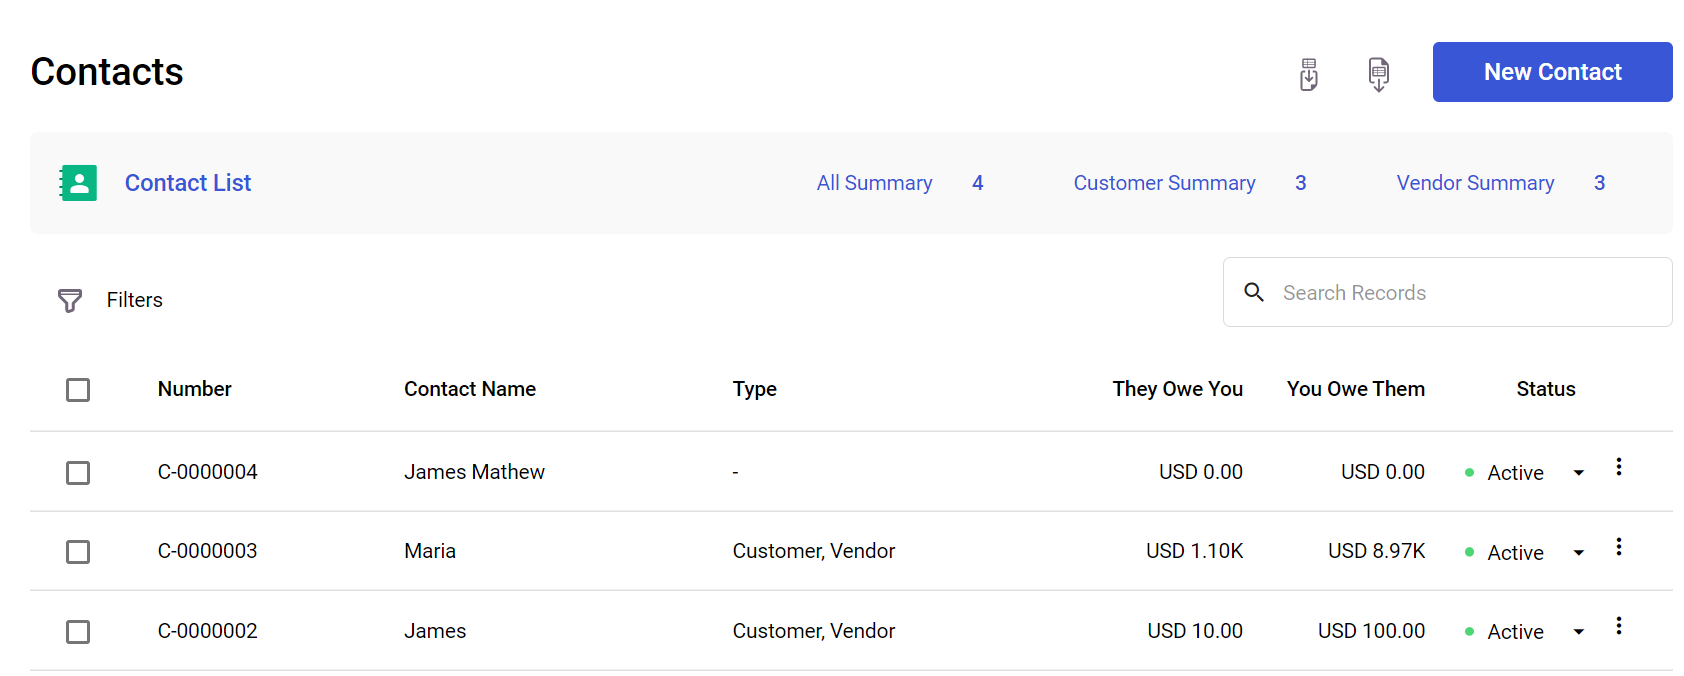
Once you've created an invoice related to the contact, the contact name will be shown on the top of the screen where it will be mapped automatically under Customer Summary tab .
On the other hand, if you've created a bill related to the contact, the contact name will automatically map to the Vendor Summary. In this way, you're able to segregate your contacts without getting confused.
Congratulations! You have successfully created a Contact.