

The functionality of the contacts on Deskera CRM system is almost similar to the phone directory.
It's a record of information about your prospects, deals, customers, and also vendor. You can add your customers, vendors, or even prospects using Deskera CRM system to oversee them at one glance.
Recording your Contacts using Deskera Sales helps you to track your list of contacts more effectively and ensure that all your contacts' databases are kept safely on the cloud.
How do I add a contact?
- Login to your Deskera account.
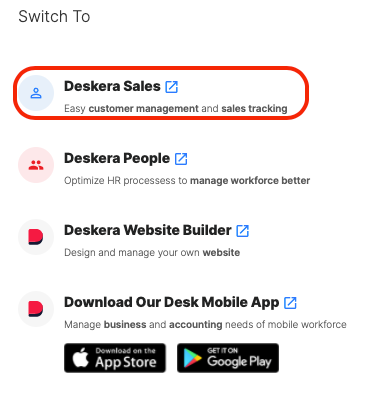
- Click on the Switch To icon at the bottom left of the page >> Select Deskera Sales.
3. This action will direct you to Deskera Sales main dashboard.
4. Click on the Contact tab via the sidebar menu. This action will direct you to the contact screen.
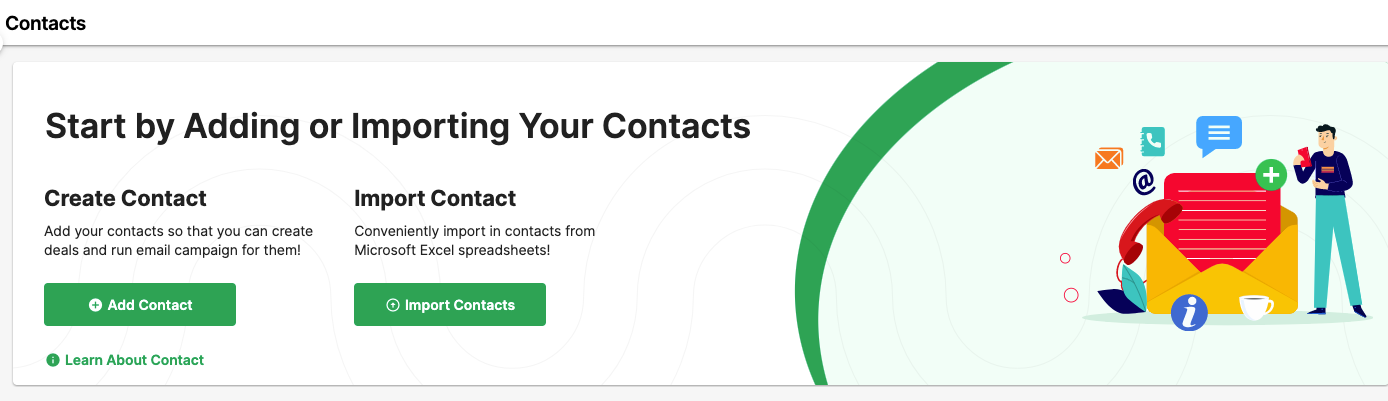
5. Next, click on the add contact button.
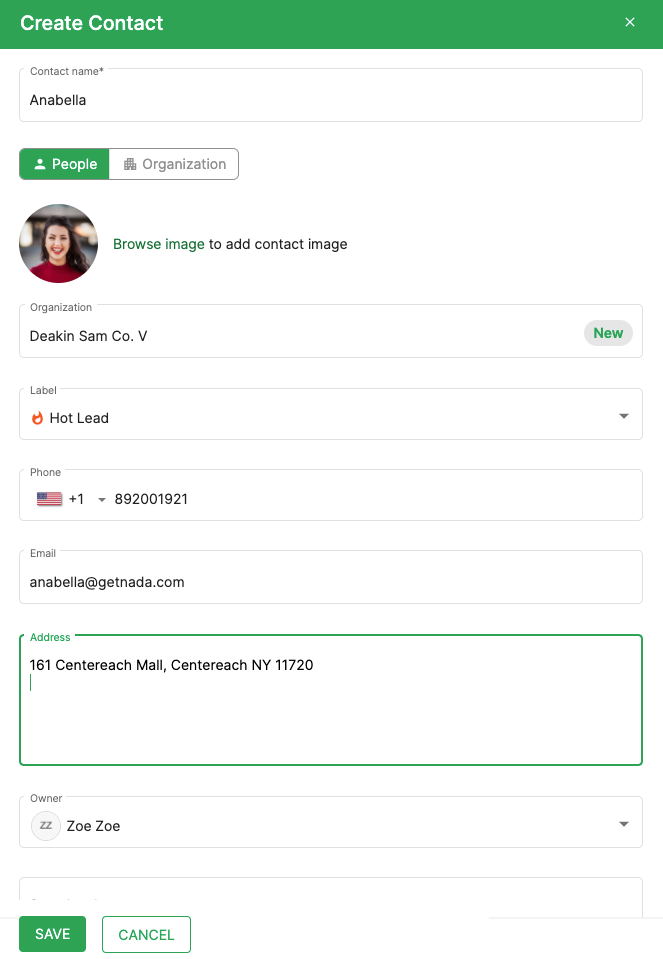
6. A slider will appear on the right-hand side screen. Fill in the fields:
- Contact Name
- Classify the Contact as either Person or Organization
- Add the contact's image by clicking 'Browse file'.
- Organization/ Person
- Label
- Phone Number
- Address
- Owner
- Sub-owner
- Visibility
7. Click on the 'Save' button.
8. You can view the contact in the contact window.
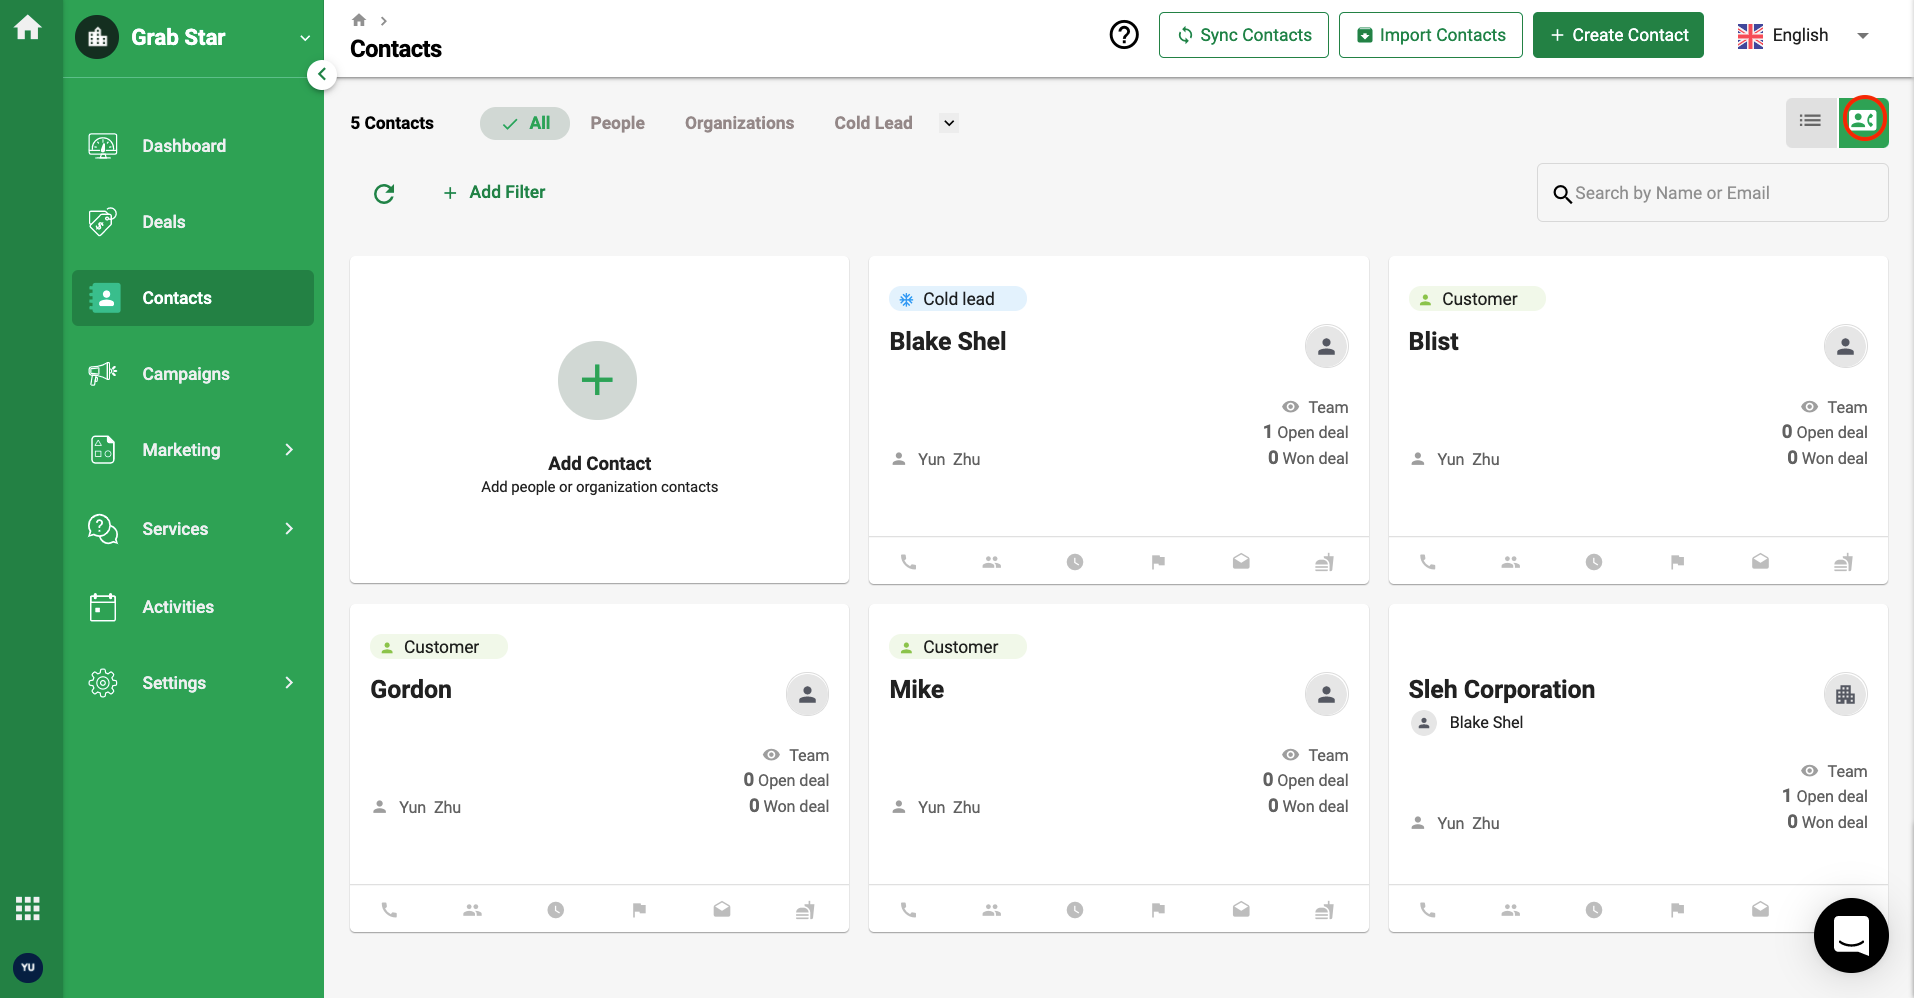
9. Alternatively, you can also view the contact using the card view layout.
How do I view selected fields in the contact overview window?
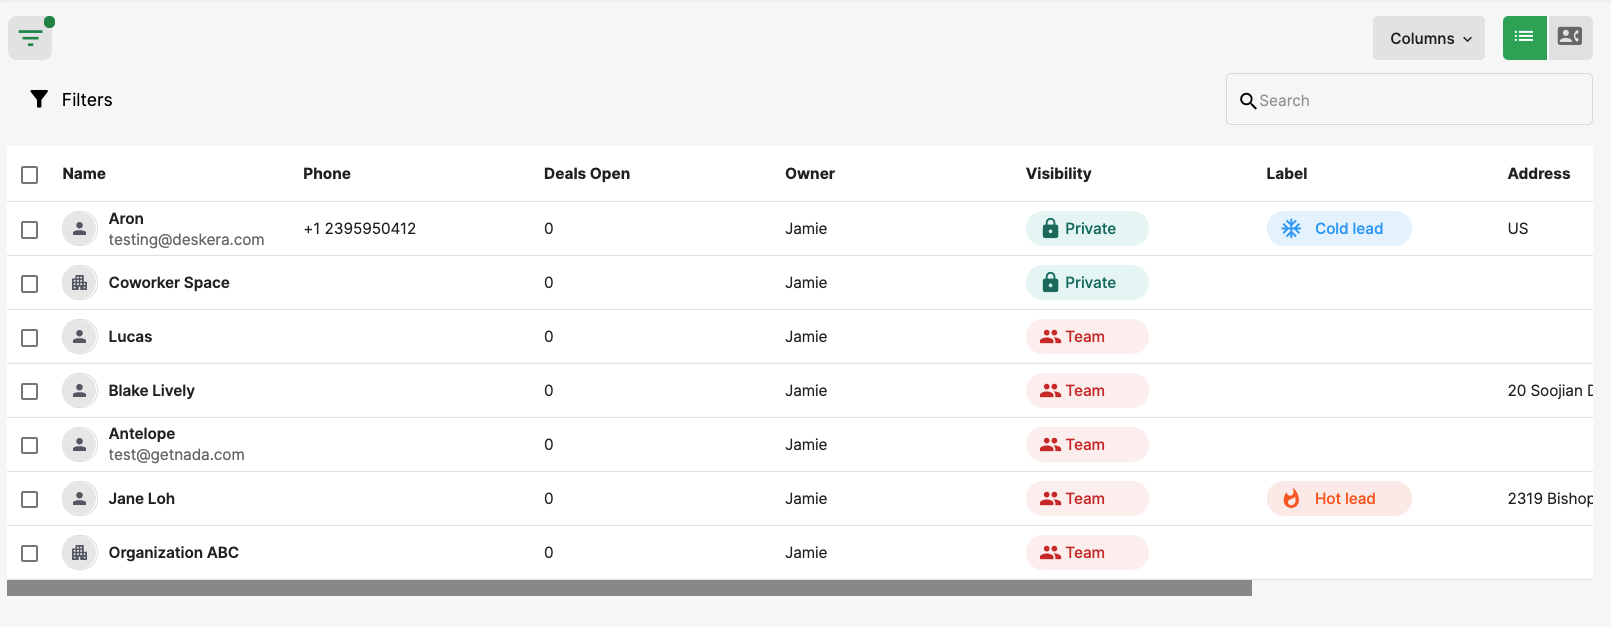
When viewing the contact overview window, by default, you can view the fields such as contact name, phone, deals open, owner, visibility, label, and address.
However, you can always hide the fields that are not relevant to you.
Follow the steps below:
- Click on the drop-down arrow on the Column button.
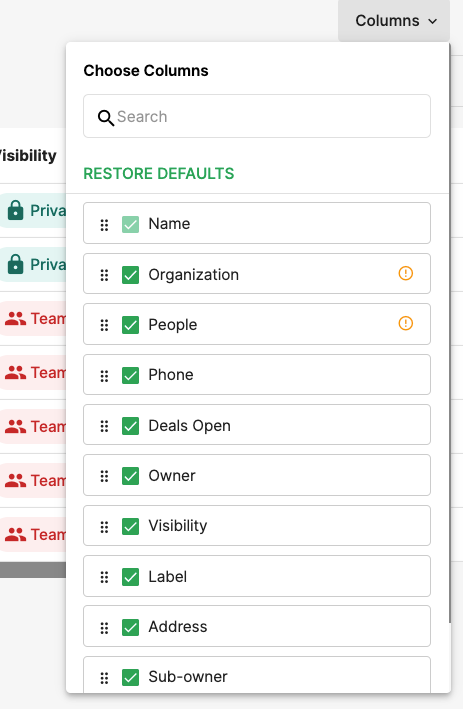
2. Next, uncheck the boxes the fields that you wish to disable, so you can hide it from the main screen.

3. Click on the Save button.
How can I search for a contact?
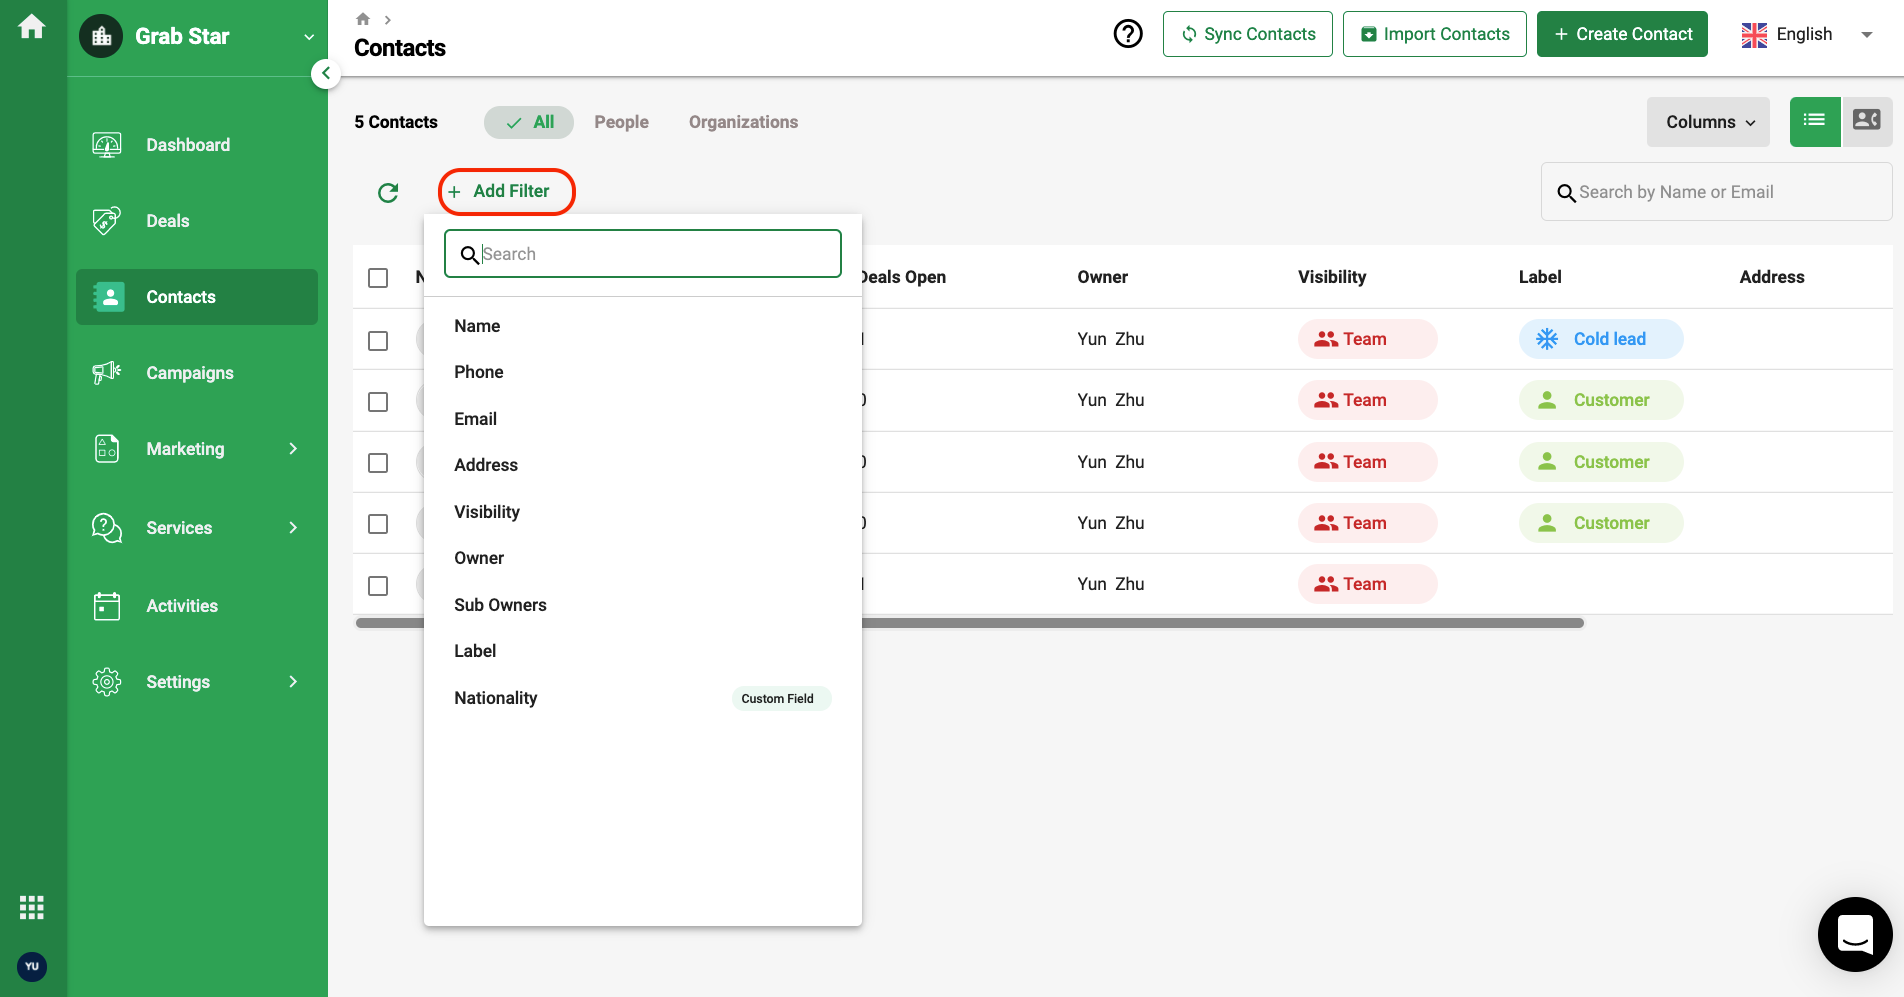
- Click on the Filter button to search for a specific contact.

2. For example, if you select to filter by name, next you can enter the contact name and click on the Apply button.
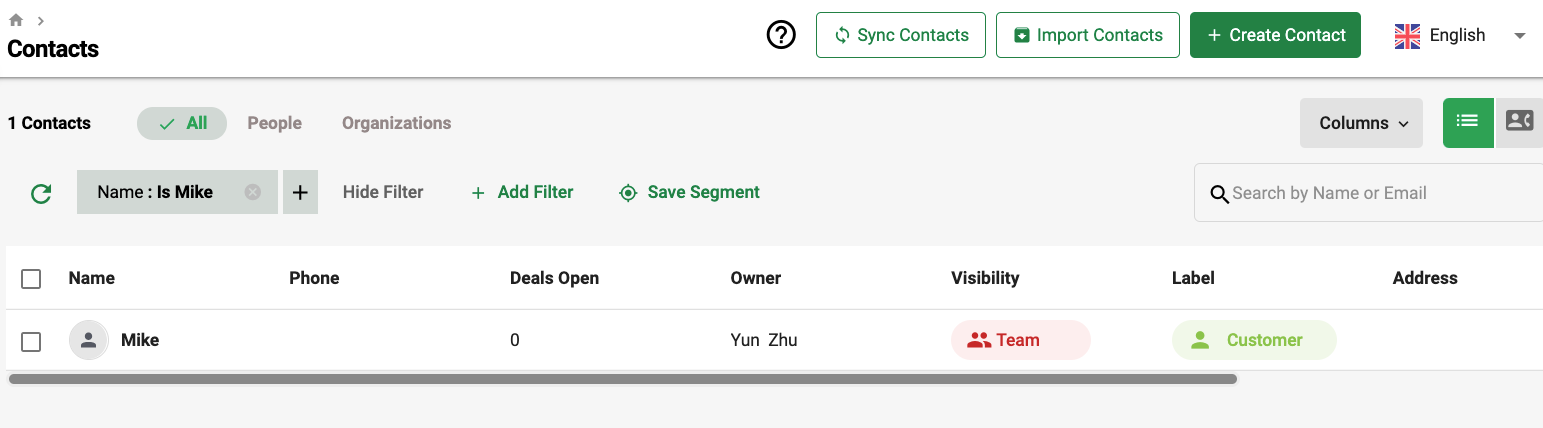
3. Then, the respective contact name will appear as per the values entered.
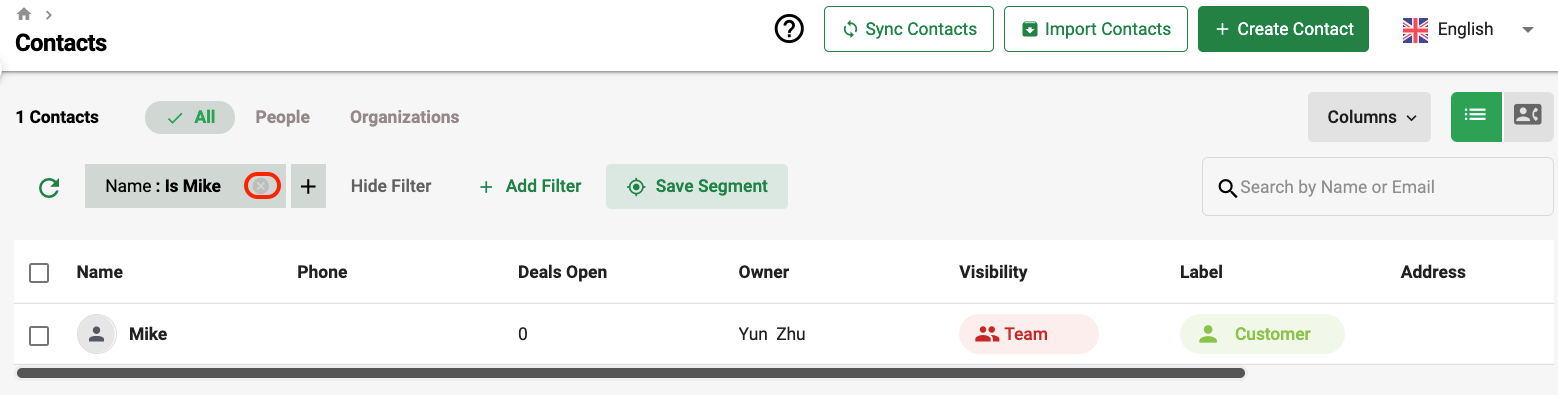
4. Click on the cross icon to remove the filter saved earlier.
5. You can add additional filter by clicking on the "+" icon next to first filter.
How can I create a dynamic segment in the contact module?
Once you have selected the filter, you can save the results by clicking on the save segment button.
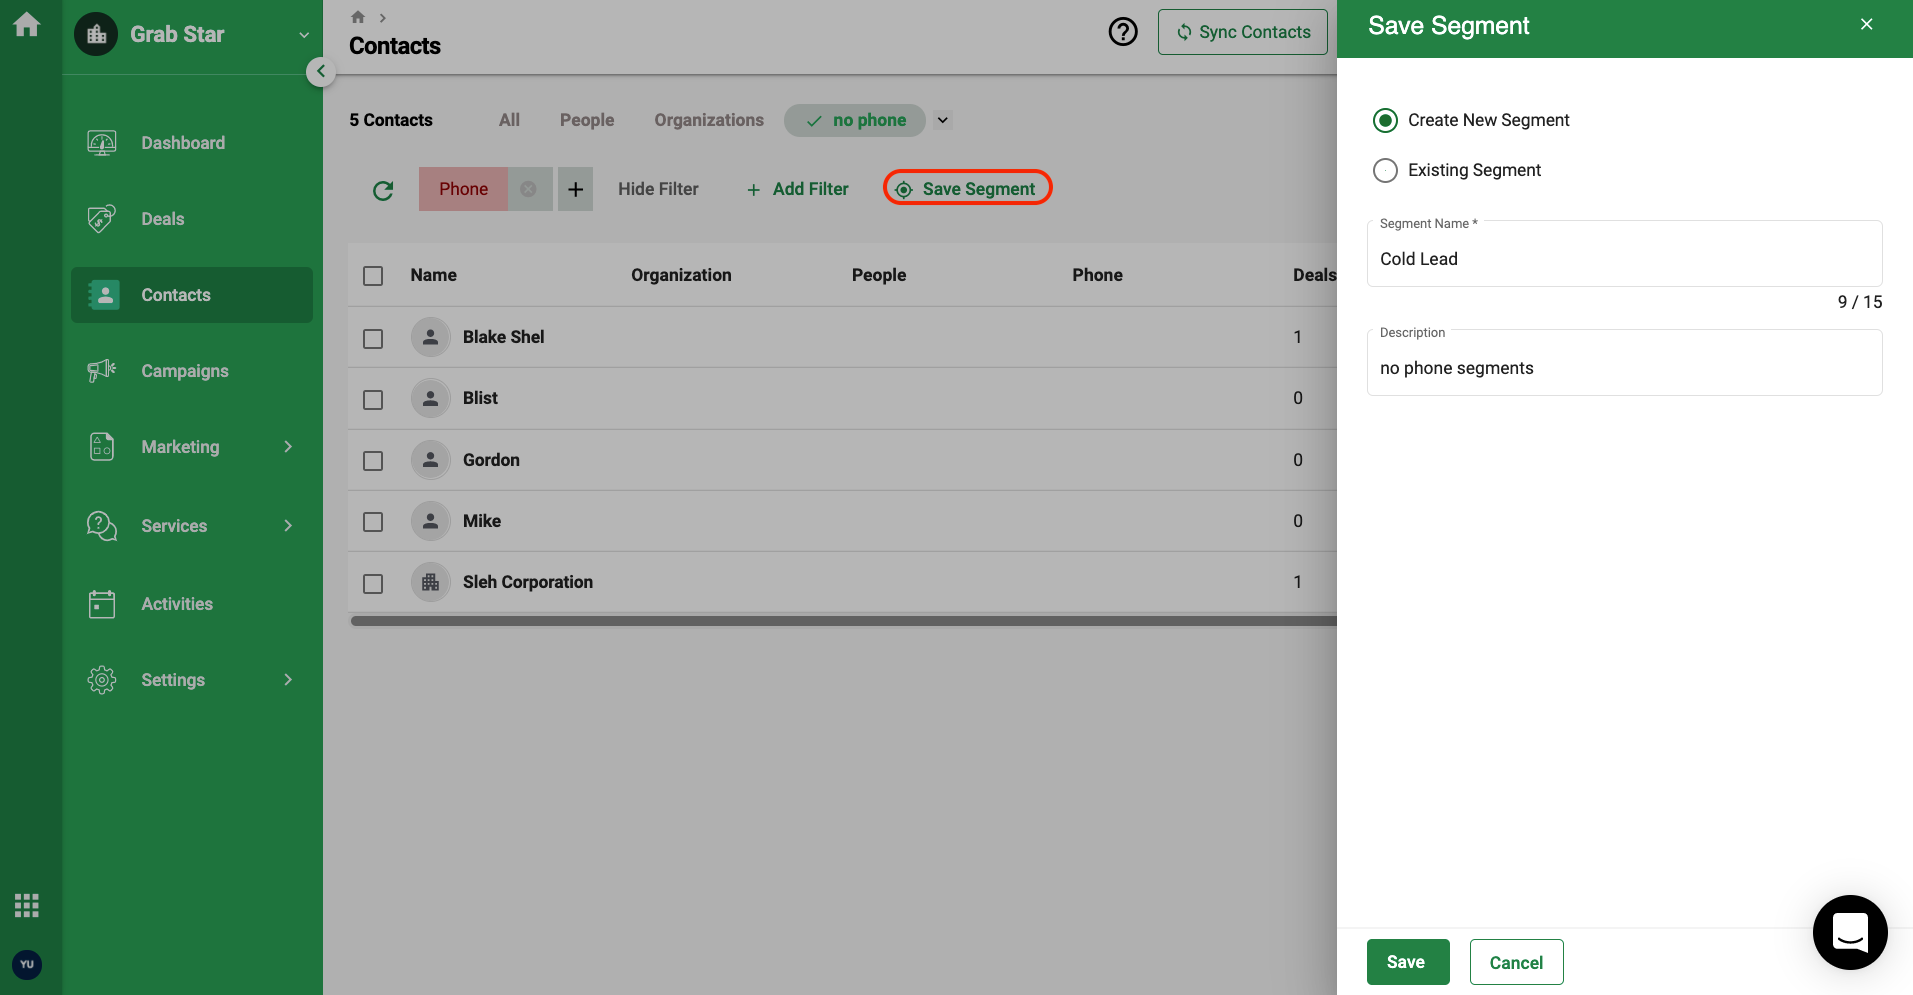
You can choose from the existing segment from the system or choose to create a new segment here.
Click on the Save button.
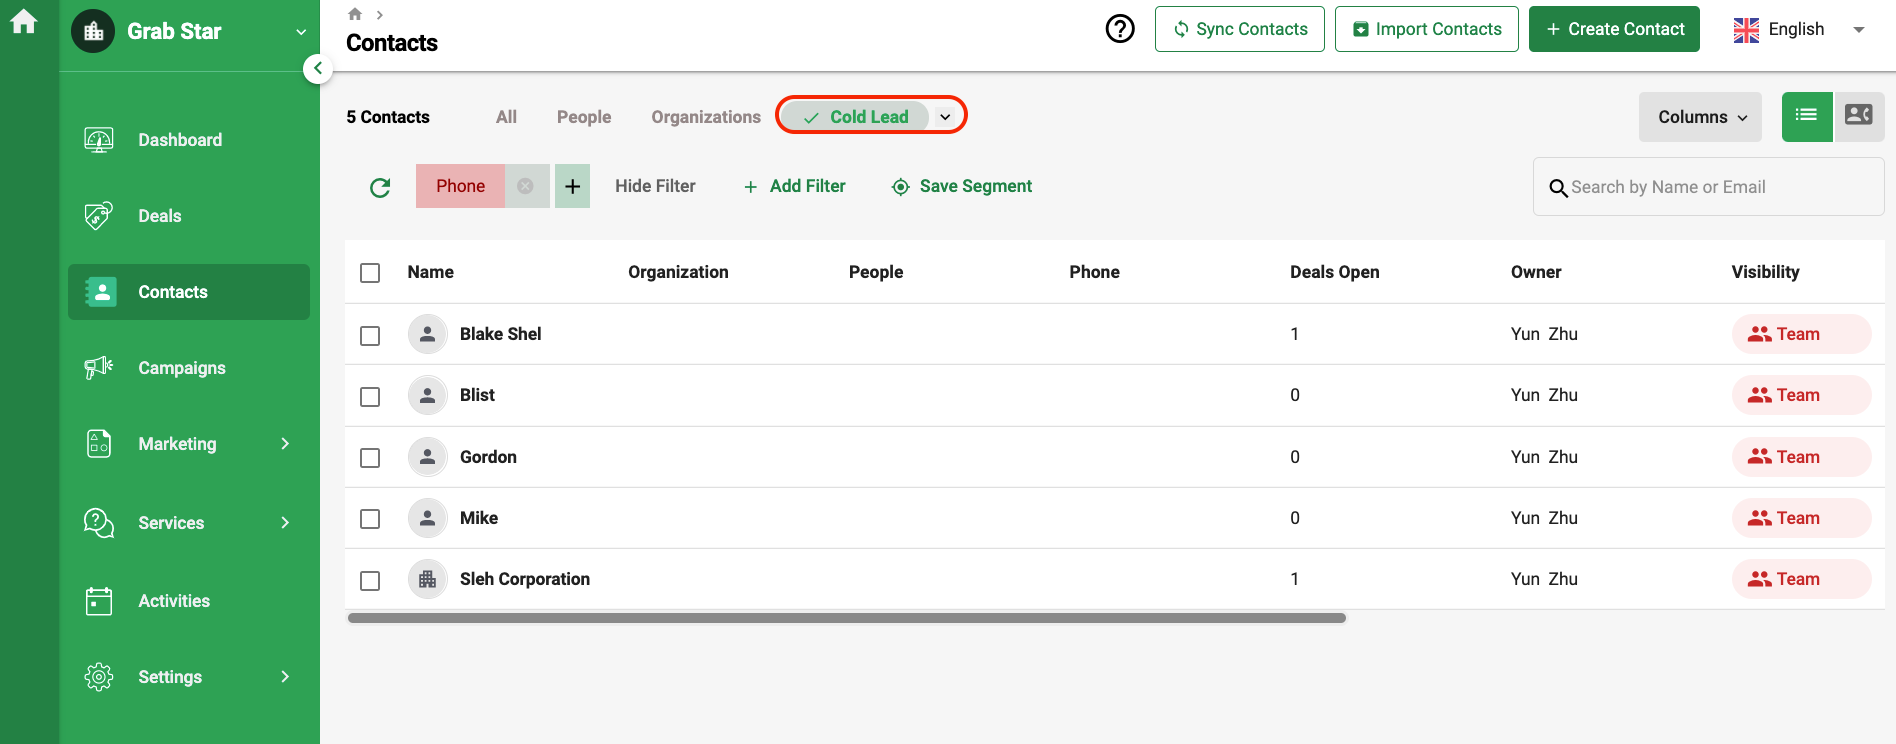
The dynamic segment saved earlier will be reflected in the contact overview window even after you leave this page.
Click on the drop-down arrow of the dynamic segment.
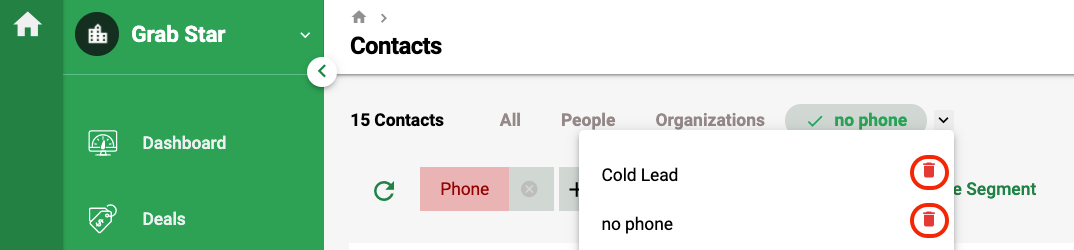
Select the bin icon to delete it.