

In the age of digitization, automation plays an influential role for every organization in achieving greater heights.
Automation can significantly help organizations reduce manual work tasks and simplify the nitty-gritty chores at work.
With the power of automation, organizations can improve their overall work efficiency and productivity to achieve their goal.
You can use Deskera CRM Plus Automation Module to help you automate your daily tasks away if you wish to reduce your laborious work. At the end of the day, you will have more time to focus on stuff that brings more value to your work.
Read more below to find out more.
How can I automate my task?
Follow the steps below:
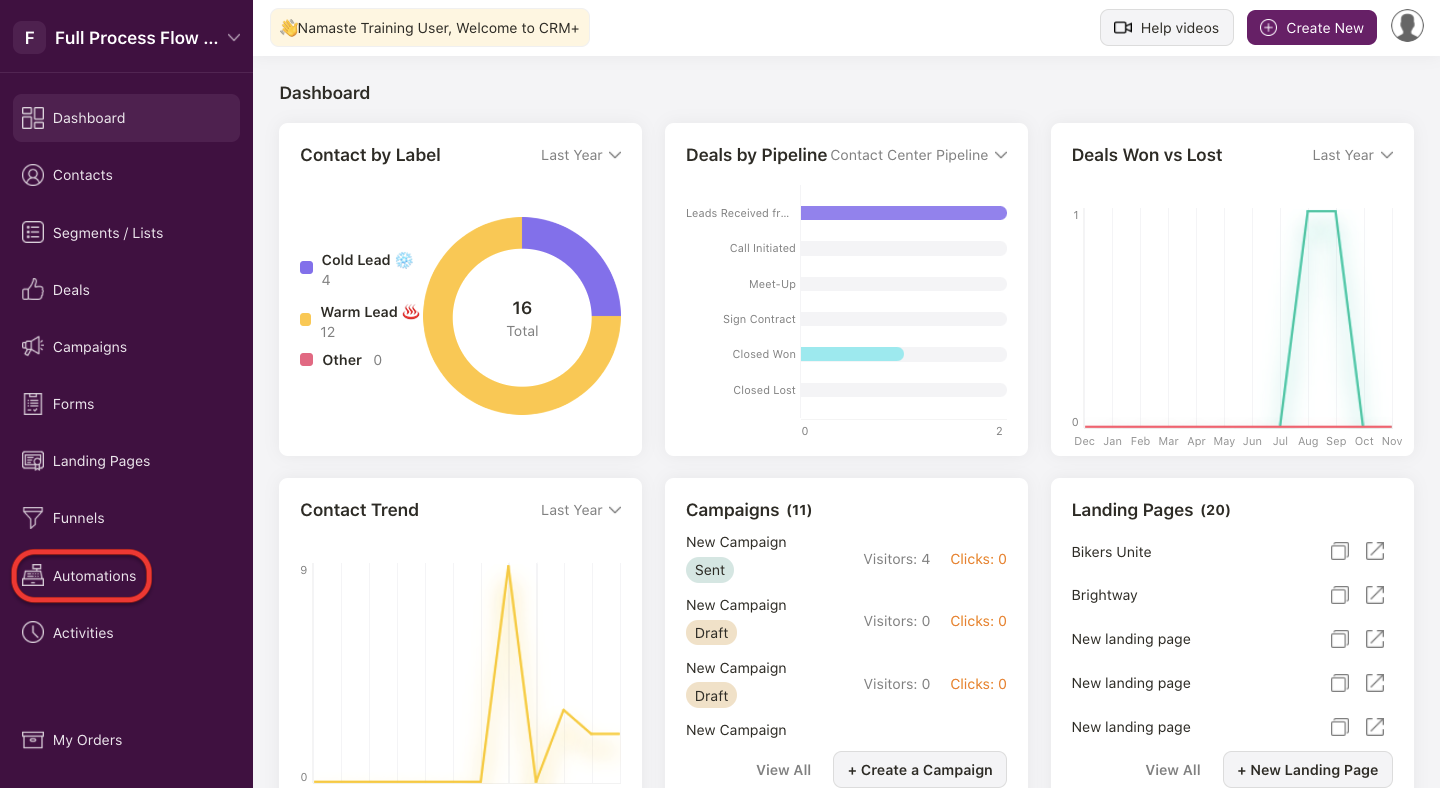
- Login to your Deskera CRM Plus account.
- On the sidebar menu, click on the Automation Module.
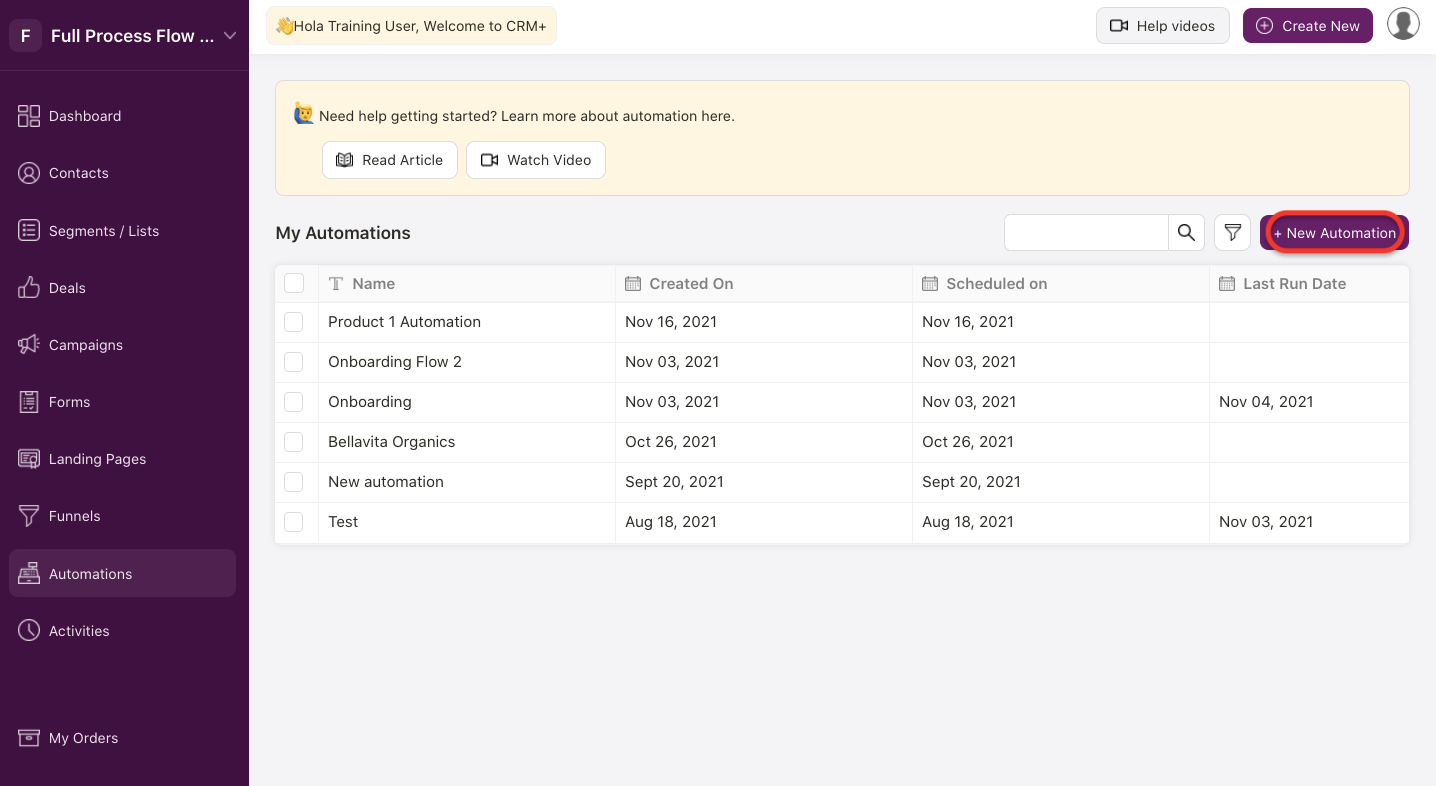
3. On the automation screen, click on the "+ New Automation" button.

4. Next, click on the add starting trigger button.
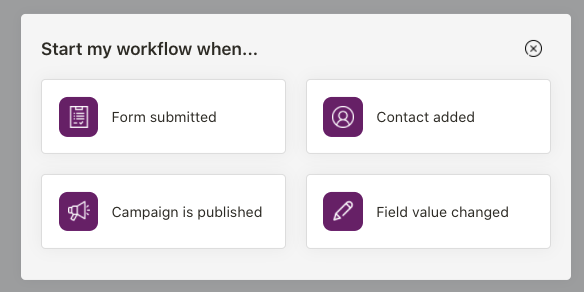
5. You can choose to activate the trigger button based on a few selections:
A. When a form is submitted

If you choose the form submitted trigger, you will have to choose the respective form to apply this automation.
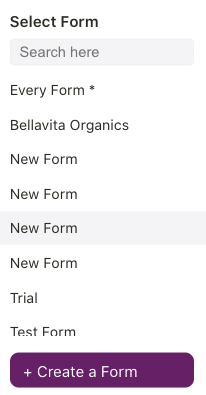
The forms populated from the drop-down menu is based on the forms created in the Form Module. You can also apply this trigger to all the forms in your account.
Click on the Save button.
B. When a contact is added
If you choose the when a contact is added trigger, you will have to map the conditions that trigger this automation.
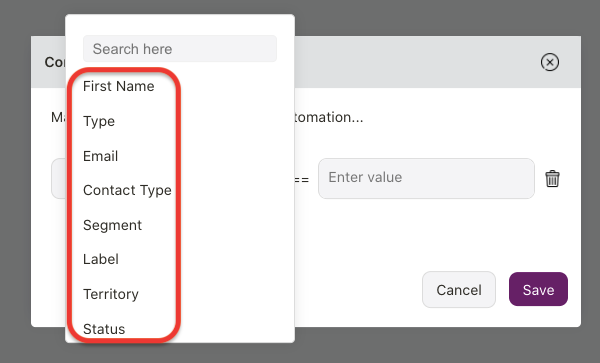
Choose the conditions from the drop-down menu and enter the value.
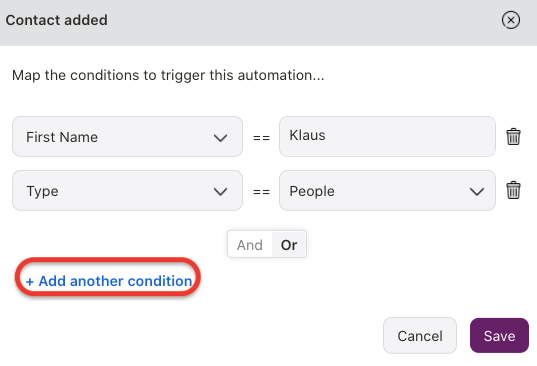
You can always add more than one conditions by clicking on the "Add More Conditions" button.
Click on the Save button.
C. When a campaign is published

This trigger applies to all the campaigns that are already published in your Campaign Module.
D. When a field value is updated

Enter the conditions when the respective fields are changed and it matches the value entered, the workflow will be triggered.
6. Once you have selected the trigger, it will show on the automation page. Click on the edit icon if you wish to change the trigger.

7. After selecting the trigger, click on the "Add" button to design the workflow.
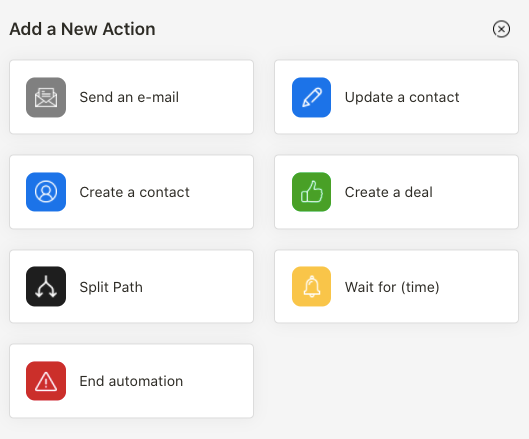
8. A pop-up will appear as per the screenshot above. You can choose to add a new action based on a few selections:
A. Send an email

If you select the send an email button, you will have to enter from name, from email, and email's subject. Enter the email's body. Click Save.
For instance, when a form is submitted via the landing page, your leads will receive an email notification based on the configuration here.
B. Update a contact

You can also choose the update a contact action.
Map the fields and the values accordingly. Add more fields, if required.
Click Save.
C. Create a contact
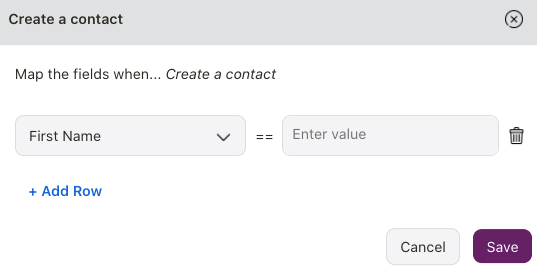
Choose the create a contact action when you receive form submission from your leads.
You can enter the fields and values here. Click on Save button.
D. Create a deal
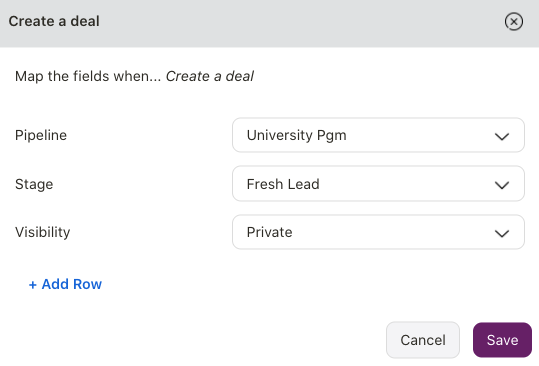
You can also choose to create a deal.
Choose the respective pipeline, stage and visibility. Add more row, if needed.
Click Save.
E. Split path
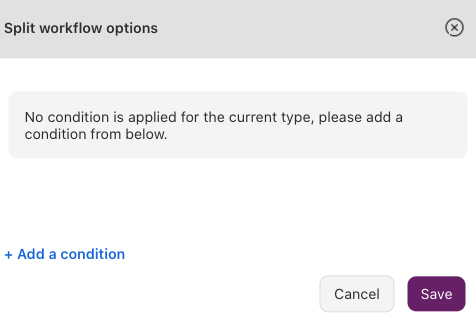
The split path action allows you to split the conditions into two branches.
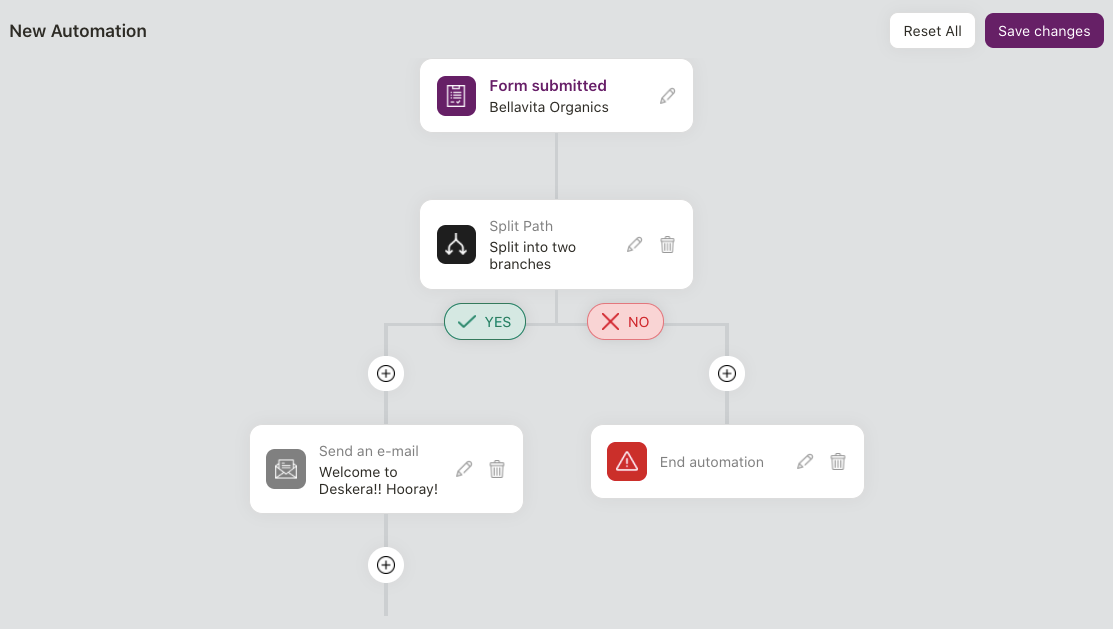
Set the condition to split the workflow and then save it.
For instance, if the conditions are met, you can send an email to your leads. You can choose other actions as well.
If the user does not fulfilled the required conditions, you can end the automation as no actions are required.
F. Wait for (time)
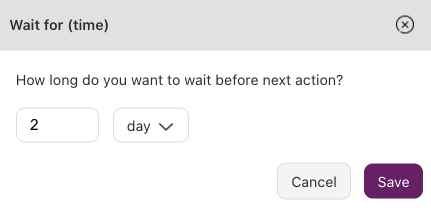
Indicate the duration to trigger the next action saved. You can specify the duration in days, hours, and minutes.
For example, if you receive a form submission from your lead, you can enter the waiting time to trigger the next action i.e. 2 days to create a contact in the system.
G. End automation
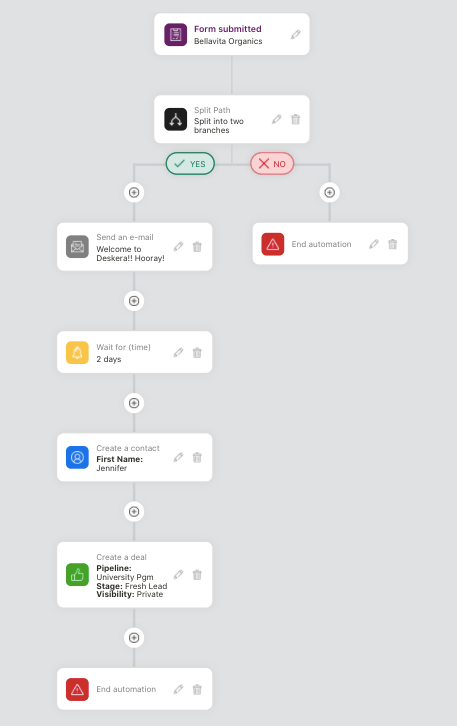
Once the actions are activated, you can select the end automation option to wrap up the workflow.
9. Click on the Save Changes to save the automation. If you wish to restart from scratch, click on the Restart button.
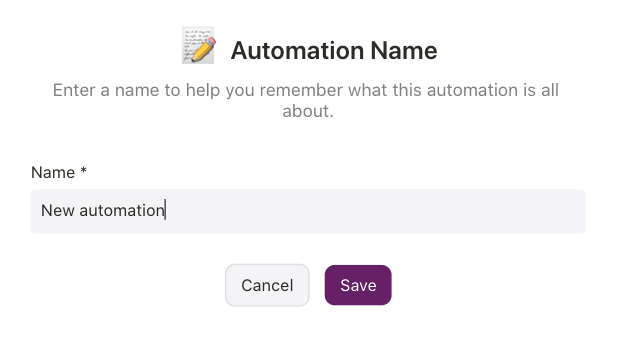
10. Enter the automation name. Click Save.
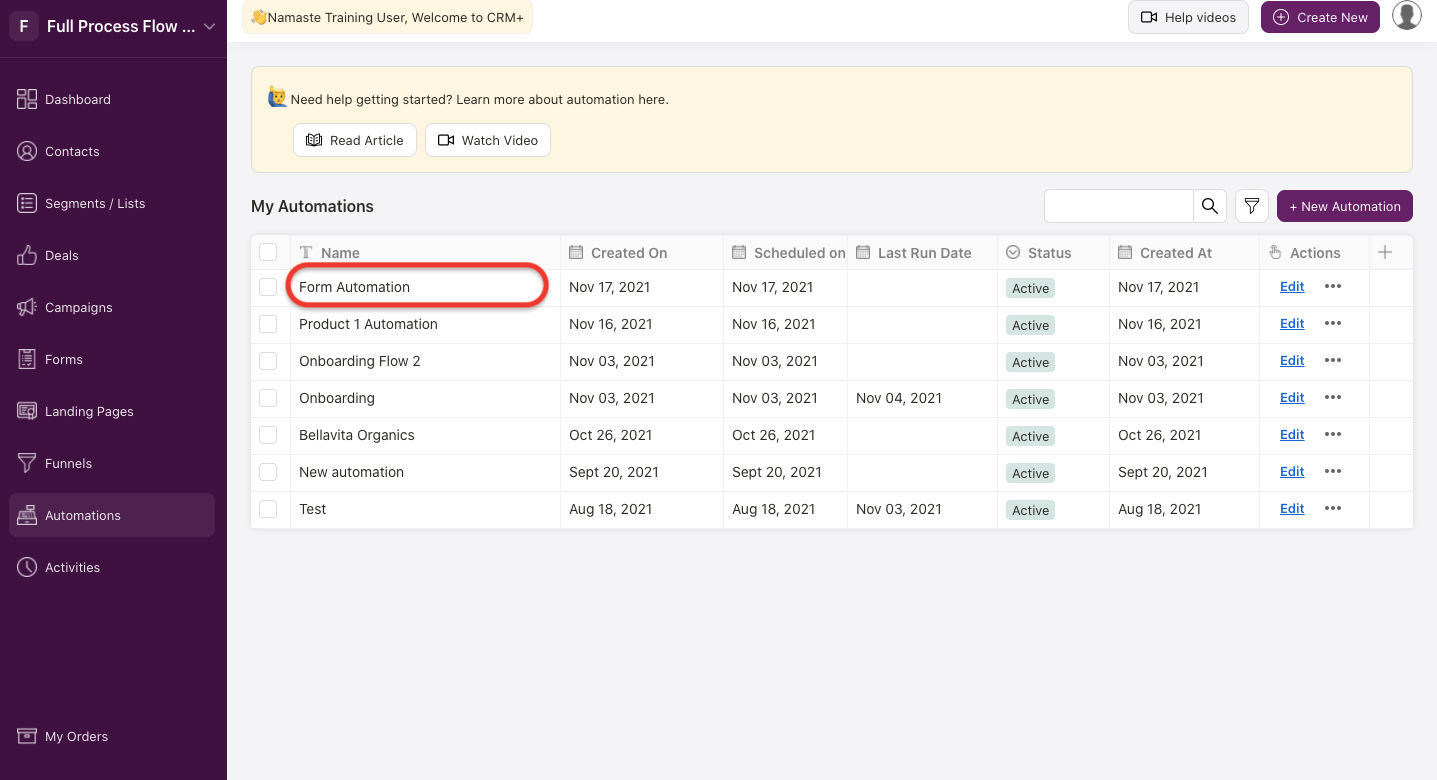
11. You should be able to view the automation created on the Automation Summary List.
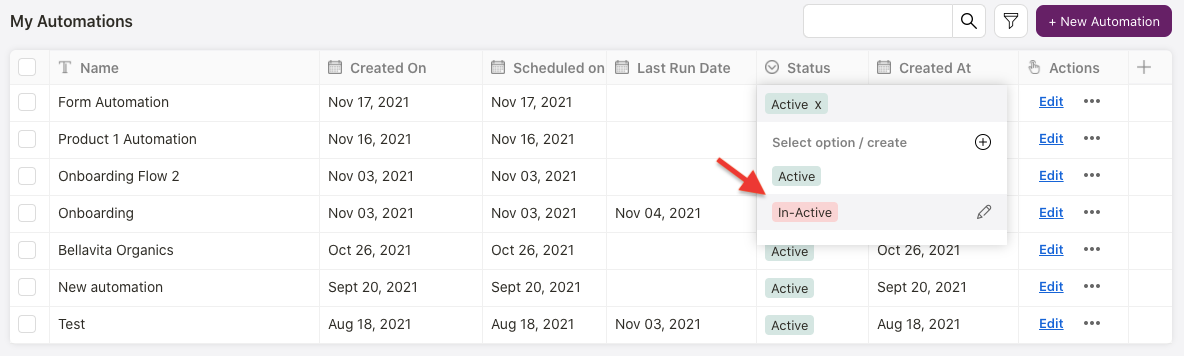
12. The status active means the workflow is running. Change the status of the workflow to inactive to pause it.
How can I edit or delete the automation?
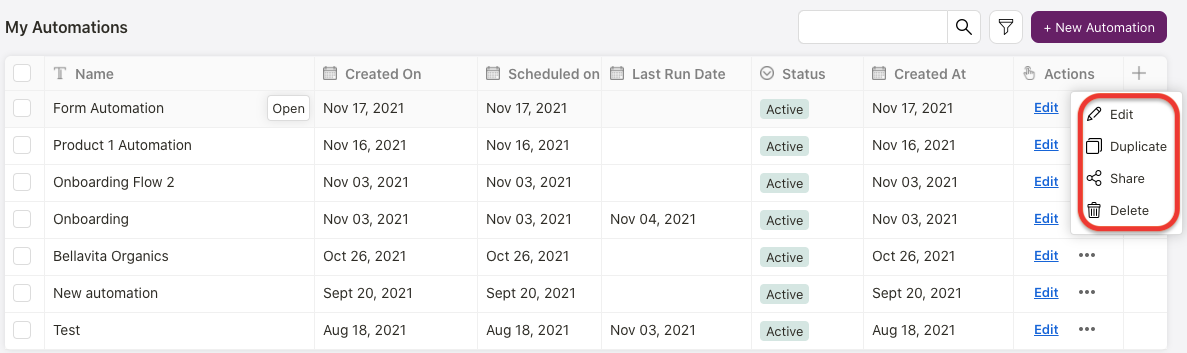
Click on the Edit button or the three dots (contextual menu) under the Actions column. You can choose to:
- Edit - edit the workflow of the automation created earlier
- Duplicate - create a copy of the workflow
- Share - Invite users to access this workflow
- Delete - Remove the workflow completely from the system