

Once you have view the Cash Flow Statement, you can map the line item seen in the report to the right account. All the changes will be reflected in the Charts of Accounts.

Follow through the steps mentioned below to check on how to map the line item to the right account:
1. Go to the Report tab and click on the Cash Flow Statement under the Financial section
2. On the Cash Flow Statement Report, click on the Setting icon at the top right of the screen.
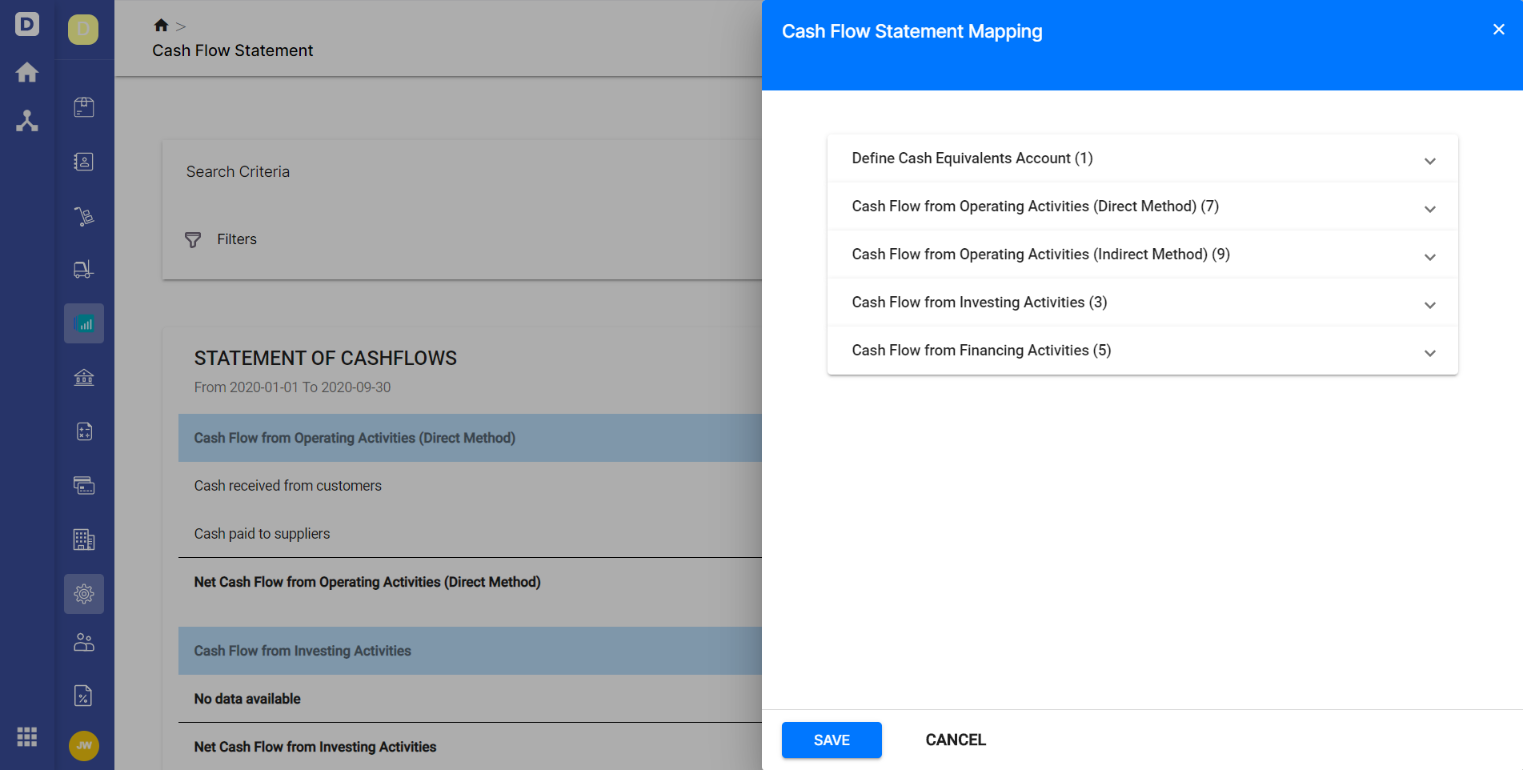
3. The dialog box will appear and you can edit the line item in the default categories as shown by clicking on the drop-down arrow of each category except Bank and Cash account.
4. As you can see the number indicated in each category, the number represents the total number of line item tagged to accounts for that category.

4. You can change the name of the line item and tagged it to the relevant accounts. Click on the add more button to add more line items.
5. To add an account in the cash flow statement, click on the drop-down menu and select the account which you want to add.
6. Click on the 'Save' button.
Once you have saved the changes, the updated line item will appear in the Cash Flow Statement.
Congratulations! You have successfully learned how to map the line item in the Cash Flow Statement to the right account.