
Do you love the look of a well-finished leather edge? As with anything, there are a few techniques you can use to achieve that look. In this article, we will take a look at some of the most common finishing techniques and show you how to do them step by step.
Leather is one of the most popular materials for pocketbooks, laptop cases, belts and other personal accessories. It's hard enough to give your item a clean and professional look without having to worry about the edges, but that's where finishing comes in handy.
There are many techniques available for doing so, and each has its own steps. In this article, we will take a look at some of the basics and show you how to apply them in order to get the perfect finished product.
Let’s take a look at the table of content below:
- Meaning of Leather Edge Finishing
- Several Techniques Used in Leather Edge Finishing
- Importance of Leather Edge Finishing
- Advanced Leather Edge Finishing Techniques
- Tools and Materials
- Step-by-Step Guide to Leather Edge Finishing
- Tips for Successful Leather Edge Finishing
- Frequently Asked Questions (FAQs) Associated with Leather Edge Finishing Techniques
- Wrapping Up
- How Deskera Can Assist You?
Let's get started!
Meaning of Leather Edge Finishing
Leather edge finishing is the process of treating and beautifying the raw edges of a piece of leather. The edges of leather can be rough, uneven, and prone to fraying, which can detract from the overall quality and aesthetics of a leather item.
The goal of edge finishing is to create a smooth, polished, and durable edge that complements the overall look of the leather product.
Several Techniques Used in Leather Edge Finishing
There are several techniques used in leather edge finishing ranging from basic to advanced.
Basic edge finishing techniques include:
- Sanding,
- Burnishing,
- Dyeing,
- Edge paint, and
- Waxing.
These techniques can be done by hand or with specialized tools and machinery. Let's learn more about them:
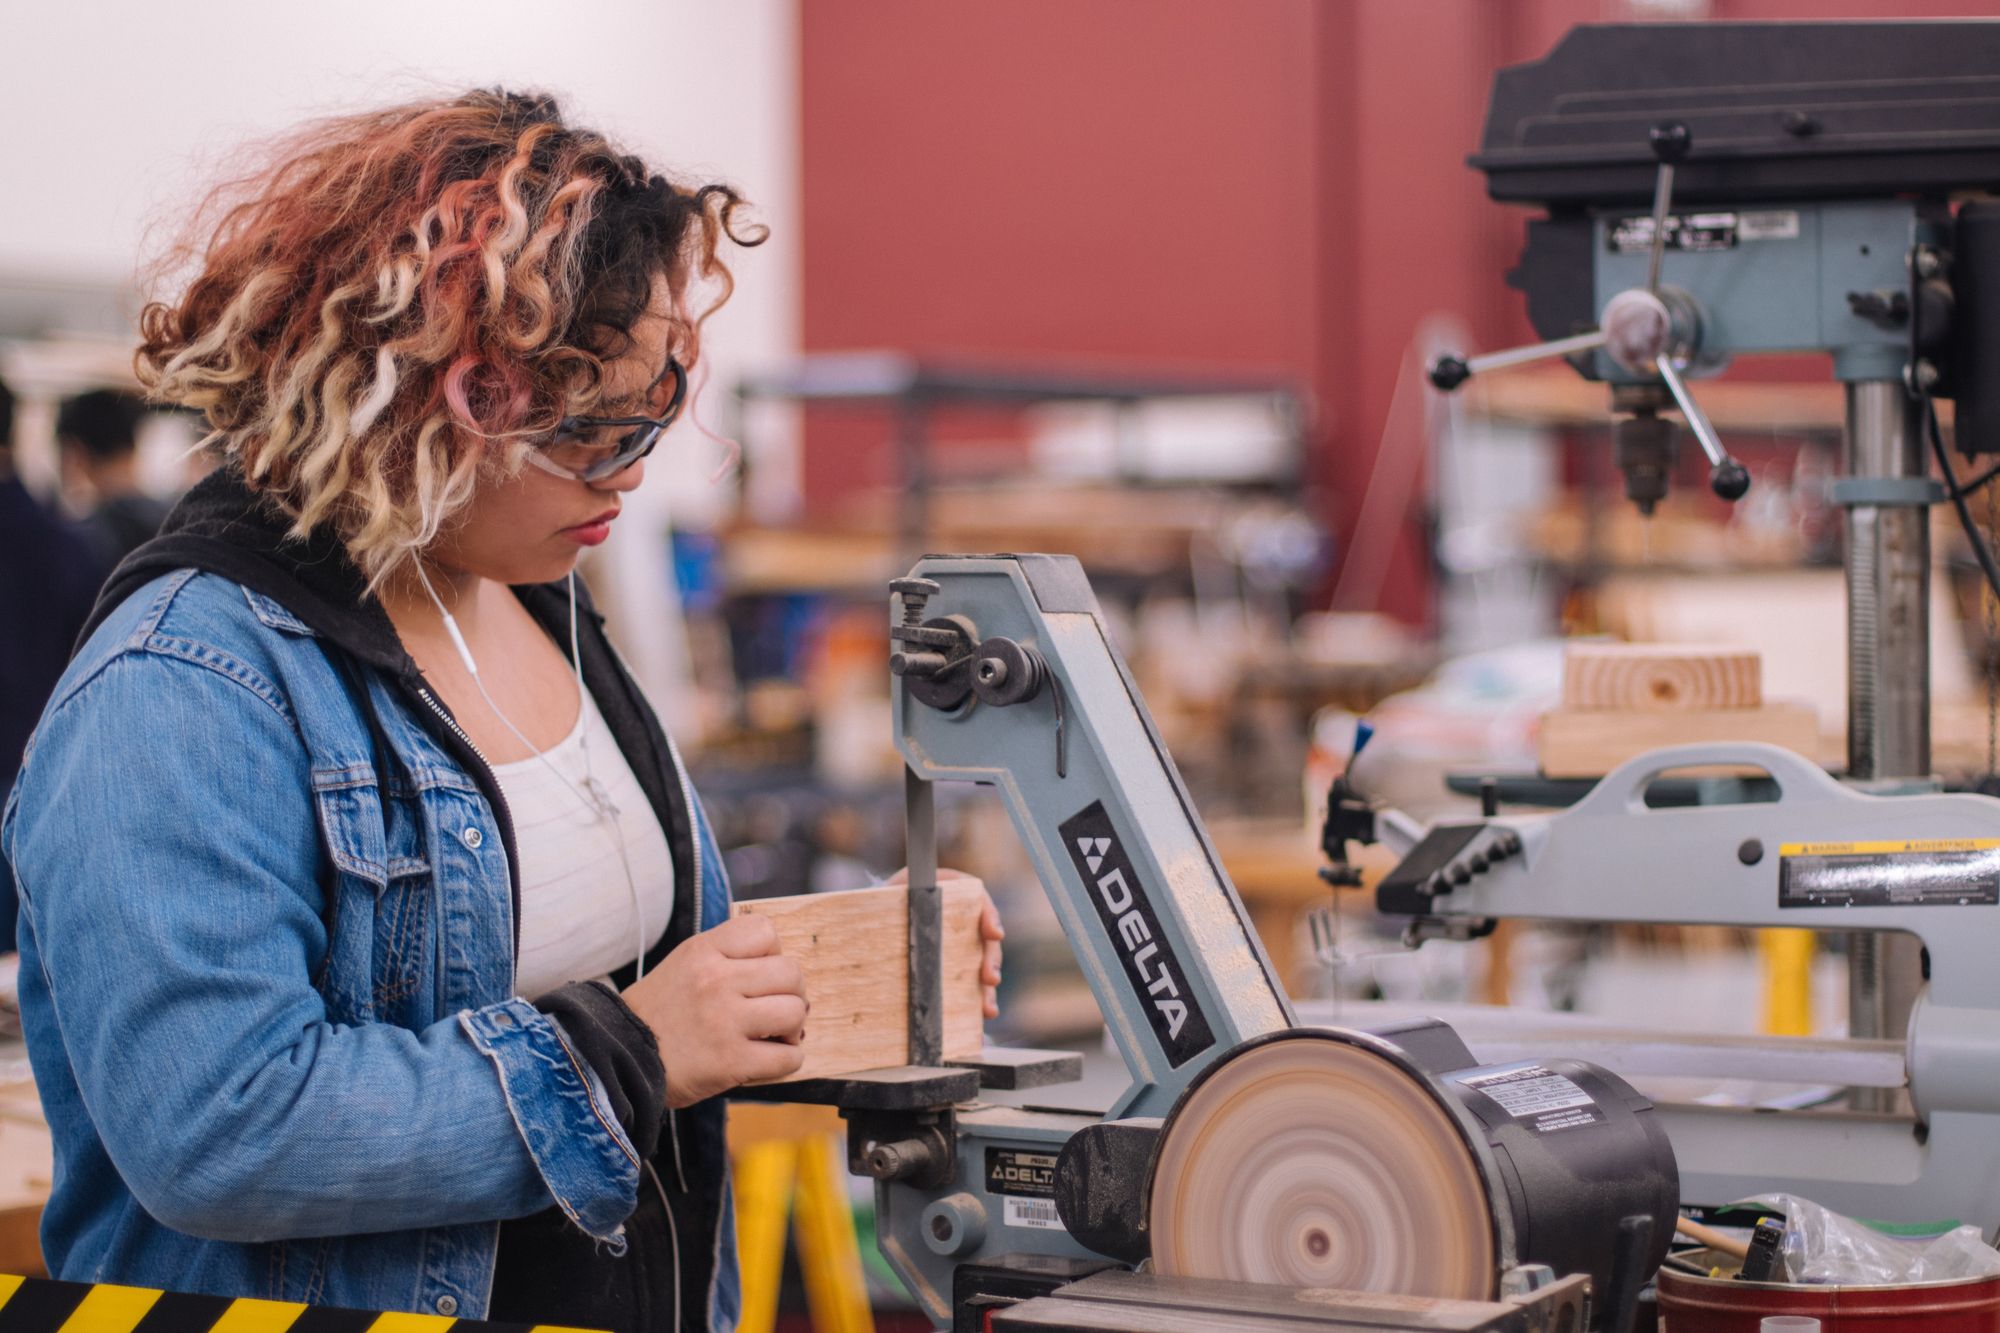
1.Sanding involves using sandpaper or a sanding machine to smooth out the rough edges of the leather.
2. Burnishing is a process of rubbing the edge of the leather with a slicker or burnishing tool, creating a smooth and polished surface.
3. Dyeing involves applying dye to the edge of the leather to match the color of the leather or add contrast.
4. Edge paint is a liquid paint that is applied to the edge of the leather, creating a polished and uniform finish.
5. Waxing involves applying a layer of wax to the edge of the leather, which protects the edge from moisture and gives it a smooth, shiny finish.
Advanced edge finishing techniques include beveling,
- Folding,
- Piping,
- Channeling, and
- Embossing.
1.Beveling involves cutting the edge of the leather at an angle, creating a decorative beveled edge.
2. Folding involves folding the edge of the leather over and stitching it in place, creating a clean and finished edge.
3. Piping involves inserting a cord into the edge of the leather, creating a raised and decorative edge.
4. Channeling involves cutting a groove into the edge of the leather, allowing it to be folded and stitched in place.
5. Embossing involves stamping a pattern or design onto the edge of the leather, creating a decorative effect.
Ultimately, leather edge finishing is a crucial process in leathercraft that can significantly impact the quality and appearance of a leather product. Furthermore, the technique used will depend on the desired result, with basic techniques being suitable for simple finishing, while advanced techniques are ideal for adding decorative elements to the edge of the leather.
Importance of Leather Edge Finishing
Leather edge finishing is a critical aspect of leathercraft that is often overlooked. Properly finished edges add to the aesthetics of a leather item and protect the edges from wear and tear.
Additionally, leather edges that are left unfinished can fray and become unsightly, reducing the overall quality and longevity of the item.
Furthermore, the edge finishing technique used can significantly impact the overall appearance of the leather item. The type of finish applied can add character, texture, and color to the edge, which can enhance the overall look and feel of the product.
A well-finished leather edge can also improve the functionality of the item. For example, burnishing the edge can make it smoother and less likely to catch or snag on clothing or other items.
Ultimately, the appearance and use of leather products depend heavily on proper leather edge finishing. It increases the item's cosmetic appeal while also assisting in preventing damage from wear and tear, ensuring that it will survive for many decades to come.
Advanced Leather Edge Finishing Techniques
Advanced leather edge finishing techniques are used to add decorative elements and complex details to the edges of a piece of leather. These techniques can enhance the overall look and feel of the leather item, adding texture, depth, and interest to the edge.
Beveling
Beveling is an advanced leather edge finishing technique that involves cutting the edge of the leather at an angle, creating a sloping edge. This technique is often used to add a decorative element to the edge of a leather item, creating a clean and polished finish.
Furthermore, beveling can be done by hand or with a specialized tool called a beveler. The beveler is a small tool with a sharp, angled blade that is used to cut the leather edge at a specific angle. The angle of the blade determines the depth and width of the bevel cut.
To bevel the leather edge by hand, the leather is first dampened with water to make it more pliable. The beveler tool is then used to cut the leather edge at an angle, creating a sloping edge. The angle and depth of the cut are determined by the artisan's skill and preference. The beveled edge is then sanded and polished to create a smooth and even finish.
In addition, beveling can also be done with a machine called a skiving machine. This machine is equipped with a beveling blade that can cut the leather edge at a consistent angle and depth. Skiving machines are often used in industrial settings or for high-volume leather production.
Furthermore, beveling can add depth and dimension to the edge of a leather item, creating a clean and finished look. It is commonly used in leathercraft to add a decorative element to belts, wallets, bags, and other leather goods.
Folding
Folding is an advanced leather edge finishing technique that involves folding the edge of the leather over and stitching it in place. This technique creates a clean and finished edge that is both durable and decorative.
To fold the leather edge, the leather is first dampened with water to make it more pliable. The edge is then folded over at a 90-degree angle and held in place with a clamp or a stitching pony.
A stitching awl or a chisel is used to create holes along the edge, which are then stitched with a needle and thread. The stitching secures the folded edge in place, creating a neat and polished finish.
Furthermore, folding can be done with a variety of leather thicknesses, and the technique can be adapted to fit the desired design. For example, the folded edge can be left as is or beveled to create a more decorative effect.
Folding is often used in leathercraft to create a clean and finished edge on items such as wallets, bags, and leather garments. It is a durable technique that can withstand daily wear and tear, making it ideal for leather items that will be used frequently. Folding can also add a decorative element to the edge of a leather item, giving it a polished and professional appearance.
Piping
Piping is an advanced leather edge finishing technique that involves inserting a cord or a piece of tubing into the edge of the leather, creating a raised and decorative edge. This technique is often used to add contrast and texture to the edge of a leather item.
To pipe the leather edge, a groove is first cut into the leather using a specialized tool called a grooving tool. The groove is then filled with a cord or tubing that has been soaked in water to make it pliable. The cord is inserted into the groove and held in place with a stitching awl or chisel. The leather edge is then folded over the cord and stitched in place, securing the cord in place and creating a raised edge.
Furthermore, piping can be done with a variety of cords and tubing, depending on the desired effect. The cord can be made from materials such as cotton, nylon, or leather, and can be colored to match or contrast with the leather. The technique can also be adapted to fit the desired design, with the cord or tubing inserted at different depths or angles.
Piping is often used in leathercraft to add a decorative element to items such as bags, wallets, and belts. It creates a raised and distinctive edge that adds texture and interest to the overall design. Piping is a durable technique that can withstand daily wear and tear, making it ideal for leather items that will be used frequently.
Channeling
Channeling is an advanced leather edge finishing technique that involves creating a groove or channel along the edge of the leather. The groove can be left open or filled with a decorative element, such as a cord or a strip of leather.
To create a channel, a specialized tool called a grooving tool is used to cut a groove into the leather along the edge. The depth and width of the groove can be adjusted to fit the desired design. Once the groove is cut, it can be left as is or filled with a decorative element.
If a decorative element is desired, a cord or strip of leather is first dampened with water to make it more pliable. The cord or strip is then inserted into the groove and held in place with a stitching awl or chisel. The leather edge is then folded over the cord or strip and stitched in place, securing the decorative element and creating a clean and polished finish.
Channeling is often used in leathercraft to add a decorative element to items such as bags, wallets, and belts. It can create a distinctive and unique edge that adds interest and texture to the overall design. Channeling can also be used to add durability to the edge of a leather item, protecting it from wear and tear.
Ultimately, channeling is a versatile technique that can be adapted to fit a variety of designs and leather thicknesses. It requires skill and precision to create a clean and even groove, but the result is a professional and polished finish.
Embossing
Embossing is an advanced leather edge finishing technique that involves stamping a design onto the leather edge, creating a raised and decorative pattern. This technique can be used to add a personalized touch to leather items, as well as to add texture and interest to the edge.
To emboss the leather edge, a design is first chosen and transferred onto the leather using a specialized tool called a tracing wheel. The leather is then dampened with water to make it more pliable.
The leather edge is placed onto a surface that has a raised design, such as an embossing block or a textured surface. Pressure is then applied to the leather, using a specialized tool called an embossing tool, to stamp the design onto the leather edge. The leather is then allowed to dry before being finished with a coating or edge paint.
Embossing can be done with a variety of designs, including letters, numbers, and decorative patterns. The technique can also be adapted to fit the desired design, with the embossed pattern placed at different depths or angles.
Additionally, embossing is often used in leathercraft to add a personalized touch to items such as wallets, belts, and bags. It creates a raised and distinctive edge that adds texture and interest to the overall design. Moreover, it is a durable technique that can withstand daily wear and tear, making it ideal for leather items that will be used frequently.
Embossing requires skill and precision to create a clean and even design, but the result is a professional and polished finish that can elevate the overall look of a leather item.
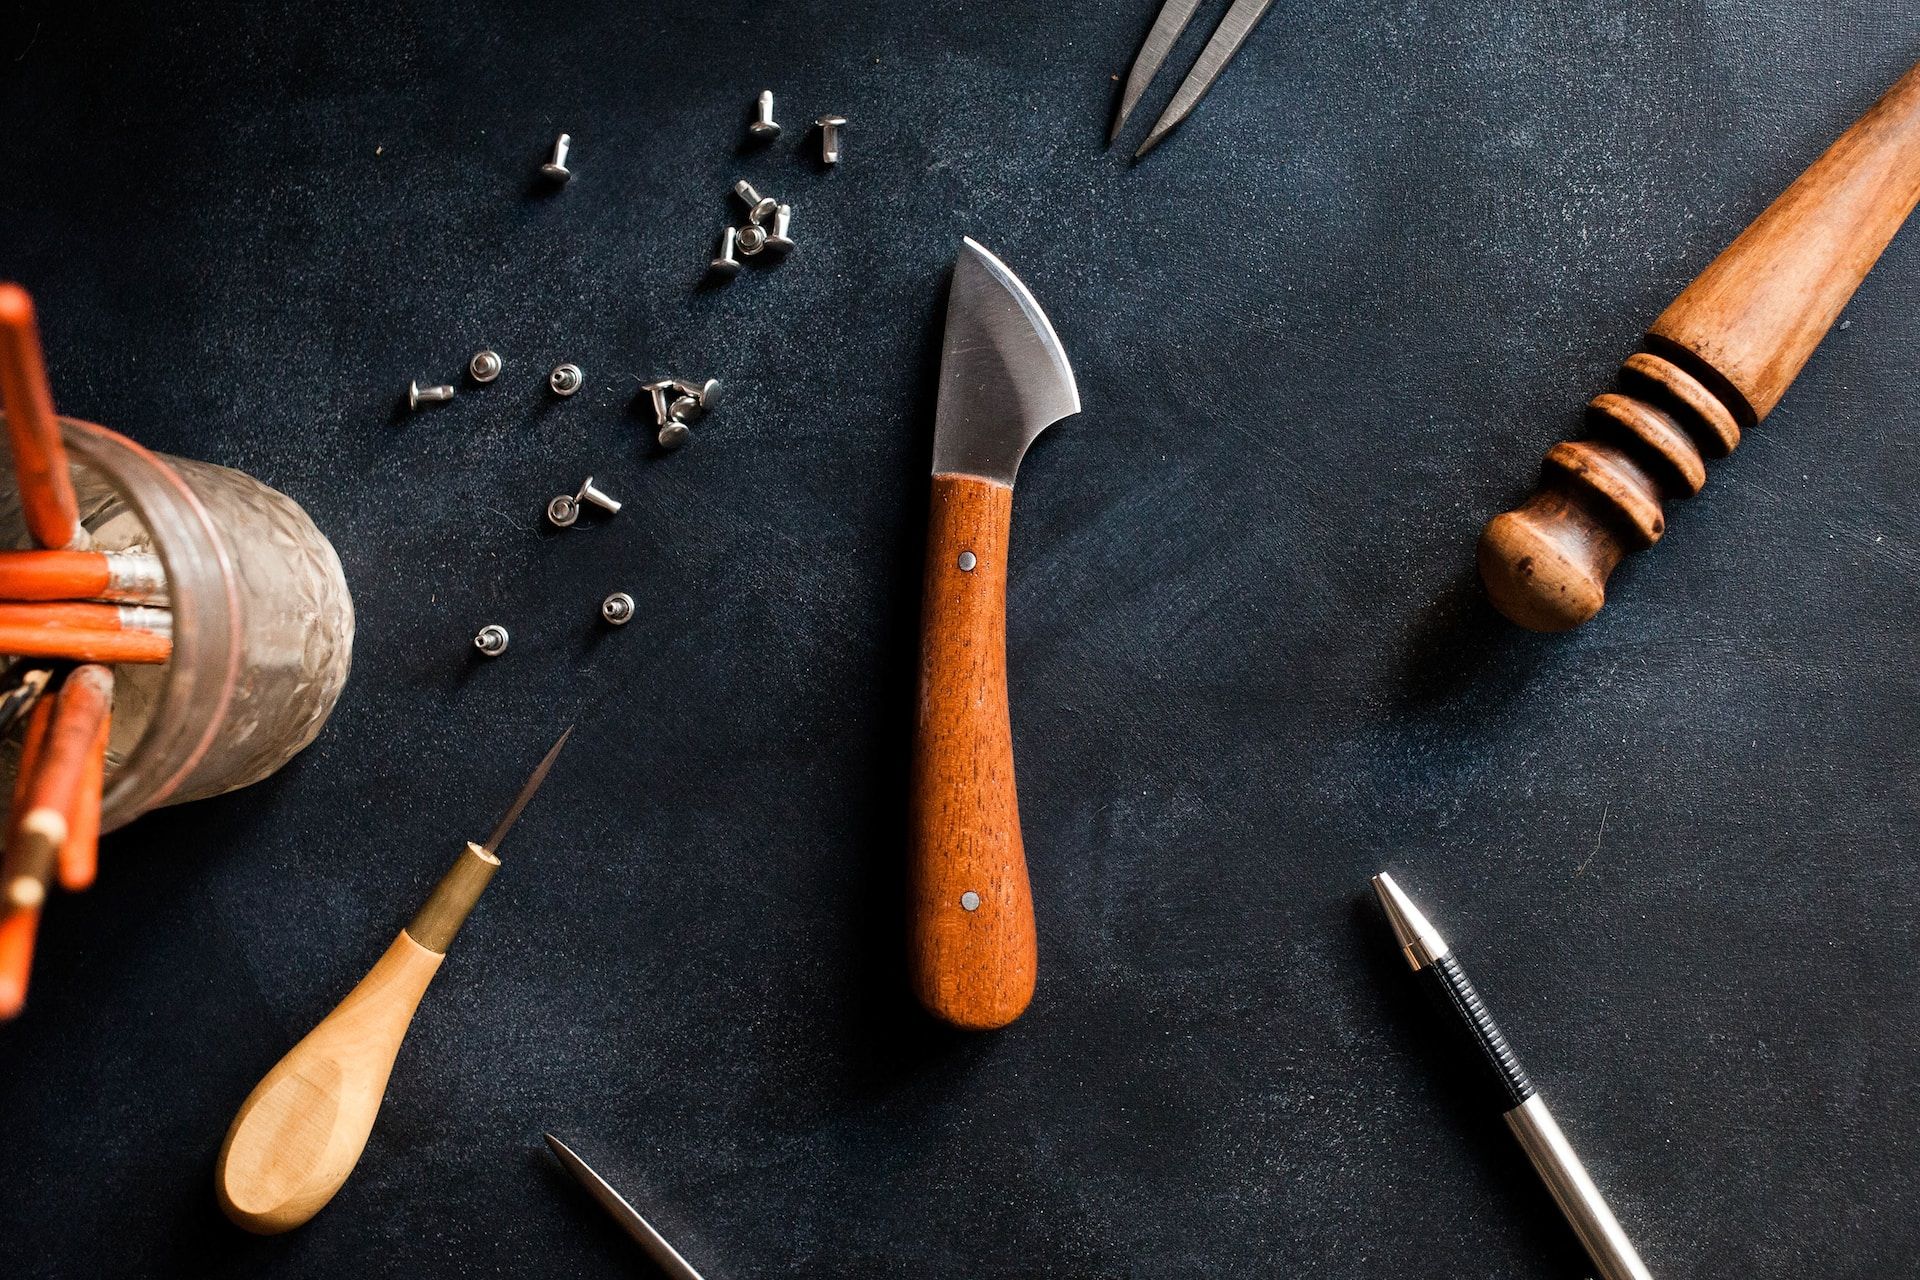
Tools and Materials
Leather edge finishing techniques require specialized tools and materials to achieve a polished and professional finish.
There are a variety of specialized tools that are commonly used in leather edge finishing techniques. The specific tools required will depend on the desired effect and the technique being used, but some common tools include:
Grooving tool: A specialized tool used to cut a groove along the edge of the leather. This tool can be adjusted to create grooves of different depths and widths.
Beveler: A tool used to create a sloped edge on the leather, removing the sharp edge and creating a polished finish.
Awl: A pointed tool used to make holes in the leather for stitching or to mark the leather for cutting.
Embossing tool: A tool used to stamp a design onto the leather, creating a raised and decorative pattern.
Burnishing tool: A tool used to smooth and polish the edge of the leather after it has been cut or beveled.
Edge paint roller: A small roller used to apply edge paint to the leather edge.
Edge paint: A specialized paint used to color and protect the edge of the leather.
Leather dye: A coloring agent used to dye the leather, creating a consistent color across the entire piece.
Leather conditioner: A product used to condition and soften the leather, making it more pliable and easier to work with.
Cutting mat: A protective surface used to protect the work surface when cutting the leather.
Having the proper tools is essential for achieving a polished and professional finish on leather items. While some tools can be expensive, investing in high-quality tools can make a significant difference in the final product and can ensure that the leather item will withstand daily wear and tear.
Materials Required for Leather Edge Finishing
There are several materials that are commonly used in leather edge finishing techniques. The specific materials required will depend on the technique being used, but some common materials include:
Edge paint: A specialized paint used to color and protect the edge of the leather. Edge paint can come in a variety of colors and finishes, such as glossy or matte. This material is essential for creating a polished and finished look on the edge of the leather.
Leather dye: A coloring agent used to dye the leather, creating a consistent color across the entire piece. Leather dye can come in a variety of colors and can be used to create a uniform color on the edge of the leather.
Coatings: Coatings are used to protect the leather from wear and tear, as well as to provide a shiny or glossy finish. Some common coatings include acrylic resolene, which creates a hard, protective surface, and beeswax, which provides a natural, water-resistant coating.
Cords and tubing: Cords and tubing can be used to create a decorative edge finish on leather items. These materials can be wrapped around the edge of the leather and secured with glue or stitching.
Sandpaper: Sandpaper can be used to smooth and polish the edge of the leather after it has been cut or beveled. Sandpaper comes in different grits and can be used to create a smooth and even edge on the leather.
Leather conditioner: A product used to condition and soften the leather, making it more pliable and easier to work with. Leather conditioner can also help to protect the leather from drying out and cracking.
Thread: Thread is used to stitch the leather together and can be used to create a decorative edge finish. Thread can come in different colors and thicknesses, depending on the desired effect.
The proper materials are required for leather products to have a polished and professional appearance. Although while some materials can be expensive, using premium materials can greatly enhance the completed product and ensure that the leather item will withstand everyday wear and tear.
Step-by-Step Guide to Leather Edge Finishing
While the specific steps required will depend on the technique being used, there are some general steps that can be followed to achieve a clean and polished edge on leather items. Let’s learn:
Detailed Instructions for Each of the Basic Leather Edge Finishing Techniques
Following, we’ve discussed detailed instructions for each of the basic leather edge finishing techniques:
Beveling
Beveling is a technique used to create a sloped edge on the leather, removing the sharp edge and creating a polished finish. This technique is often used in combination with other edge finishing techniques to create a decorative effect. Here's how to bevel the edge of the leather:
Step 1: Clamp the leather firmly in place.
Step 2: Use a beveling tool to create a sloped edge on the leather. Start at one end and work your way down the length of the edge, making sure to apply even pressure and maintain a consistent angle.
Step 3: Once you've beveled the entire length of the edge, use a sandpaper to smooth and polish the edge.
Folding
Folding is a technique used to create a clean and polished edge on leather items. This technique is often used on thin or delicate leathers, such as lambskin or calfskin, to create a finished edge. Here's how to fold the edge of the leather:
Step 1: Cut the leather to the desired size and shape.
Step 2: Apply a thin layer of glue to the edge of the leather.
Step 3: Fold the edge of the leather over onto itself, pressing firmly to ensure a secure bond.
Step 4: Use a bone folder or similar tool to crease the folded edge of the leather.
Step 5: Use sandpaper to smooth and polish the folded edge.
Piping
Piping is a decorative technique used to create a raised, rounded edge on leather items. This technique is often used on bags, wallets, and other leather accessories to add dimension and interest. Here's how to create a piping effect on the edge of the leather:
Step 1: Cut a strip of leather or plastic tubing to the desired length.
Step 2: Apply a thin layer of glue to the edge of the leather.
Step 3: Wrap the leather or tubing around the edge of the leather, pressing firmly to ensure a secure bond.
Step 4: Use sandpaper to smooth and polish the edge of the leather.
Channeling
Channeling is a technique used to create a recessed groove on the edge of the leather. This technique is often used in combination with other edge finishing techniques to create a decorative effect. Following, we've discussed how to create a channel on the edge of the leather:
Step 1: Clamp the leather firmly in place.
Step 2: Use a channeling tool to create a recessed groove along the length of the edge. Start at one end and work your way down the length of the edge, making sure to apply even pressure and maintain a consistent depth.
Step 3: Once you've created the channel, use sandpaper to smooth and polish the edge.
Embossing
Embossing is a technique used to create a raised design or pattern on the edge of the leather. This technique is often used in combination with other edge finishing techniques to create a decorative effect. Following, we've discussed how to emboss the edge of the leather:
Step 1: Choose a stamp or embossing tool with the desired design or pattern.
Step 2: Clamp the leather firmly in place.
Step 3: Place the stamp or embossing tool on the edge of the leather and strike it firmly with a mallet or hammer.
Step 4: Repeat the process along the length of the edge to create the desired design or pattern.
Step 5: Use sandpaper to smooth and polish the edge.
By following these detailed instructions for each of the basic leather edge finishing techniques, you can create a variety of polished and professional edge finishes on leather items.
Detailed instructions for Each of the Advanced Leather Edge Finishing Techniques
Following, we’ve discussed detailed instructions for each of the advanced leather edge finishing techniques:
Burnishing
Burnishing is a technique used to create a smooth and polished edge on leather items. This technique involves rubbing the edge of the leather with a burnishing tool to create heat and friction, which causes the fibers in the leather to bind together and form a smooth, glossy surface. Following, we've discussed how to burnish the edge of the leather:
Step 1: Clamp the leather firmly in place.
Step 2: Use a skiving tool or sharp knife to shave off any rough or uneven parts of the edge.
Step 3: Apply a small amount of water or gum tragacanth to the edge of the leather.
Step 4: Rub the edge of the leather with a burnishing tool, applying pressure and moving in a circular motion. Repeat this process until the edge is smooth and glossy.
Dyeing
Dyeing is a technique used to add color to the edge of the leather. This technique is often used to match the color of the leather to the rest of the item, or to add a contrasting color for a decorative effect. Following, we've discussed how to dye the edge of the leather:
Step 1: Choose a leather dye in the desired color.
Step 2: Apply a thin layer of dye to the edge of the leather using a sponge or brush.
Step 3: Let the dye dry completely, then apply additional coats as needed to achieve the desired color.
Step 4: Once the dye is dry, use sandpaper to smooth and polish the edge.
Edge Paint
Edge painting is a technique used to create a polished and durable edge on leather items. This technique involves applying a special edge paint to the edge of the leather, which creates a smooth and protective coating. Here's how to apply edge paint to the edge of the leather:
Step 1: Choose an edge paint in the desired color.
Step 2: Apply a thin layer of edge paint to the edge of the leather using a brush or sponge. Be sure to apply the paint evenly and avoid getting any on the face of the leather.
Step 3: Let the paint dry completely, then apply additional coats as needed to achieve the desired thickness.
Step 4: Once the paint is dry, use sandpaper to smooth and polish the edge.
Gilding
Gilding is a technique used to add metallic or decorative elements to the edge of the leather. This technique involves applying a layer of gold leaf or metallic foil to the edge of the leather, creating a striking and decorative effect. Following, we've discussed how to gild the edge of the leather:
Step 1: Choose a gold leaf or metallic foil in the desired color and design.
Step 2: Apply a thin layer of adhesive to the edge of the leather using a brush.
Step 3: Wait until the adhesive becomes tacky, then carefully apply the gold leaf or metallic foil to the edge of the leather.
Step 4: Use a soft brush to gently smooth the surface of the gold leaf or metallic foil.
Step 5: Once the gilding is dry, use sandpaper to smooth and polish the edge.
By following these detailed instructions for each of the advanced leather edge finishing techniques, you can create a variety of professional and decorative finishes on leather items.
Tips for Successful Leather Edge Finishing
To achieve successful and professional-looking leather edge finishing, there are a few tips to keep in mind:
Use high-quality leather: The quality of the leather you use can greatly affect the outcome of the edge finishing. Use high-quality leather that is smooth and consistent in texture for the best results.
Choose the right tools and materials: Use the appropriate tools and materials for the edge finishing technique you plan to use. This can include a variety of tools, such as a skiving tool, burnishing tool, and sandpaper, as well as materials like leather dye and edge paint.
Practice and experiment: Leather edge finishing can take some practice to get right, so don't be afraid to experiment and try different techniques until you find the one that works best for you.
Take your time: Rushing through the edge finishing process can lead to mistakes and uneven results. Take your time and work slowly and carefully for the best outcome.
Keep your workspace clean and organized: A clean and organized workspace can help you focus and stay on task, as well as prevent any unwanted debris or materials from getting on your leather.
By keeping these tips in mind, you can achieve successful and professional-looking leather edge finishing results.
Common Mistakes to Avoid
Even with the right tools, materials, and techniques, there are some common mistakes that can occur during leather edge finishing. Following, we've discussed some common mistakes that you must avoid. Let's learn:
Rushing the process: Taking your time is crucial to achieving a professional-looking edge finish. Rushing can cause uneven edges, mistakes, and even damage to the leather.
Using the wrong tools or materials: Different edge finishing techniques require different tools and materials. Using the wrong ones can lead to unsatisfactory results or even damage the leather.
Not sanding the edges properly: Sanding the edges of the leather is important to smooth out any roughness or inconsistencies. Skipping this step can lead to uneven dye or paint application and an overall unprofessional appearance.
Not applying enough dye or paint: Insufficient dye or paint can cause a lack of coverage and result in an uneven or blotchy finish.
Over-applying dye or paint: Over-applying dye or paint can result in a caked-on appearance that can crack or peel over time.
Not allowing the edge finish to dry completely: Drying time is essential for the dye or paint to set and bond properly. Skipping this step can lead to smudging or damage to the finish.
Failing to protect the leather: After finishing the edges, it's important to protect the leather from dirt, moisture, and other external elements. Neglecting to do so can cause damage to the edges and shorten the lifespan of the leather item.
By avoiding these common mistakes and following proper techniques, you can achieve a high-quality and professional-looking edge finish on your leather projects.
Tips for Achieving a Professional-Looking Finish
To achieve a professional-looking finish on your leather edge finishing, consider these tips:
Practice proper technique: Follow proper technique for the edge finishing method you are using. This includes using the right tools and materials and working slowly and carefully.
Pay attention to detail: Take the time to sand, dye, paint, and burnish the edges of your leather evenly and consistently.
Use high-quality materials: Choose high-quality leather, dyes, paints, and other materials for the best results.
Work in a clean, organized workspace: Keep your workspace clean and organized to help you focus and prevent any unwanted debris or materials from getting on your leather.
Use a light touch: When burnishing or sanding the edges of your leather, use a light touch to avoid damaging the leather or removing too much material.
Experiment with different techniques: Don't be afraid to experiment with different edge finishing techniques to find the one that works best for your project.
Take your time: Rushing through the process can lead to mistakes and unsatisfactory results. Take your time and work slowly and carefully for the best outcome.
By following these tips, you can achieve a professional-looking finish on your leather edge finishing projects.
Frequently Asked Questions (FAQs) Associated with Leather Edge Finishing Techniques
Following, we’ve discussed some frequently asked questions about leather edge finishing techniques:
Que 1: What is the best leather edge finishing technique?
Ans: The best technique depends on the project and personal preference. Some popular techniques include beveling, folding, piping, channeling, and embossing.
Que 2: How do I choose the right technique for my project?
Ans: Consider the type of leather you are working with, the desired finished look, and the intended use of the item. Some techniques work better for certain types of leather or projects than others.
Que 3: What tools do I need for leather edge finishing?
Ans: Tools can vary depending on the technique you are using, but common tools include a skiving knife, sandpaper, edge slicker, burnishing tool, and edge paint.
Que 4: Can I use regular paint or dye for leather edge finishing?
Ans: No, regular paint or dye is not recommended for leather edge finishing. Use dye or paint specifically designed for leather to ensure proper coverage and adhesion.
Que 5: How can I prevent my edge finish from cracking or peeling over time?
Ans: Make sure to apply enough layers of dye or paint, and allow each layer to dry completely before adding the next. Use a protective leather finisher after the edge finish has dried to help prevent cracking or peeling.
Que 6: Can I use a heat gun or hair dryer to speed up the drying process?
Ans: It is not recommended to use heat to speed up the drying process, as it can cause the leather to warp or crack. Allow the edge finish to dry naturally.
Que 7: How can I fix mistakes in my edge finishing?
Ans: If the mistake is minor, you may be able to sand it down or add an additional layer of dye or paint. For more significant mistakes, you may need to start over with a new edge finishing technique.
Wrapping Up
In conclusion, leather edge finishing is an important process that can greatly enhance the appearance and durability of leather projects. Basic techniques such as sanding, dyeing, and burnishing can be easily learned and mastered, while advanced techniques such as beveling, folding, piping, channeling, and embossing can take more time and practice to perfect.
It is important to use high-quality materials and tools, work in a clean and organized space, and take your time to achieve a professional-looking finish. By following the tips and techniques outlined in this article, you can successfully achieve a beautiful and long-lasting edge finish on your leather projects.
How Deskera Can Assist You?
Deskera's integrated financial planning tools allow investors to better plan their investments and track their progress. It can help investors make decisions faster and more accurately.
Deskera Books enables you to manage your accounts and finances more effectively. Maintain sound accounting practices by automating accounting operations such as billing, invoicing, and payment processing.

Deskera CRM is a strong solution that manages your sales and assists you in closing agreements quickly. It not only allows you to do critical duties such as lead generation via email, but it also provides you with a comprehensive view of your sales funnel.
Deskera People is a simple tool for taking control of your human resource management functions. The technology not only speeds up payroll processing but also allows you to manage all other activities such as overtime, benefits, bonuses, training programs, and much more. This is your chance to grow your business, increase earnings, and improve the efficiency of the entire production process.
Final Takeaways
We've arrived at the last section of this guide. Let's have a look at some of the most important points to remember:
- Leather edge finishing is the process of treating and beautifying the raw edges of a piece of leather. The edges of leather can be rough, uneven, and prone to fraying, which can detract from the overall quality and aesthetics of a leather item.
- Advanced edge finishing techniques include beveling, folding, piping, channeling, and embossing. Beveling involves cutting the edge of the leather at an angle, creating a decorative beveled edge.
- Folding is an advanced leather edge finishing technique that involves folding the edge of the leather over and stitching it in place. This technique creates a clean and finished edge that is both durable and decorative.
- Piping is an advanced leather edge finishing technique that involves inserting a cord or a piece of tubing into the edge of the leather, creating a raised and decorative edge. This technique is often used to add contrast and texture to the edge of a leather item.
- Channeling is an advanced leather edge finishing technique that involves creating a groove or channel along the edge of the leather. The groove can be left open or filled with a decorative element, such as a cord or a strip of leather.
- Embossing is an advanced leather edge finishing technique that involves stamping a design onto the leather edge, creating a raised and decorative pattern. This technique can be used to add a personalized touch to leather items, as well as to add texture and interest to the edge.
Related Articles