
Leather tooling and embossing are techniques used to decorate and add texture to leather products. These techniques have been used for centuries by leather craftsmen to create intricate designs and patterns on items such as belts, wallets, bags, and shoes.
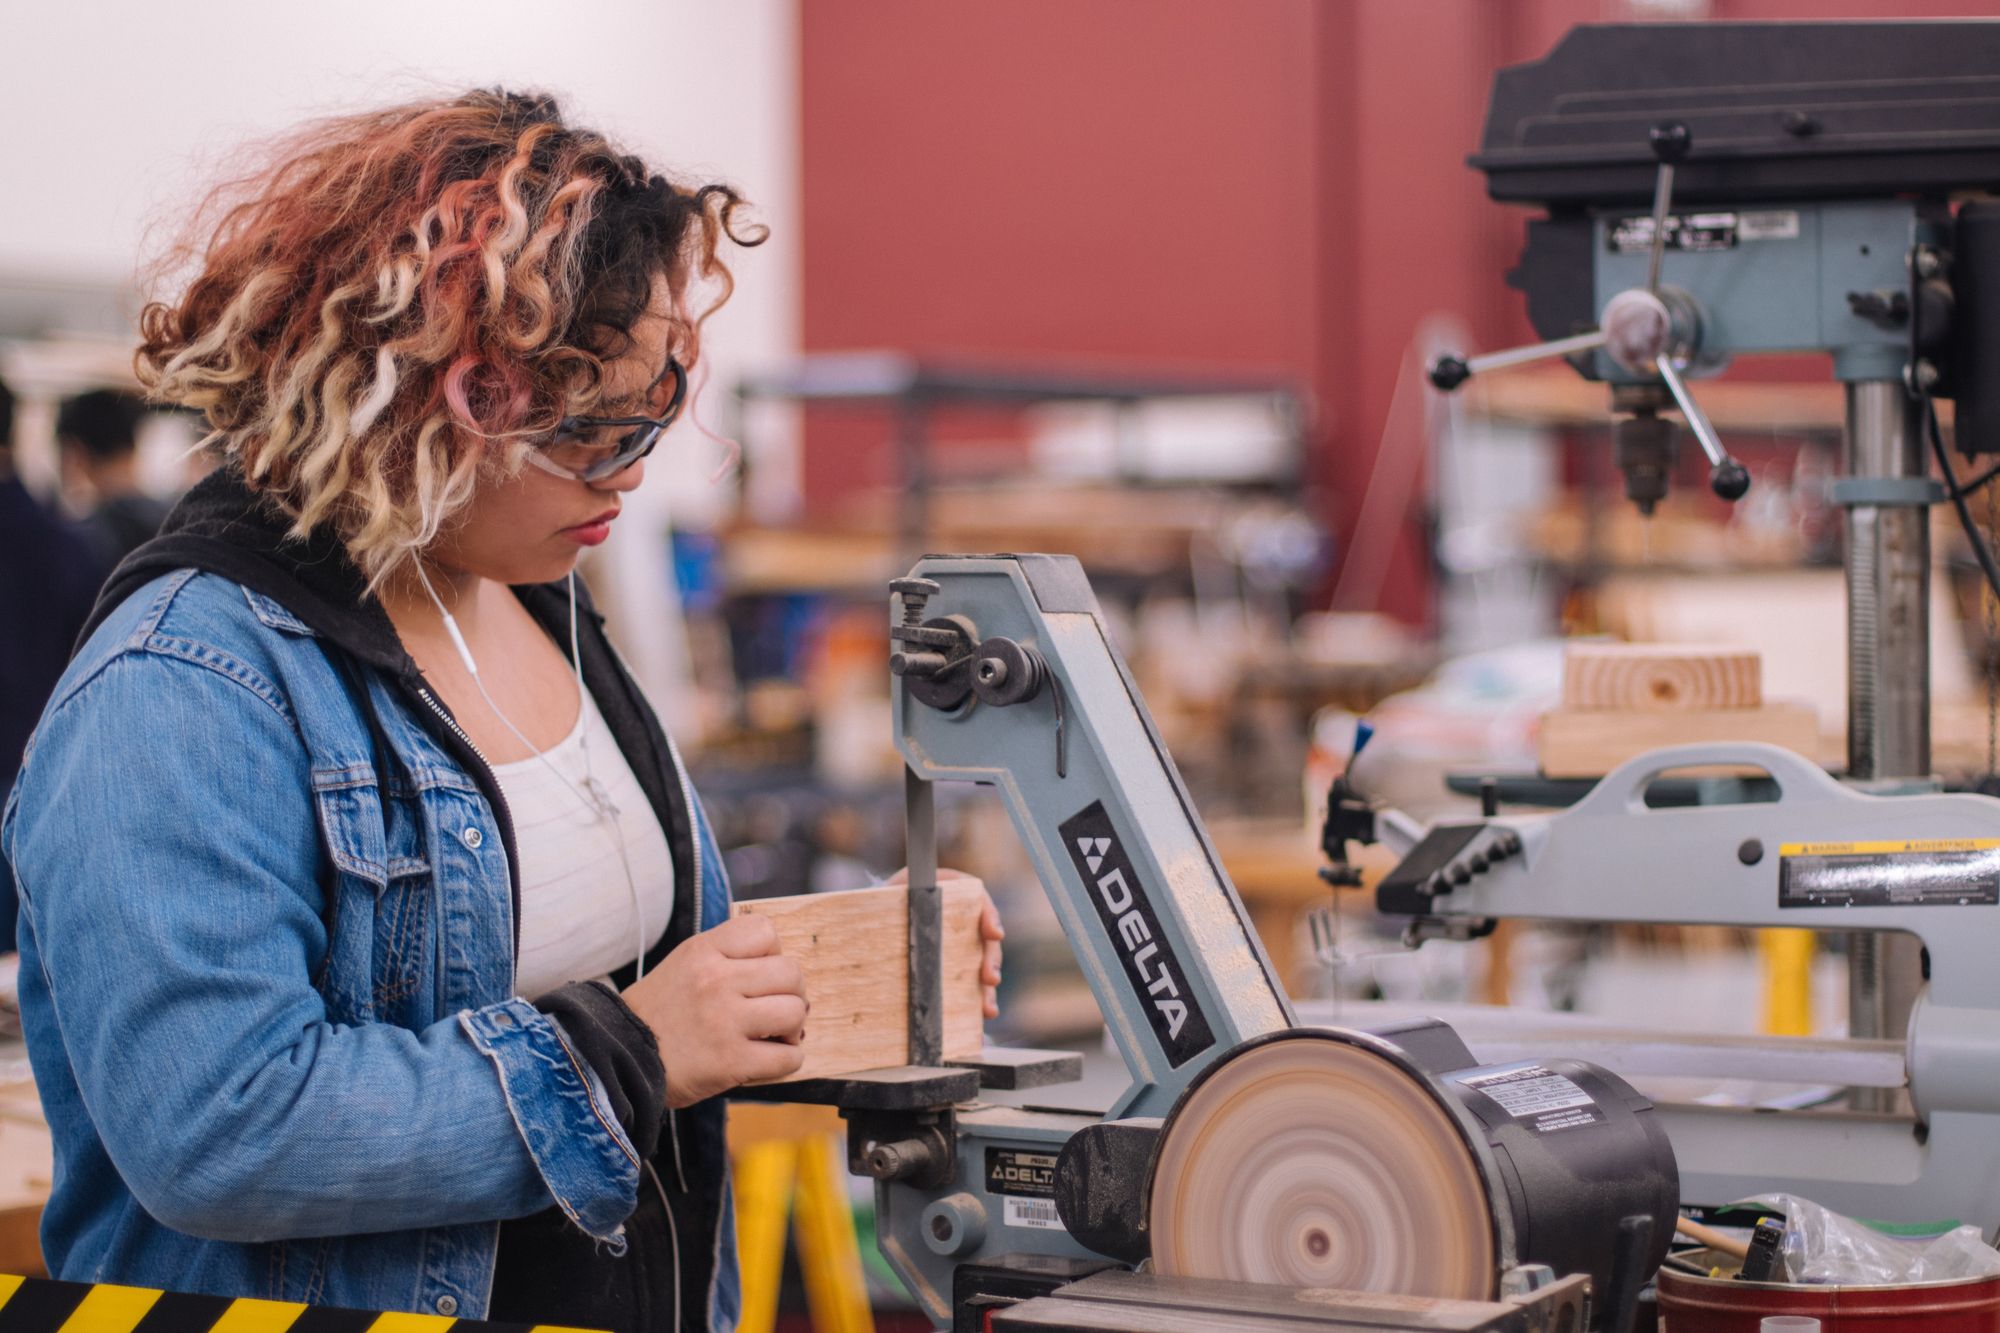
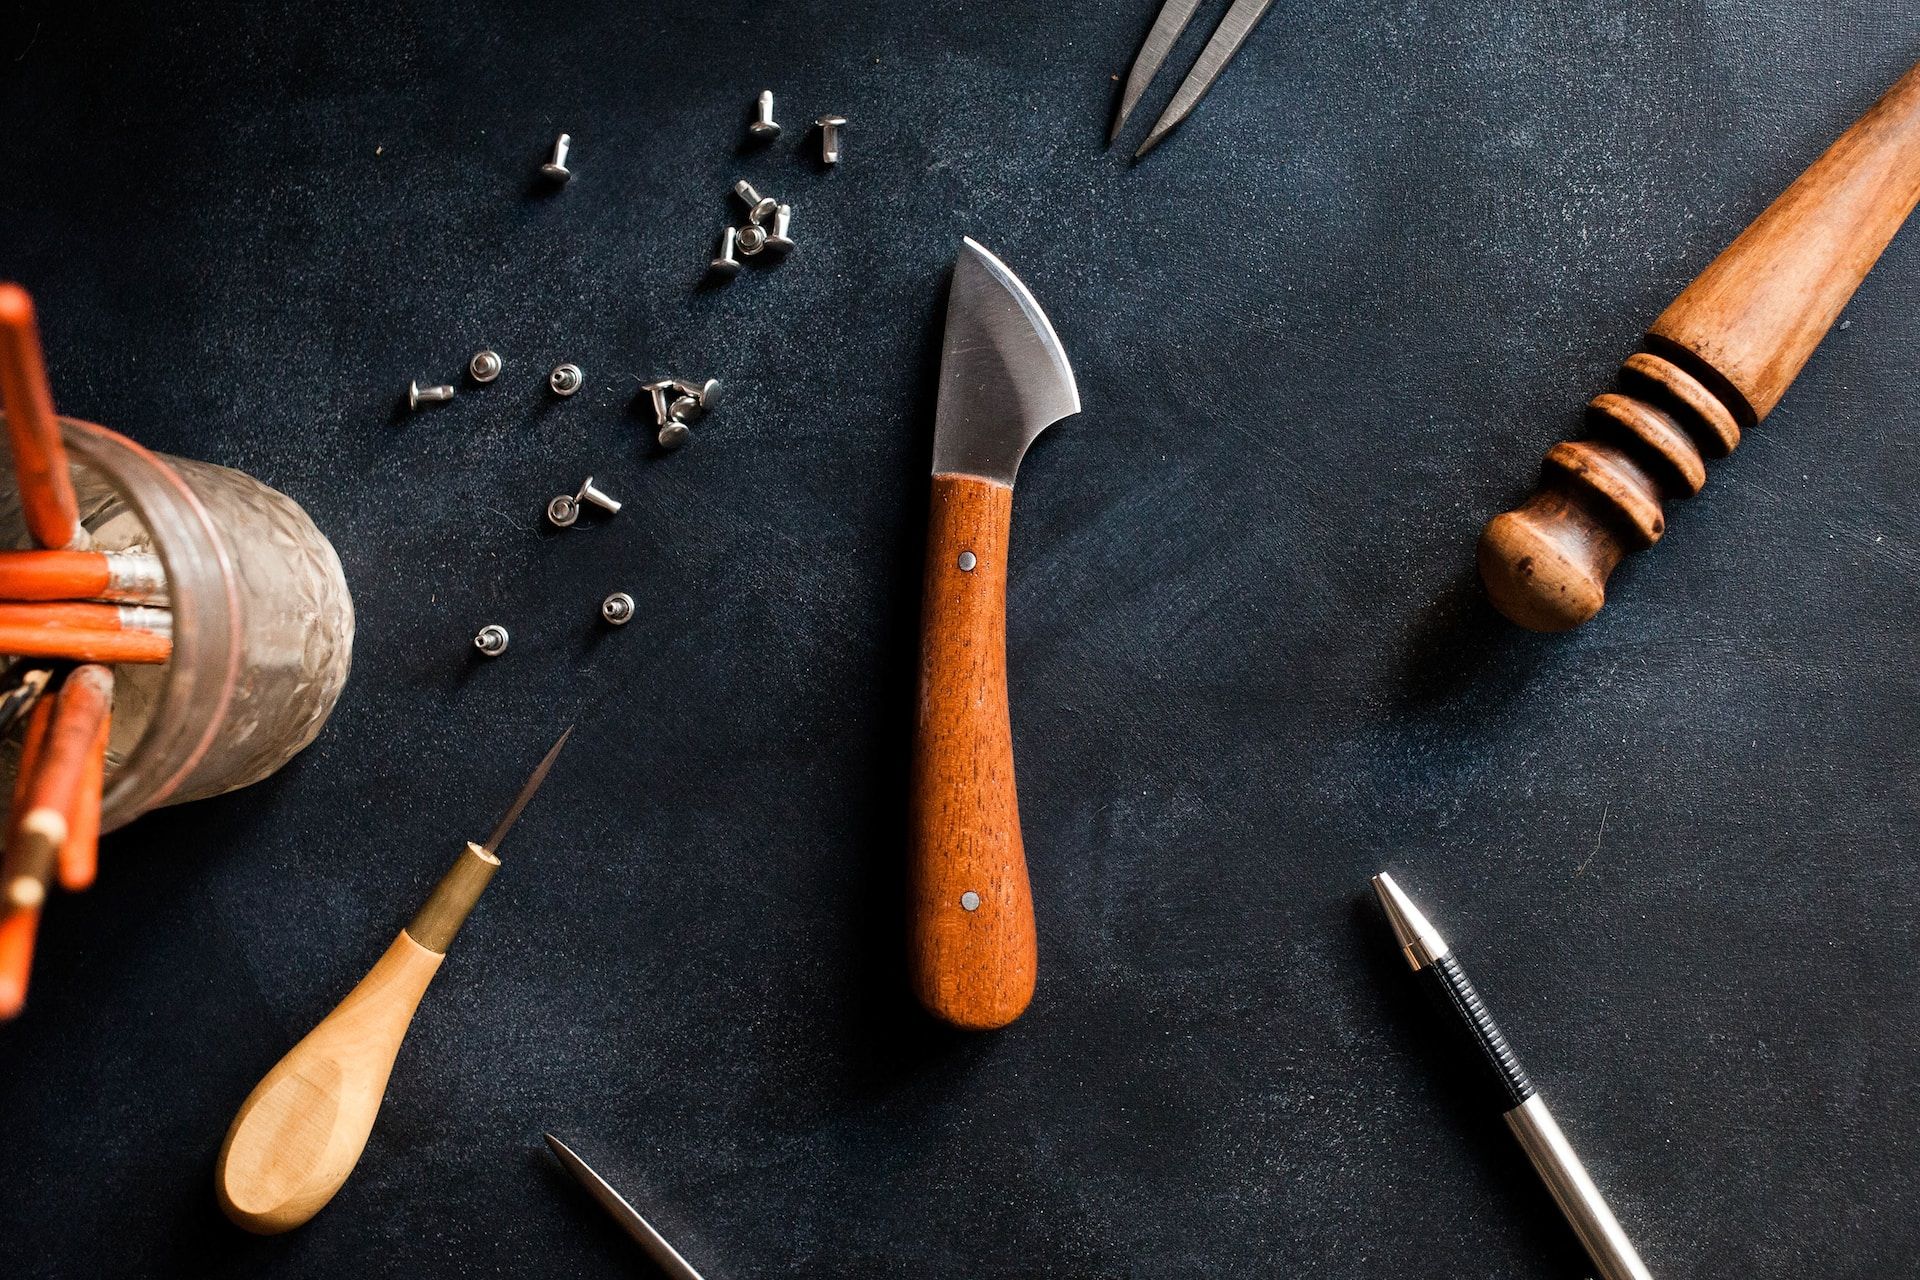
Leather tooling involves the use of specialized tools to create designs on the surface of the leather. These tools can range from simple stamps to more complex tools that are used to create three-dimensional designs. The tooling process requires a skilled hand and a steady hand to ensure that the designs are uniform and consistent.
Both leather tooling and embossing can add a unique touch to leather products, making them stand out and adding value to the final product. However, these techniques require a certain level of skill and knowledge to master, and can take years of practice to perfect.
In this article, we will explore these techniques in more detail, including the tools and materials needed, and some tips and tricks for creating beautiful and unique designs on leather.
Let’s take a look at the table of content below:
- Definition of Leather Tooling and Embossing
- Brief History of the Techniques
- Importance and Uses of Leather Tooling and Embossing
- Differences Between Leather Tooling and Embossing
- Leather Tooling and Embossing Projects
- Frequently Asked Questions (FAQs) About Leather Tooling and Embossing Techniques
- Wrapping Up
- How Deskera Can Assist You?
Let's get started!
Definition of Leather Tooling and Embossing
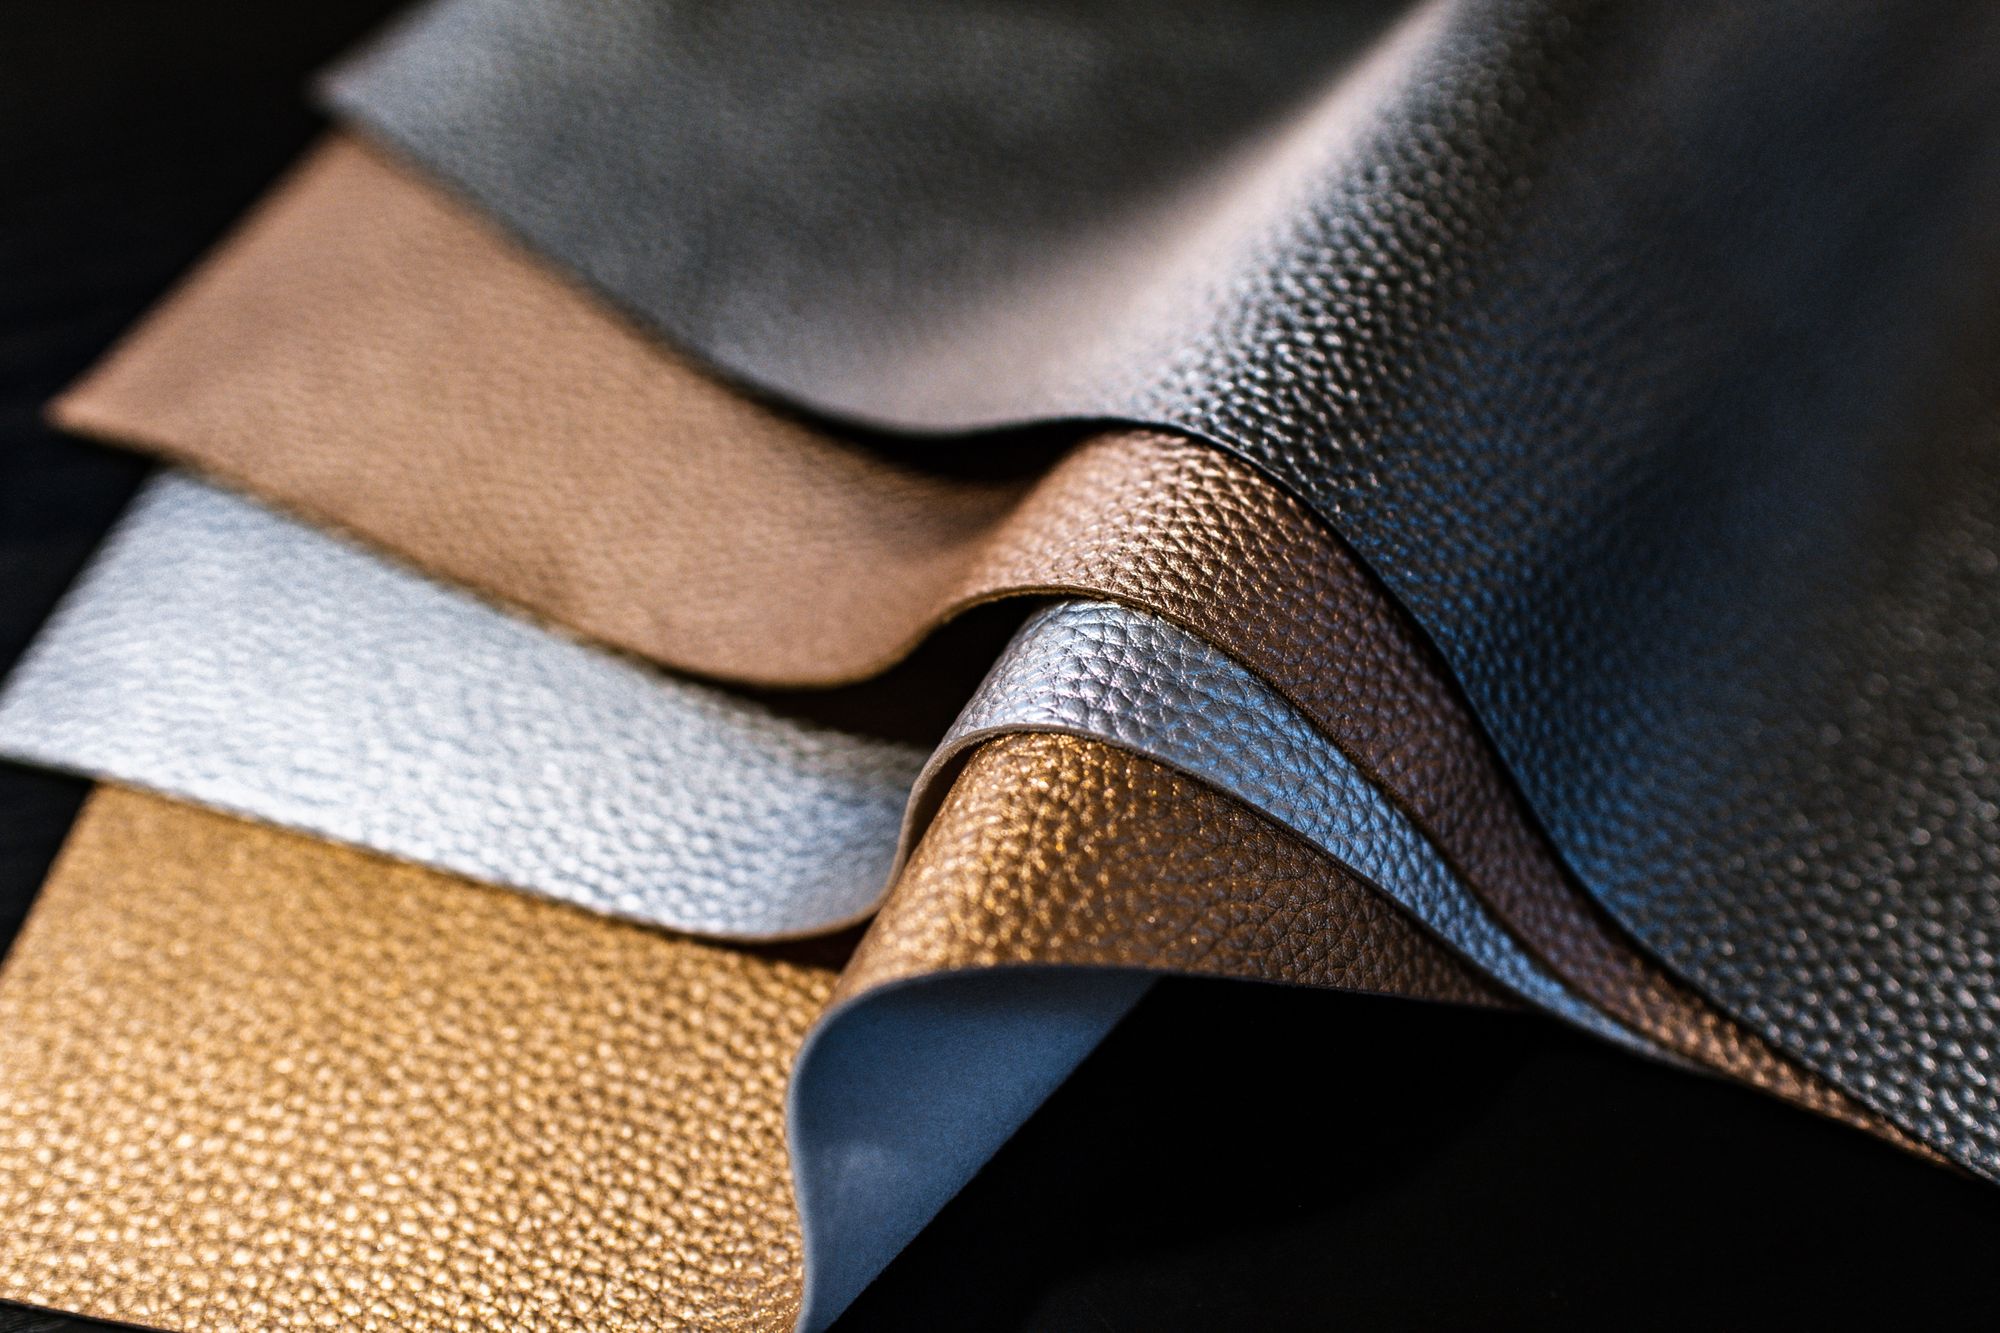
Leather tooling and embossing are two techniques used to decorate and embellish leather items, such as bags, belts, shoes, and wallets. Both techniques involve the use of tools and stamps to create various designs, patterns, and textures on the surface of the leather.
Leather tooling, also known as leather carving or leather stamping, is the process of creating designs on leather by cutting, stamping, punching, or carving the surface of the leather.
The process is done by hand and requires a high level of skill, precision, and patience. Moreover, leather tooling is often used to create intricate designs and patterns on leather, and is commonly used in traditional leathercrafts, such as saddle making and bookbinding.
Embossing, on the other hand, involves creating designs or patterns on the surface of the leather by pressing it against an embossing plate or roller. There are several types of embossing techniques, including blind embossing, foil embossing, heat embossing, and wet embossing.
Blind embossing involves pressing a design onto the leather surface without any color or additional treatment. Further, foil embossing involves the use of metallic foil to add color and shine to the embossed design.
Heat embossing involves heating a special powder or ink to create a raised design on the leather surface. Further, wet embossing involves dampening the leather surface before pressing it against an embossing plate to create a more defined and detailed design.
Both leather tooling and embossing are used in various industries, including fashion, furniture, and accessories. Leather tooling is often used to create intricate designs on leather belts, wallets, and shoes, while embossing is commonly used to add logos or patterns to leather bags, journals, and portfolios.
Overall, leather tooling and embossing techniques require patience, skill, and creativity. With proper tools and techniques, beautiful and unique designs can be created to enhance the value and appeal of leather items.
Brief History of the Techniques
Leather tooling and embossing techniques have been used for centuries to decorate leather surfaces. The exact origin of these techniques is not known, but it is believed that the ancient Egyptians and Romans were among the first to use them.
Leather tooling was commonly used in the Middle Ages to decorate leather armor and clothing. During the Renaissance period, leather tooling became more popular for decorative purposes, and intricate designs were created on leather items such as book covers and chairs.
Embossing also has a long history, with evidence of embossed leather dating back to the 4th century BC in Persia. The technique was used to create decorative designs on leather saddles, armor, and clothing. In the 19th century, embossing became more widely used in the leather industry for creating designs on leather belts, shoes, and wallets.
Over time, both leather tooling and embossing techniques have evolved with new tools, materials, and processes. Today, they continue to be used in various industries, including fashion, furniture, and accessories.
Importance and Uses of Leather Tooling and Embossing
Leather tooling and embossing techniques are important for enhancing the aesthetic appeal and value of leather items. These techniques allow for unique and intricate designs to be created on leather surfaces, making them stand out and adding a personalized touch.
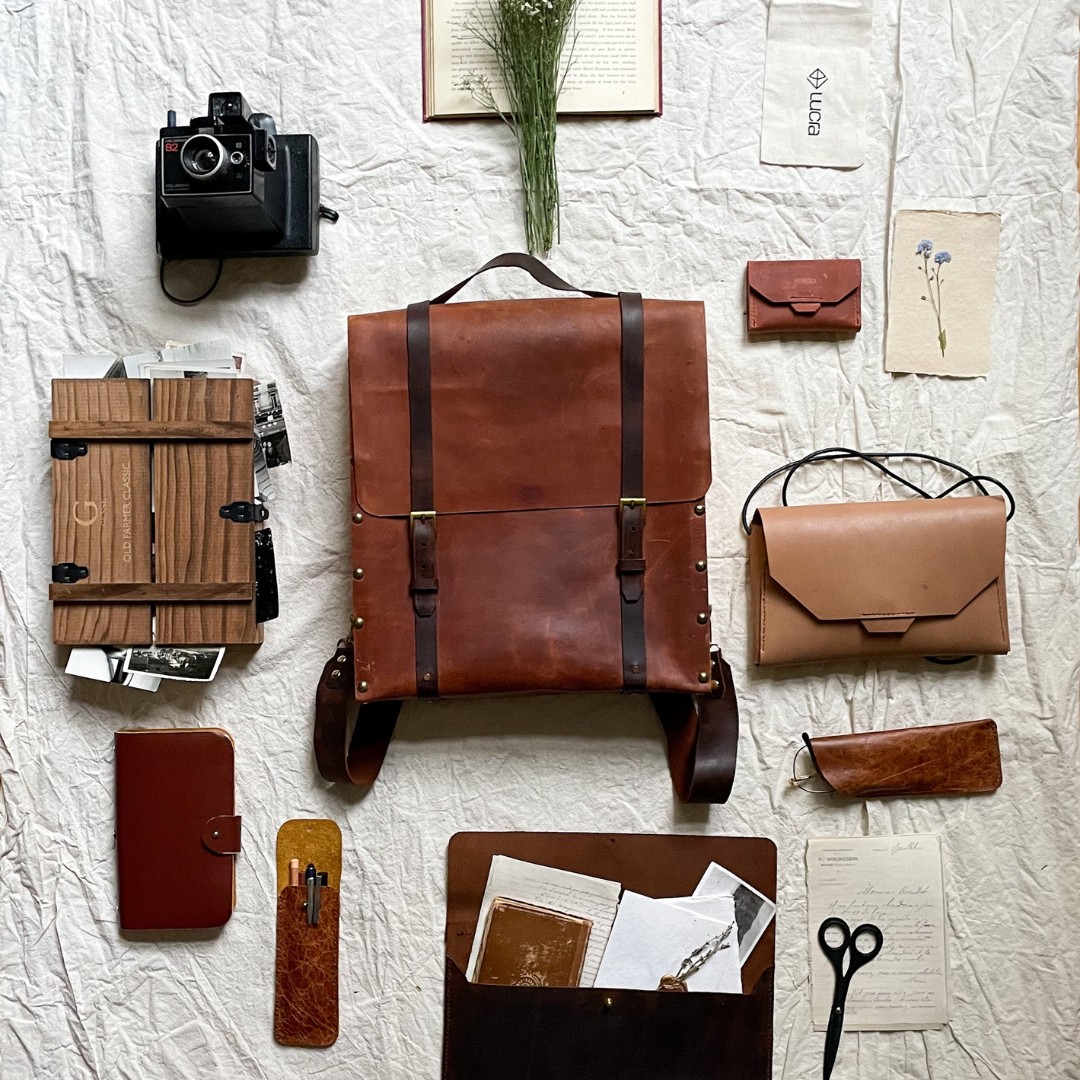
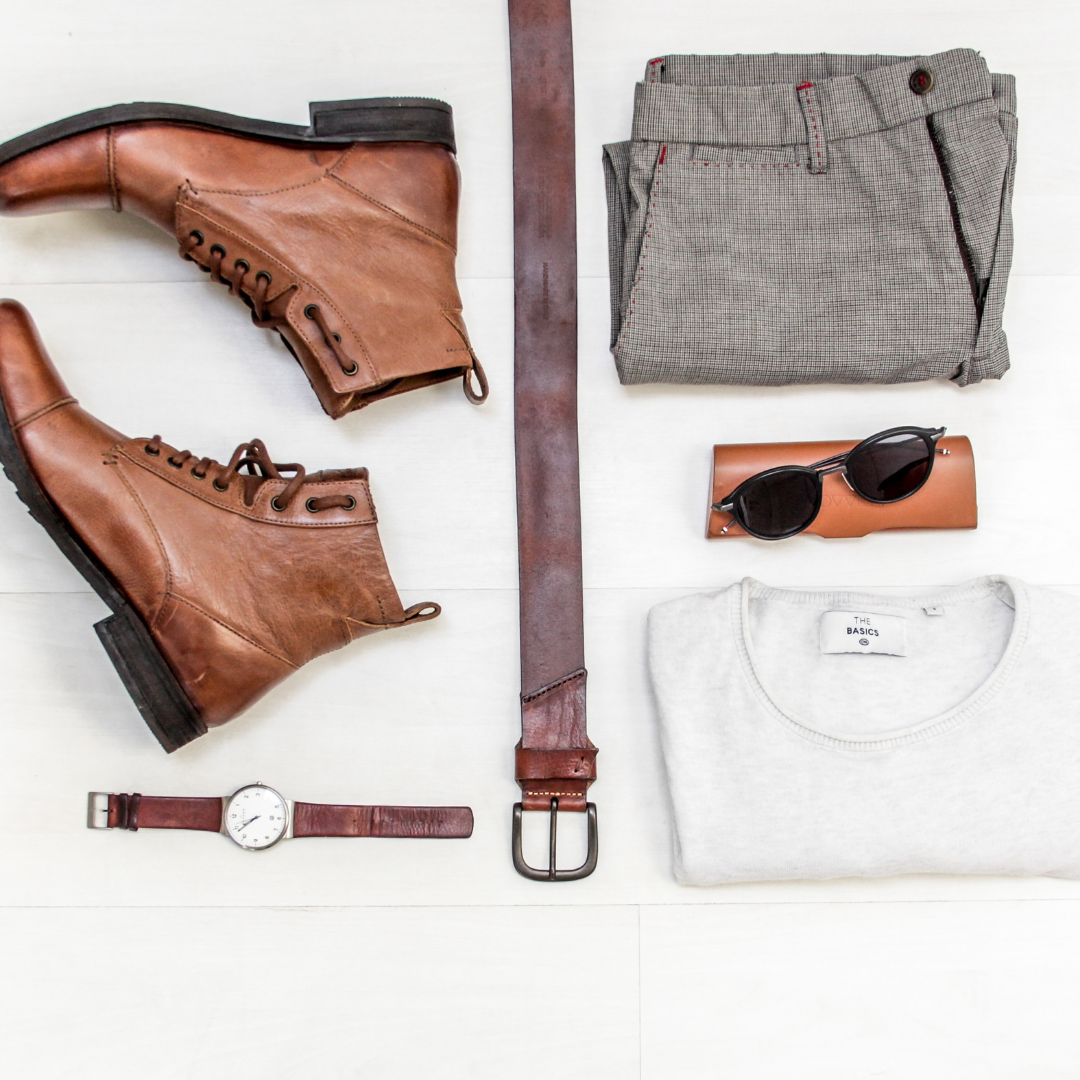
Leather tooling is commonly used in the creation of leather goods such as belts, wallets, shoes, and bags. By adding decorative patterns or designs to these items, they become more visually appealing and can also increase their value. Leather tooling can also be used for decorative purposes on furniture, book covers, and other leather-bound items.
Embossing is often used to add logos or patterns to leather products such as bags, journals, and portfolios. It can also be used to create texture on leather surfaces, making them more visually interesting and unique. Embossing can also be used for branding purposes, allowing companies to add their logo or name to their products in a distinctive and memorable way.
Both leather tooling and embossing techniques require skill and attention to detail, making them highly valued in the fashion and leather industries. The use of these techniques can help to set apart leather products from competitors and make them more desirable to consumers.
Consequently, leather tooling and embossing are important for adding value and personality to leather items, making them more visually appealing and unique.
Leather Tooling Techniques
Leather tooling techniques involve creating decorative designs or patterns on leather surfaces using specialized tools. The techniques used in leather tooling can vary depending on the design or pattern being created.
Following, we've discussed some of the most common leather tooling techniques:
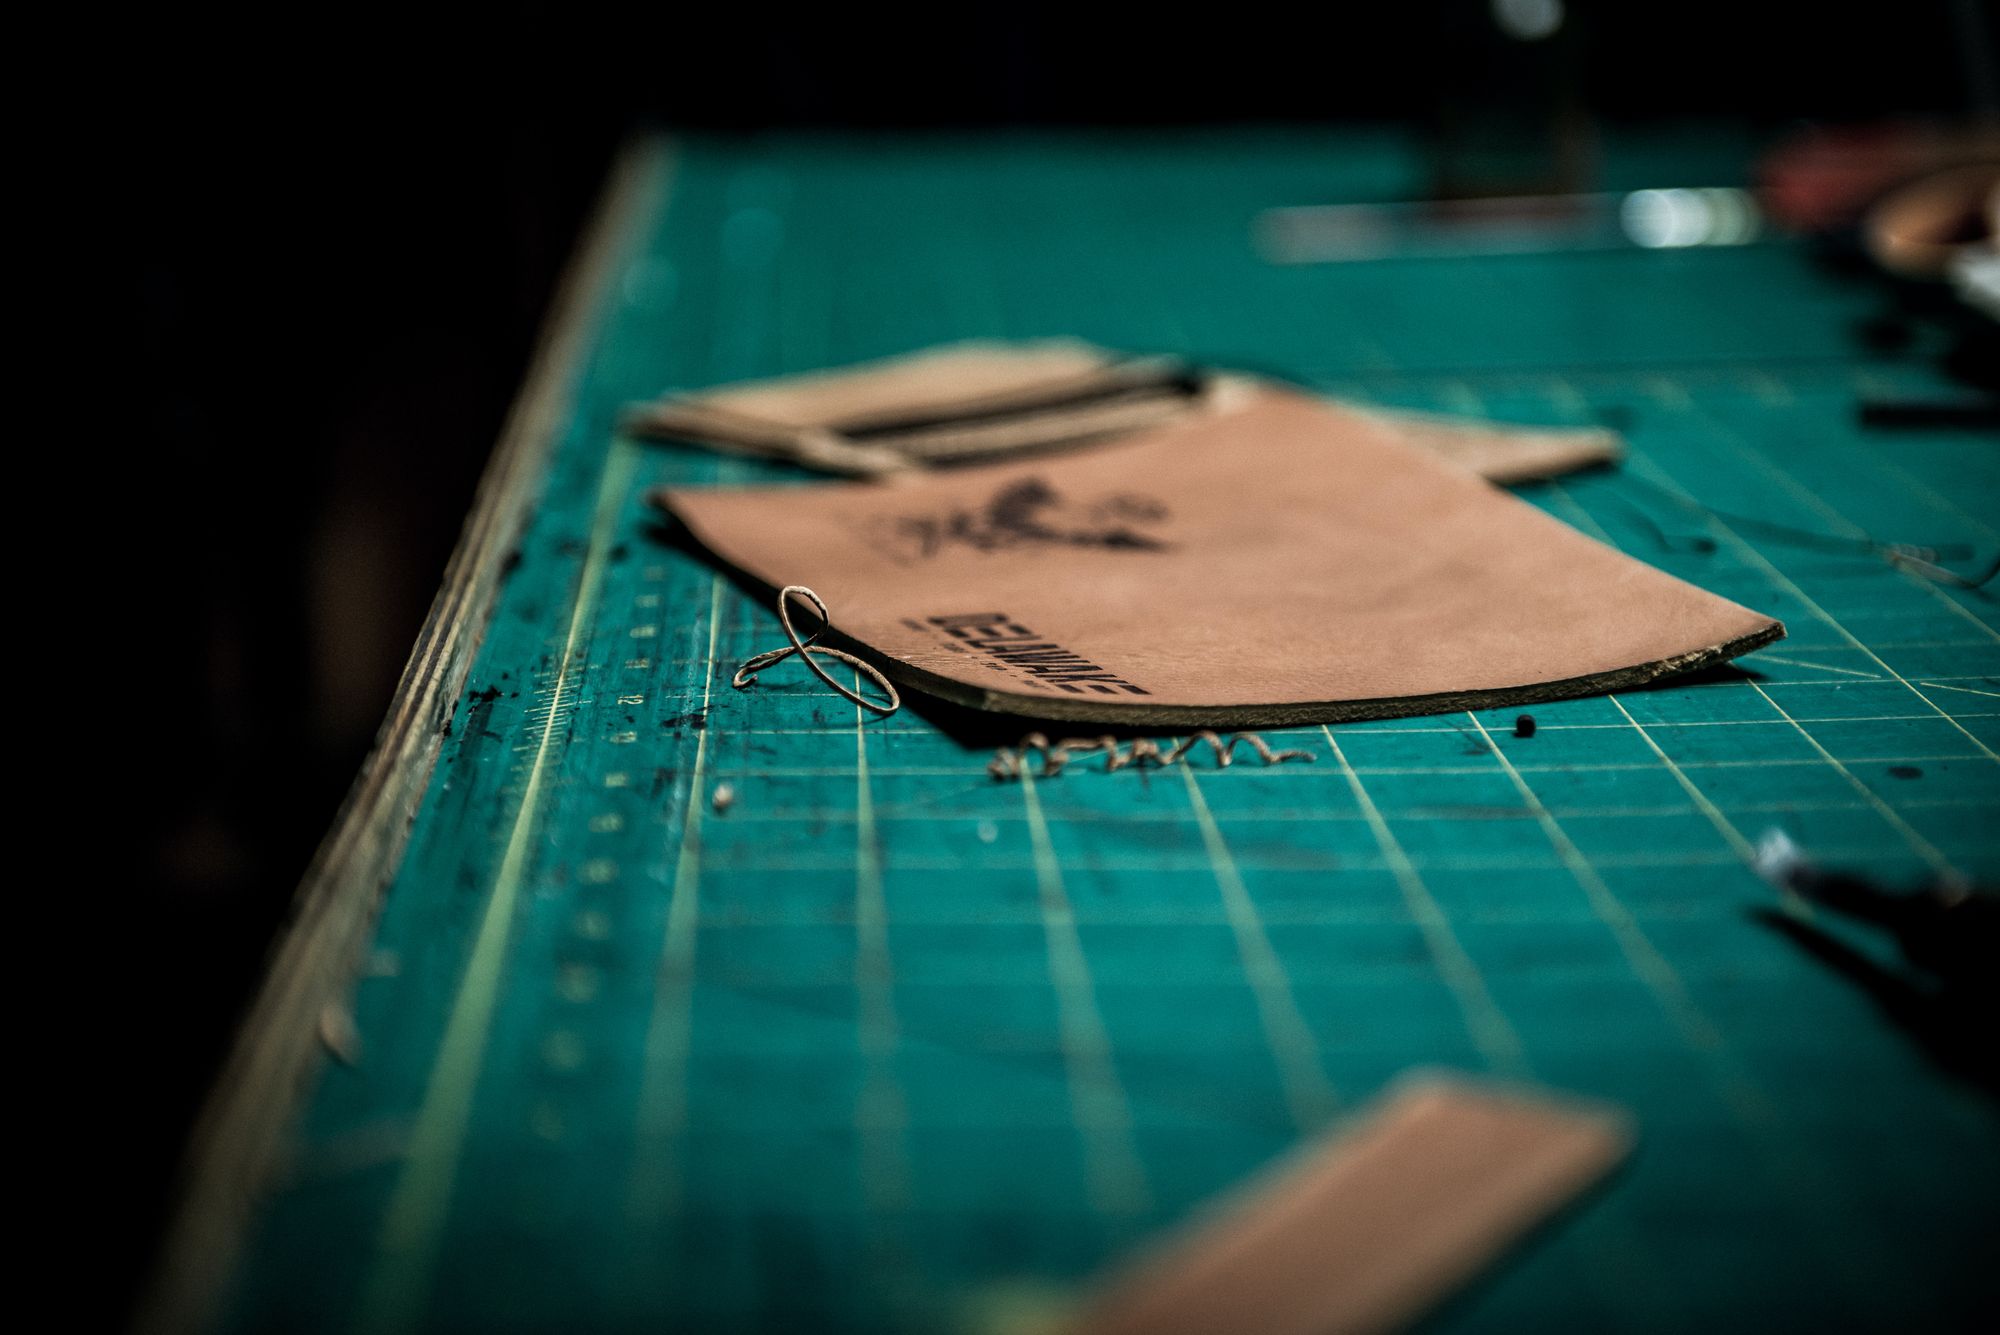
Carving: Carving involves using a swivel knife to cut into the surface of the leather to create intricate designs and shapes. This technique is commonly used to create floral or animal designs on leather items such as belts, wallets, and shoes.
Stamping: Stamping involves using metal stamps or dies to imprint patterns or designs onto the leather surface. This technique is commonly used to create geometric or repeating patterns on leather items.
Punching: Punching involves using a hole punch or rotary punch to create holes or patterns in the leather surface. This technique is commonly used to create lacing holes on leather items such as bags and shoes.
Cutting: Cutting involves using a sharp blade or scissors to cut the leather into specific shapes or designs. This technique is commonly used to create leather appliques or layered designs on leather items such as jackets or purses.
Beveling: Beveling involves using a beveling tool to create a sloped edge on the leather surface. This technique is often used to create a raised border around a stamped design.
Backgrounding: Backgrounding involves using a textured stamp or a backgrounding tool to create a textured background on the leather surface. This technique is often used to make a stamped design stand out more.
Dyeing: Dyeing involves coloring the leather surface with a leather dye. This technique can be used to create a uniform color or to add depth and shading to a stamped design.
Types of Embossing Techniques
Embossing is a technique used to create a raised design or pattern on a surface. There are several types of embossing techniques that can be used, each with its own unique characteristics. Here are some of the most commonly used embossing techniques in detail:
Blind Embossing:
Blind embossing creates a raised design without adding any color or ink to the surface. This technique uses a metal die that is stamped onto the paper, creating a three-dimensional effect. It is often used on high-quality paper products such as wedding invitations, business cards, and stationery.

Foil Embossing:
Foil embossing is similar to blind embossing, but it involves the addition of metallic or colored foil to the surface. The foil is applied using heat and pressure, and it adheres to the raised areas of the design. This technique is commonly used on products such as book covers, certificates, and greeting cards.
Debossing:
Debossing is the opposite of embossing, creating a depressed design or pattern on a surface. This technique involves using a metal die to press the design into the paper or other material. Debossing is commonly used on leather products, business cards, and stationery.
Sculptured Embossing:
Sculptured embossing is a more intricate embossing technique that involves creating a raised design with multiple levels of depth.
Furthermore, this technique is achieved by using a specialized die with multiple levels of depth and intricate details. Sculptured embossing is often used on packaging, book covers, and high-end invitations.
Combination Embossing:
Combination embossing is a technique that combines blind embossing and foil stamping. This technique involves first creating a raised design using blind embossing and then adding foil to the raised areas using heat and pressure. Furthermore, combination embossing is commonly used on products such as packaging, business cards, and invitations.
Overall, embossing is a versatile and visually appealing technique that can be used to enhance a wide range of products. The choice of embossing technique depends on the desired outcome and the materials being used.
Tools used for each Technique
Here are the tools commonly used for each embossing technique:
Blind Embossing:
- Metal die with the desired design or pattern
- Embossing machine or press
- High-quality paper or material to be embossed
Foil Embossing:
- Metal die with the desired design or pattern
- Heat-activated foil in the desired color or metallic finish
- Foil stamping machine or press
- High-quality paper or material to be embossed
Debossing:
- Metal die with the desired design or pattern
- Debossing machine or press
- High-quality paper or material to be debossed
Sculptured Embossing:
- Specialized metal die with multiple levels of depth and intricate details
- Embossing machine or press capable of handling the detailed die
- High-quality paper or material to be embossed
Combination Embossing:
- Metal die with the desired design or pattern
- Heat-activated foil in the desired color or metallic finish
- Embossing machine or press capable of handling both the blind embossing and foil stamping processes
- High-quality paper or material to be embossed
Overall, the tools used for embossing techniques depend on the specific method being used and the complexity of the design or pattern being created. Embossing and debossing machines may be manual or electronic and come in various sizes and capabilities. The quality and characteristics of the paper or material being embossed or debossed also play an important role in the final outcome of the process.
Step-by-step process for Each Technique
Here are the step-by-step processes for each of the embossing techniques:
Blind Embossing:
Step 1: Choose the design or pattern to be embossed
Step 2: Create a metal die with the chosen design or pattern
Step 3: Place the paper or material to be embossed onto the embossing machine or press
Step 4: Place the metal die onto the paper or material in the desired location
Step 5: Apply pressure to the metal die using the embossing machine or press
Step 6: Remove the metal die and check the embossed design for any imperfections
Step 7: Allow the embossed paper or material to dry before handling or further processing.
Foil Embossing:
Step 1: Create a metal die with the desired design or pattern.
Step 2: Place the heat-activated foil on top of the paper or material to be embossed.
Step 3: Position the metal die over the foil and paper or material.
Step 4: Apply heat and pressure to the die, pressing it into the paper or material and adhering the foil to the raised areas of the design.
Step 5: Release the pressure and remove the paper or material from the machine or press.
Step 6: The raised design or pattern with the foil finish should now be visible on the paper or material.
Debossing:
Step 1: Create a metal die with the desired design or pattern.
Step 2: Place the paper or material to be debossed on the debossing machine or press.
Step 3: Position the metal die underneath the paper or material.
Step 4: Apply pressure to the die, pressing it into the paper or material.
Step 5: Release the pressure and remove the paper or material from the machine or press.
Step 6: The depressed design or pattern should now be visible on the paper or material.
Sculptured Embossing:
Step 1: Create a specialized metal die with multiple levels of depth and intricate details for the desired design or pattern.
Step 2: Place the paper or material to be embossed on the embossing machine or press.
Step 3: Position the specialized metal die over the paper or material.
Step 4: Apply pressure to the die, pressing it into the paper or material and creating the raised design with multiple levels of depth.
Step 5: Release the pressure and remove the paper or material from the machine or press.
Step 6: The intricately raised design or pattern should now be visible on the paper or material.
Combination Embossing:
Step 1: Create a metal die with the desired design or pattern.
Step 2: Place the heat-activated foil on top of the paper or material to be embossed.
Step 3: Position the metal die over the foil and paper or material.
Step 4: Apply pressure to the die, pressing it into the paper or material and embossing the design.
Step 5: Apply heat and pressure to the die again, this time pressing the foil into the raised areas of the design.
Step 6: Release the pressure and remove the paper or material from the machine or press.
Step 7: The raised design with the foil finish should now be visible on the paper or material.
Overall, the processes for embossing techniques involve creating or obtaining the desired design or pattern, preparing the materials to be embossed, positioning the die or specialized equipment, applying pressure and heat as needed, and releasing the pressure and removing the finished product.
Differences Between Leather Tooling and Embossing
Leather tooling and leather embossing are two popular techniques used to add designs or patterns to leather. Although they may look similar, there are some key differences between these two techniques:
Definition:
Leather tooling involves creating designs or patterns by cutting or stamping into the leather using specialized tools. On the other hand, leather embossing involves pressing a design or pattern into the leather using a metal die or stamp.
Level of Detail:
Leather tooling allows for a higher level of detail since the design is created by cutting or stamping the leather directly. This means that it is possible to create intricate designs and patterns with a high degree of precision. With leather embossing, the level of detail may be limited by the design of the metal die or stamp used.
Texture:
Leather tooling creates a textured surface on the leather, as the cuts and stamping leave marks on the leather. This gives the leather a unique, tactile feel. Leather embossing does not add texture to the leather, as the design is simply pressed into the surface of the leather.
Skill Level:
Leather tooling requires a higher level of skill and practice to master, as the tools used must be manipulated with precision to create the desired design or pattern. Leather embossing can be simpler, as the design is created using a metal die or stamp.
Equipment Needed:
Leather tooling requires specialized tools such as swivel knives, stamping tools, and bevelers. These tools may be expensive and require some investment for someone starting.
Leather Embossing Requires an Embossing Equipment Needed:
Leather tooling requires specialized tools such as swivel knives, stamping tools, and bevelers. These tools may be expensive and require some investment for someone starting. Leather embossing requires an embossing machine, which is a specialized tool that can also be expensive.
However, there are some basic tools that someone starting in leather tooling or embossing may need:
Cutting mat: A self-healing cutting mat will protect your work surface and also allow you to cut leather with a sharp knife without damaging the blade.
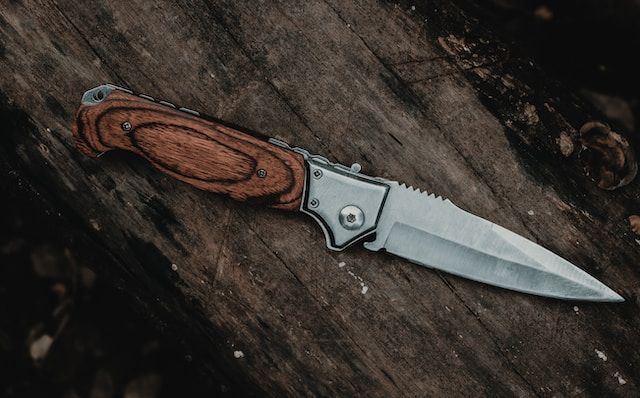
Utility knife: A sharp utility knife is essential for cutting and trimming leather.
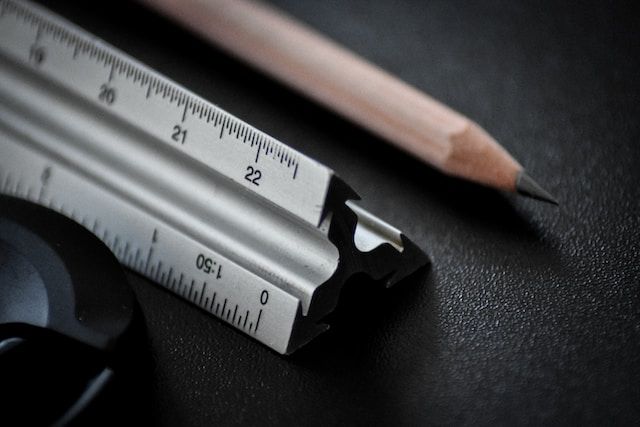
Cutting ruler: A straight edge ruler is useful for measuring and cutting straight lines.
Hole punch: A leather hole punch can be used to create holes in the leather for stitching or lacing.
Awl: An awl is a pointed tool used for making holes in leather, as well as for marking and starting stitches.
Needles and thread: Leather needles are thicker than regular sewing needles and can be used for hand-stitching leather. Thread should be strong and durable, such as waxed thread or nylon.
Mallet or hammer: A mallet or hammer can be used to stamp and shape leather, as well as to set rivets and snaps.
Edge beveler: An edge beveler is a tool used to round off the edges of leather for a finished look.
Leather conditioner: A leather conditioner can be used to keep leather soft and supple, and to prevent cracking and drying out.
These are some basic tools that can be used for leather tooling and embossing. As you become more experienced and interested, you may want to invest in more specialized tools.
Leather Tooling and Embossing Projects
Following, we’ve discussed leather tooling and embossing projects. Let’s learn:
Ideas for Projects using leather tooling and embossing Techniques
Following, we've discussed some crucial ideas for projects using leather tooling and embossing techniques:
Leather belts: A classic leather tooling project, belts can be customized with a variety of designs and colors.
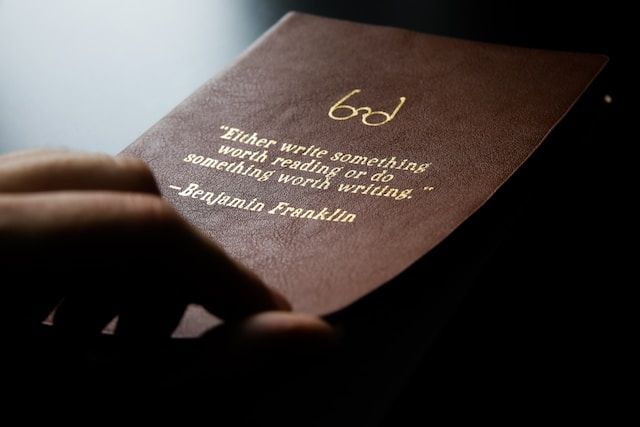
Leather wallets: A functional and stylish project, wallets can be embossed with initials or other designs.
Leather coasters: Coasters can be stamped or tooled with a variety of designs and make great gifts.
Leather keychains: Keychains can be stamped or tooled with initials or other designs and are a simple project for beginners.
Leather cuffs or bracelets: Leather cuffs or bracelets can be tooled with designs or stamped with inspirational quotes or messages.
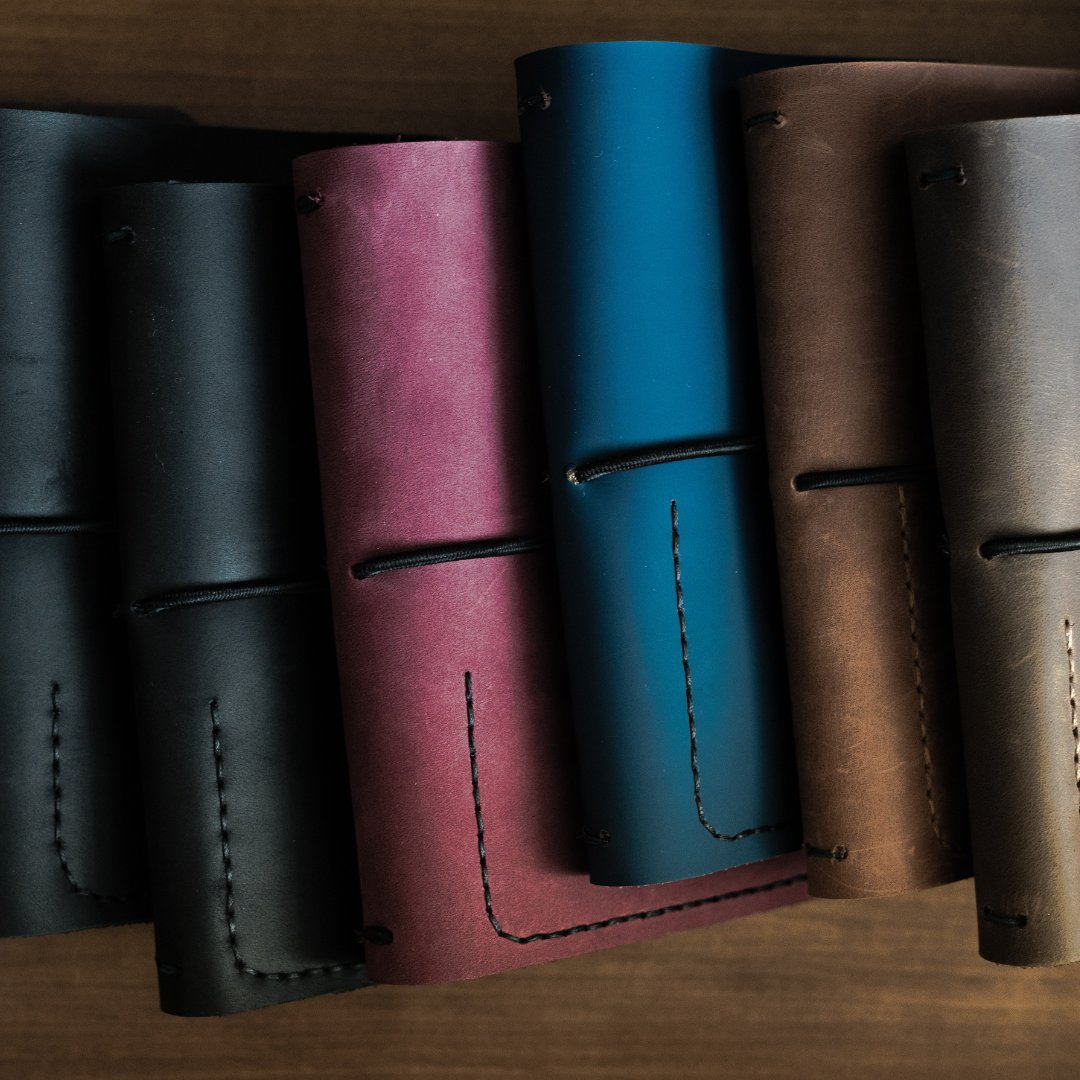
Leather journal covers: A unique and personalized project, leather journal covers can be tooled or stamped with designs and customized with initials or names.
Leather phone cases: Phone cases can be tooled or stamped with designs and customized to fit different phone models.
Leather dog collars or leashes: A functional and stylish project for pet owners, leather collars or leashes can be tooled with designs and customized with the pet's name.
Tips for beginners:
Following, we've discussed some crucial tips for beginners. Let's learn;
Start with simple designs: It's important to build up your skills gradually, so start with simple designs and work your way up to more complex projects.
Practice on scrap leather: Before starting on your final project, practice on scrap leather to get a feel for the tools and techniques.
Use the right tools: Using the right tools for the job will make your project easier and ensure a more professional-looking finished product.
Take your time: Leather tooling and embossing require patience and attention to detail, so take your time and work carefully.
Protect your work surface: Leather tooling can be messy, so protect your work surface with a cutting mat or newspaper.
Condition your leather: Leather can dry out and become brittle over time, so it's important to condition it regularly to keep it soft and supple.
Learn from others: Join a leatherworking group or forum to learn from more experienced crafters and get inspiration for your projects.
Frequently Asked Questions (FAQs) About Leather Tooling and Embossing Techniques
Following, we’ve discussed frequently asked questions (FAQs) associated with leather tooling and embossing techniques. Let’s learn:
Que 1: What is leather tooling?
Ans: Leather tooling is the art of creating designs in leather using special tools, such as swivel knives, stamping tools, and bevelers. This technique involves cutting, stamping, and shaping the leather to create patterns or designs.
Que 2: What is leather embossing?
Ans: Leather embossing is the process of pressing a design into leather using an embossing machine or stamp. This technique creates a raised or indented design on the leather.
Que 3: What types of leather are suitable for tooling and embossing?
Ans: Vegetable-tanned leather is the most commonly used type of leather for tooling and embossing. This type of leather is firm and has a smooth surface that is ideal for creating detailed designs.
Que 4: What tools do I need for leather tooling and embossing?
Ans: For leather tooling, you'll need tools such as a swivel knife, stamping tools, and bevelers.
For leather embossing, you'll need an embossing machine or stamp. There are also basic tools that are useful for both techniques, such as a cutting mat, utility knife, hole punch, needles and thread, mallet or hammer, edge beveler, and leather conditioner.
Que 5: How do I choose a design for my leather project?
Ans: The design you choose for your leather project will depend on your personal style and preferences. You can find inspiration for designs in books, online, or by looking at other leather products. Start with a simple design if you're a beginner and work your way up to more complex designs as you become more experienced.
Que 6: Can I dye leather after I've tooled or embossed it?
Ans: Yes, you can dye leather after you've tooled or embossed it. However, you'll need to be careful not to damage the design while dyeing the leather. It's best to dye the leather before you start tooling or embossing it, or to use a dye that won't bleed or rub off onto the design.
Que 7: How do I care for my leather tooling or embossing projects?
Ans: Leather tooling and embossing projects require proper care to maintain their appearance and durability. Here are some tips for caring for your leather tooling or embossing projects:
- Clean the leather regularly: Use a soft, dry cloth or brush to remove any dirt or dust that has accumulated on the surface of the leather. You can also use a damp cloth to wipe down the leather, but be sure to let it dry completely before storing.
- Condition the leather: Leather can dry out over time, which can cause it to crack and lose its luster. To prevent this, apply a leather conditioner to the surface of the leather periodically. Follow the manufacturer's instructions for application and frequency of use.
- Protect the leather: Leather can be easily damaged by water, sunlight, and heat. To protect your tooling or embossing projects, store them in a cool, dry place away from direct sunlight and heat sources.
- Avoid using harsh chemicals: Leather can be damaged by harsh chemicals, so avoid using any cleaning products or solvents that are not specifically designed for use on leather.
- Handle with care: Leather tooling and embossing projects can be delicate, so handle them with care to avoid damaging the design. Avoid placing heavy objects on top of them, and be gentle when moving or transporting them.
By following these tips, you can ensure that your leather tooling and embossing projects remain in good condition for years to come.
Wrapping Up
In conclusion, embossing and tooling are two popular techniques used to decorate leather products. Embossing creates a raised or depressed design on the surface of the leather by pressing it with a die or pattern.
Tooling, on the other hand, involves cutting or carving the design into the leather using specialized tools. Both techniques require skill and attention to detail to create high-quality, visually appealing designs.
Ultimately, the choice between embossing and tooling comes down to personal preference and the desired outcome for the leather product. Embossing may be preferable for a more uniform, consistent design, while tooling offers more artistic freedom and flexibility in creating intricate, detailed designs.
Regardless of the technique used, both embossing and tooling can add a unique touch to leather products and elevate their visual appeal.
How Deskera Can Assist You?
Deskera's integrated financial planning tools allow investors to better plan their investments and track their progress. It can help investors make decisions faster and more accurately.
Deskera Books enables you to manage your accounts and finances more effectively. Maintain sound accounting practices by automating accounting operations such as billing, invoicing, and payment processing.

Deskera CRM is a strong solution that manages your sales and assists you in closing agreements quickly. It not only allows you to do critical duties such as lead generation via email, but it also provides you with a comprehensive view of your sales funnel.
Deskera People is a simple tool for taking control of your human resource management functions. The technology not only speeds up payroll processing but also allows you to manage all other activities such as overtime, benefits, bonuses, training programs, and much more. This is your chance to grow your business, increase earnings, and improve the efficiency of the entire production process.
Final Takeaways
We've arrived at the last section of this guide. Let's have a look at some of the most important points to remember:
- Leather tooling, also known as leather carving or leather stamping, is the process of creating designs on leather by cutting, stamping, punching, or carving the surface of the leather. The process is done by hand and requires a high level of skill, precision, and patience.
- Embossing, on the other hand, is the process of creating designs on leather by pressing a stamp or die into the leather surface to create a raised or depressed design. There are various types of embossing techniques, including blind embossing, foil embossing, heat embossing, and wet embossing.
- Foil embossing is similar to blind embossing, but it involves the addition of metallic or colored foil to the surface. The foil is applied using heat and pressure, and it adheres to the raised areas of the design. This technique is commonly used on products such as book covers, certificates, and greeting cards.
- Blind embossing creates a raised design without adding any color or ink to the surface. This technique uses a metal die that is stamped onto the paper, creating a three-dimensional effect. It is often used on high-quality paper products such as wedding invitations, business cards, and stationery.
- Embossing and debossing machines may be manual or electronic and come in various sizes and capabilities. The quality and characteristics of the paper or material being embossed or debossed also play an important role in the final outcome of the process.
- Leather tooling allows for a higher level of detail since the design is created by cutting or stamping the leather directly. This means that it is possible to create intricate designs and patterns with a high degree of precision. With leather embossing, the level of detail may be limited by the design of the metal die or stamp used.
- Leather tooling requires specialized tools such as swivel knives, stamping tools, and bevelers. These tools may be expensive and require some investment for someone starting. Leather embossing requires an embossing machine, which is a specialized tool that can also be expensive.
- The design you choose for your leather project will depend on your personal style and preferences. You can find inspiration for designs in books, online, or by looking at other leather products.
Related Articles