


Next Generation

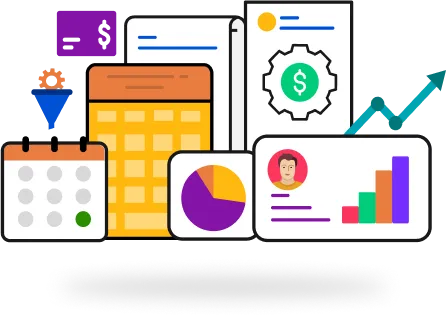
Cloud ERP
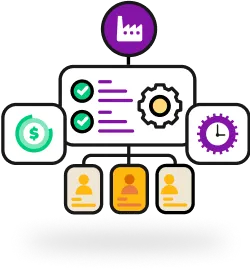
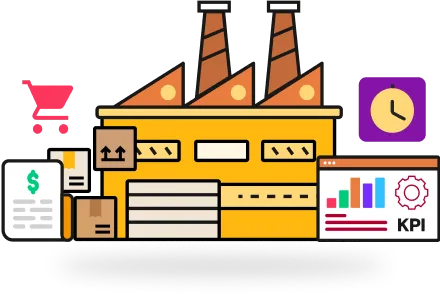
Manufacturing
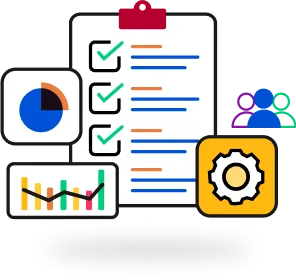
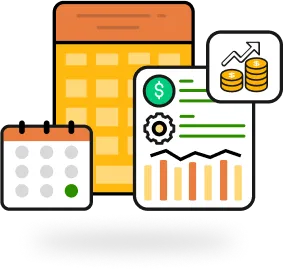
Accounting
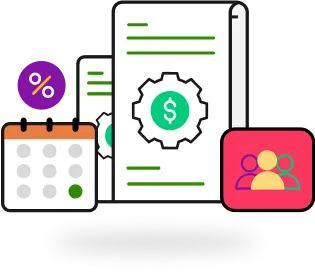
Finance
Order Management
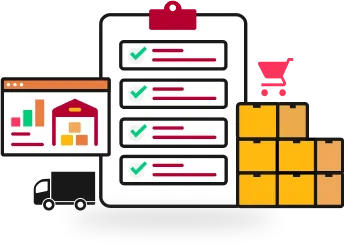
Warehousing
Procurement
Pick pack ship
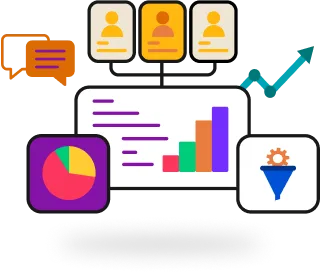
Marketing
Payroll and HR
Automation
Run & scale your business with Deskera
Discover Our Plans
Talk to Our Experts


#1 Choice
for Your Business
Scalable growth, Reduced costs, Improved margins & better efficiency with Deskera ERP and MRP.
Discover Our Plans
Talk to Our Experts

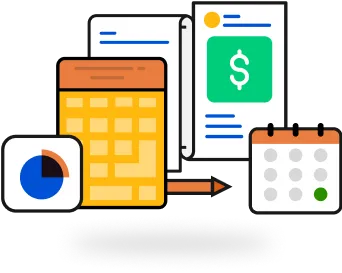
Best in class Cloud ERP
Deskera ERP


We <3 Community
Devoted Support+
Deskera's cross industry experts make sure you have the right guidance on accounting, financial management, manufacturing operations, sales pipeline automation, & more.
Discover Our Plans
Talk to Our Experts


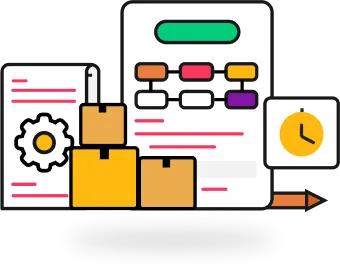
Manufacturing done right with Deskera MRP


Run Your Business With Deskera
Discover Our Plans
Talk to Our Experts


Use Cases

Made in USA, India, Singapore, and Canadawith